·Click on the public account to follow us / Get the latest robot education information
In the previous articles, we introduced the BBC’s Micro:bit, a microcomputer development board aimed at programming education for teenagers. In this article, I will guide you through the first module group of Micro:bit, helping you complete your first Micro:bit program.
Since the Micro:bit development environment is equipped with an emulator, we can view the programming effects through the emulator even if we do not have the development board in hand.
All information displayed by Micro:bit is implemented through dot matrix lights, and its development environment also provides four display modules for developers to use specifically, which we will introduce one by one. (The following introduction applies to both online programming and offline client programming)
01
Create Project
When we first open the programming environment, it looks like this.
Online programming: http://makecode.microbit.org/
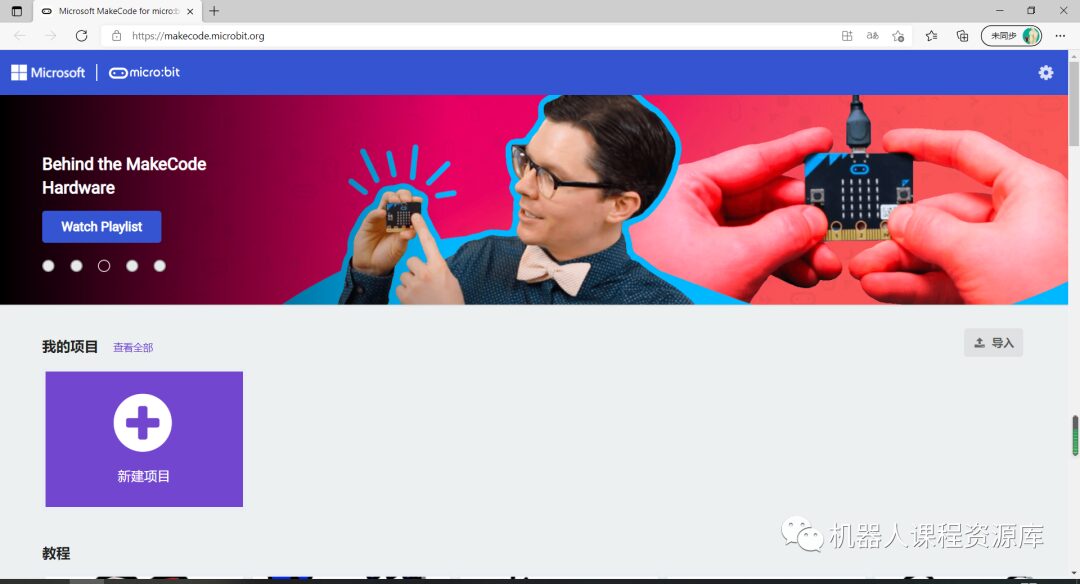
Client programming: Add WeChat: RCRL_Niuk to get the client download method
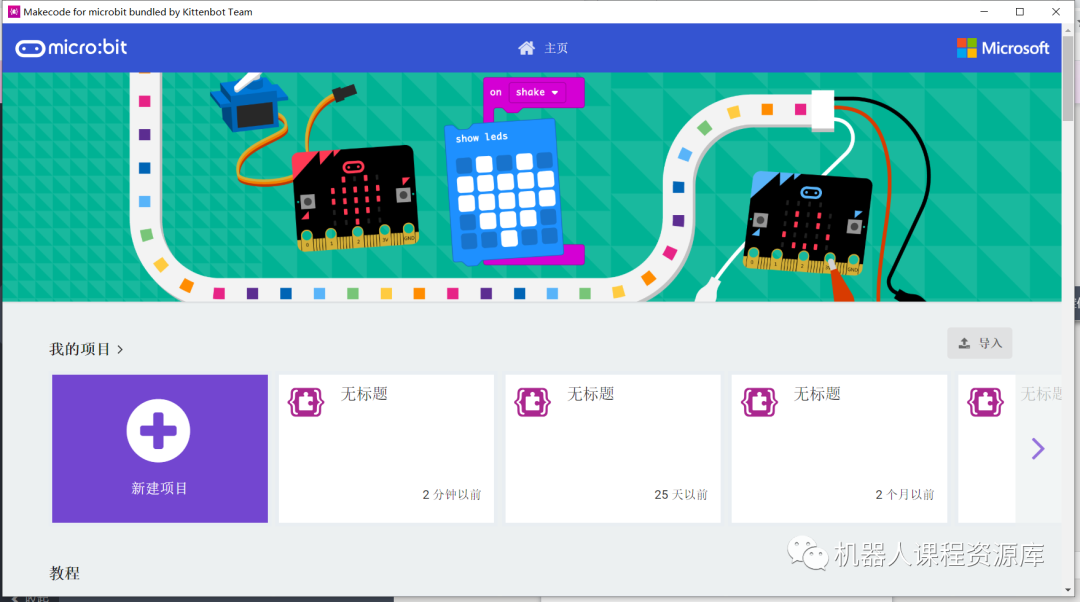
As can be seen, when we first open the programming environment, we need to create a new programming project, so we just click “New Project” to jump to the programming interface.
In online programming, you need to enter the project name when creating a new project, and this name supports both Chinese and English; in client programming, it will directly jump to the programming interface when creating a new project.
02
Display Module
After entering the programming interface, we can see that the left side is the Micro:bit emulator; the middle is the module selection area; the right side is the module editing area; the lower left corner is the download button; and the middle below is the project name, next to it is the project error button.
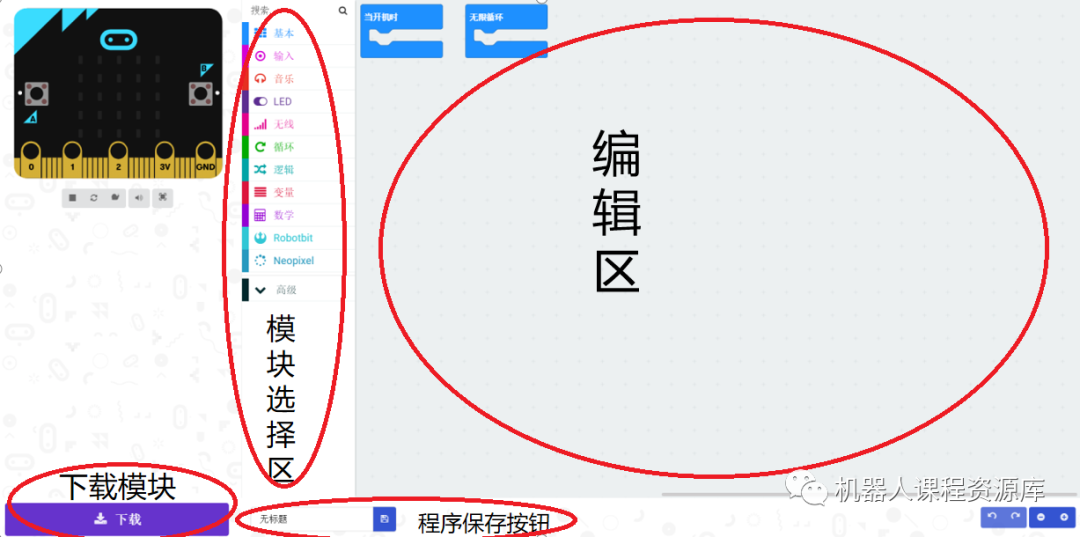
The display module we are using today is in the “Basic” section of the module selection area.
Vol.1
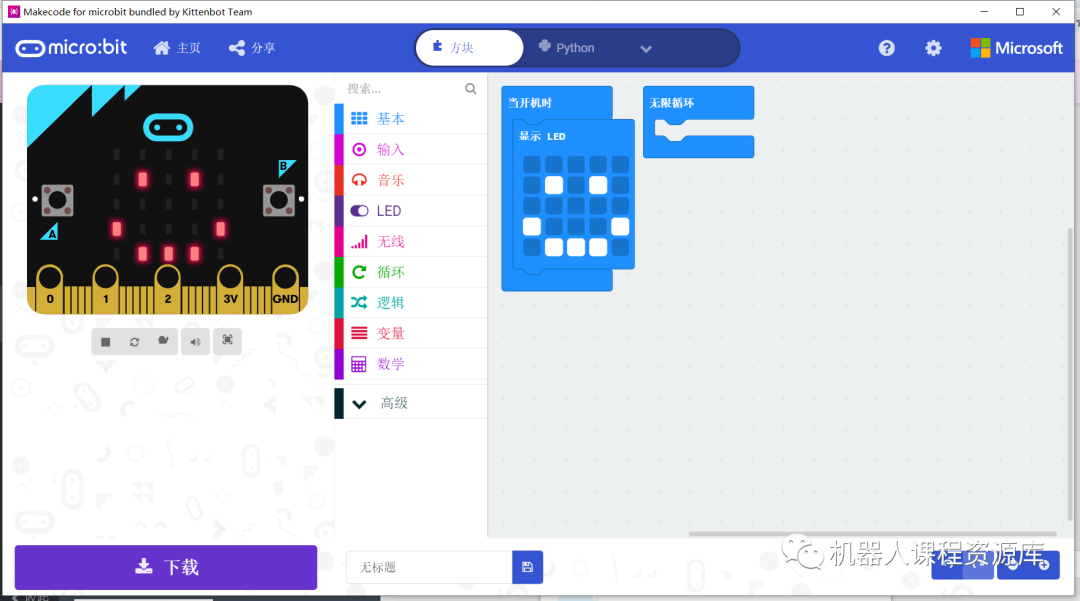
Click and drag the “Display Number” module into the “On Start” module, and you will find that the left emulator displays the number “0”. Try clicking on the “Display Number” module and change the “0” to another number?

When the number is changed to two digits or more, the dot matrix light’s number becomes a scrolling screen because the dot matrix light can only display a single character or number. (The following modules work similarly)
Vol.2
Drag the “Display LED” module into the “On Start” module, and the left emulator will automatically refresh. (The emulator will refresh automatically every time a module change occurs)
In the “Display LED” module, there is also a 5×5 dot matrix. We just need to click on any small block, and it will light up, and the left emulator will light up the corresponding LED. You can try to draw a small work.
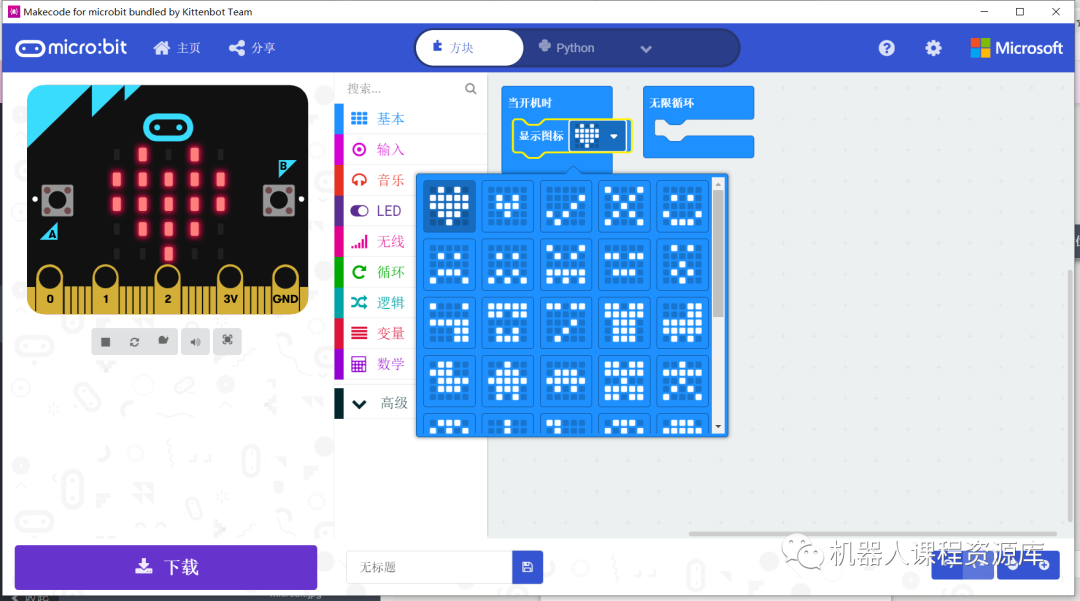
Vol.3
If you have no artistic talent and can’t draw, that’s okay.
The next module to be introduced, the “Display Icon” module, is prepared for you. Click the icon at the end of this module, and the prepared pattern will be displayed.
Vol.4
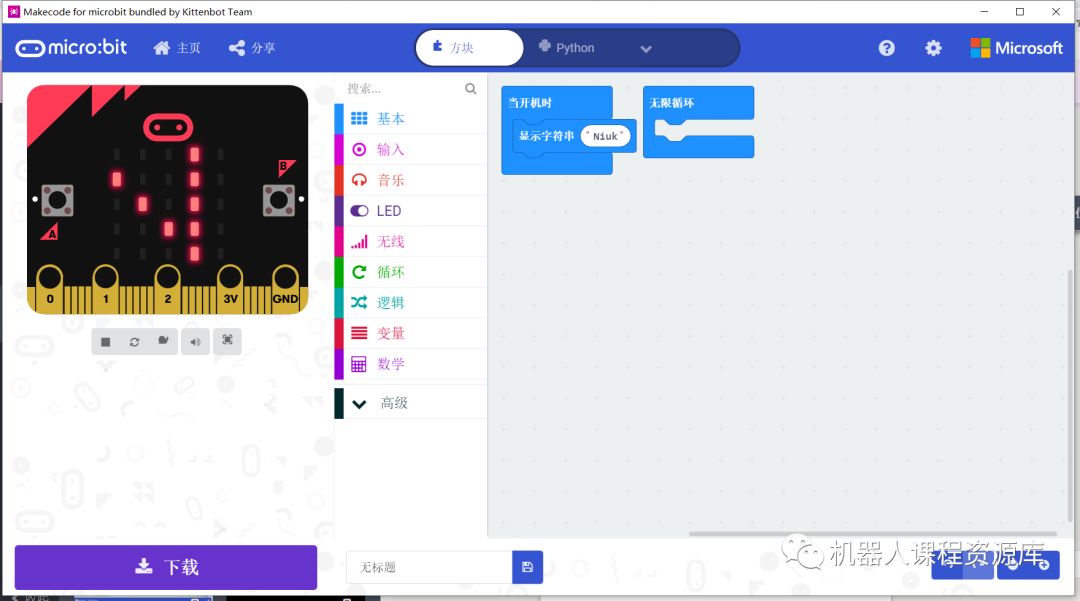
The last module introduced, the “Display String” module, is used to display letters or English sentences for prompt effects.
That’s right, this module only supports English letters, and entering Chinese will not display.
03
Micro:bit Program Download
When we connect the Micro:bit to the computer via a data cable, a disk will pop up, and then we can download the program. The download method varies based on computer configuration.
Vol.1
Click the download button to download directly to Micro:bit.
Vol.2
Drag the downloaded “.hex” file to the Micro:bit disk.

● Through this study, I believe you have a preliminary understanding of Micro:bit programming. Now, please try to create a dynamic pattern? I will reveal the answer next time.
Scan the code to enter the course sharing group for more course resources
If you can’t scan the code to enter the group, you can add WeChat below to join the group

END

Robot Course Resource Library
WeChat ID | RCRL_Niuk
Joint brand under Xinyu Maker Culture