Click on the “Technology Classroom” above to subscribe for the latest technology education information.
The new course “Getting Started with Arduino Sensors” will start next Monday, are you ready? First, we need to set up the Arduino programming environment, including installing Mixly software, installing Arduino hardware drivers, and basic operations such as loading and uploading programs in Mixly software.
If you haven’t signed up yet, hurry up and click [Read the original] to register!
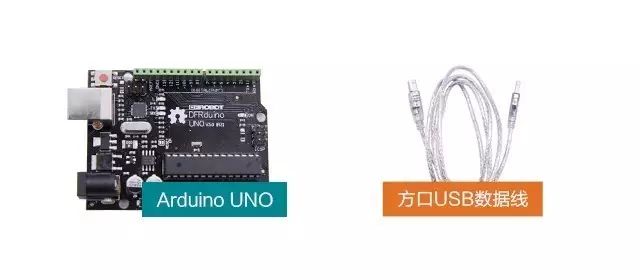
During the installation phase, you need to prepare the following materials:
-
Mixly software
-
Arduino UNO board and a data cable
Don’t have these devices? Click here to prepare the components needed for the course!
The process of testing and installation is very simple. Just follow the video, and you can easily complete it in three steps. If you can’t watch the video, there are also text descriptions below for reference.
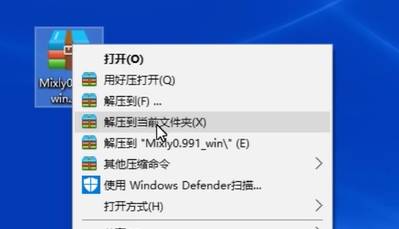
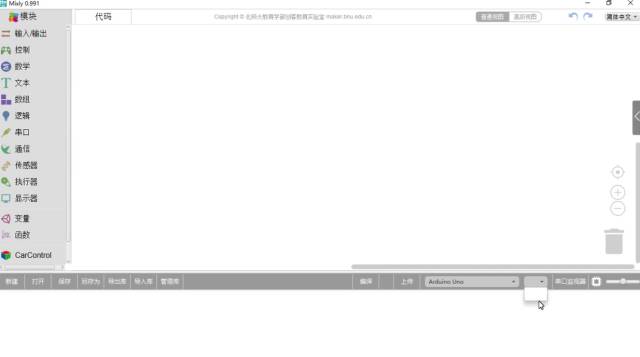
Step 1: Installing Mixly Software
The installation process of Mixly software is very simple; just unzip the compressed package downloaded from the internet to complete the installation. Open the unzipped folder, and double-click the Mixly.exe file to open the Mixly software.
If you haven’t downloaded Mixly software yet, copy the link below to open it on your computer, and enter the extraction code to get Mixly software for free.
Cloud Disk Link: https://pan.baidu.com/s/1i5wvRpj
Extraction Code: dhfn
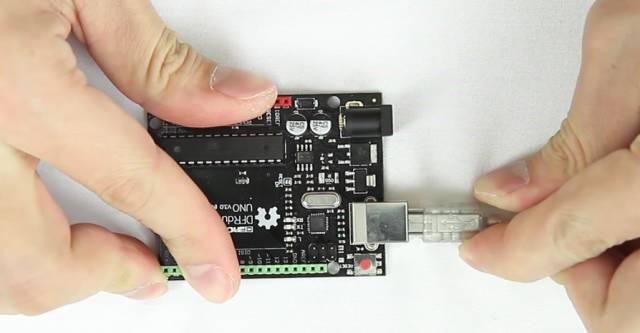
Step 2: Hardware Connection and Driver Installation
Next, let’s look at the driver installation process for the Arduino main control board:
First, connect the USB data cable to the main control board, and then connect the other end of the data cable to the computer. If the software does not automatically recognize the Arduino main control board, we will need to install the driver manually.
Right-click on My Computer, select “Manage”, double-click the “Device Manager” tab in the pop-up window, then right-click on “USB Serial Device” in the drop-down menu under “Ports”, select “Update Driver Software”, and in the pop-up window, select “Browse my computer for driver software”, click “Browse”, locate the “Arduino-1.7.10/drivers/X64” folder in the Mixly program folder that you just unzipped, click OK to return, and then click Next to proceed.
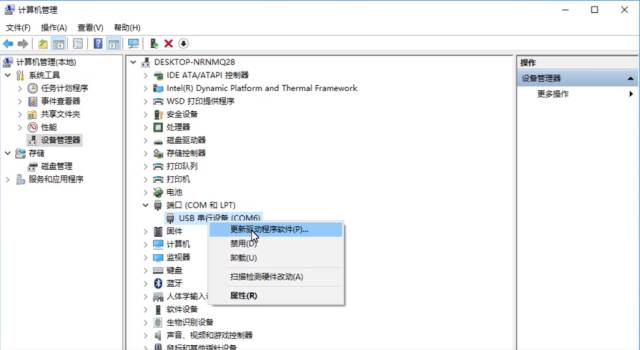
Return to the Mixly software, if you see the board model and port number in the software, it means the driver has been installed successfully.
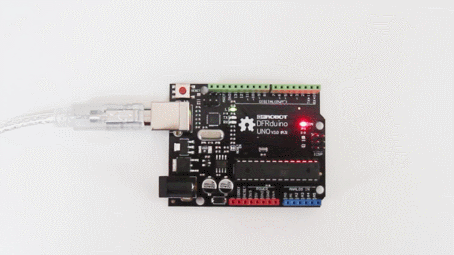
Step 3: Testing the Driver
How do we know if the driver has been installed correctly? Let’s upload a small program to test it. The test program download link:
Cloud Disk Link: http://pan.baidu.com/s/1gfIKYBp
Extraction Code: inz5
Double-click the Mixly icon on the desktop to open the software, connect the Arduino UNO board to the computer, and Mixly will automatically recognize the board model and port. If there is an error in recognition, you can manually select and change it.
Click on the “Open” tab in the lower left menu of the software, find the test program “Test Program – Onboard LED Blink.mix” in the software installation package. After confirming that the board model and port are correct, you can click “Upload” to write the program to the Arduino UNO board.

After waiting for the upload to complete, you can see the green LED on the Arduino UNO board start to blink regularly, which proves that we have correctly installed the Mixly software and the Arduino hardware driver!
Summary
The whole installation process is quite simple, isn’t it? Let’s review it together: first download the software installation package, unzip the file, then connect the Arduino UNO board to the computer, install the hardware driver, open the Mixly software, and upload the program. Hurry up and try it out to set up your own Arduino programming environment!
If you encounter any problems during the software installation process, please scan the QR code below to enter the Arduino course group for questions.

Course Communication:
If you want to participate in the course or have any questions about the course, you can join the QQ group “Arduino Course Communication”: 295814245
Scan the QR code on the left to join the QQ group.

Technology Classroom
Online Learning Platform for Technology Instructors
WeChat ID: sciclass

Click “Read the original” to register for the course.