
LCD Module
In the previous article, we learned what the Arduino library is and how to install it. Today, we will learn how to display specific content using the LCD module, while also practicing the use of the standard library.
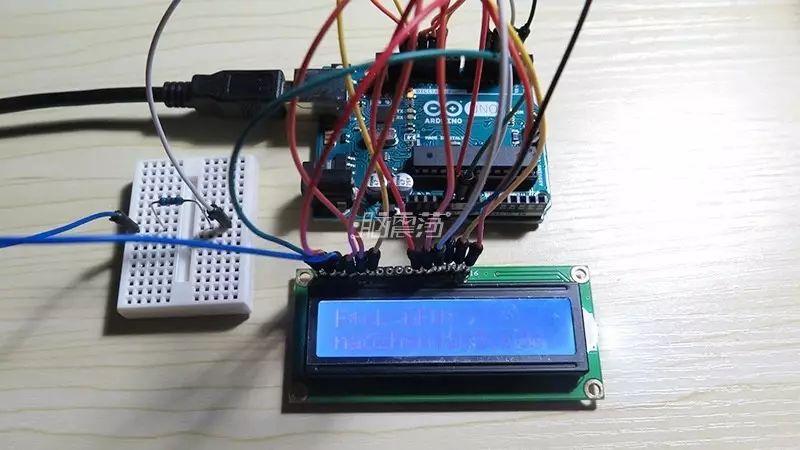
There are many types of LCD modules, typically represented by “rows x characters”, such as 2×16, 2×8, 4×20, etc. Most LCD modules consist of a backlight and a liquid crystal module, which are easy to drive using Arduino. There are many interface methods: 4-bit or 8-bit parallel, 3-wire, serial, I2C, and SPI. The price of the LCD module is inversely proportional to the complexity of the interface, meaning that the 4-bit or 8-bit parallel interfaces are the cheapest.
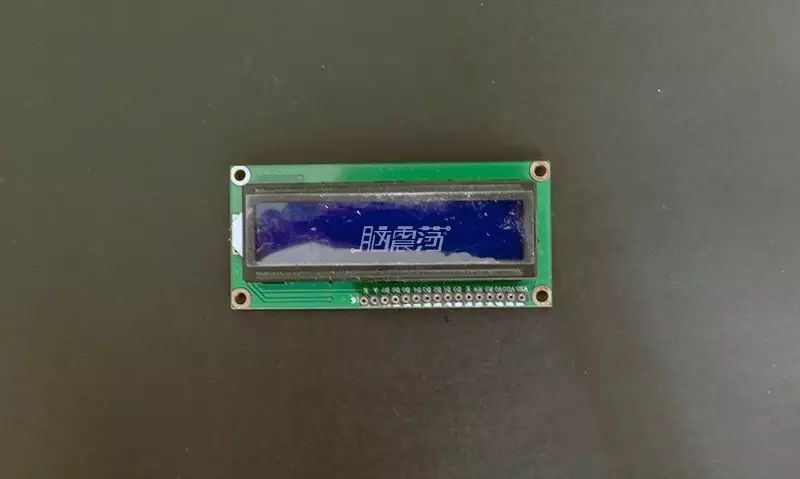
Most affordable ones on the market use the Hitachi HD44780 chip (or compatible) scheme. Visually, those with 16 pins on the board belong to this type of LCD, and the 16 pins can be in a single row or double rows. Today, we will use a domestic HJ1602A blue 2×16 dot matrix LCD, which uses a 4-bit parallel interface, displays content in 2 lines, each showing 16 characters, with each character sized at 5×8 dots.
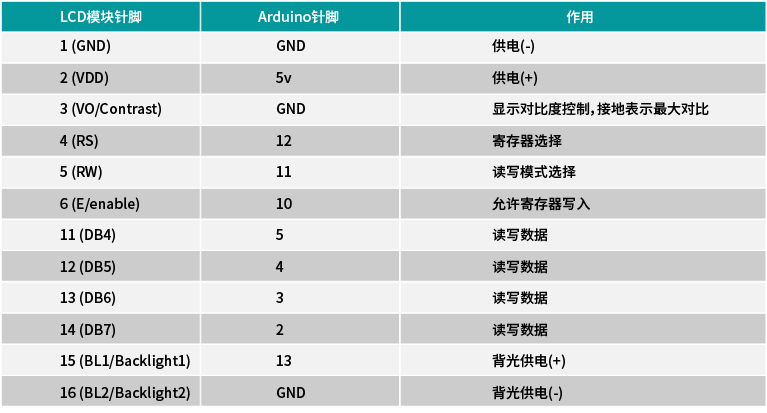
Below are the corresponding Arduino pins for the 16 pins and their functions.
Now let’s get hands-on practice.
Materials Needed
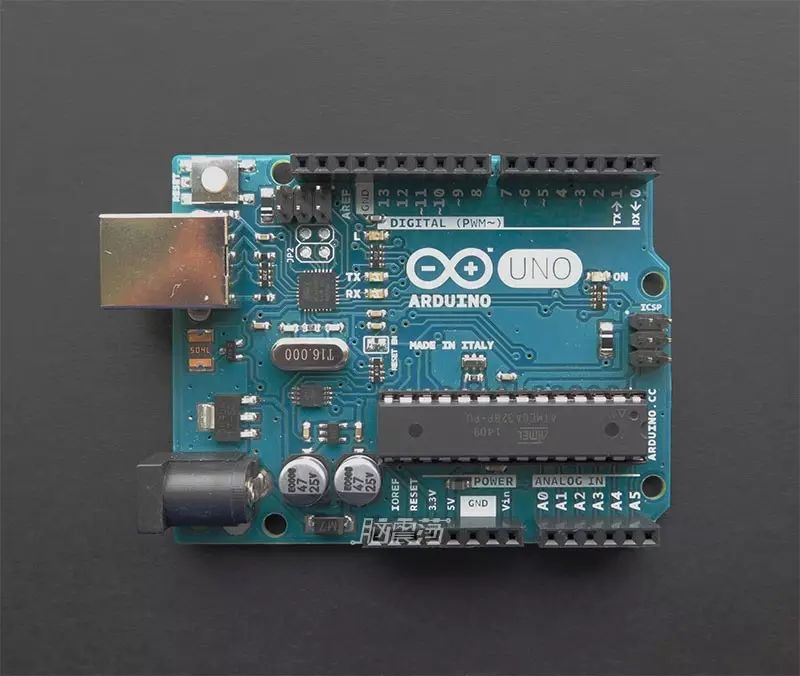
1 Arduino UNO
Of course, you can also use other versions of Arduino, such as Arduino Leonardo, Arduino Duemilanove.
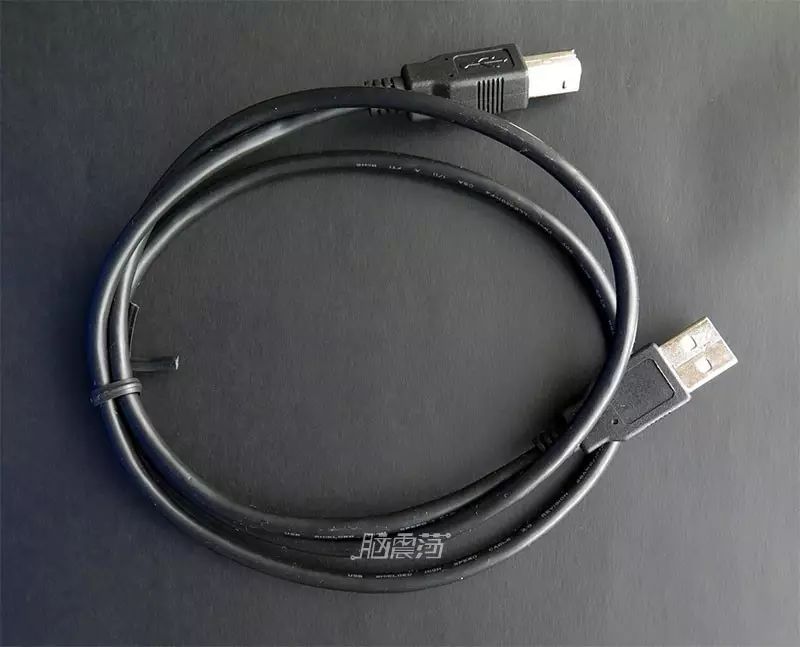
1 Arduino USB Cable
One end is Type A, and the other end is Type B USB cable, used to connect the Arduino to the computer.
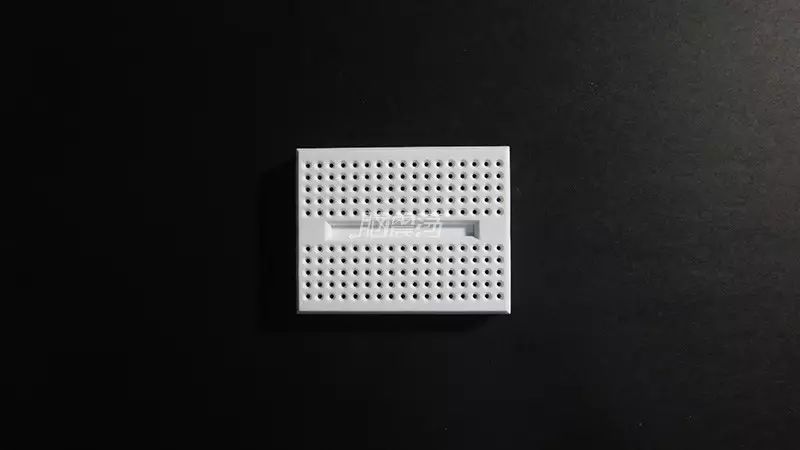
1 Mini Breadboard (optional)
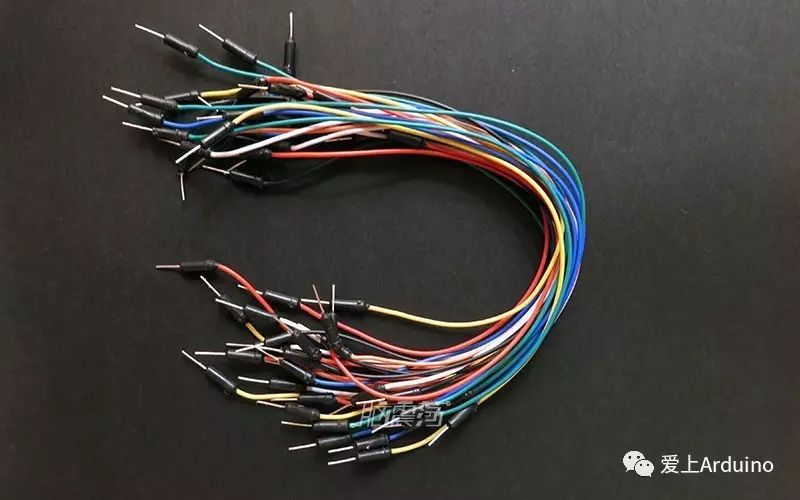
Several Jumper Wires
Several male-to-male jumper wires with pins on both ends.
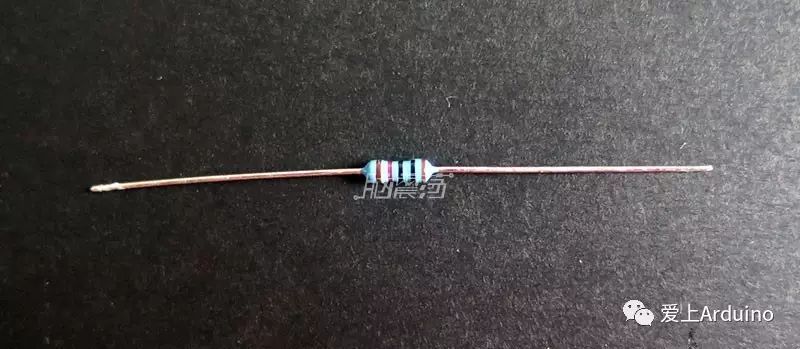
1 4.7KΩ Resistor
1 HJ1602A LCD Display
1 Mac/PC/Linux with Arduino IDE installed
If not installed, please refer to “Getting Started with Arduino: Installation and Familiarization with Arduino IDE” for installation.
Connecting the Circuit
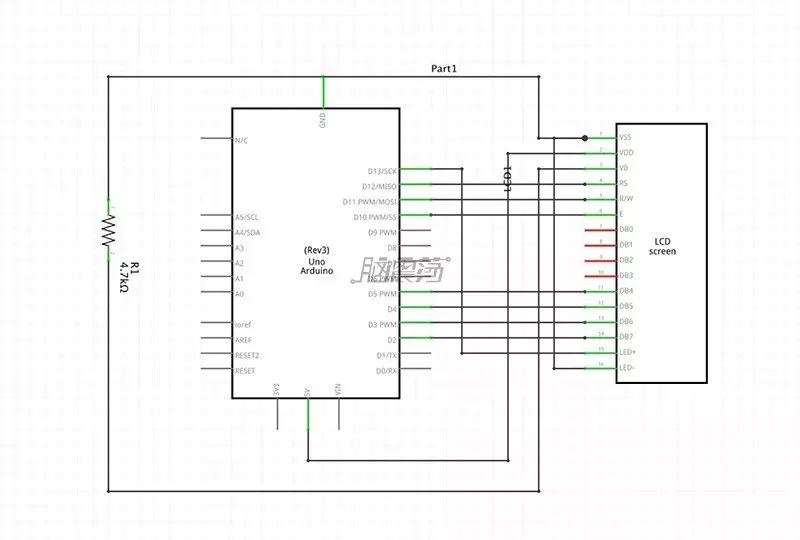
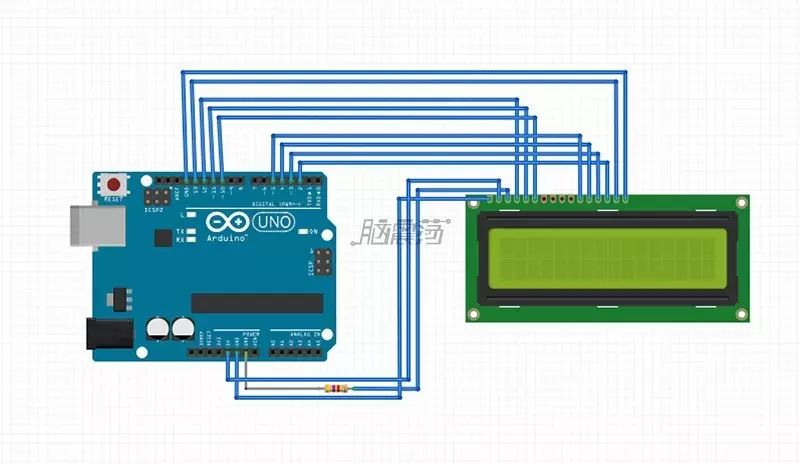
Connect the circuit according to the diagram.
Code
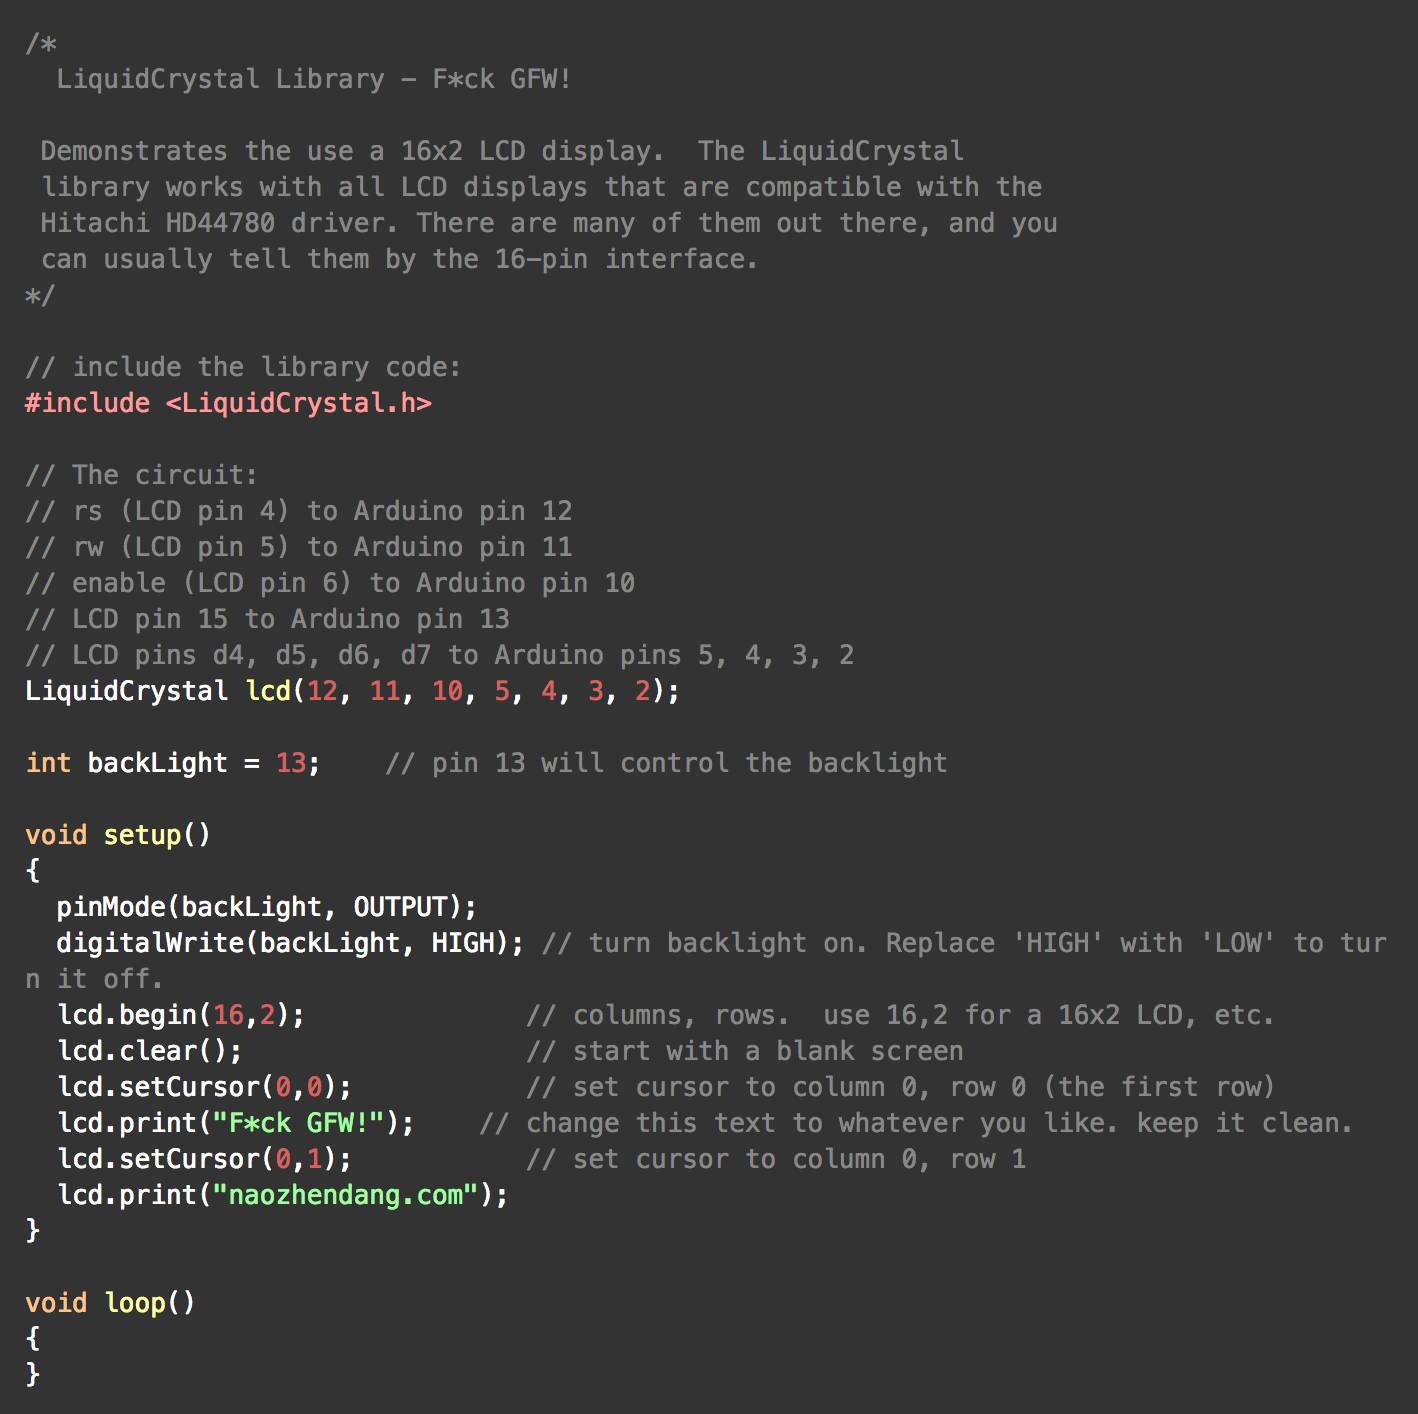
Here we need to use a library called LiquidCrystal, which is commonly used for 4-bit/8-bit parallel interface LCDs and encapsulates many commonly used LCD functions.
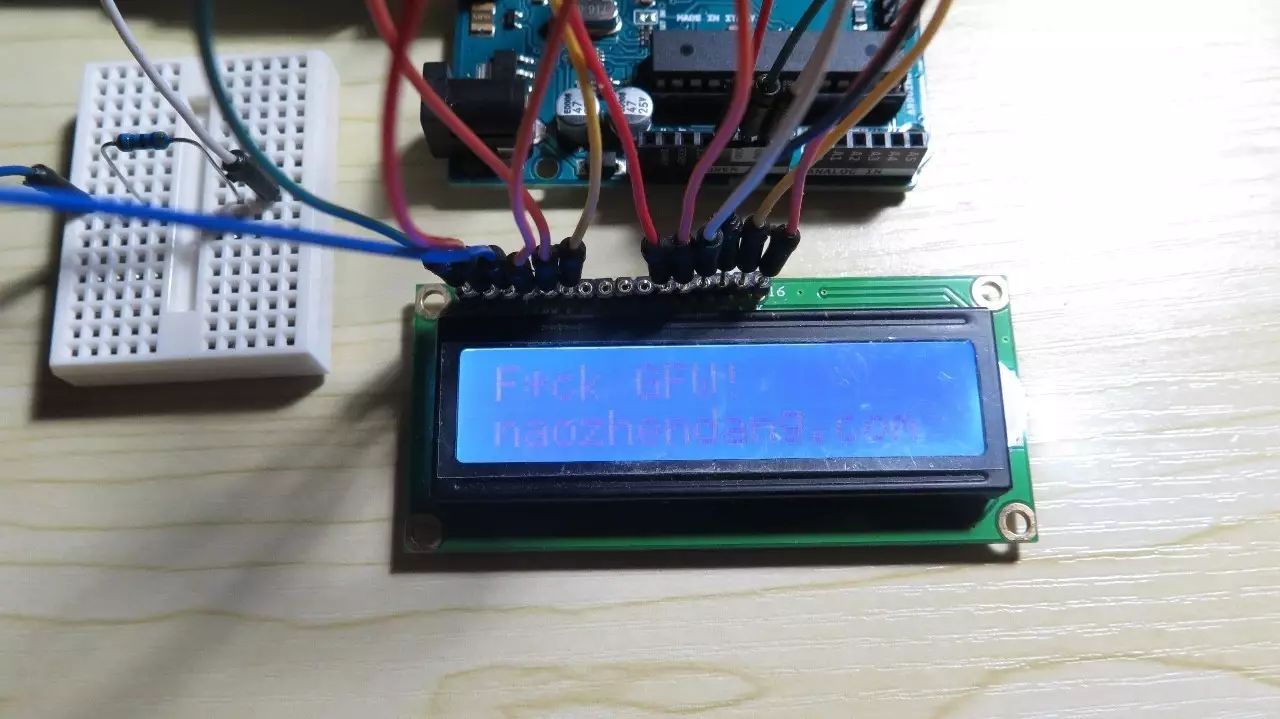
Upload the code, and if successful, you should see the LCD light up and display text. This experiment is also the most basic operation of the LCD; we will learn more complex operations later.
How to Obtain Arduino eBooks and Video Tutorials
Do you also want a copy of our Arduino eBook and various video tutorials included with our kit?
Scan the QR code below to follow us, then reply with “Benefits“


Click to read the original text and purchase the Arduino starter kit