Welcome to Chipboard Workshop, I’m the beloved Xiao Yueyue. Today, I bring you a creative DIY using LeezP710.
1. Preparations Before Operation
As we all know, LeezP710 can run the ARM64 Linux operating system, which opens up more possibilities for applications, such as children’s programming education. The tutorial below is designed for kids; today we’re going to play with Arduino using LeezP710.
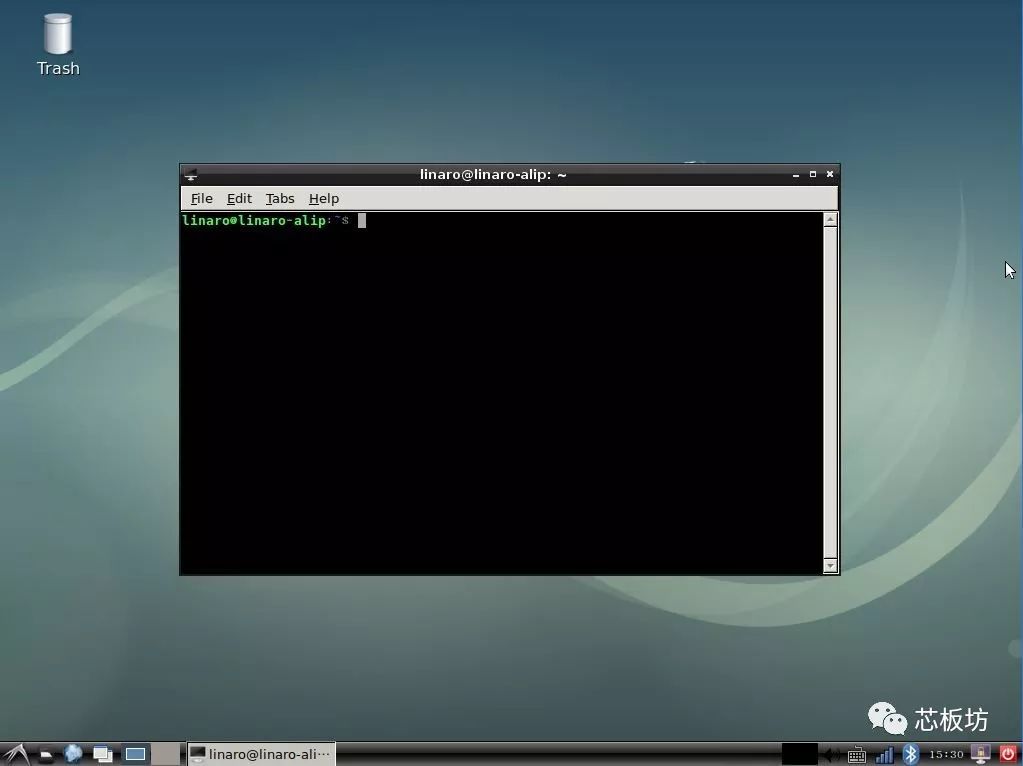
Considering that the dark SSH remote command window can severely affect children’s learning interest. First, reliable parents need to perform some basic operations before playing, such as installing a user-friendly and simple desktop environment and starting a VNC service, so that the graphical interface can be operated remotely. I am using a clean version of the XFCE desktop; the VNC service uses x11vnc, started with a regular account. You can mimic my environment.
2. Install Arduino IDE
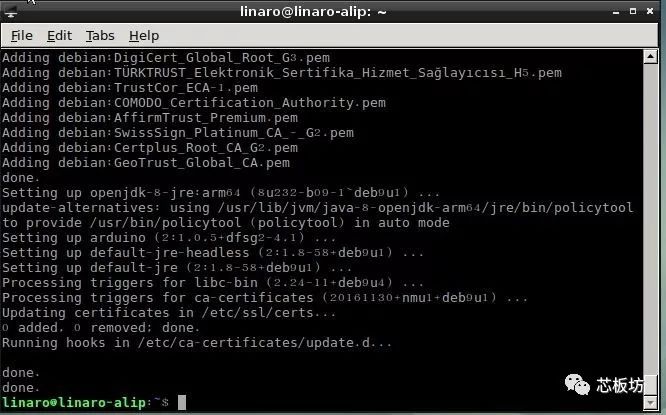
Next, of course, is to install Arduino, and the installation command is as follows. Note that you need to use sudo to gain administrator privileges during installation; this step still requires parents to operate.
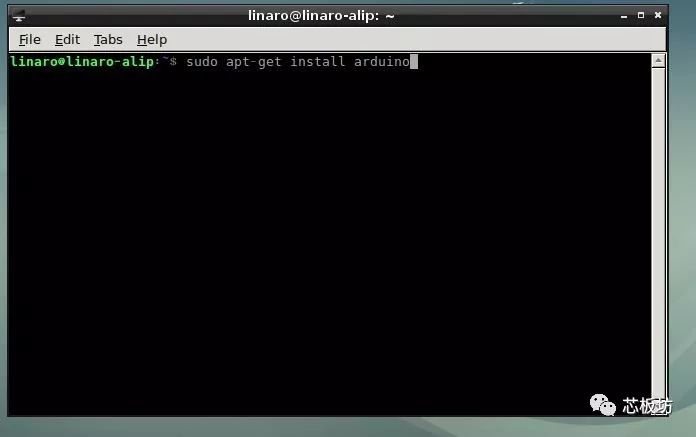
Be patient for a moment, as it requires downloading about 200MB of files due to the JDK environment. If the speed is fast, you should soon see the following installation success message.
3. Start Playing with Arduino
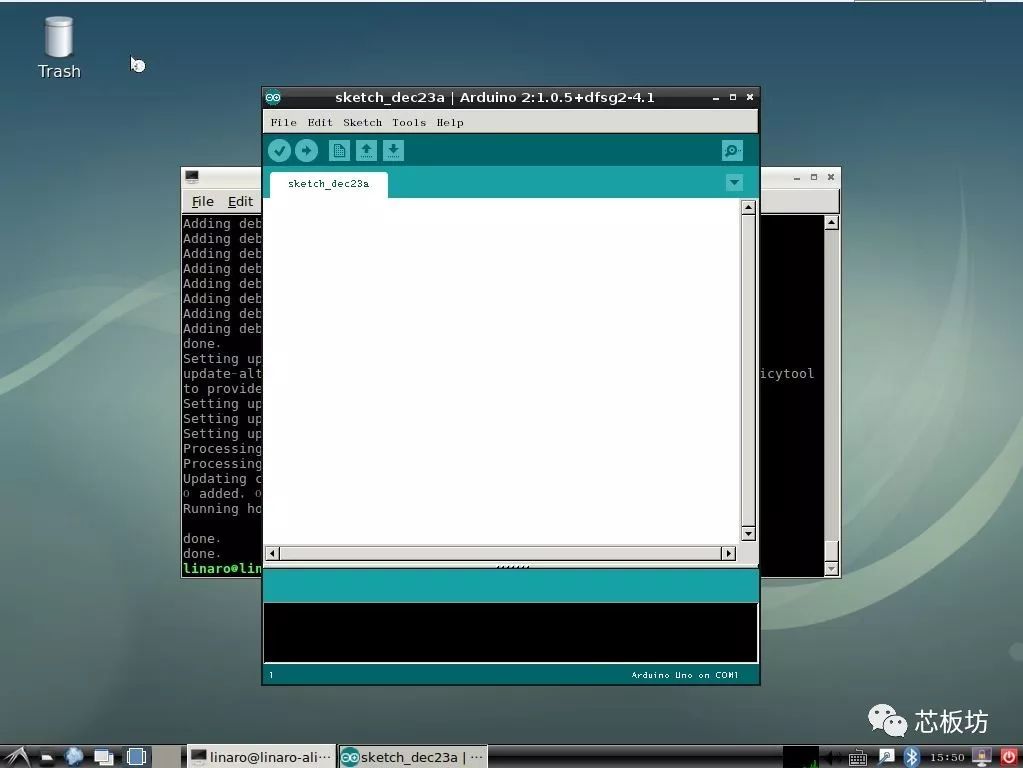
Okay, next, it can be handed over to the kids to play. The following are graphical desktop operations under regular user permissions. Click the “Start” button in the lower left corner, find Arduino in the program list, and open it:
Connect the Arduino development board to the LeezP710, select the Board according to the actual type of Arduino board.
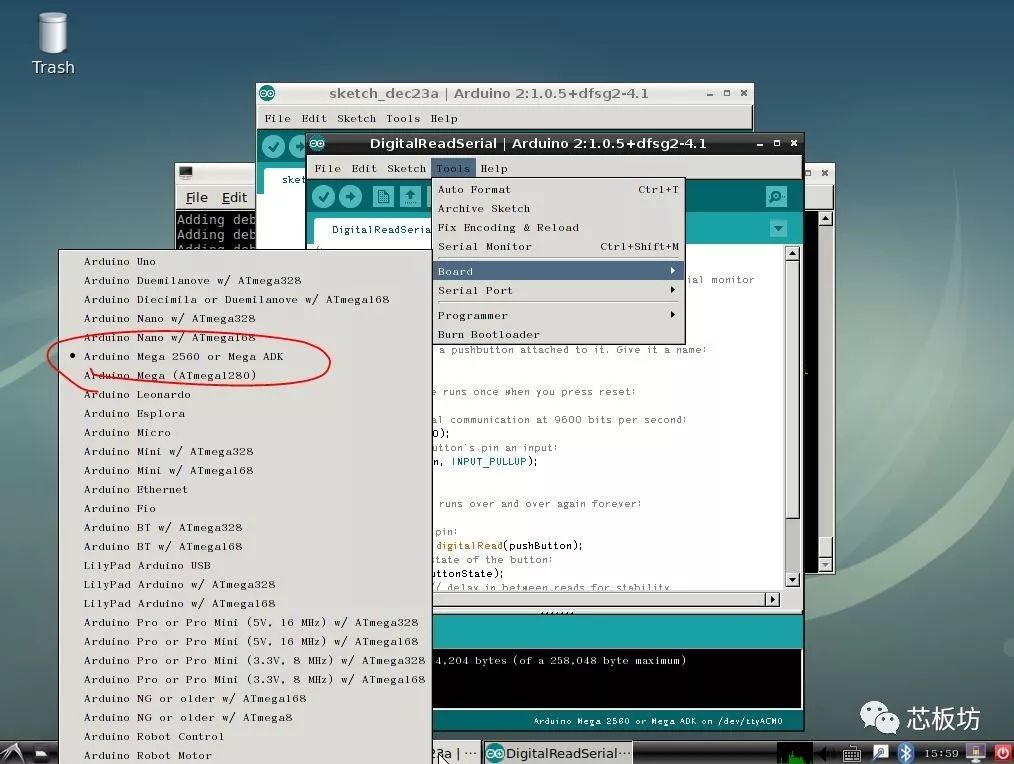
Select the COM port; the COM port of the Arduino development board usually starts with ttyACM (some are ttyUSB).
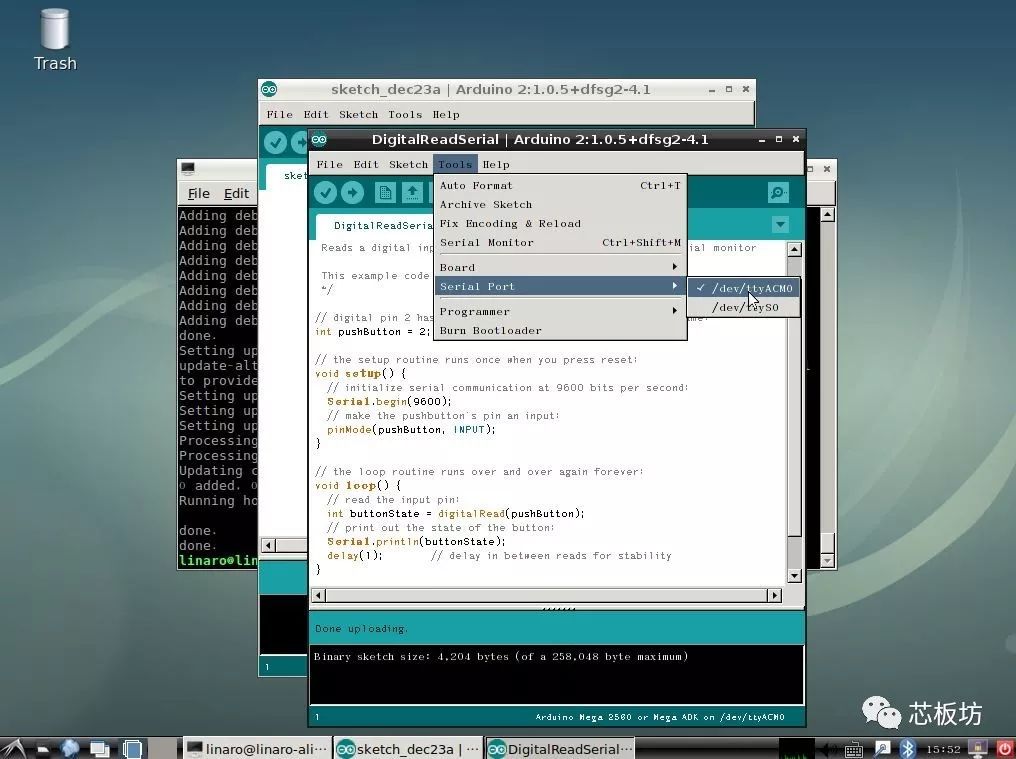
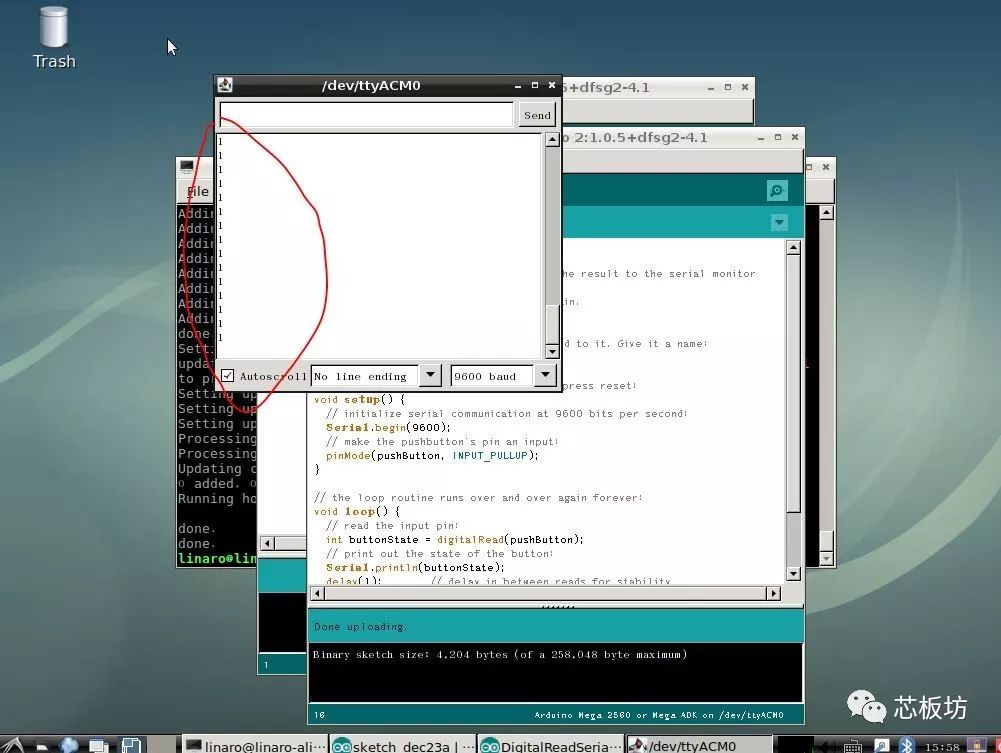
We can randomly open an example code, such as the button example. First, click compile and upload, then open the Arduino serial monitor to see a bunch of 0s.

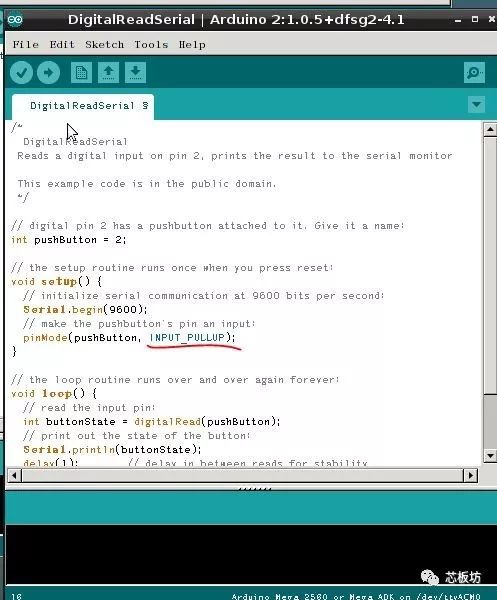
In the default example of the button program, pin 2 is set as a floating input mode, default low level, output 0. At this time, if pin 2 is connected to 5V, the output will change to 1. We can also modify it as follows, setting pin 2 as a pull-up input mode, default high level. At this time, due to the effect of the pull-up resistor, the pin in a floating state will theoretically output 1; only when pin 2 is connected to GND will it output 0.
After recompiling and uploading, open the serial monitor, and you can observe that the output is indeed 1.
4. A Simple Programming Example
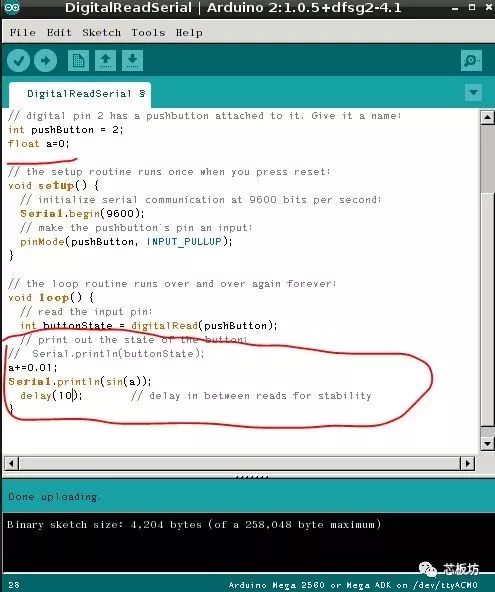
Next, we can also play with some fancy programming. For example, output a y=sin(x) sine function.
Based on the previous example, I made the following modifications: 1. Create a new float type variable a; 2. Comment out the original serial output; 3. In the loop, increase a by 0.01 each time; 4. Calculate the sine function and print the result to the serial.
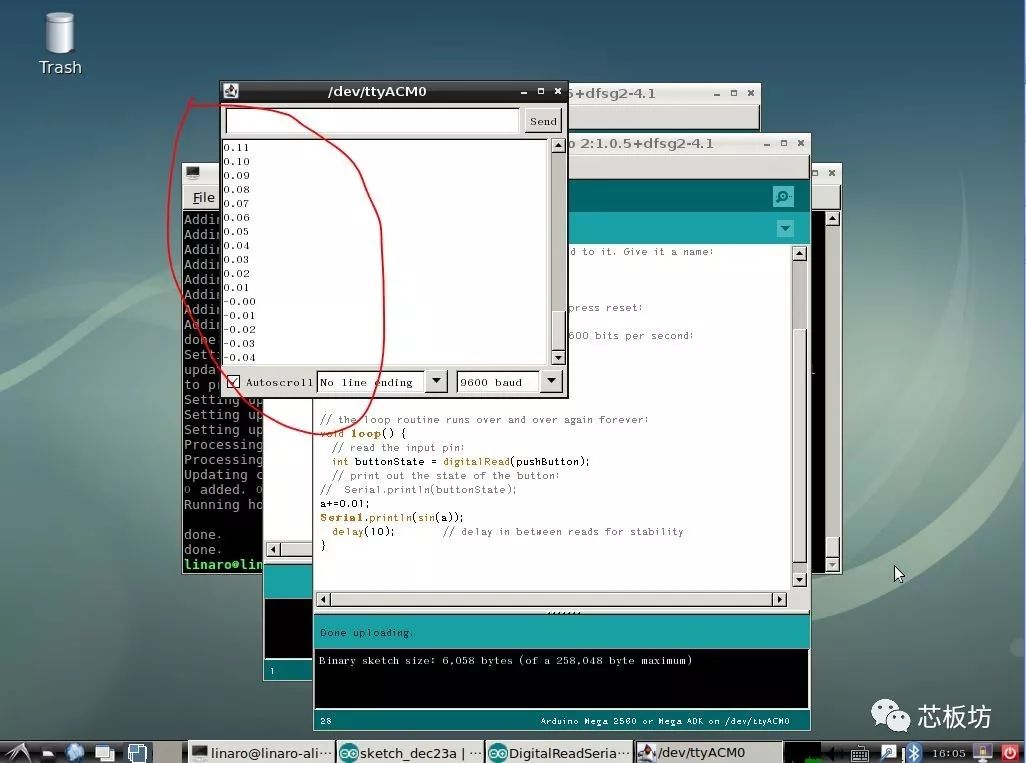
After compiling and uploading, open the serial monitor, and you can observe a series of function solutions. If these solutions are plotted as a curve, it will show a sine wave image.
5. Outlook
This example today is not limited to children’s programming education. By connecting the P710 to Arduino, it also indirectly gives the Arduino development board the ability to remotely update programs. This makes it possible to deploy projects in environments with network coverage but at a distance. When it is necessary to update the development board’s program, there is no need to go on-site; you can simply remotely operate the P710 to program the board.

Hehe,P710 example is introduced.
Do you like it?
Copy the following text to Taobao to pre-order.
[Lenovo Leez P710 Development Board rk3399 Android 9.0 Rockchip Linux Dual Camera 4K] https://m.tb.cn/h.eAPiJiI?sm=5817a6 Click the link↑↓, and choose to browse to open it;