This article introduces the CoAP protocol in the ThingsBoard platform, primarily due to the increasing application of NB-IoT in the IoT field.
First, let’s briefly understand that the CoAP protocol (Constrained Application Protocol) is designed by the IETF specifically for constrained application environments. Functionally, it is similar to HTTP, but compared to HTTP, it is more lightweight and efficient, making it suitable for NB-IoT terminals. The ThingsBoard platform has encapsulated the CoAP protocol service, allowing us to easily implement publishing and subscribing using the CoAP protocol on this platform.
Understanding protocols can generally be abstract, but simply put, just know that it enables wireless communication and allows for bidirectional communication between the device and the server (the device can upload data, and the server can send commands to control the device), and that is sufficient. The following articles will combine actual NB-IoT hardware devices with sensors for practical operations, and then reviewing the theory will become clearer.
Preparation:
1. Register as a user on the official ThingsBoard demo site at http://demo.thingsboard.io/signup; Note: Registration requires VPN due to Google bot verification.
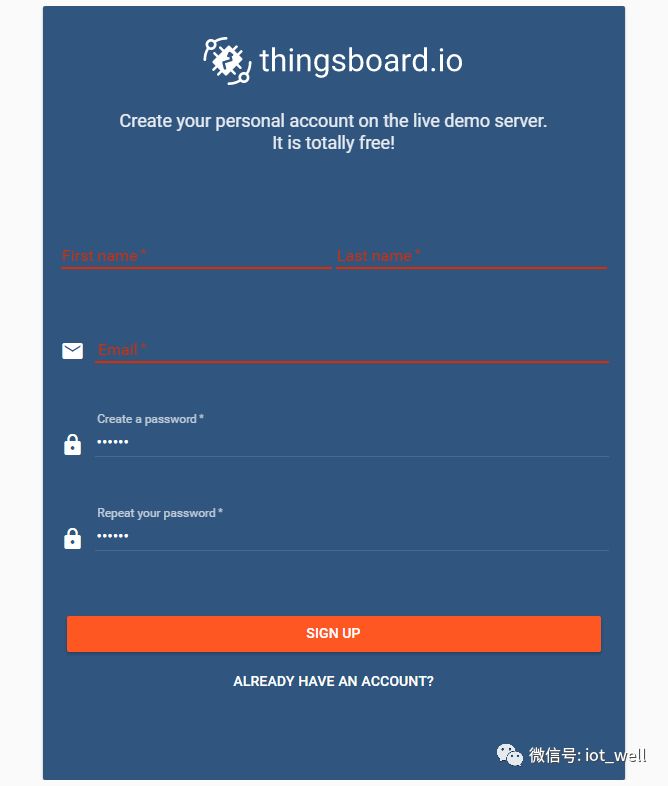
2. After registration, complete email verification to enter your management platform;
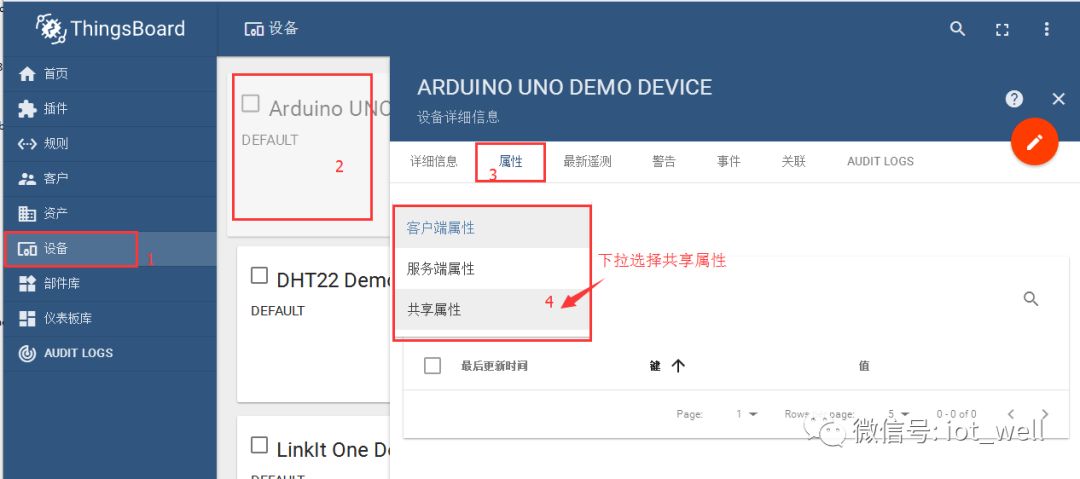
3. Click on “Devices” in the left menu, and many examples will appear on the right. We directly click on the first Arduino UNO Demo Device and select shared attributes from the dropdown on the attributes tab;
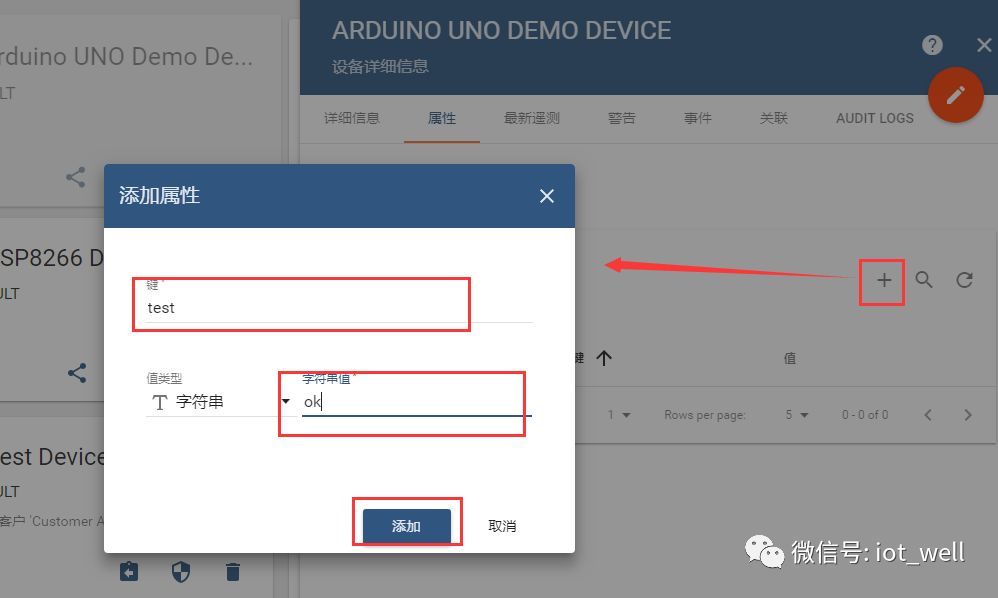
4. Add a shared attribute
5. Download the CoAP client from https://github.com/lyly0906/coap.git
After downloading, open the coap-attribute-subscribe.sh file and modify the access-token value.
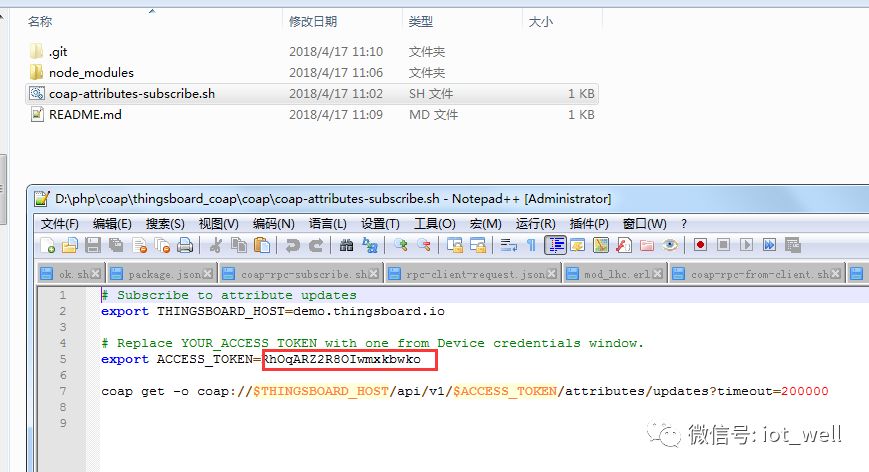
This token can be copied from the device in ThingsBoard.
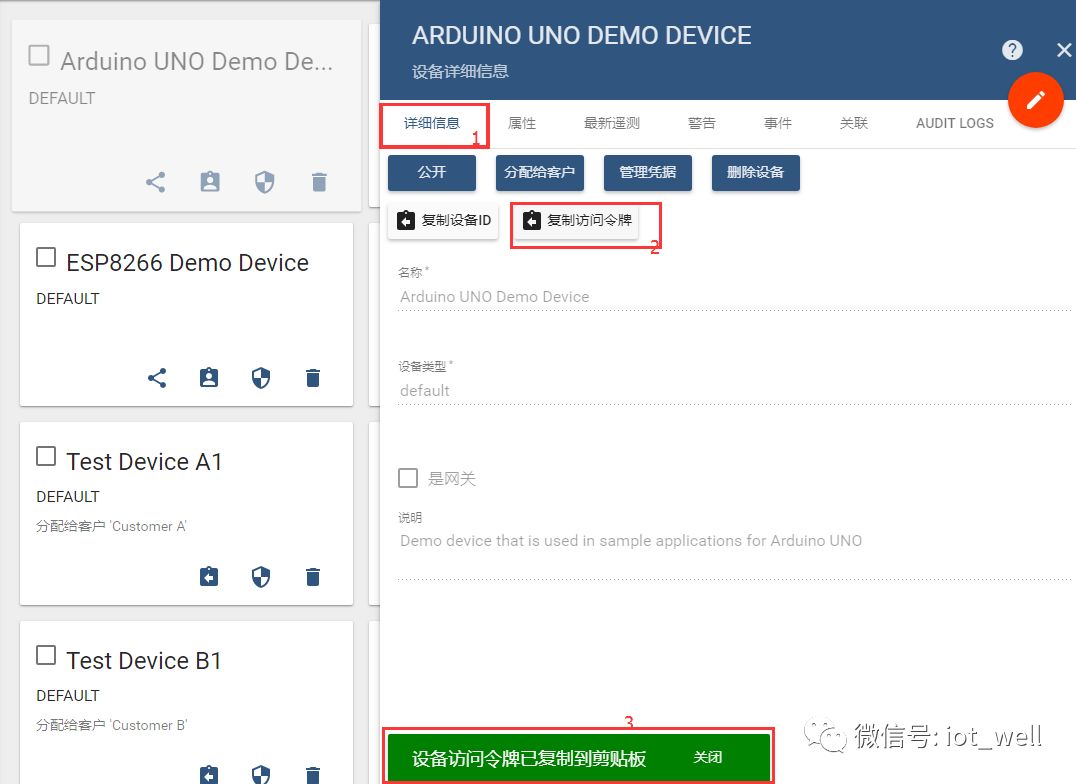
6. Run coap-attribute-subscribe.sh in the command line, then manually modify the value of the shared attribute added in step 4, and observe the results in the command line. Note: If you wait about 30 seconds after modifying the server’s shared attribute, you may find that no data is received. This is because in a non-fixed IP network environment, the carrier may periodically change the outgoing port. You just need to rerun coap-attribute-subscribe.sh or run the client on a machine with a fixed IP to ensure continuous subscription effectiveness;
Conclusion:
By subscribing to the service, the CoAP client can receive modifications, additions, or deletions of shared attributes, thus laying the foundation for establishing a bidirectional link. Later, we will use CoAP to implement the actual data upload and reverse control of sensors.