Scan to FollowLearn Embedded Together, learn and grow together

Introduction
PlatformIO is a cross-platform embedded development toolchain that supports over 50 development platforms and more than 2000 development boards.
Official resource link (copy to browser to open):
https://docs.platformio.org/en/latest/what-is-platformio.html
It integrates features such as a build system, library management, debugging tools, and continuous integration, providing embedded developers with an efficient one-stop solution.
Main Features
- Cross-Platform Support: Windows, macOS, Linux
- Multi-Framework Compatibility: Arduino, ESP-IDF, mbed, CMSIS, FreeRTOS, etc.
- Intelligent Code Completion: Clang-based smart suggestions
- Rich Library Ecosystem: Over 10,000 open-source libraries
- Powerful Debugging Features: Supports various debugging probes
- Continuous Integration: Built-in support for Travis CI and CircleCI
Installation and Configuration
1. Installation Methods
Method 1: Install as a VSCode Extension (Recommended)
- Install Visual Studio Code
- Open the extension marketplace and search for “PlatformIO IDE”
- Click to install
Method 2: Command Line Installation (For Advanced Users)
# Install using Python pip
python3 -c "$(curl -fsSL https://raw.githubusercontent.com/platformio/platformio/master/scripts/get-platformio.py)"
2. Environment Configuration
After installation, PlatformIO will automatically download the necessary toolchain. The first startup may take some time as it will:
- Download core tools
- Install the default platform
- Set up the development environment
Project Structure
A typical PlatformIO project structure is as follows:
my_project/
├── include/          # Header files directory
├── lib/             # Local libraries directory
├── src/             # Source code directory
│   └── main.cpp     # Main program file
├── test/            # Test code directory
├── platformio.ini   # Project configuration file
└── .pio/            # PlatformIO generated files (automatically created)
Detailed Explanation of platformio.ini Configuration File
<span>platformio.ini</span> is the core configuration file for PlatformIO projects, example:
[env:uno]
platform = atmelavr
board = uno
framework = arduino
monitor_speed = 9600
lib_deps =
    adafruit/Adafruit NeoPixel@^1.7.0
    bblanchon/ArduinoJson@^6.18.5
Common configuration options:
<span>platform</span>: Hardware platform (e.g., atmelavr, espressif32, etc.)<span>board</span>: Specific development board model<span>framework</span>: Framework used (arduino, espidf, etc.)<span>monitor_speed</span>: Serial monitor baud rate<span>lib_deps</span>: Libraries that the project depends on<span>build_flags</span>: Compilation options<span>upload_port</span>: Upload port<span>debug_tool</span>: Debug tool configuration
Core Functionality Usage
1. Create a New Project
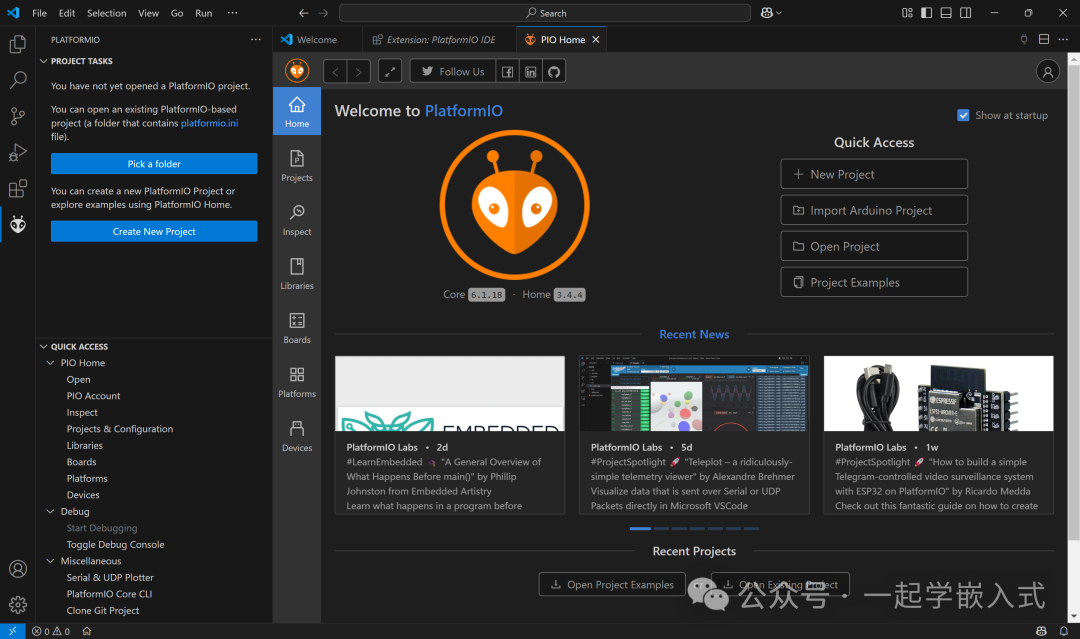
- Click “New Project” on the PlatformIO homepage
- Enter the project name
- Select the development board and framework
- Select the project location
- Click “Finish”
2. Build the Project
- Graphical Interface: Click the “✓” icon in the bottom status bar
- Command Line:
<span>pio run</span>
The build process will display detailed compilation information, including:
- Dependency resolution
- Compiling source files
- Linking object files
- Generating final firmware
3. Upload the Program
- Graphical Interface: Click the “→” icon
- Command Line:
<span>pio run --target upload</span>
Before uploading, ensure:
- The development board is correctly connected
- The correct upload port is configured in platformio.ini
4. Serial Monitor
- Graphical Interface: Click the “plug” icon
- Command Line:
<span>pio device monitor</span>
Common serial monitor commands:
<span>Ctrl+T Ctrl+H</span>– Show help<span>Ctrl+T Ctrl+X</span>– Reset terminal<span>Ctrl+T Ctrl+Q</span>– Exit
5. Library Management
PlatformIO provides powerful library management features:
Search for Libraries
pio lib search "sensor"
Install Libraries
pio lib install 12  # Install by ID
pio lib install "Adafruit NeoPixel"  # Install by name
Update Libraries
pio lib update
Library Version Control
You can specify library versions in platformio.ini:
lib_deps =
    adafruit/Adafruit NeoPixel@^1.7.0
    # Or specify exact version
    bblanchon/[email protected]
Version specifiers:
<span>^1.2.3</span>– Compatible version (allows minor and patch updates)<span>~1.2.3</span>– Approximate version (only allows patch updates)<span>1.2.3</span>– Exact version
6. Multi-Environment Configuration
PlatformIO supports configuring multiple environments within a single project:
[env:uno]
platform = atmelavr
board = uno
framework = arduino

[env:nodemcuv2]
platform = espressif8266
board = nodemcuv2
framework = arduino
monitor_speed = 115200
Switching environments:
- Select different environments in the bottom status bar
- Specify environment in command line:
<span>pio run -e nodemcuv2</span>
Advanced Features
1. Custom Build Options
[env:custom_build]
platform = espressif32
board = esp32dev
framework = arduino
build_flags =
    -D DEBUG_LEVEL=2
    -Os
    -Wall
2. Debug Configuration
- Install debugging probe drivers (e.g., J-Link, ST-Link)
- Configure platformio.ini:
[env:debug]
platform = ststm32
board = nucleo_f401re
framework = mbed
debug_tool = stlink
- Create
<span>launch.json</span>debug configuration - Click the debug button to start debugging
3. Unit Testing
PlatformIO integrates a unit testing framework:
- Create test code in the
<span>test</span>directory - Run tests:
pio test -e uno
4. Remote Development
Use PlatformIO Remote for remote development:
- Install PlatformIO Remote Agent
- Connect local and remote devices
- Development experience is consistent with local
5. Continuous Integration
PlatformIO has built-in CI support, example <span>.travis.yml</span><span>:</span>
language: python
python:
  - "3.7"

install:
  - pip install -U platformio

script:
  - platformio run
Comparison of PlatformIO and Arduino IDE
| Feature | PlatformIO | Arduino IDE |
|---|---|---|
| Cross-Platform Support | Excellent (Win/macOS/Linux) | Good |
| Supported Development Boards | 2000+ | Official boards + limited third-party |
| Library Management | Professional (version control, dependency resolution) | Basic |
| Build System | Based on SCons, flexible and configurable | Fixed, hard to customize |
| Debug Support | Powerful (GDB integration) | Limited |
| Code Editing Experience | Professional (based on VSCode) | Basic |
| Learning Curve | Steeper | Gentle |
| Suitable Scenarios | Professional development, complex projects | Beginners, simple prototyping |
Troubleshooting Common Issues
1. Upload Failed
- Check the development board connection
- Confirm the correct upload port
- Try manually resetting the development board
- Check driver installation
2. Library Conflicts
- Use
<span>pio lib list</span>to view installed libraries - Try updating conflicting libraries to the latest version
- Specify exact versions in platformio.ini
3. Build Errors
- Check the specific files and line numbers in the error messages
- Confirm all dependency libraries are correctly installed
- Clean the project and rebuild:
<span>pio run -t clean</span>
4. No Output from Serial Monitor
- Confirm the baud rate settings are correct
- Check hardware connections
- Try different serial terminal programs
Best Practices
- Project Organization:
- Reasonably divide header files and source files
- Use modular design
- Encapsulate common functions as local libraries
- Ignore
<span>.pio</span>and<span>.vscode</span>directories - Commit platformio.ini and library dependencies
- Use appropriate compilation optimization options
- Manage memory usage effectively
- Enable necessary compiler warnings
- Add comments in platformio.ini to explain configurations
- Maintain README to document project features and build instructions
Conclusion
PlatformIO is a powerful tool for modern embedded development, significantly improving development efficiency by integrating various toolchains and simplifying the development process. Although the initial learning curve is steeper than that of the Arduino IDE, its professional features and flexibility make it an ideal choice for complex embedded projects.
Through this guide, you should have mastered the core functionalities and usage of PlatformIO. As you gain more experience, you will be able to fully leverage the powerful capabilities of PlatformIO to develop more professional and efficient embedded applications.

Follow 【Learn Embedded Together】 to become better together.
If you find this article helpful, click “Share”, “Like”, or “Recommend”!