Creating a Cortex M7 Filelist
When we obtain the code package from the vendor, we first copy all the code to the working path. Remember to copy, not cut, to maintain a source. This is to ensure that after we finish, we have a reference for any modified code, fostering a habit of leaving traces in our work.
The contents of the code package are shown in the screenshot below:
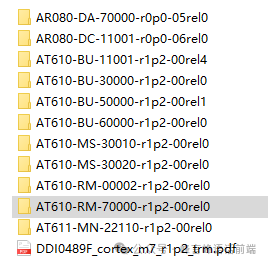
The main code for Cortex M7 is located in 50000, with several files in 70000, and the documents primarily used are in 60000.
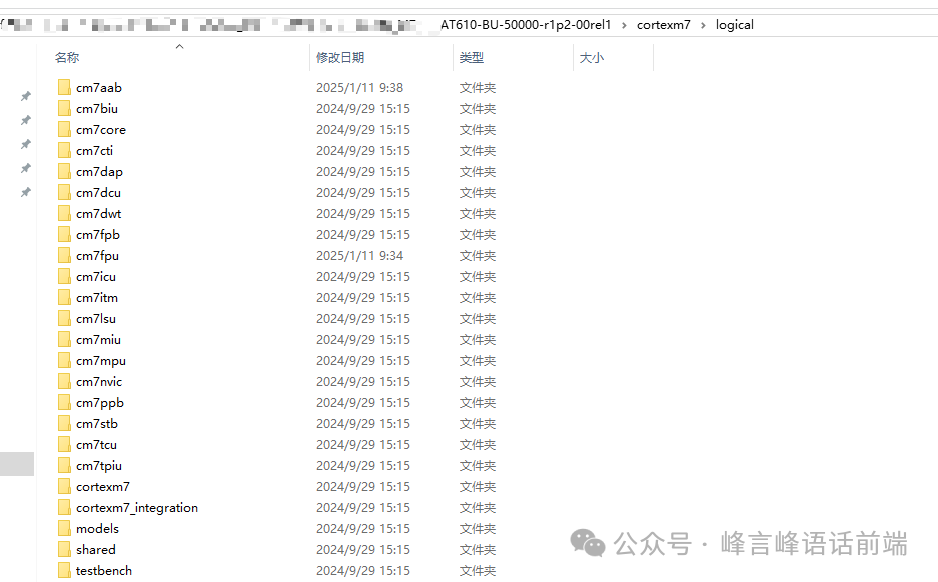
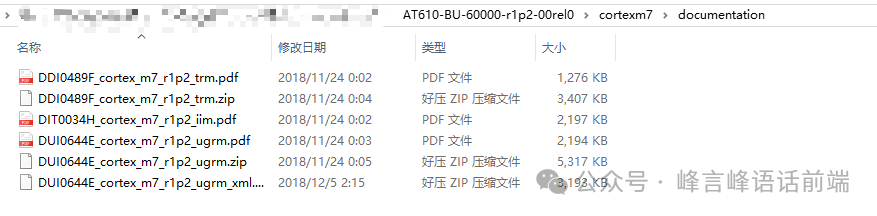
Transfer the package to the virtual machine via FTP, and change directory to the code path.

Use the find command to write all .v files into cortexm7_filelist.f.

Open cortexm7_filelist.f and organize this file as follows:
1. Delete cm7aab/verilog; the code in this file converts AXI4 to AHB-Lite. The M7 IIM document describes two architectures: one where the CPU connects to a NIC bridge, and another where the CPU connects to AXI2AHB-Lite, which then connects to an AHB-Lite bridge. Both architectures will be implemented later.

2. Delete testbench/; this file is provided by the official testing team and is not needed during integration, mainly for validation purposes.
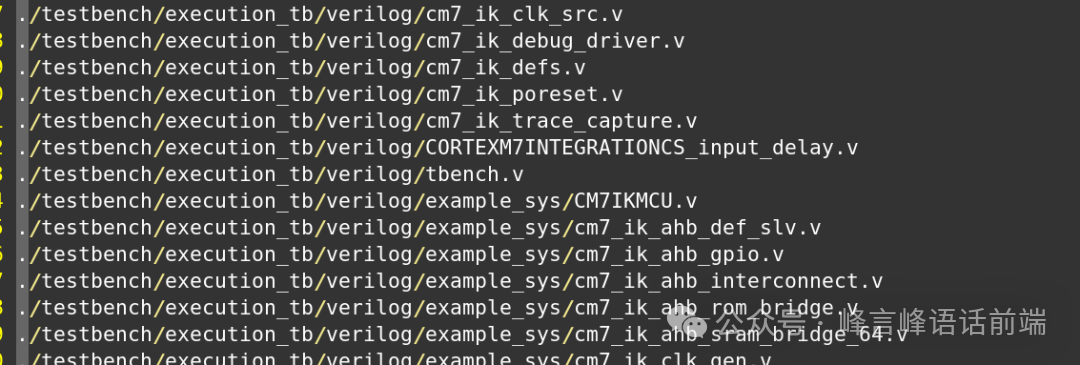
3. Delete _params.v, _decl.v, _defs.v, _types.v; these are macro definitions and parameter declarations used in the modules, which we will add using +incdir+.
4. Delete the following file, which will also be added to the filelist using +incdir+; this is the M7 configuration file, and we will explain what each configuration does later.

5. Delete the two files below.


6. Finally, add all header files.
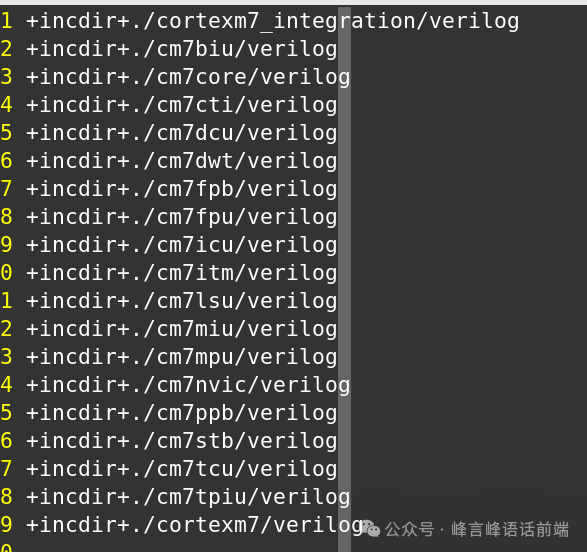
Friends with code can set up a M7 filelist following the steps above, load Verdi, and check with VCS.
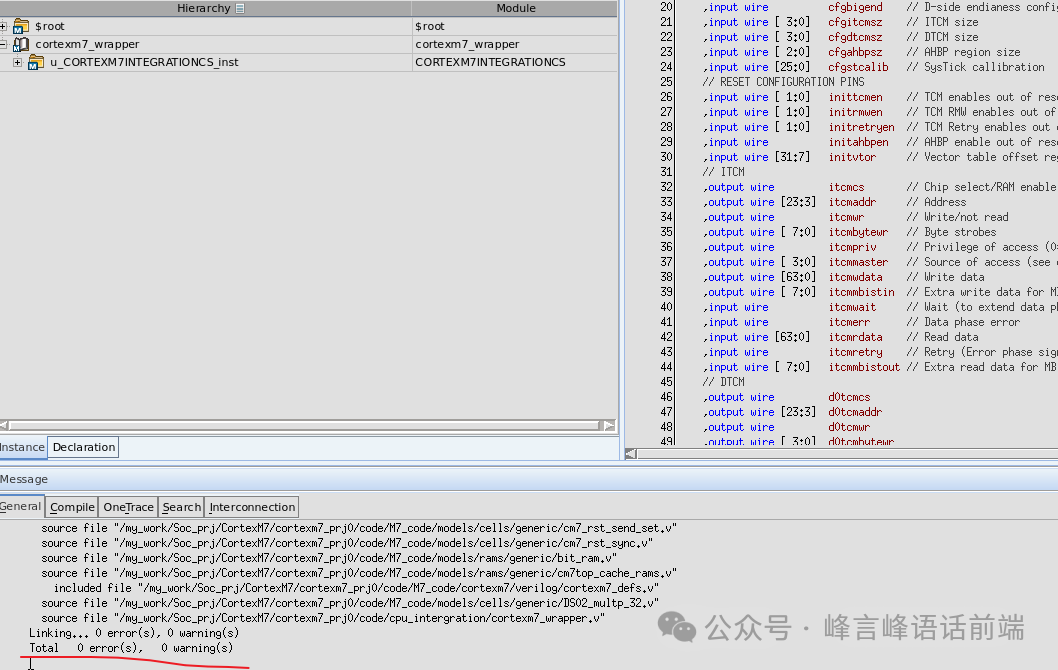

Later, I will discuss how I integrated it and how I tested the modules I integrated as a developer.