1. Background
The project I am maintaining runs on Windows and uses OpenCV version 4.5.2.
My local development environment is on Mac and uses the newer OpenCV version 4.8.1. To keep consistency with my local development environment, I plan to upgrade OpenCV used in the project. Since the project also utilizes some features from extension modules, I need to compile it myself.
This article simply records the pitfalls I encountered during the compilation process to avoid making the same mistakes in the future or to help those in need.
2. Required Software
CMake version 3.13 or higher https://cmake.org/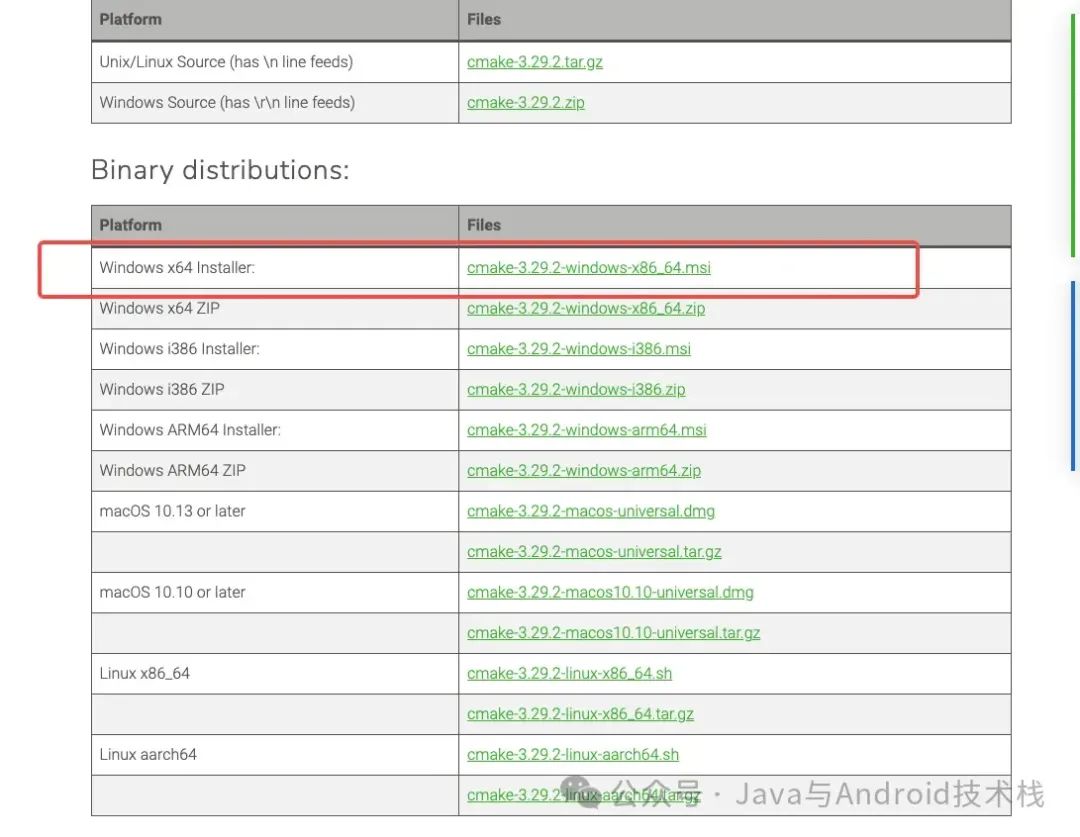
Visual Studio 2022 Community Edition https://visualstudio.microsoft.com/zh-hans/vs/
OpenCV 4.8.1 source package https://github.com/opencv/opencv/releases/tag/4.8.1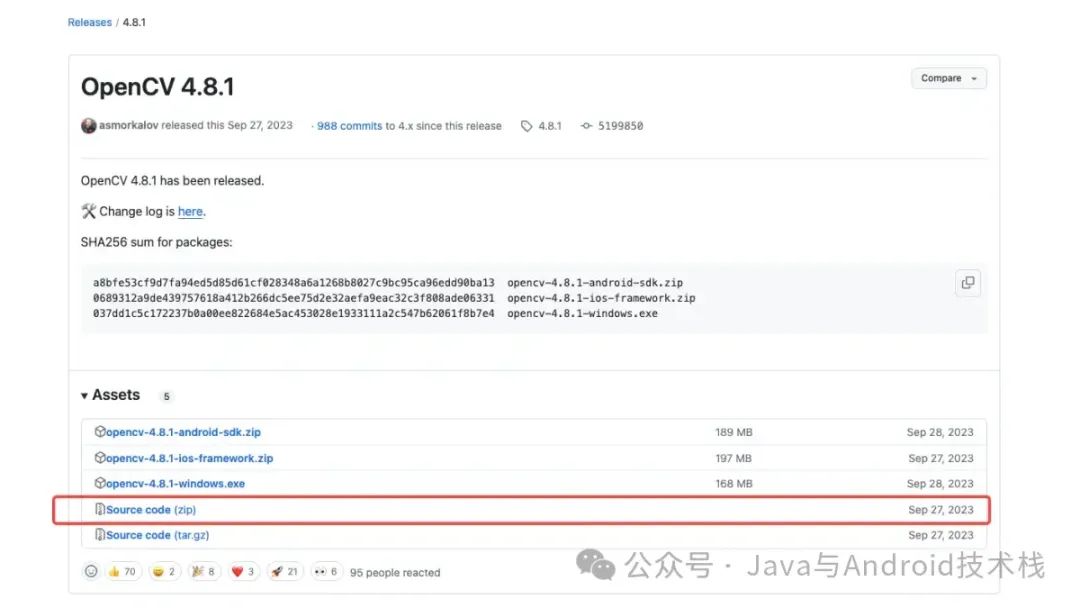
OpenCV 4.8.1 extension module source package https://github.com/opencv/opencv_contrib/releases/tag/4.8.1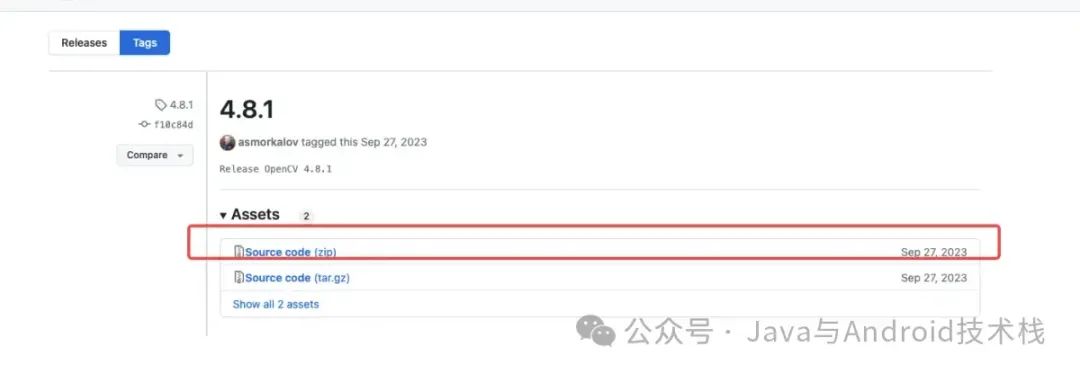
3. Compilation
3.1 Using CMake
3.1.1 Preparation
Unzip the OpenCV 4.8.1 source package and the extension module source package to a specific location 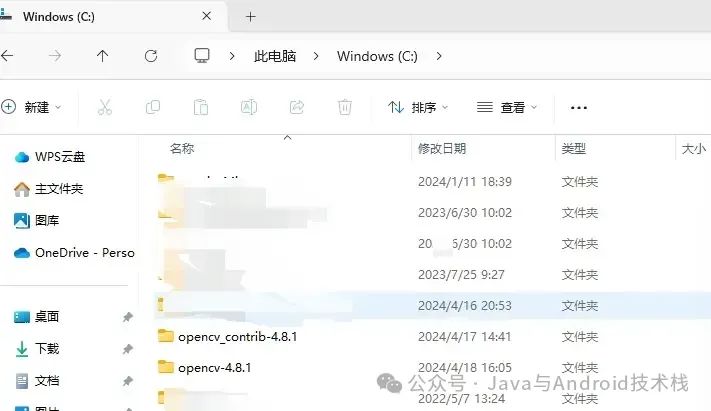
Open cmake-gui and set the location of the OpenCV 4.8.1 source and the output binary file location 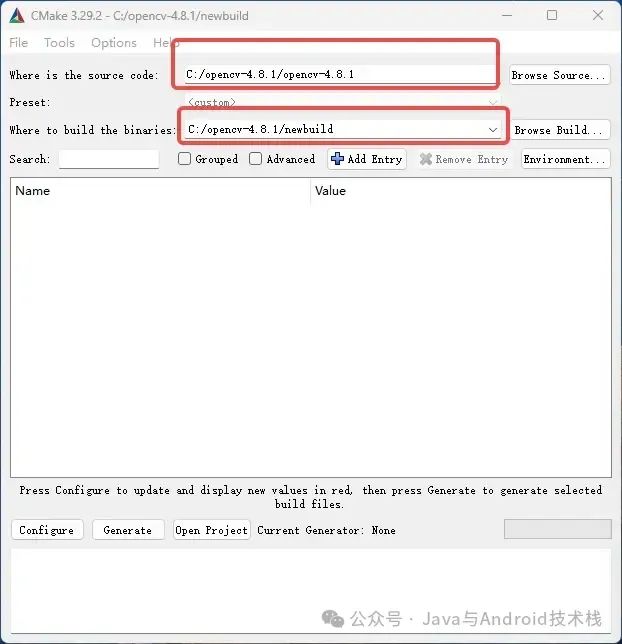
3.1.2 Configure
Click “Configure”; a pop-up will indicate that the build directory has not been created and ask if you want to create it. 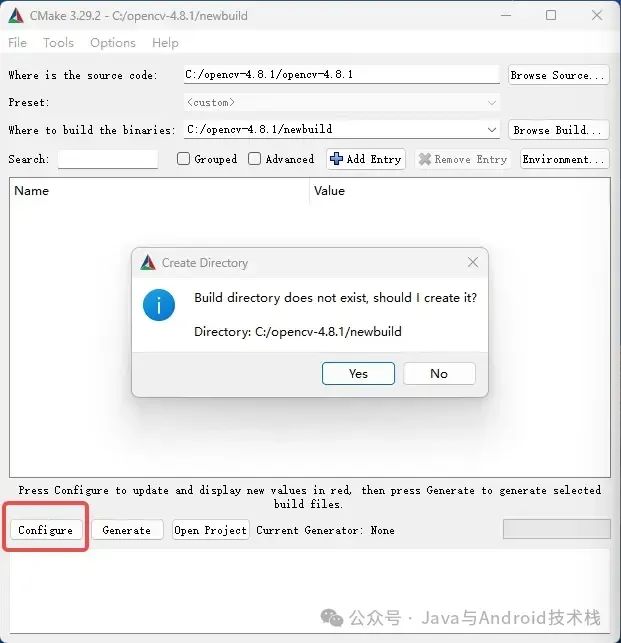
After clicking “Yes”, CMake will prompt you to choose which tool to use to generate this project. We will use Visual Studio 2022. 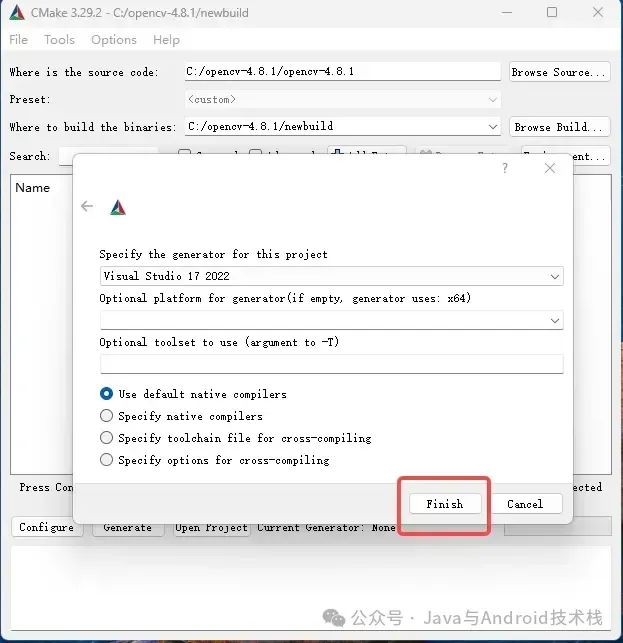
After successful configuration, this interface will appear 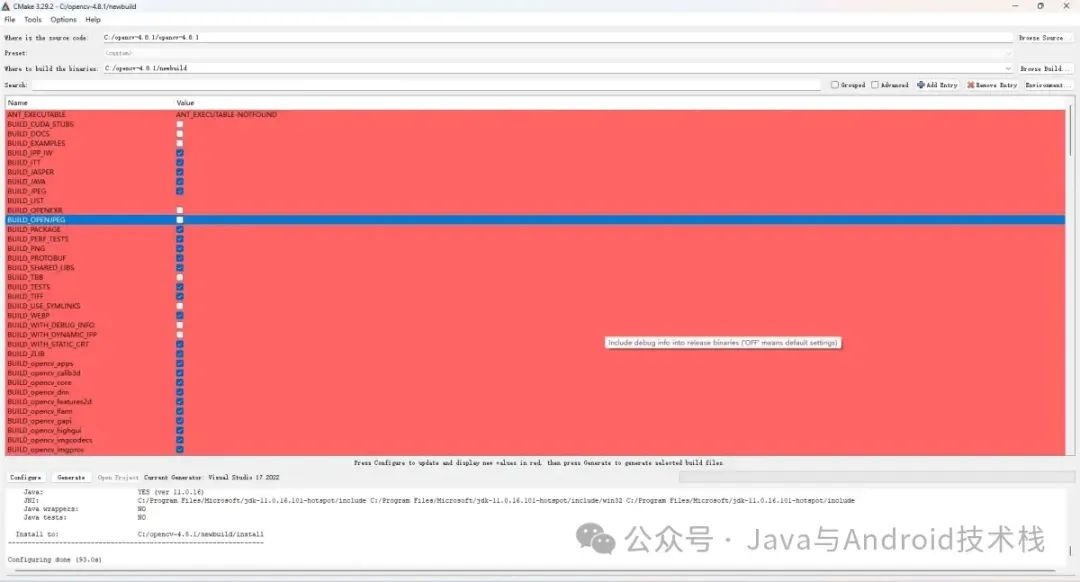
At this point, we can set the path for the extension modules 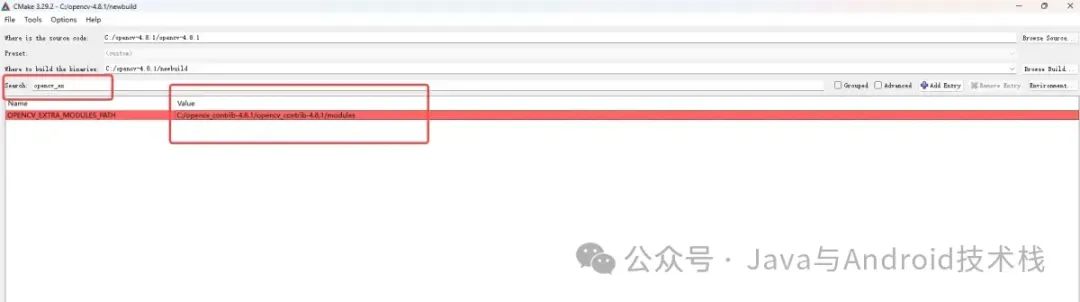
When setting the path for the extension modules, be sure to point to the modules folder, otherwise the subsequent “Configure” will fail.
If you need to compile the OpenCV World module, you also need to set it separately here. 
The World module is a super-module that combines all other modules chosen by the user. It is an all-in-one module with the functionality of all libraries.
Then click “Configure” again.
At this point, it is best to check the CMake download log; the following file is the CMake download log.
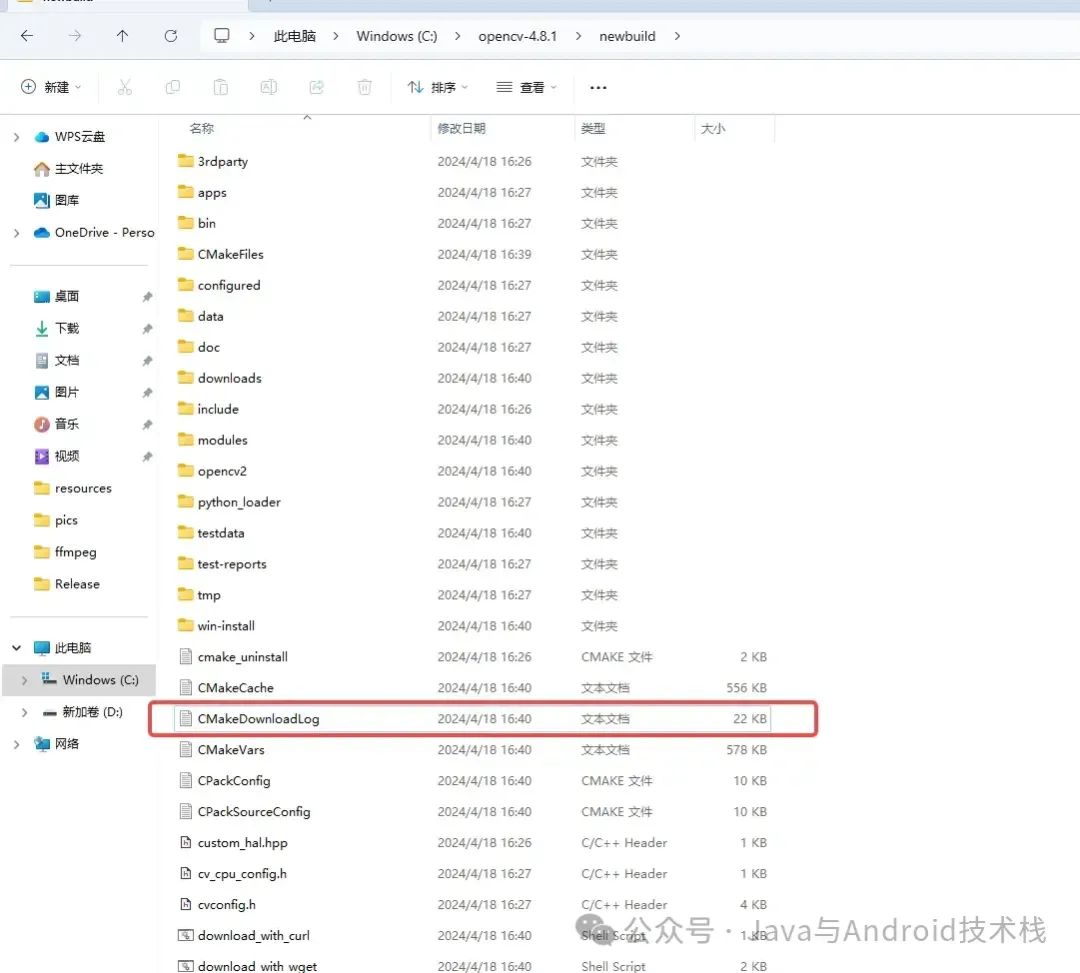
Failure to download certain files may ultimately lead to the OpenCV World module failing to compile successfully.
I mainly modified the following areas:
a. Enter the directory C:/opencv-4.8.1/opencv-4.8.1/3rdparty/ippicv and change the https://raw.githubusercontent.com in ippicv.cmake to: https://raw.staticdn.net
b. Enter the directory C:/opencv-4.8.1/opencv-4.8.1/3rdparty/fmpeg and change the https://raw.githubusercontent.com in ffmpeg.cmake to: https://raw.staticdn.net
c. Enter the directory C:/opencv_contrib-4.8.1/opencv_contrib-4.8.1/modules/xfeatures2d/cmake and change the https://raw.githubusercontent.com in download_boostdesc.cmake to: https://raw.staticdn.net
d. Enter the directory C:/opencv_contrib-4.8.1/opencv_contrib-4.8.1/modules/xfeatures2d/cmake and change the https://raw.githubusercontent.com in download_vgg.cmake to: https://raw.staticdn.net
e. Enter the directory C:/opencv_contrib-4.8.1/opencv_contrib-4.8.1/modules/face and modify CMakeLists.txt to change https://raw.githubusercontent.com to: https://raw.staticdn.net
Then re-click “Configure” to proceed.
3.1.3 Generate
Next, click “Generate” to create the project using CMake 
3.1.4 Open Project
Finally, click “Open Project” to launch Visual Studio 2022 and open the project.
Of course, you can also navigate to the output binary file directory (C:/opencv-4.8.1/newbuild) and open the OpenCV.sln file to achieve the same effect.

3.2 Using Visual Studio 2022
Before compiling, first configure the opencv_world module, then choose release or debug. 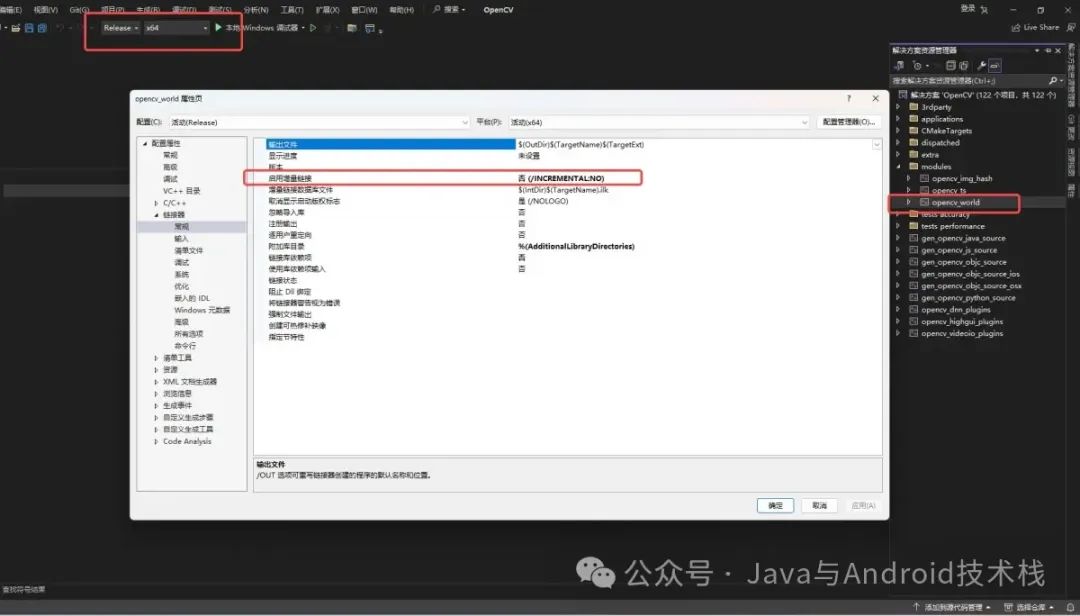
Find CMakeTargets and select ALL_BUILD to generate. 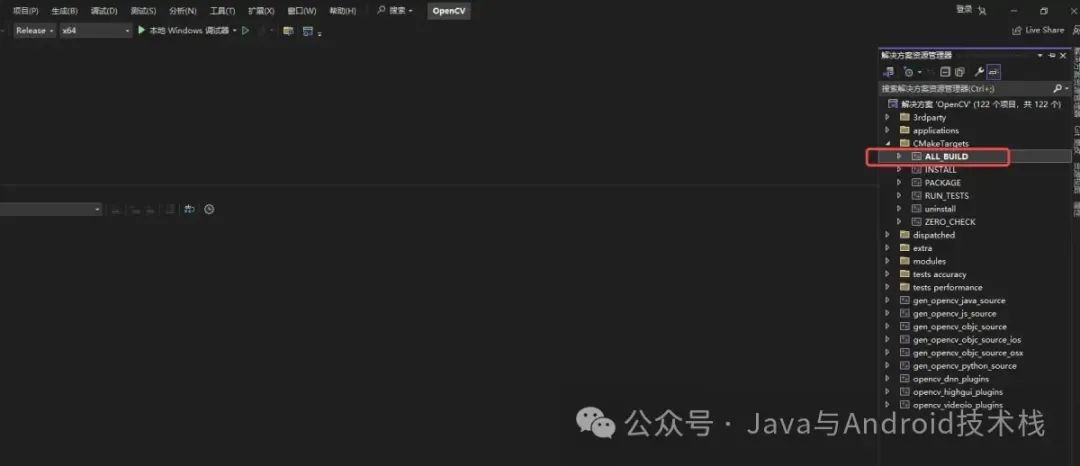
After the above steps generate successfully, select INSTALL to generate. 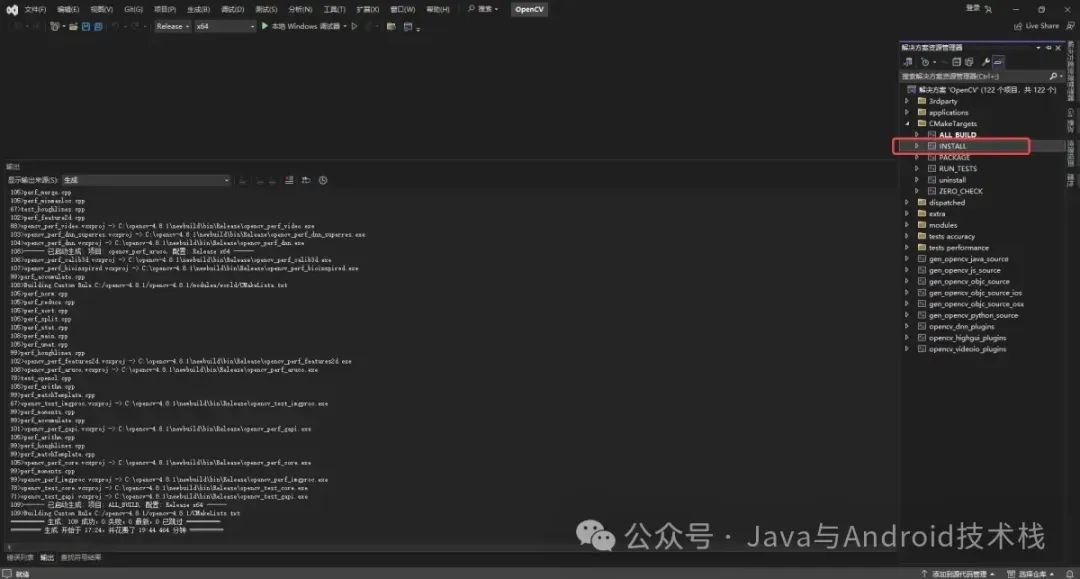
After the INSTALL generation is successful, this compilation can be considered a major achievement. We have completed the compilation of OpenCV 4.8.1 and its extension modules. 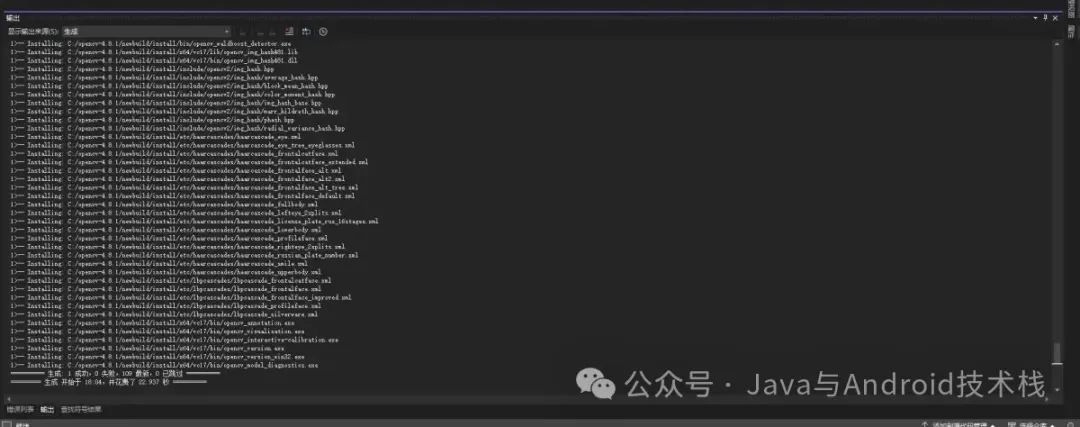
We can find the install folder in the output binary file directory (C:/opencv-4.8.1/newbuild) 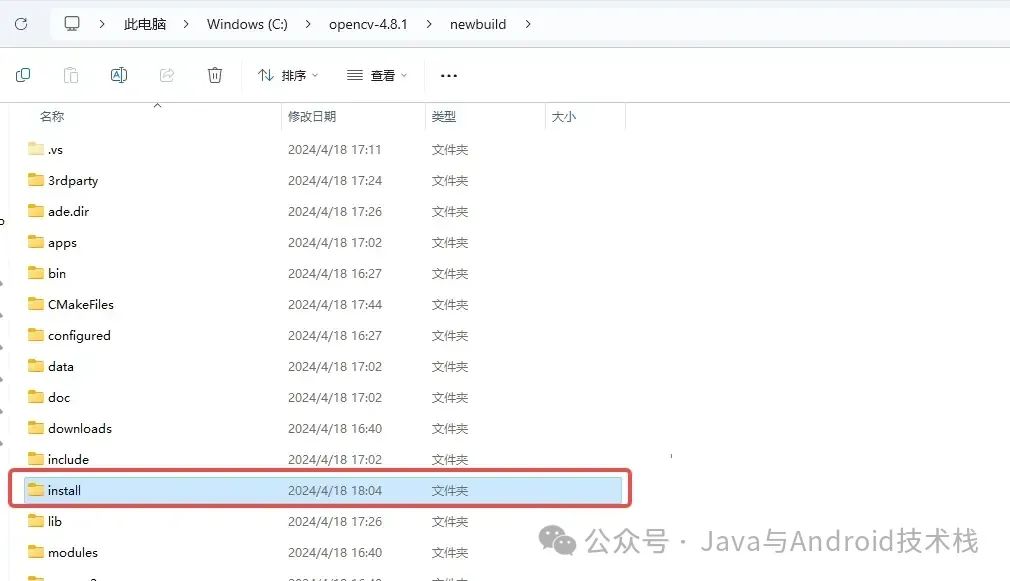
The final output of the install folder is as follows 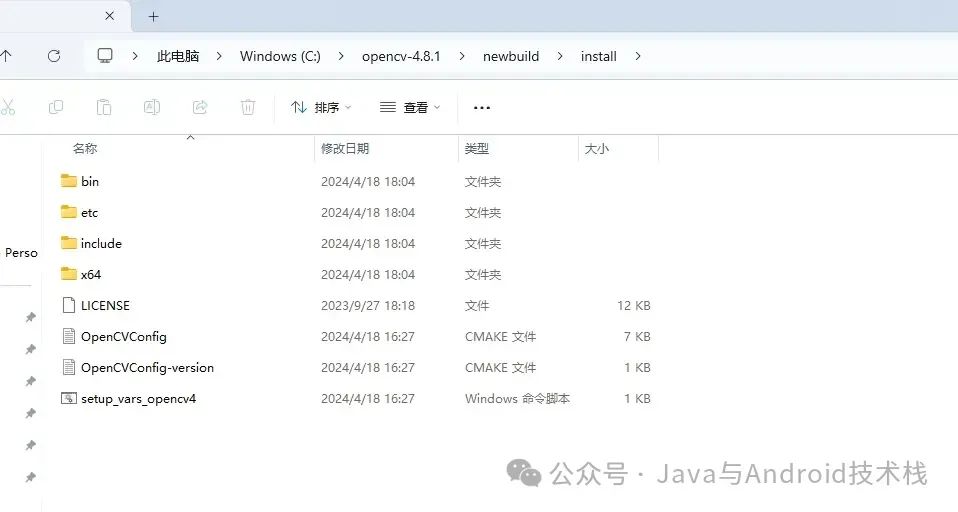
We have also successfully compiled the opencv_world module. 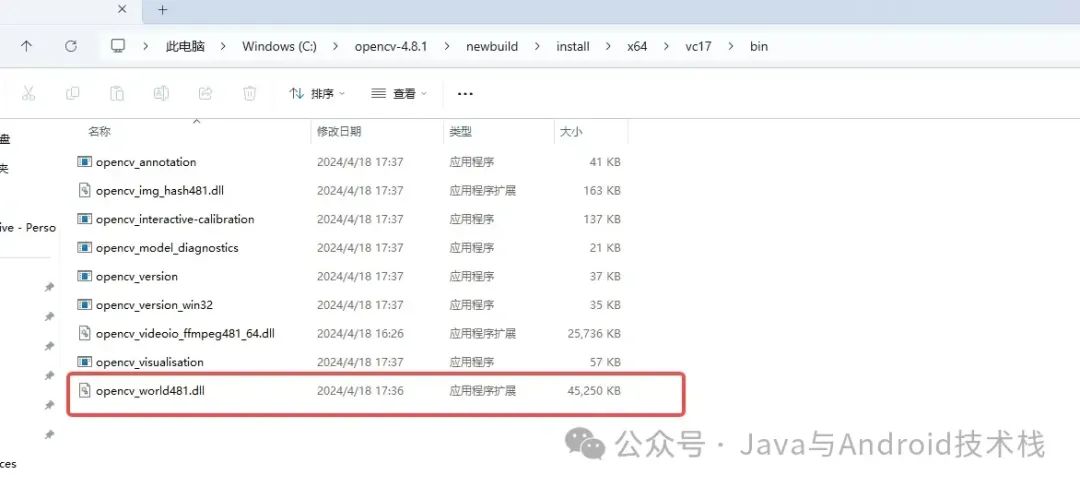
4. Conclusion
This article is just for my future reference and lookup.
However, the entire compilation process took more than a day to complete. During the compilation, I encountered various issues, but as long as you carefully read the logs and analyze them, you can always find a solution.
Of course, compiling the OpenCV library yourself has many benefits, such as customizing the OpenCV library according to your needs, optimizing the OpenCV library for specific hardware platforms, etc.
Systematic learning can be viewed directly by scanning the code

Recommended Reading
OpenCV 4.8 + YOLOv8 Object Detection C++ Inference Demonstration
Summary | Comprehensive Overview of OpenCV 4 Mat Operations
Three Lines of Code to Implement TensorRT 8.6 C++ Deep Learning Model Deployment
Practical | YOLOv8 + OpenCV for DM Code Positioning Detection and Analysis
Object Detection Bounding Box Loss – From IOU to ProbIOU
YOLOv8 OBB for Custom Rotated Object Detection
Must-See for Beginners | Five Misconceptions in Learning Deep Learning
YOLOv8 Custom Dataset Training for Safety Helmet Detection