Since I couldn’t find a complete tutorial on compiling Linux version 3.10 with QEMU simulation, I decided to summarize the entire process myself. My goal is to simulate a router firmware with a Linux 3.10 kernel and a specific version of the cross-compiler.
Prerequisites
To perform QEMU system simulation, we need at least two files: the Linux kernel file and the disk file (file system). We may have seen different simulation commands that require three files: the kernel file, the disk file (file system), and the initrd file.The main difference here is whether the kernel has all the drivers needed to access storage devices built-in..
When there are only two files, the QEMU boot process is:
Kernel boot → Directly detect hard disk → Mount root partition
When there is an additional initrd file, the QEMU boot process is:
1. Kernel boot → Run initialization scripts in initrd
2. Initrd loads SD card controller driver
3. Initrd loads file system driver (e.g., ext4)
4. Initrd mounts the real root file system
5. Switch root file system and continue boot process
In general, during our system simulation of router firmware, we only need to download the three packaged files:
Download site:
https://people.debian.org/~aurel32/qemu/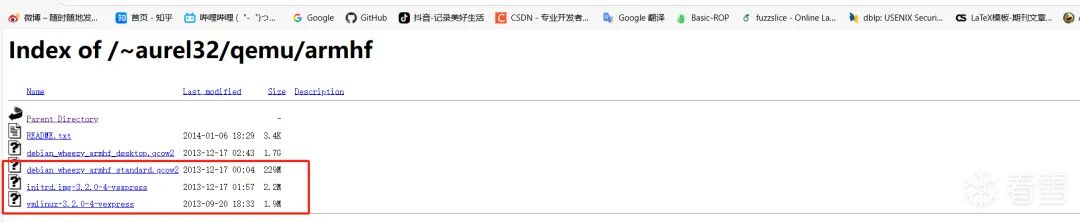
So here we need to create these three files ourselves, at least two files.
Cross-Compilation Environment Setup
Since the architecture of the router we want to simulate is arm32, to compile files that can run on the arm architecture under the amd64 architecture, we need to set up our cross-compilation environment.
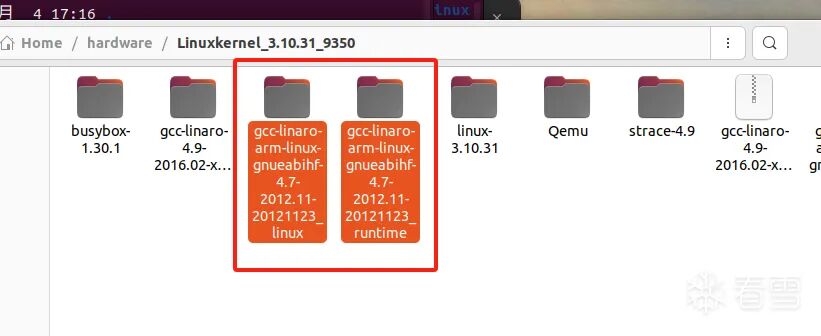
Download the arm version of the cross-compiler from this site
https://releases.linaro.org/archive/12.11/components/toolchain/binaries/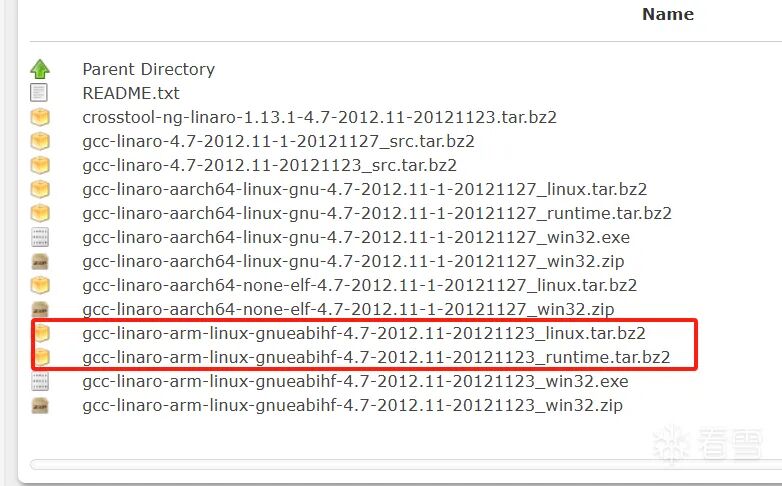
Then extract it
Creating the Linux Kernel File
https://cdn.kernel.org/pub/linux/kernel/
Download the corresponding version of the kernel file from this site
Enter the directory and generate the default configuration file
make ARCH=arm vexpress_defconfigSpecify the cross-compiler and start compiling
make ARCH=arm CROSS_COMPILE=/home/ccy/hardware/Linuxkernel_3.10.31_9350/gcc-linaro-arm-linux-gnueabihf-4.7-2012.11-20121123_linux/bin/arm-linux-gnueabihf- allThere may be an error here

It shows a multiple definition error for yyloc. The solution is to modify the ‘scripts/dtc/dtc-lexer.lex.c_shipped’ file in the kernel directory, adding the ‘extern’ keyword before ‘YYLTYPEyyloc’, and then recompile to resolve the issue.
After successful compilation, there will be zImage and vexpress-v2p-ca9.dtb in the kernel directory,where the zImage file is the Linux kernel file we need.

Creating the File System
Here we need to create the system’s file system, which consists of the usual directories in Linux. We will use BusyBox for this, and I am using BusyBox version 1.30.1, which was released around the same time as the Linux 3.10 kernel.
Download the BusyBox source code
https://busybox.net/downloads/busybox-1.30.1.tar.bz2Generate the configuration file
make ARCH=arm menuconfigHere, just use the default settings and save at the bottom of the interface.
Compile BusyBox
make ARCH=arm CROSS_COMPILE=/home/ccy/hardware/Linuxkernel_3.10.31_9350/gcc-linaro-arm-linux-gnueabihf-4.7-2012.11-20121123_linux/bin/arm-linux-gnueabihf- allThen install BusyBox, which generates the usual Linux commands
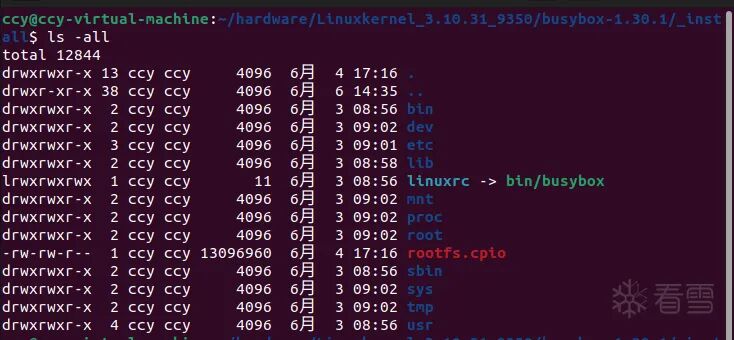
make ARCH=arm CROSS_COMPILE=/home/ccy/hardware/Linuxkernel_3.10.31_9350/gcc-linaro-arm-linux-gnueabihf-4.7-2012.11-20121123_linux/bin/arm-linux-gnueabihf- installThis command will generate an _install file in the BusyBox directory
The current _install file system is incomplete and lacks many directories. Below are some necessary directories and files that I have already added. Here is the complete directory (just create the directories and add the usual files), normally after installation, it only contains bin, usr, sbin, and linuxrc files.
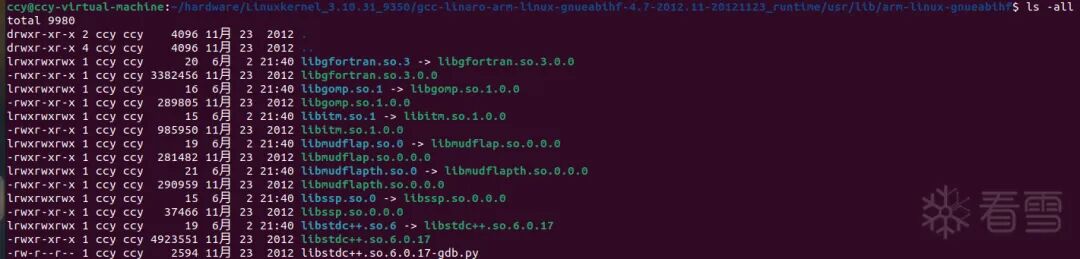
When configuring the lib directory, note: copy the lib directory from the cross-compilation toolchain to the current _install directory, as there are several lib directories under the cross-compilation toolchain. If unsure, use the command<span>find xxx -name "ld-linux-armhf.so.3"</span> to search; the lib directory containing this ld file is the one to copy. While copying the lib directory from the cross-compilation directory, also copy the files from the _runtime directory that we previously downloaded and extracted.
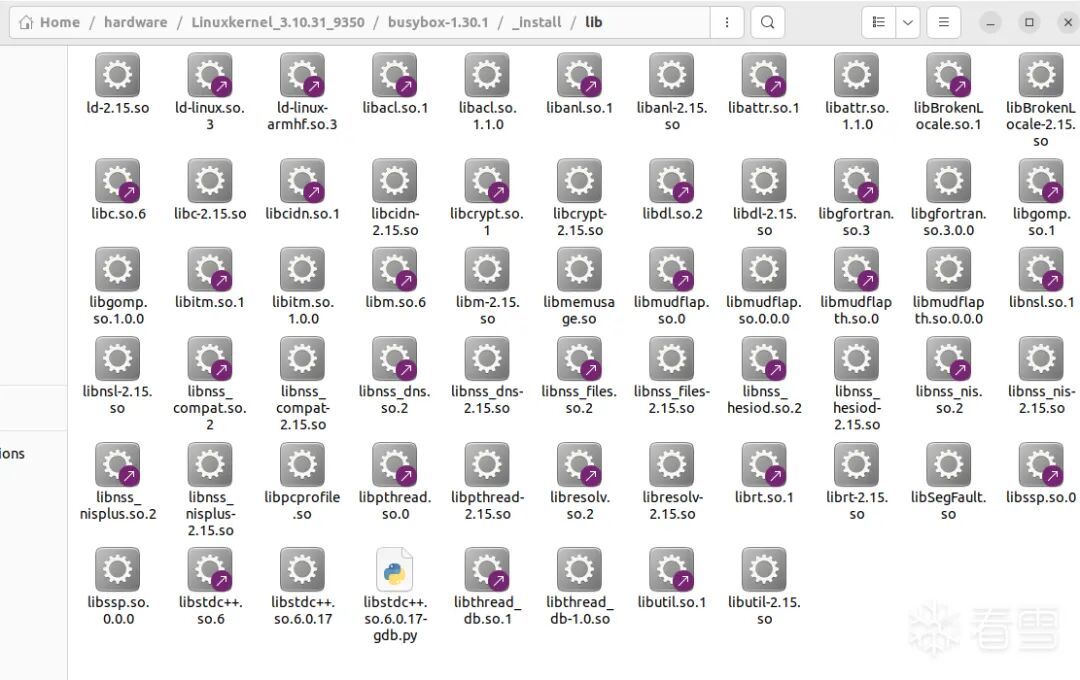
This is the dynamic link library files under the complete _install/lib directory
Create the etc/inittab file and write the following content
# System startup
::sysinit:/etc/init.d/rcS

# When Enter is pressed during system startup
::askfirst:-/bin/sh

# When Ctrl+Alt+Del is pressed
::ctrlaltdel:/sbin/reboot

# When the system shuts down
::shutdown:/sbin/swapoff -a
::shutdown:/bin/umount -a -r

# When the system restarts
::restart:/sbin/init
Create the etc/init.d/rcS file and write the following content. Also, set the permissions of the etc/init.d/rcS file to 777.
#!/bin/sh

# Mount all file systems defined in /etc/fstab
/bin/mount -a

# Mount the virtual devpts file system for pseudo-terminal devices
/bin/mkdir -p /dev/pts
/bin/mount -t devpts devpts /dev/pts

# Use mdev to dynamically manage hot-plug devices like USB drives and mice
/bin/echo /sbin/mdev > /proc/sys/kernel/hotplug

# Scan and create nodes
/sbin/mdev -s
Create the etc/fstab file and write the following content
# <filesystem><mountpoint><type><options><dump><pass>
proc                  /proc          proc     defaults       0         0
sysfs                 /sys           sysfs    defaults       0         0
tmpfs                 /tmp           tmpfs    defaults       0         0
tmpfs                 /dev           tmpfs    defaults       0         0
Create the etc/profile file and write the following content.
export HOSTNAME=ccy

# Username
export USER=root

# User directory
export HOME=/root

# Default terminal prompt
export PS1="[$USER@$HOSTNAME:\$PWD]
# "

# Environment variables
export PATH=/bin:/sbin:/usr/bin:/usr/sbin

# Dynamic library path
export LD_LIBRARY_PATH=/lib:/usr/lib:$LD_LIBRARY_PATH
Create the dev directory
mkdir devCreate terminal files
sudo mknod dev/console c 5 1
sudo mknod dev/null c 1 3
Create other directories
mkdir mnt proc tmp sys root
Building the Disk File (File System)
Use <span>dd</span> to create a 1024M blank image, then use the <span>mkfs.ext3</span> command to generate an ext3 formatted file system in the rootfs.ext3.img file. By mounting the rootfs.ext3.img file, copy the files from the previous _install directory to the mount point mnt_tmpfs, and finally unmount it. Thus, a disk image with a file system is created.
mkdir mnt_tmpfs
dd if=/dev/zero of=rootfs.ext3.img bs=1M count=1024
sudo mkfs.ext3 rootfs.ext3.img
sudo mount -t ext3 rootfs.ext3.img ./mnt_tmpfs -o loop
sudo cp -r _install/* mnt_tmpfs
sudo umount mnt_tmpfs
At this point, we have prepared at least two files we need, which are the disk file with the file system and the Linux kernel file.
Starting QEMU
Move these two files to a new directory and create the QEMU startup script and network configuration script
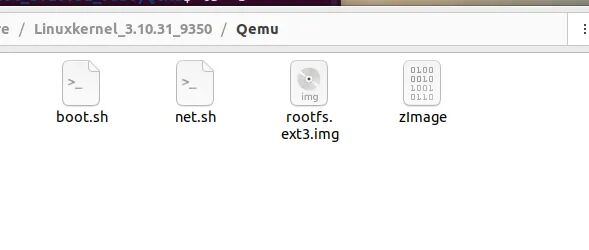
boot.sh
#!/bin/sh

qemu-system-arm -M vexpress-a9 -m 1G -kernel ./zImage -nographic -append "root=/dev/mmcblk0 rw console=ttyAMA0" -sd rootfs.ext3.img -net nic -net tap,ifname=tap0,script=no,downscript=no
net.sh, requires downloading the virbrutils tool in advance
#!/bin/bash
sudo ip tuntap add dev tap0 mode tap
sudo ip link set tap0 up
sudo brctl addif virbr0 tap0
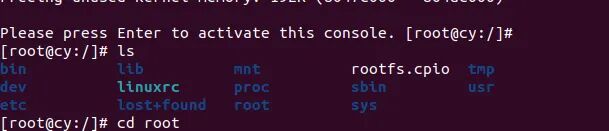
sudo chmod 666 /dev/net/tunAfter starting net.sh, we can successfully simulate the Linux system we want by starting boot.sh:


Kanxue ID: GotEOF
https://bbs.kanxue.com/user-home-1009405.htm
*This article is an excellent piece from the Kanxue forum, authored by GotEOF. Please credit the Kanxue community when reprinting. Call for Topics! Kanxue · 9th Security Developer Summit
# Previous Recommendations
miniL2025 mmapheap Problem Solution
Redis Vulnerability Analysis, ACL Section
VMProtect 3.5.1 Unpacking Clinical Guide
2025 Great Wall Cup Finals Emergency Response Trojan Analysis
Common Bypass Techniques for APP libmsaoaidsec.so


Share
Like
Watch

Click to read the original text for more