Purpose of Building Qt Root Filesystem
The purpose of building the Buildroot Qt root filesystem is to create a customized filesystem for embedded systems that integrates the Qt libraries and applications. Buildroot is an open-source tool for building embedded Linux systems, providing a simple and flexible way to generate a complete root filesystem image.
By building the Buildroot Qt root filesystem, you can compile Qt applications and related libraries into binary files for the target platform and package them with other system components into a standalone filesystem. This greatly simplifies the software deployment process and ensures that the system has all the dependencies needed to run Qt applications.
Additionally, Buildroot allows you to select and configure other software packages in the system based on the application’s needs, including device drivers, tools, and libraries. This makes the build process very flexible and capable of meeting various embedded system requirements.
In summary, the purpose of building the Buildroot Qt root filesystem is to customize and optimize embedded systems to run Qt applications and provide a simple and reliable software deployment solution.
Getting the Buildroot Source Code
【1】Select the appropriate version of Buildroot to build the Qt root filesystem.
Download the Buildroot source code from https://buildroot.org/. Open the official website page as shown below.
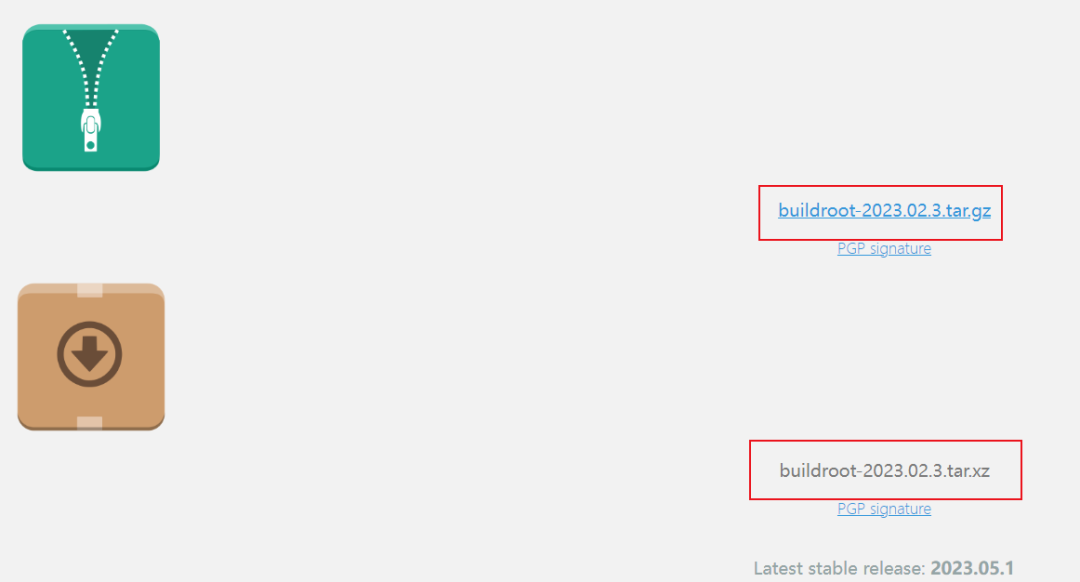
Directly click on the two compressed packages in the red box above to download, either in xz or gz format is fine, then
copy the buildroot-2022.02.3.tar.gz compressed package to Ubuntu .
This article copies it to the home directory. Enter the following command to extract it.
tar xf buildroot-2022.02.3.tar.gzThe extraction is completed as shown below


【2】Configure Buildroot
Enter the buildroot-2022.02.3 directory. Enter the following command to install the libraries required for the graphical menu, if already installed, then
there’s no need to install.
sudo apt-get install libncurses5-devOpen the configuration menu by entering the following command, as shown in the figure below.
make menuconfig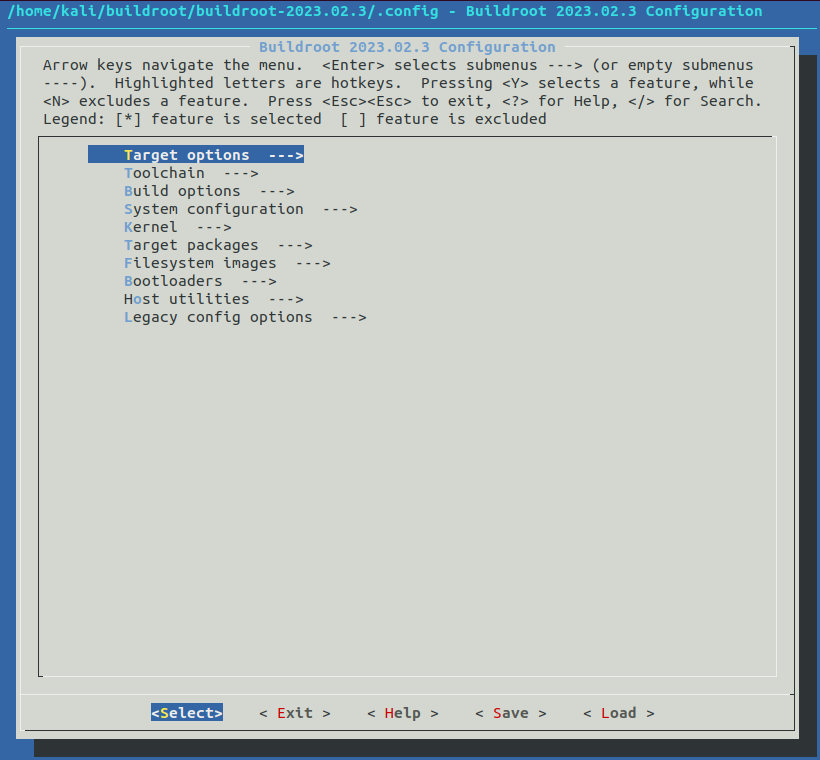
【3】Configure Target options
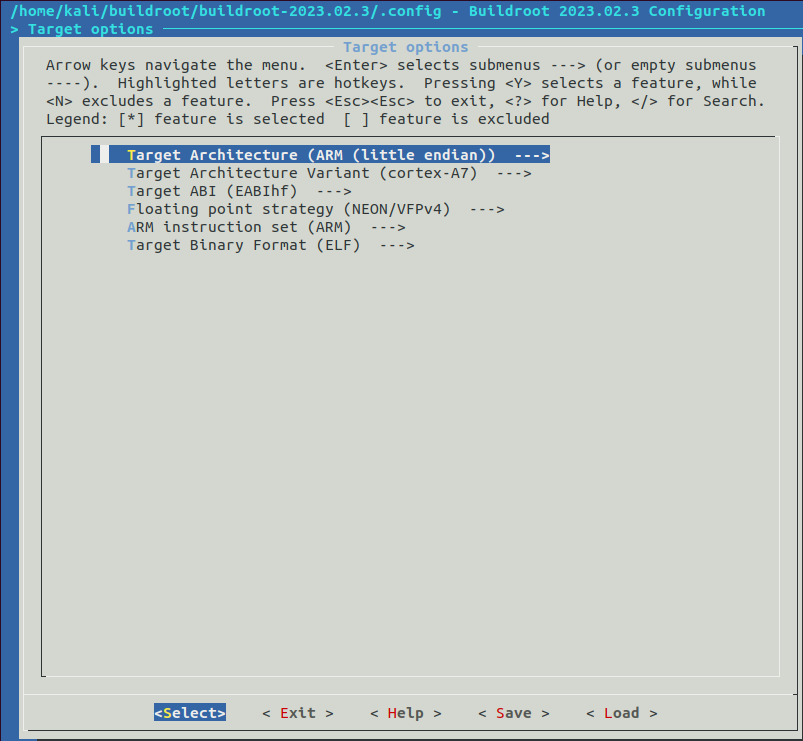
First configure the Target options options,
The items to configure and their corresponding content are as follows(“=” indicates the content to select for the configuration item!):
Target options-> Target Architecture = ARM (little endian)-> Target Binary Format = ELF-> Target Architecture Variant = cortex-A7-> Target ABI = EABIhf-> Floating point strategy = NEON/VFPv4-> ARM instruction set = ARMConfiguration completed as shown in the figure: Esc to return to the previous level, Enter to confirm, up and down keys to select
Target architecture (ARM (little-endian))
Target architecture variant (cortex-A7)—>
Target ABI (EABIhf)—>
Floating point strategy (NEON/VFPv4)—>
ARM instruction set (ARM)—>
Target binary format (ELF)—>
【4】Configure Cross-Compilation Toolchain
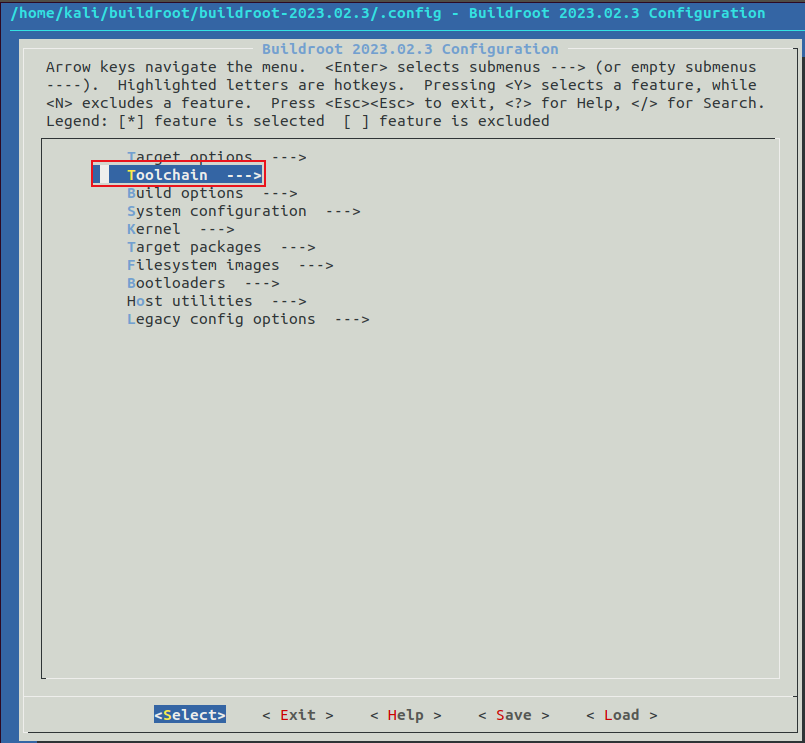
Configure Toolchain options, the items to configure and their corresponding content are as follows(“=” indicates the configuration item
to select content!):
Toolchain-> Toolchain type (Buildroot toolchain) = Buildroot toolchain-> GCC compiler Version (gcc 9.x) = gcc 9.x-> [*] Enable toolchain locale/i18n support-> [*] Enable C++ support-> [*] Enable MMU support (NEW)
【5】Configure Qt Compilation Options
Configure the Qt options, the options configured here include the Qt GUI module, Qt SQL module, QtChart module, Quick module, Qt virtual keyboard, and Qt touch plugin Tslib. As you can see, third-party libraries like tslib plugin can be easily configured in Buildroot, so we don’t need to port third-party libraries one by one. To reduce compilation time, we will configure as follows, which is sufficient for some everyday applications. If you need to support more module functions, you can select them yourself.

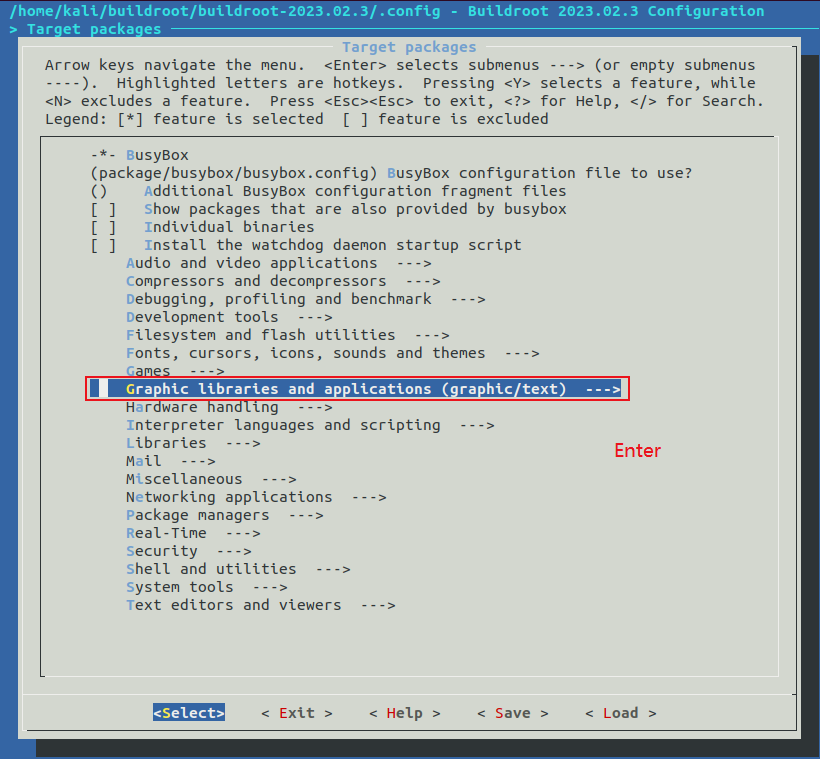
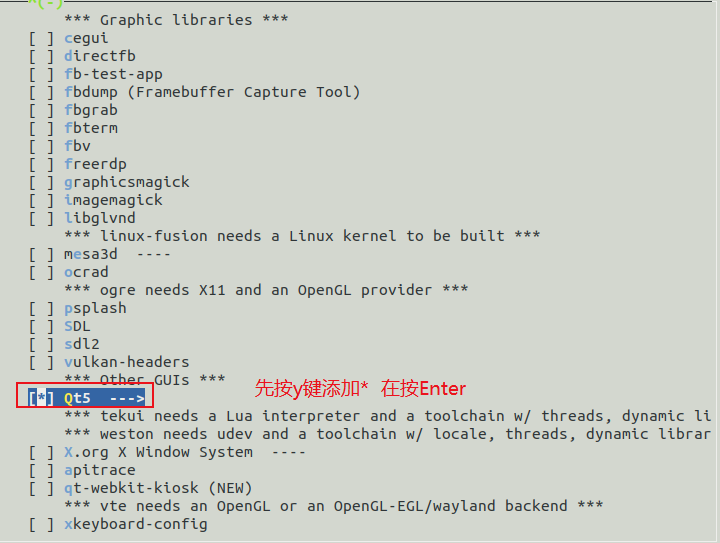
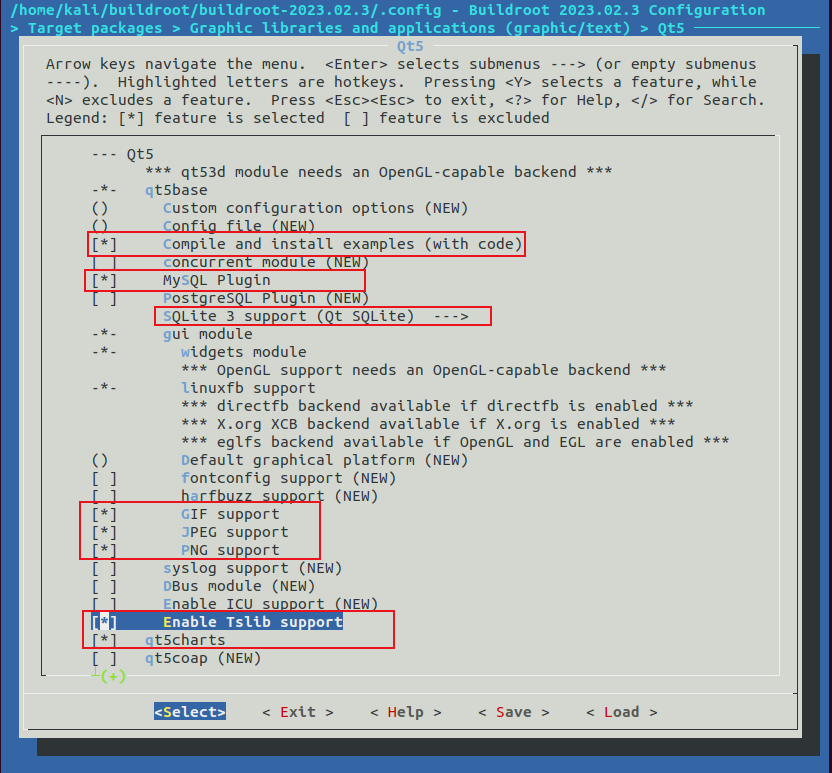
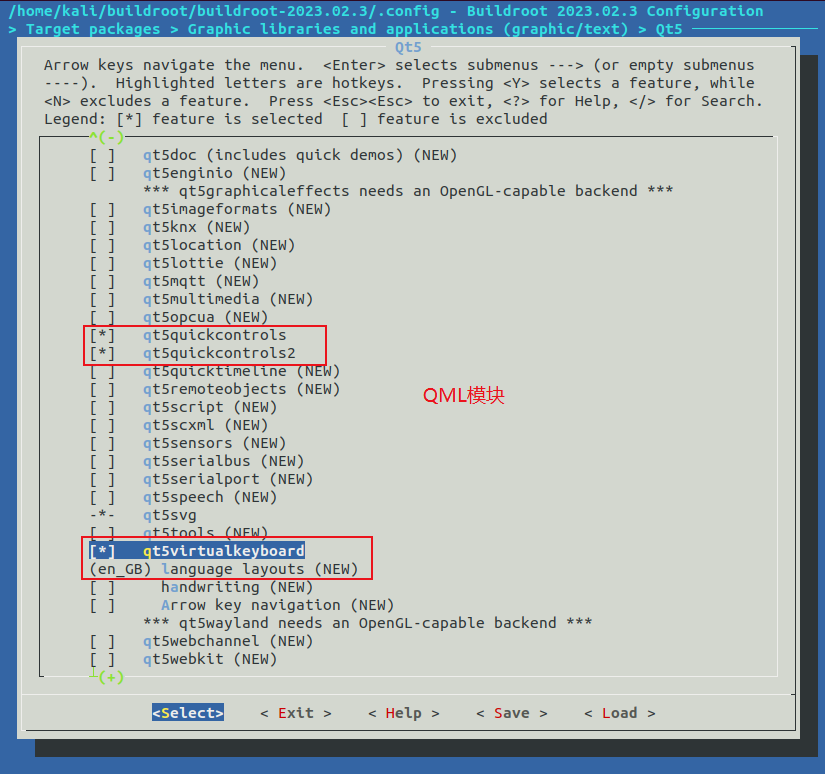
Target packages->->Graphic libraries and applications (graphic/text) --->-> [*] Qt5 --->-> [*] Compile and install examples (with code)-> [*] MySQL Plugin->SQLite 3 support (Qt SQLite) = Qt SQLite-> [*] widgets module-> [*] GIF support-> [*] qt5charts-> [*] Enable Tslib support-> [*] qt5quickcontrols-> [*] qt5quickcontrols2-> [*] qt5virtualkeyboard【6】Configure System Configuration
This option is used to set some system configurations, such as the development board name, welcome message, username, password, etc. The items to configure and their corresponding content are as follows:
System configuration-> System hostname = atkbuildrootQtfs //Platform name, set by yourself-> System banner = Welcome to alientek Qt rootfs //Welcome message-> Init system = BusyBox //Use busybox-> /dev management = Dynamic using devtmpfs + mdev //Use mdev-> [*] Enable root login with password (NEW) //Enable login password-> Root password = root //Login password is root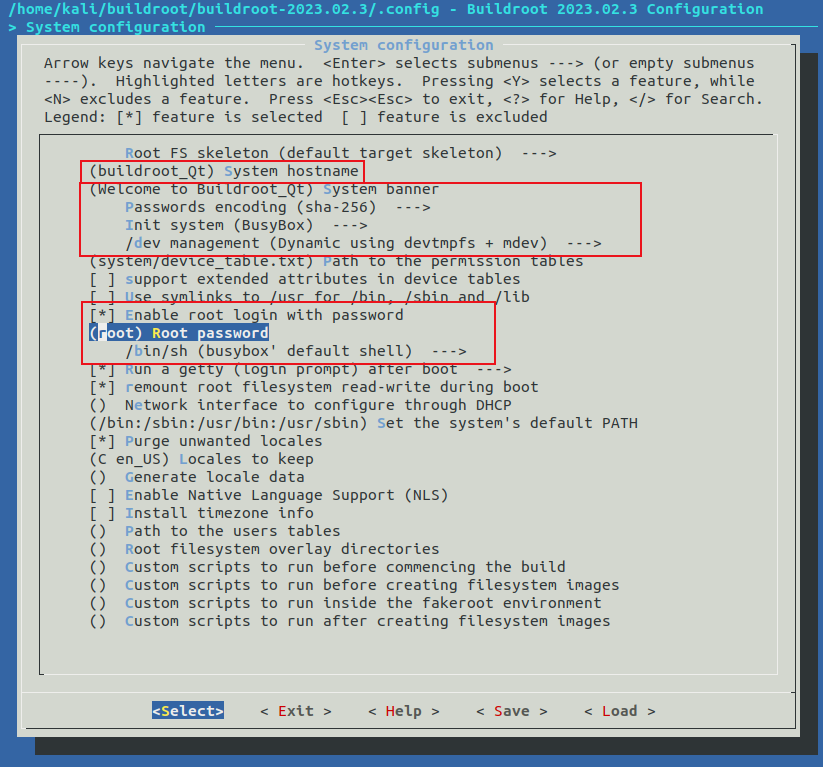
In the System configuration option, you can configure the platform name, login password, and other information. It can be seen that buildroot allows setting a login password, but as an experiment, it is not recommended to set a login password, otherwise, the development board will require entering a password every time it restarts, which is inconvenient for development. However, if you want to use ssh, setting a password is convenient for development.
【7】Configure Filesystem Images
This option configures the format of the root filesystem we are creating, as follows:
Filesystem images-> [*] ext2/3/4 root filesystem //If it is EMMC or SD card, use ext3/ext4-> ext2/3/4 variant = ext4 //Choose ext4 format-> exact size =1G //ext4 format root filesystem 1GB (modify according to actual situation)-> [*] ubi image containing an ubifs root filesystem //If using NAND, use ubifs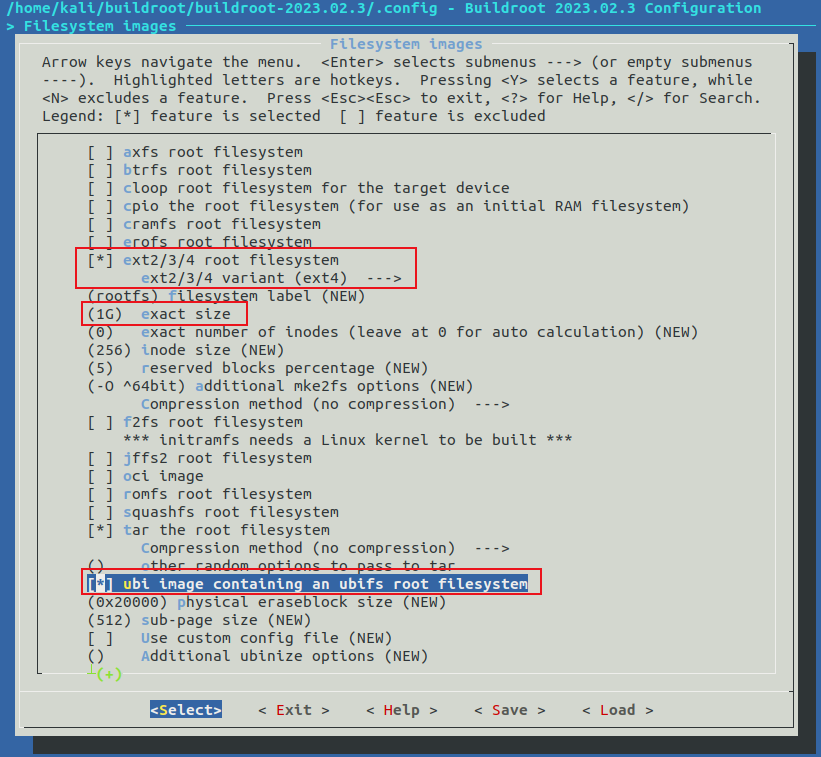
It can be seen that buildroot can directly create an ext4 format root filesystem, but generally, we will add many other files to the root filesystem ourselves, so after product development is completed, we need to package the root filesystem ourselves and write it to the development board.
Whether for the ext4 format root filesystem for EMMC or the ubi format root filesystem for NAND, the corresponding size must be set, such as here we set the ex4 format root filesystem size to 1GB.
【8】Configure and Build Buildroot Root Filesystem
Configure Buildroot
Edit as an atk_imx6ull_qt_defconfig file in Ubuntu , and then copy it to the root directory of the Buildroot source code
configs directory.
vi configs/atk_imx6ull_qt_defconfig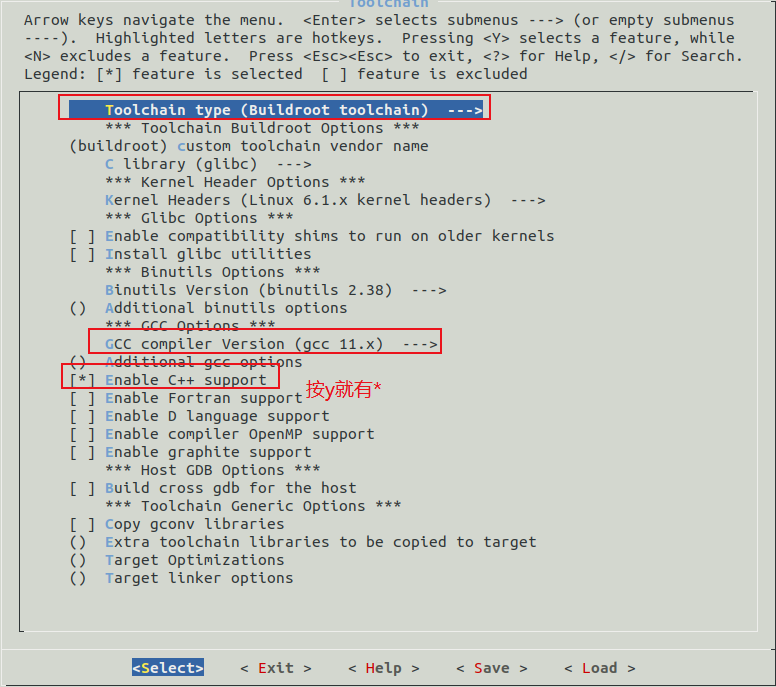
Enter make atk_imx6ull_qt_defconfig to start configuration
make atk_imx6ull_qt_defconfig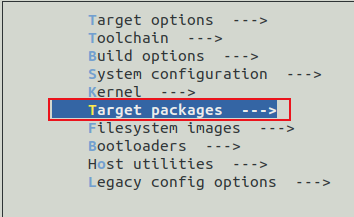
Build Buildroot
Enter make -j x to build, time is used to calculate time.x parameter is based on personal Ubuntu configuration. Or
directly enter make.
make -j 16As shown in the figure above, you can see that the build has started, be sure that your Ubuntu is connected to the internet! During the buildroot compilation, it will first download the required software source code from the internet, and some software source code may not be downloaded, in which case we need to handle it ourselves.
The build was successful as shown in the figure above. It paused once in between and took about 80 minutes.
Enter ls output/images/ to check the generated root filesystem, as shown in the figure below.

Adding mplayer to Buildroot
There is an error
liefyuan@ubuntu:~/Liefyuan/cherry-pi/buildroot-2020.02.4$ sudo time make -j16[sudo] password for liefyuan: Makefile.legacy:9: *** "You have legacy configuration in your .config! Please check your configuration.". Stop.Command exited with non-zero status 20.03user 0.02system 0:00.06elapsed 93%CPU (0avgtext+0avgdata 12324maxresident)k10248inputs+80outputs (29major+11499minor)pagefaults 0swapsSuggestions:
Remove MPLAYER from Config.in.legacy and try
1
buildroot-2020.02.4$ vim Config.in.legacy1
Line 1814: Comment out the following
#config BR2_PACKAGE_MPLAYER#       bool "mplayer package removed"#       select BR2_LEGACY#       help#         The mplayer package was removed.

#config BR2_PACKAGE_MPLAYER_MPLAYER#       bool "mplayer package removed"#       select BR2_LEGACY#       help#         The mplayer package was removed.

#config BR2_PACKAGE_MPLAYER_MENCODER#       bool "mplayer package removed"#       select BR2_LEGACY#       help#         The mplayer package was removed.

#config BR2_PACKAGE_LIBPLAYER_MPLAYER#       bool "mplayer support in libplayer removed"#       select BR2_LEGACY#       help#         The mplayer package was removed.
Then make menuconfig
Finally, remember to save! Be sure to remember, otherwise, it still cannot compile!