Introduction
In the previous article, we prepared all the hardware. In this article, we will set up the Raspberry Pi system and install some necessary software tools.


https://www.raspberrypi.org/downloads/
If you haven’t configured the keyboard and screen, you need to create two files to configure the Wi-Fi connection and enable SSH before the first boot of the OS.
country=CNctrl_interface=DIR=/var/run/wpa_supplicant GROUP=netdevupdate_config=1 network={ssid="SSID"psk="PASSWORD"key_mgmt=WPA-PSKpriority=1}Where ssid is the Wi-Fi network’s SSID;
psk is the connection password;
key_mgmt is the encryption method:
WPA-PSK = WPA pre-shared key (this requires the 'psk' field)WPA-EAP = WPA using EAP authenticationEEE8021X = IEEE 802.1X using EAP authentication and dynamically generated keysNONE = No WPA; can use plaintext password or static WEPWPA-PSK-SHA256 = Similar to WPA-PSK but uses enhanced SHA256-based encryption algorithmWPA-EAP-SHA256 = Similar to WPA-EAP but uses enhanced SHA256-based encryption algorithmIf not set, the mode will be set to WPA-PSK WPA-EAPPriority is the priority level, the larger the number, the higher the priority;
Modify the corresponding ssid, psk, and key_mgmt values according to your router configuration.
After booting, the wpa_supplicant.conf file will automatically move to the /etc/wpa_supplicant directory, and the ssh file will be converted to the command to enable the SSH service and then deleted. Therefore, if you need to change the configuration, you must add this file again next time.
Pay attention to the two indicator lights on the Raspberry Pi, the red one represents power, and the green one generally represents SD read/write. Under normal circumstances, the red light is always on, and the green one flashes every few seconds, indicating a successful network connection; while the green light flashing regularly indicates that the SD card is not properly inserted or is invalid.
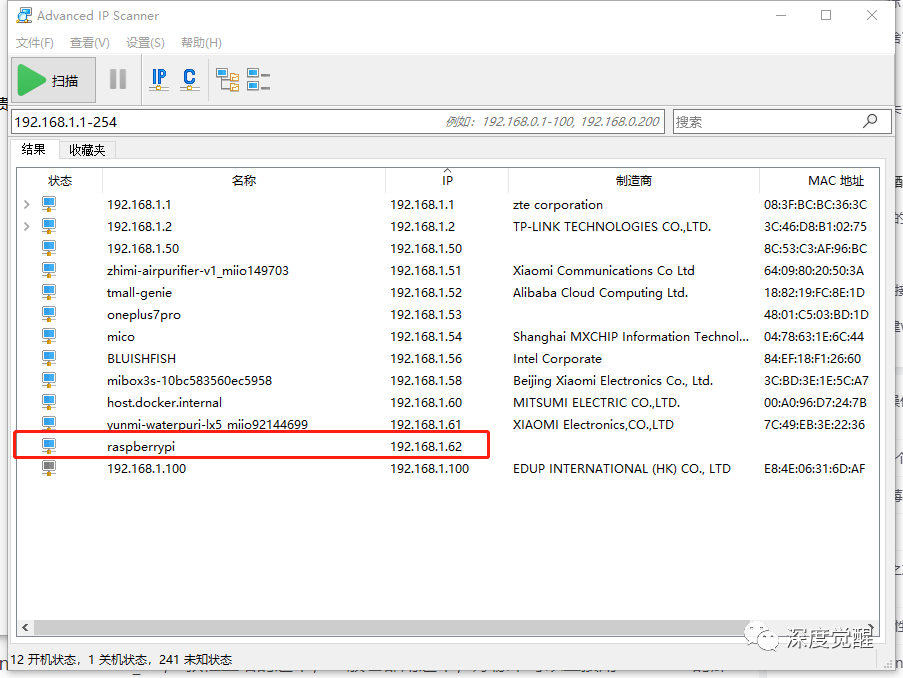
ssh [email protected]Then enter the default password raspberry to log in normally.
sudo raspi-config
Select 1 Change User Password to change the current user’s password;
Select 5 Interfacing Options –> P1 Camera to enable the camera;
Select 5 Interfacing Options –> P2 SSH to enable SSH (already enabled);
Select 5 Interfacing Options –> P3 VNC to enable VNC;
Select 7 Advanced Option –> A1 Expand Filesystem to expand available space;
Select 7 Advanced Option –> A5 Resolution to change the screen resolution.
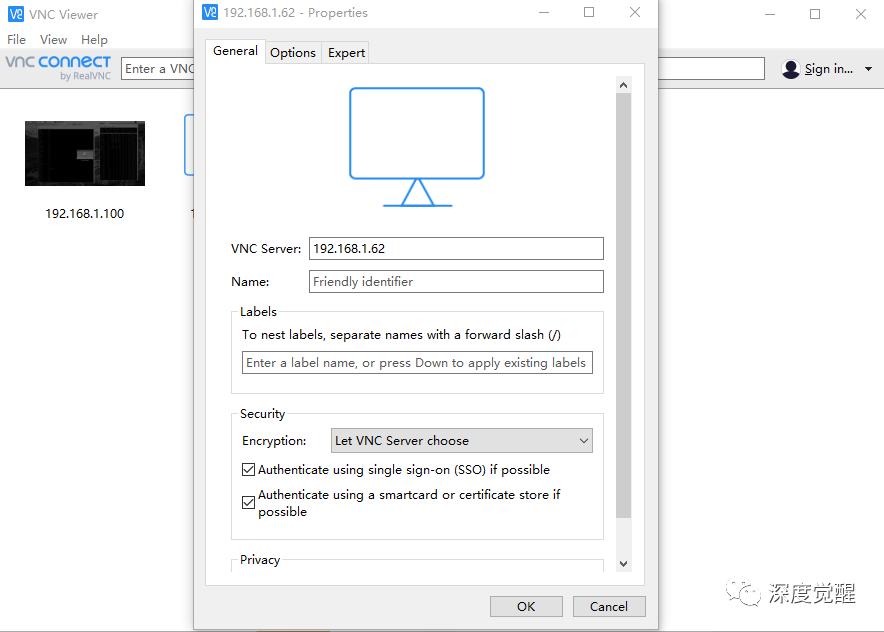
If the VNC connection shows “Cannot currently show the desktop”, just modify the screen resolution and restart.
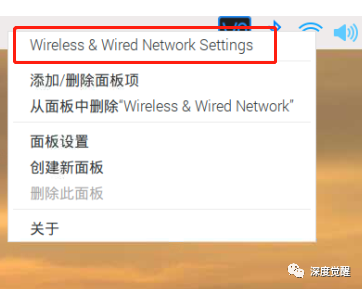
IPv4 Address: 192.168.1.101
Router: 192.168.1.1
DNS Servers: 192.168.1.1

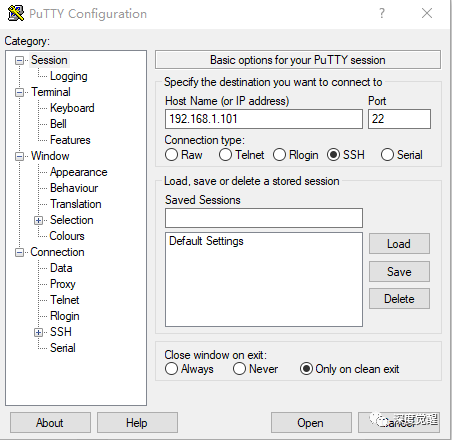
# Copy the entire directorypscp -r d:\raspi [email protected]:/home/pi # Copy a single filepscp d:\raspi\test.txt [email protected]:/home/pi # Copy the entire directorypscp -r [email protected]:/home/pi d:\raspi# Copy a single filepscp [email protected]:/home/pi/test.txt d:\raspiUsage: pscp [options] [user@]host:source target pscp [options] source [other sources...] [user@]host:target pscp [options] -ls [user@]host:specific file options: -V Display version information and exit -pgpfp Display PGP key fingerprint and exit -p Preserve file attributes -q Quiet mode, do not display status information -r Recursively copy directories -v Display detailed information -load session name Load saved session information -P port Connect to the specified port -l username Use the specified username to connect -pw password Log in with the specified password -1 -2 Force use of SSH protocol version -4 -6 Force use of IPv4 or IPv6 version -C Allow compression -i key Key file for authentication -noagent Disable Pageant authentication agent -agent Enable Pageant authentication agent -hostkey aa:bb:cc:... Manually specify the host key (may repeat) -batch Disable all interactive prompts -proxycmd command Use 'command' as the local proxy -unsafe Allow server-side wildcard (dangerous operation) -sftp Force use of SFTP protocol -scp Force use of SCP protocol -sshlog file -sshrawlog file Record detailed protocol logs to the specified filepsftp 192.168.1.101# Enter pi and raspberry# Upload fileput d:\raspi\test.txt # Download fileget /home/pi/test.txt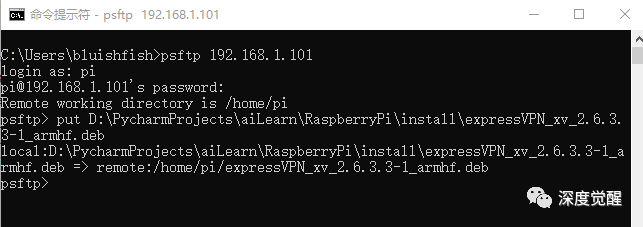
Common commands:cd Change directory. ls View directory files. get [fileName] Download the file to the current local directory. get -r [dir] Recursively download all files from a remote directory to the current local directory, i.e., download the folder. put [fileName] Upload the file to the remote current directory. put -r [dir] Recursively upload all files from a local folder to the remote target directory, i.e., upload the folder. delete [fileName/dir] Delete a file or folder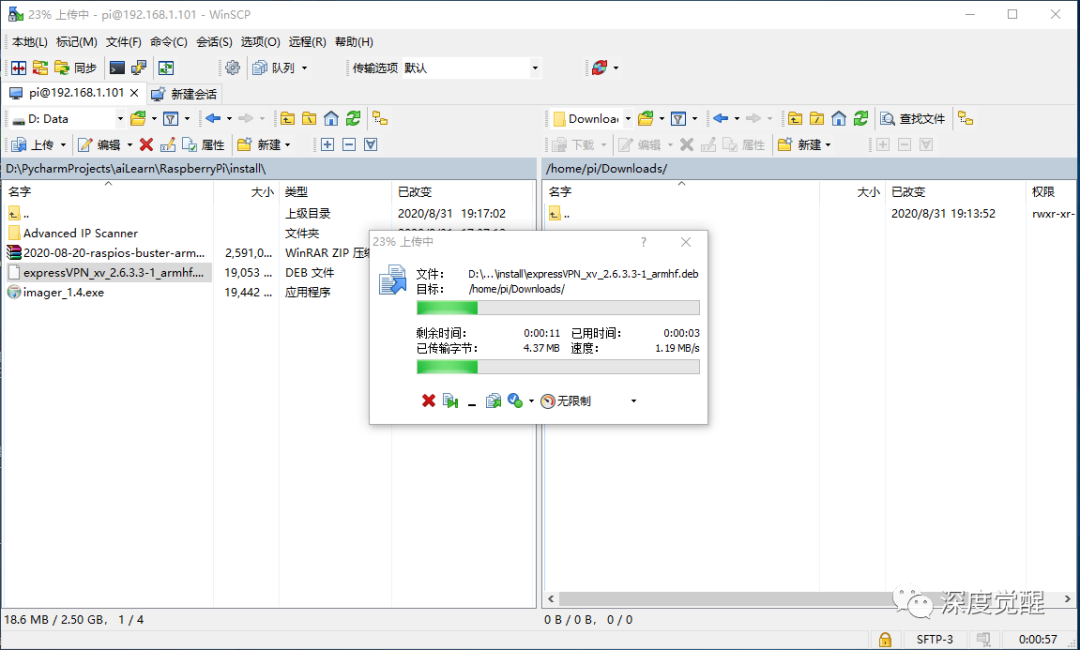
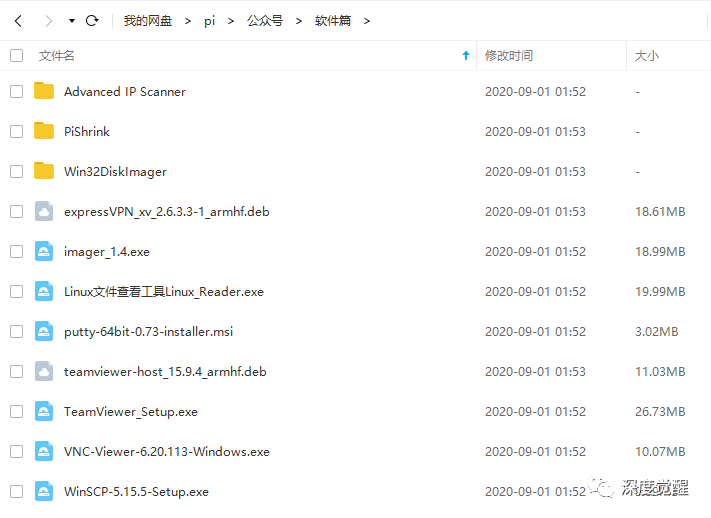
sudo nano /etc/apt/sources.list#deb http://raspbian.raspberrypi.org/raspbian/ buster main contrib non-free rpi# Uncomment line below then 'apt-get update' to enable 'apt-get source'#deb-src http://raspbian.raspberrypi.org/raspbian/ buster main contrib non-free rpideb http://mirrors.tuna.tsinghua.edu.cn/raspbian/raspbian/ stretch main contrib non-free rpideb-src http://mirrors.tuna.tsinghua.edu.cn/raspbian/raspbian/ stretch main contrib non-free rpisudo mkdir ~/.pipls .pipsudo nano pip.conf[global]timeout = 10index-url = http://mirrors.aliyun.com/pypi/simple/extra-index-url= http://pypi.douban.com/simple/[install]trusted-host= mirrors.aliyun.com pypi.douban.comcd Downloads/sudo dpkg -i expressVPN_xv_2.6.3.3-1_armhf.debexpressvpn activateexpressvpn connect # Connect to VPNexpressvpn list # View available server listexpressvpn status # View connection statusexpressvpn disconnect # Disconnect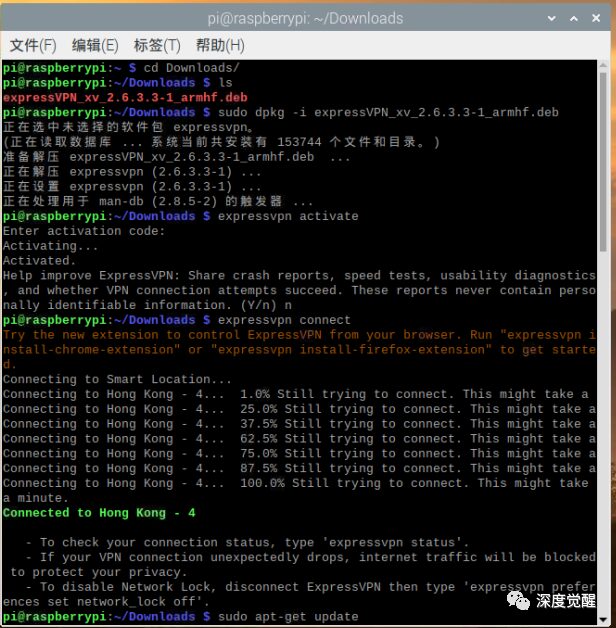
sudo apt-get updatesudo apt-get upgradepip3 install -U pip# Install Chinese fontsudo apt-get install fonts-wqy-zenhei# Install Chinese input methodfcitx and Google Pinyin input methodsudo apt-get install fcitx fcitx-googlepinyin fcitx-module-cloudpinyin fcitx-sunpinyin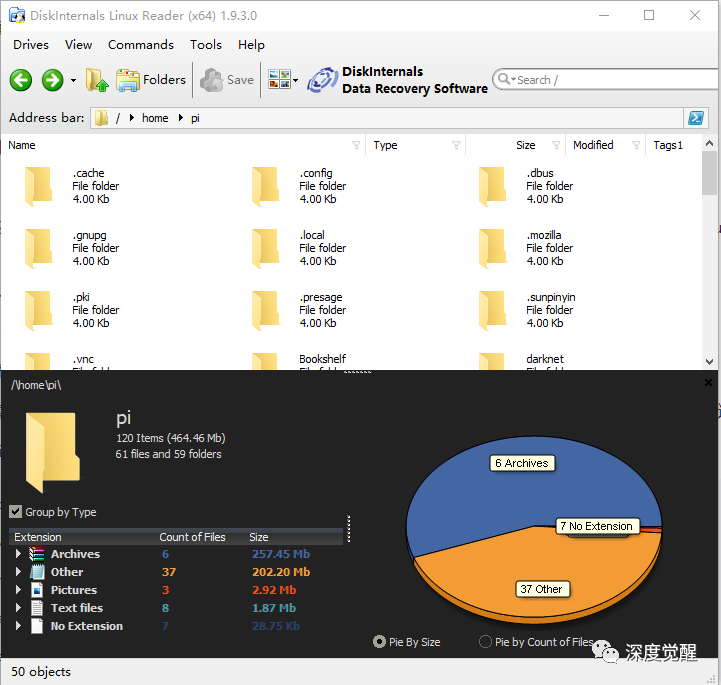
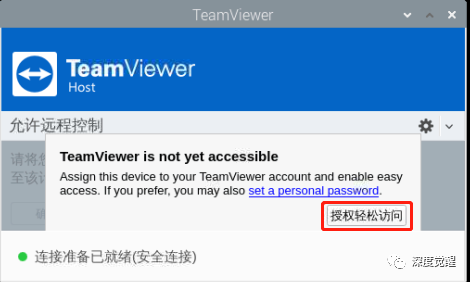
cd Downloads/sudo dpkg -i teamviewer-host_15.9.4_armhf.debsudo apt-get -f installsudo apt-get install gdebisudo gdebi teamviewer-host_armhf.deb
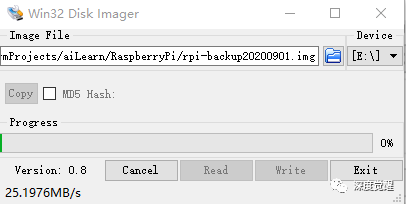
lsblksudo dd if=/dev/sdb of=./rpi_backup.img bs=8Mgit clone https://github.com/Drewsif/PiShrink.gitcd PiShrinkchmod +x pishrink.shsudo mv pishrink.sh /usr/local/binsudo pishrink.sh -s rpi_backup.img new_rpi_backup.imgUsage: $0 [-adhrspvzZ] imagefile.img [newimagefile.img] -s Don't expand filesystem when image is booted the first time -v Be verbose -r Use advanced filesystem repair option if the normal one fails -z Compress image after shrinking with gzip -Z Compress image after shrinking with xz -a Compress image in parallel using multiple cores -p Remove logs, apt archives, dhcp leases and ssh hostkeys -d Write debug messages in a debug log file# Check disk space and SD card mount informationdf -h 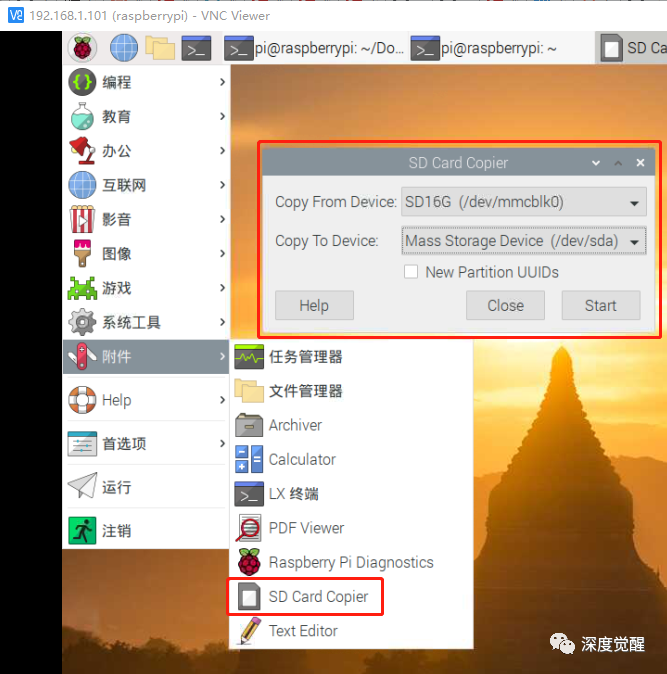
Next Article
We will start compiling OpenCV, PyTorch
and installing development environments like TensorFlow,
stay tuned…
