Arduino and Photoelectric Sensors: Automatic Counter Design
In industrial production, product counting is a fundamental and important process. This article will introduce how to use Arduino and photoelectric sensors to create an automatic counter that achieves the function of automatically counting objects as they pass by. This project is suitable for beginners and helps to understand the basic principles of sensor applications and interrupt handling.
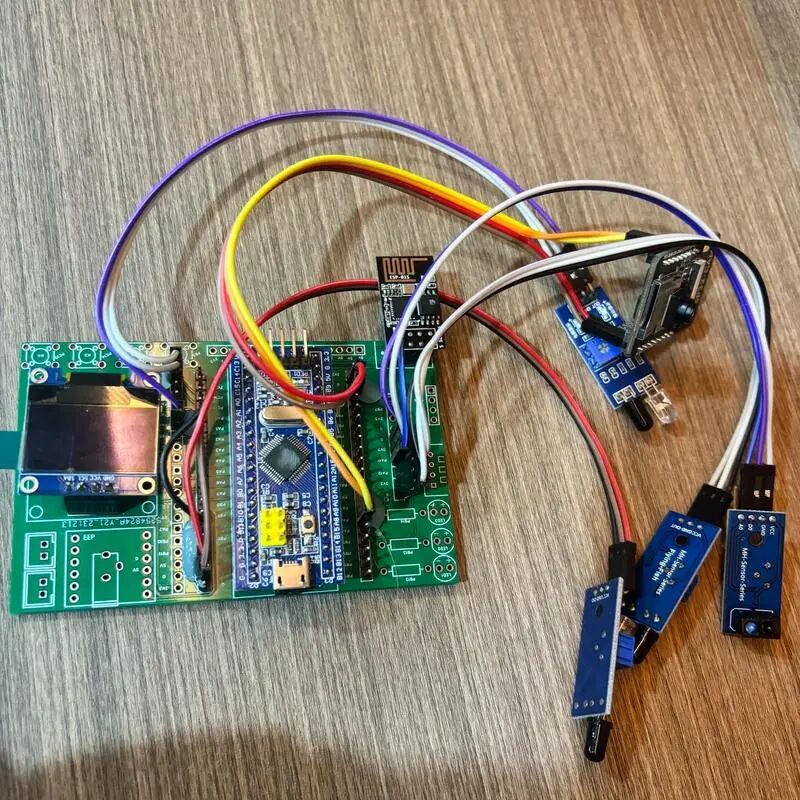
Hardware Preparation
- Arduino UNO development board
- E18-D80NK photoelectric sensor
- LCD1602 display (I2C interface)
- Breadboard and jumper wires
- Note: Be sure to choose an NPN output model for the photoelectric sensor
Working Principle
The basic working principle of the photoelectric sensor is similar to an “electronic eye”: the emitter emits infrared light, and when an object passes by, the light is reflected and received by the receiver. Imagine the automatic doors at a supermarket; the principle is the same.
The sensor output connects to the external interrupt pin of the Arduino, which allows for:
- Reducing program complexity
- Increasing response speed
- Avoiding counting errors
Hardware Connections
Wiring for the photoelectric sensor:
- Brown wire: Connect to 5V power supply
- Black wire: Connect to Arduino pin 2 (external interrupt INT0)
- Blue wire: Connect to GND
Wiring for the LCD1602:
- SDA: Connect to A4
- SCL: Connect to A5
- VCC: Connect to 5V
- GND: Connect to GND
Program Code
 1#include <Wire.h>
 2#include <LiquidCrystal_I2C.h>
 3
 4LiquidCrystal_I2C lcd(0x27, 16, 2);  // I2C address may need adjustment
 5volatile uint32_t count = 0;  // Use volatile to prevent compiler optimization
 6unsigned long lastTriggerTime = 0;
 7const unsigned long debounceDelay = 50;  // Debounce delay
 8
 9void setup() {
10  pinMode(2, INPUT_PULLUP);  // Enable internal pull-up resistor
11  attachInterrupt(0, countISR, FALLING);  // Trigger interrupt on falling edge
12
13  lcd.init();
14  lcd.backlight();
15  lcd.print("Count: ");
16}
17
18void countISR() {
19  // Software debounce
20  unsigned long currentTime = millis();
21  if (currentTime - lastTriggerTime > debounceDelay) {
22    count++;
23    lastTriggerTime = currentTime;
24  }
25}
26
27void loop() {
28  lcd.setCursor(7, 0);
29  lcd.print(count);
30  lcd.print("    ");  // Clear extra display
31  delay(100);
32}
Would you like me to explain or break down the code?
Important Technical Points
-
Debounce Handling When an object passes the sensor, it may trigger multiple times, so software debounce is needed to ensure accurate counting. It’s like pressing a doorbell button; although your finger only presses once, the metal contacts may bounce multiple times.
-
Use of Interrupts The benefits of using external interrupts instead of polling detection are:
- More timely response
- No missed counts for fast-moving objects
- The main program can focus on handling other tasks
- volatile Keyword Variables modified in the interrupt routine must be declared as volatile; otherwise, it may lead to inaccurate counting. This is like telling the compiler: “This variable may change at any time, please read the latest value from memory each time.”
Troubleshooting Common Issues
- Inaccurate counting
- Check if the debounce time is appropriate
- Ensure the sensor is securely installed
- Verify that the wiring is secure, especially the ground wire
- LCD displays garbled characters
- Check if the I2C address is correct
- Confirm that the wiring sequence is correct
- Investigate if the power supply is stable
- Sensor is unresponsive
- Use a multimeter to measure the sensor’s power supply voltage
- Check if the sensing distance is appropriate
- Adjust the sensitivity of the sensor
Practical Suggestions
After completing the basic version, you can try the following optimizations:
- Add a reset function for the count
- Increase data storage functionality to prevent loss during power outages
- Design a waterproof and dustproof enclosure
- Add an alarm function to notify when a set value is reached
- Transmit data to a computer via serial port
Considerations for practical applications:
- Avoid direct sunlight on the sensor
- Regularly clean the sensor surface
- Pay attention to shielding interference during wiring
- Leave space for maintenance
- It is recommended to use sensors with relay outputs for better anti-interference capability.