A Custom OpenMV4 Module
1. Introduction to OpenMV4
OpenMV4 is an open-source machine vision development board based on the high-performance STM32H743 microcontroller, designed specifically for embedded vision applications. It features a 400MHz ARM Cortex-M7 processor and supports various detachable camera modules (such as OV2640, OV5640, etc.), enabling real-time image processing, color tracking, face recognition, barcode decoding, and more. Compared to its predecessor, OpenMV3, its performance has significantly improved and it supports advanced applications such as thermal imaging and neural network inference (like CMSIS-NN). OpenMV4 provides a Python programming interface, paired with a dedicated IDE, making it suitable for education, industrial inspection, and DIY projects, serving as an efficient tool for machine vision development.
2. Introduction to the Custom Module
2.1 Hardware Component List
| Component Type | Component Model |
|---|---|
| Main Control | STM32H743VIT6 |
| Crystal Oscillator | 12MHz |
| Camera | OV5640 500W Pixels |
| Display | 1.8-inch TFT LCD 128*160 |
| SD Card Slot | Self-ejecting Slot |
| RGB LED | 3528 Common Anode 4-pin |
| Expansion Pins | 2.54mm10Pin2 |
2.2 Introduction to Expansion Pins
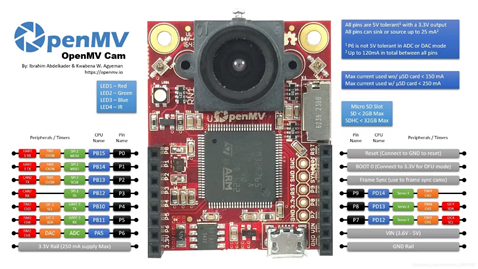
The number of expansion pins is 2*10, covering all the pins brought out by the official design, although the layout differs from the official one. Therefore, it is important to check the pin layout when using it. The pin layout is also drawn on the front of the PCB, and the following image shows the official pin layout.
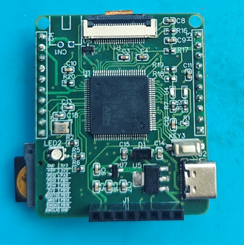
2.3 Appearance Images
The appearance images from the front and back are shown below, with dimensions of 40mm*48mm.

3. Simple Function Demonstration
3.1 Firmware Programming
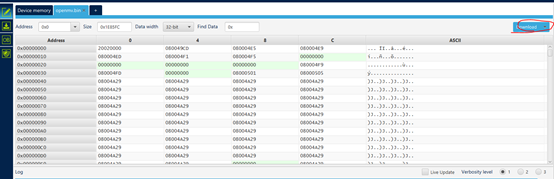
Open the STM32CubeProgrammer software interface:
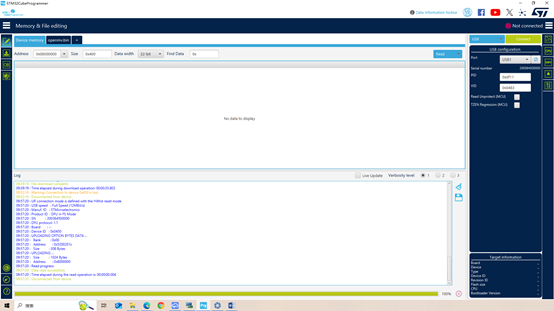
First, short the BOOT and 3V3 pins, then click connect after recognizing the USB interface. If the board is read-protected, click the Read Unprotect button below to remove the read protection.
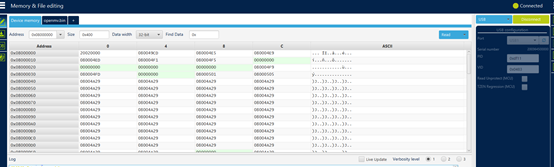
Then click the ‘+’ sign and add the OpenMV .bin file from the directory below.
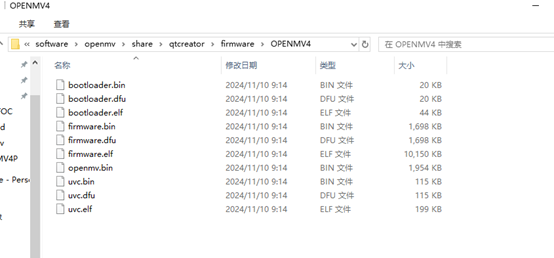
Finally, click Download to download the firmware.
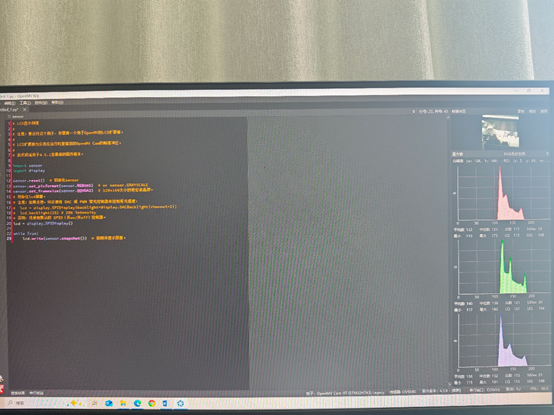
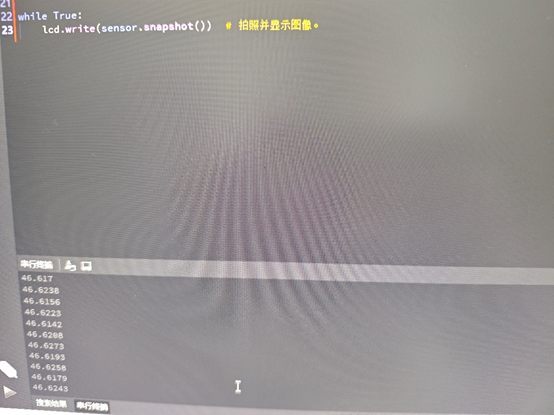
3.2 Example Demonstration
Demonstration using the official LCD display driver example, with a measured frame rate between 46 and 50.

4. Conclusion
Most of the content in this article is original. If you need to reprint it, please include the website of this article.
If you need related simulation diagrams, program code, and other materials, please join the discussion group to contact the group owner for access.