When using the printf function in the TrueStudio development tool for the first time, you may find it challenging to get started. Here, I will explain the process of configuring STM32CubeMX to generate a TrueStudio project for serial output.
Create a Basic Project in STM32CubeMX: Open the software and select the configuration for Serial Port 1 under the Pinout tab as shown in the figure.
A. Select the external crystal oscillator as the system clock source.
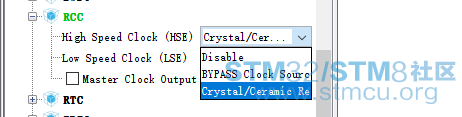
B. I am currently using the JLINK SWD mode for program debugging, so I choose the following:
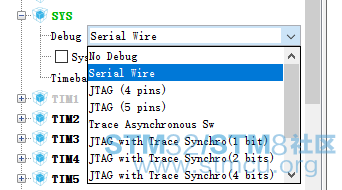
C. Configure Serial Port 1 for asynchronous communication mode.
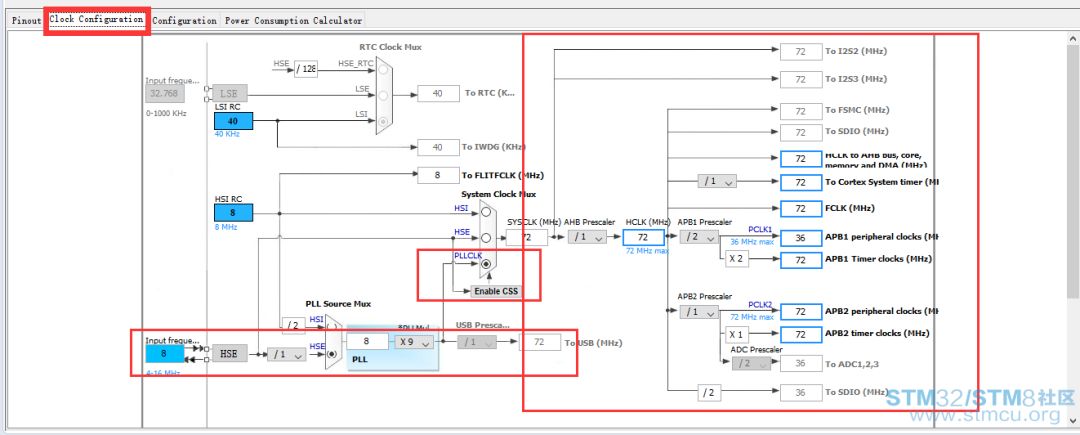
Set the Microcontroller Operating Frequency: Set it to a main frequency of 72MHz as shown in the figure below.
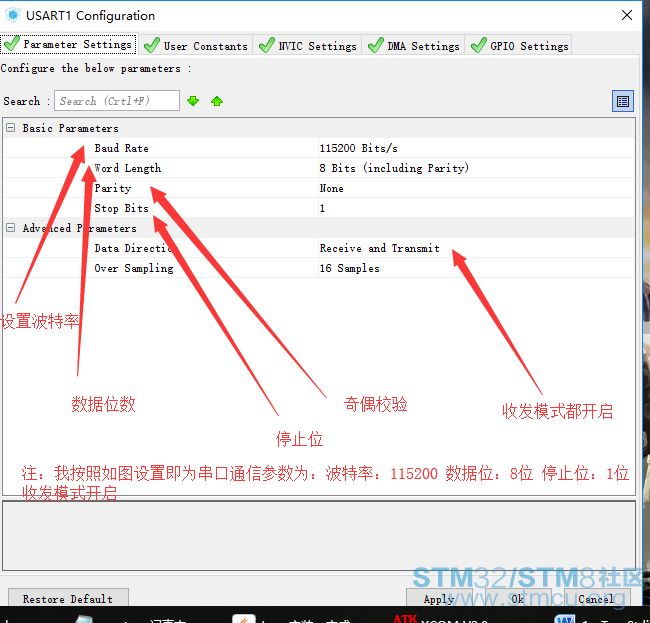
Configure Serial Port Parameters in the Configuration Tab:
Open USART1,
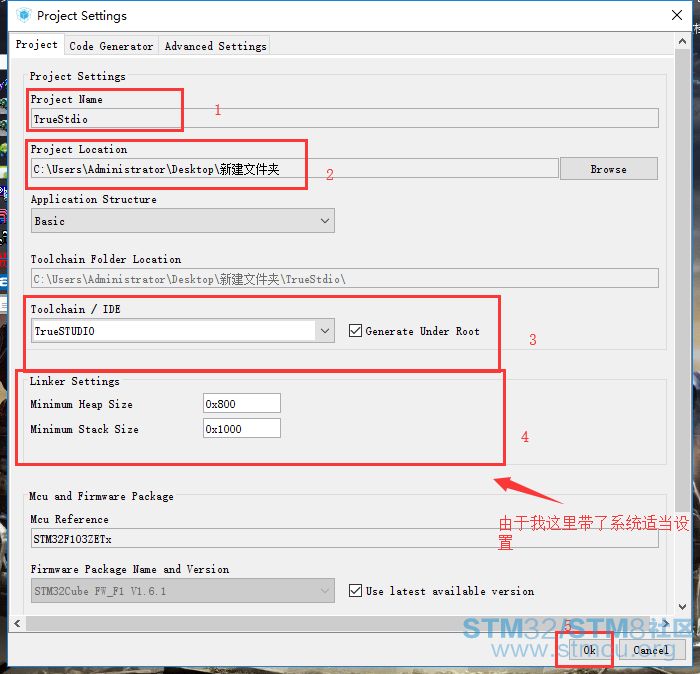
The basic configuration is complete. Now, start generating the TrueStudio project. Open the project settings to set the path where the program will be saved, the name, the environment support, stack size settings, and the independent creation of .c/.h files, as shown in the figure below:
After completing the settings, click the icon shown below to start generating the project.

The project is generated and compiled without errors.
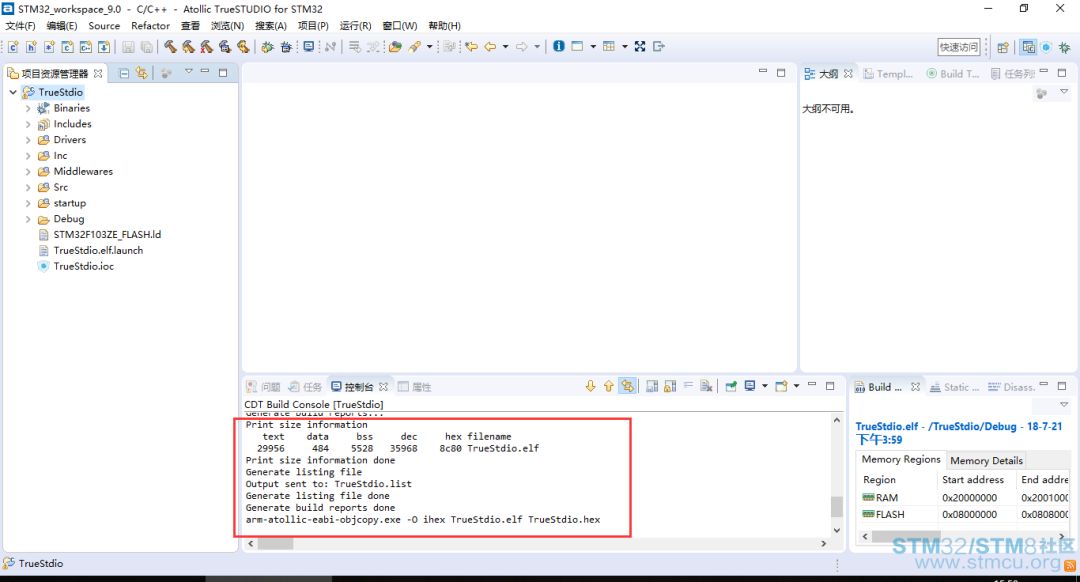
Start Writing and Setting Up to Support printf Output:
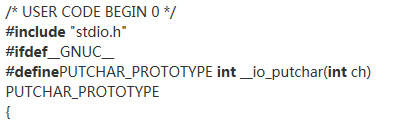
First, I add the following function in usart.c to enable TrueStudio to support printf output. Note: The code must be added in the USER section.
// Note that the first parameter is &huart1, as STM32CubeMX automatically generates Serial Port 1.
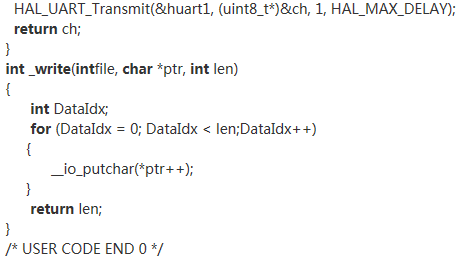
Now you can directly output data using printf, but floating-point numbers cannot be output. We can make the following settings to perfectly support the output of floating-point numbers. In the project properties, find C/C++ Build –Settings–C Linker–Miscellaneous—Other options and fill in: -u_printf_float. At this point, TrueStudio can support all data types for printf output.
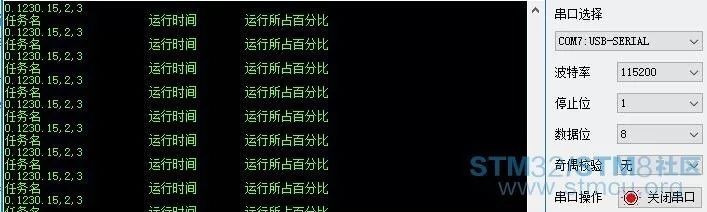
Program Output:

The effect is shown below:
Having found the direction, it’s time to take action.

↓↓↓ Click “Read More” for more details and valuable information.