Hello FPGA enthusiasts, it’s great to see you again. Today, I bring you the tool series – Installation of ISE 14.7 and compatibility settings for Windows 10.
ISE, as the previous generation EDA development tool from Xilinx (the predecessor of Vivado), has reached its historical end with the final version being 14.7. Starting from the 7 series FPGA, EDA tools have shifted towards Vivado. Although ISE seems quite outdated, there is no doubt that lower-end products below the 7 series are still active in the market today.
In the journey of learning FPGA, a portion of time is inevitably spent on software. This article is based on the author’s reference to current online cracking methods, as well as practical operations completed during work and study, hoping to help everyone improve efficiency.
1. Introduction and Precautions
When developing Xilinx products from the Spartan6 series and earlier, the ISE development environment is required, and compatibility issues need to be resolved in the Windows 10 environment.
2. Installation of ISE 14.7
1.The installation package file is Xilinx_ISE_DS_Win_14.7_1015_1, here we extract ISE147_Crack.rar.
The installation package can be downloaded from the attachments in section five of this article.
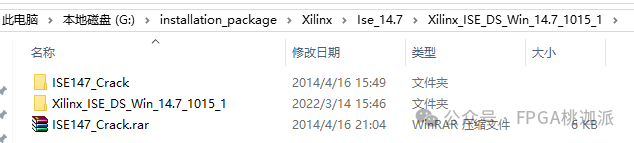
The ISE147_Crack file contains the license file.

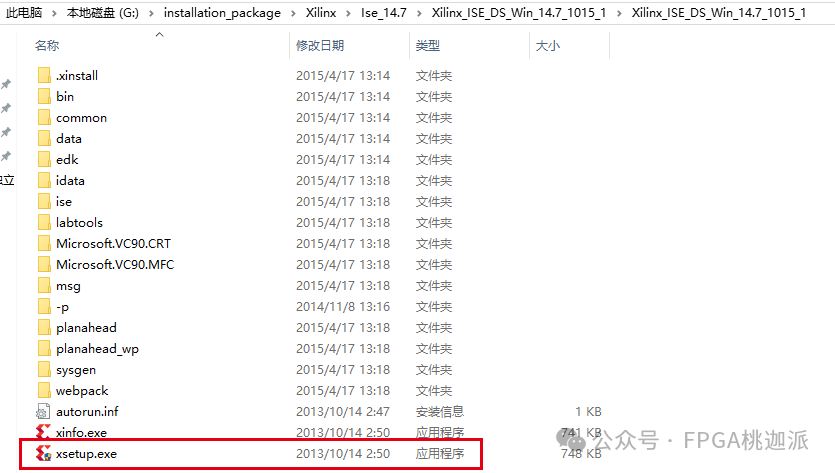
2. Run xsetup.exe as an administrator.
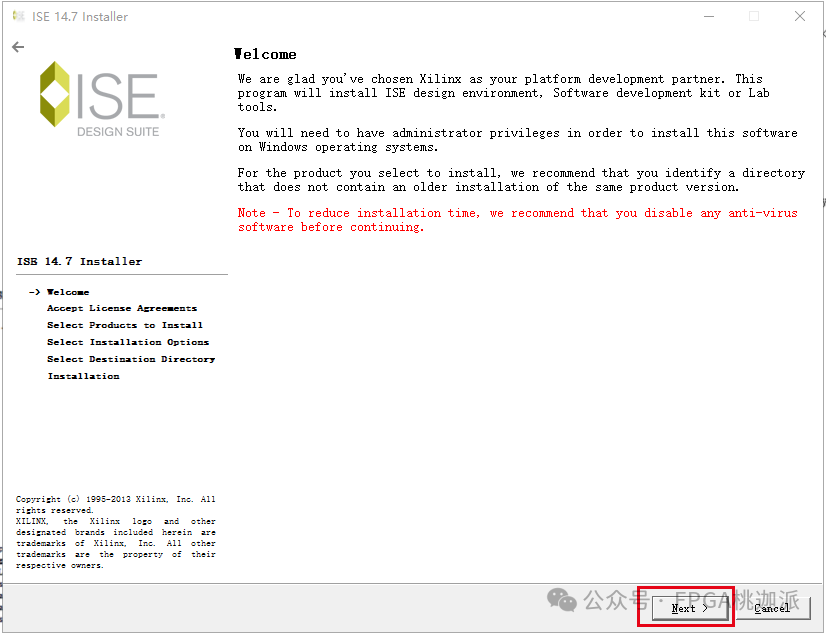
3. Click “Next”.
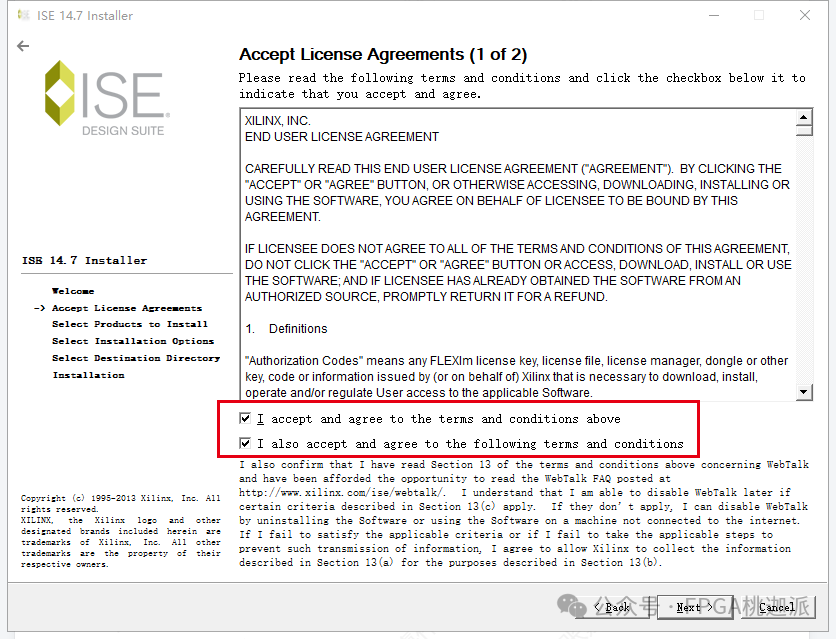
4. Check both “I accept” boxes, then click “Next”.
5. Check “I accept”, then click “Next”.
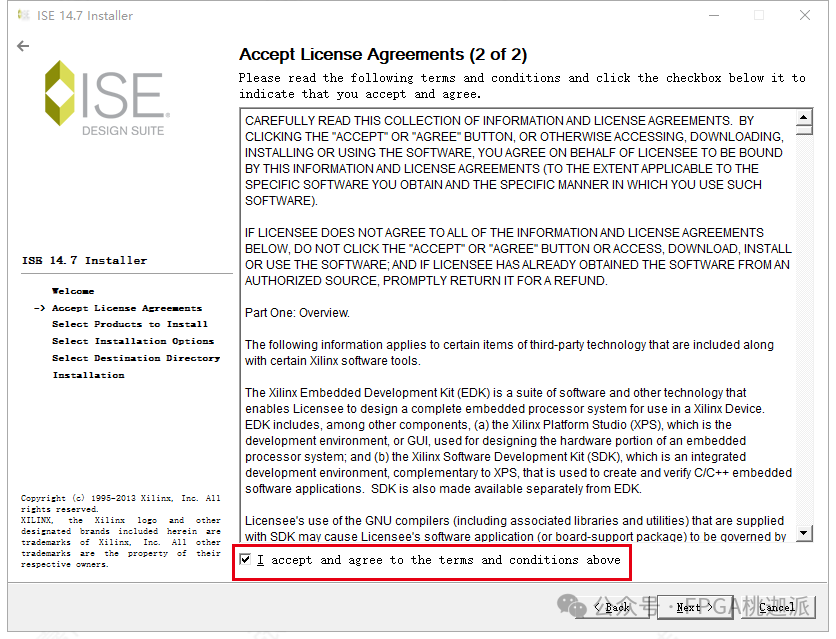
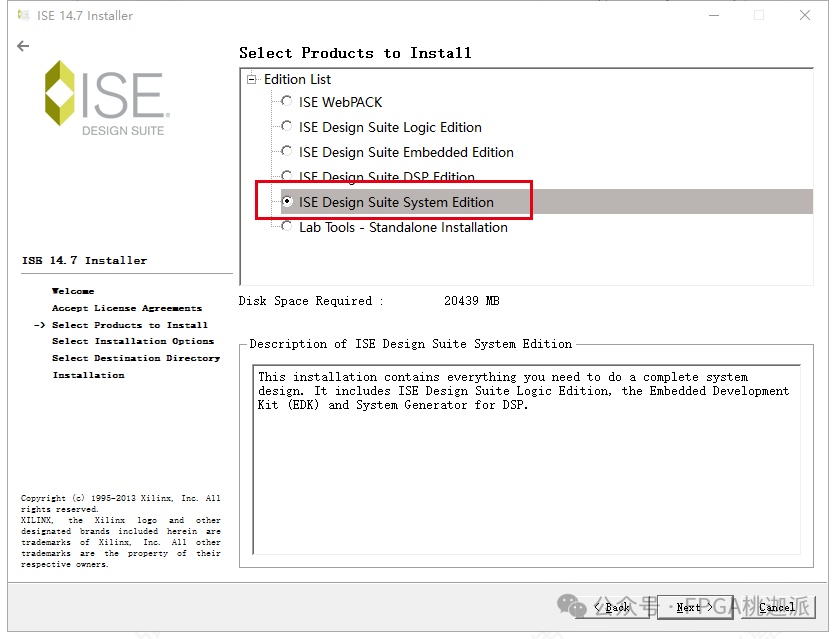
6. Select “ISE Design Suite System Edition”, then click “Next”.
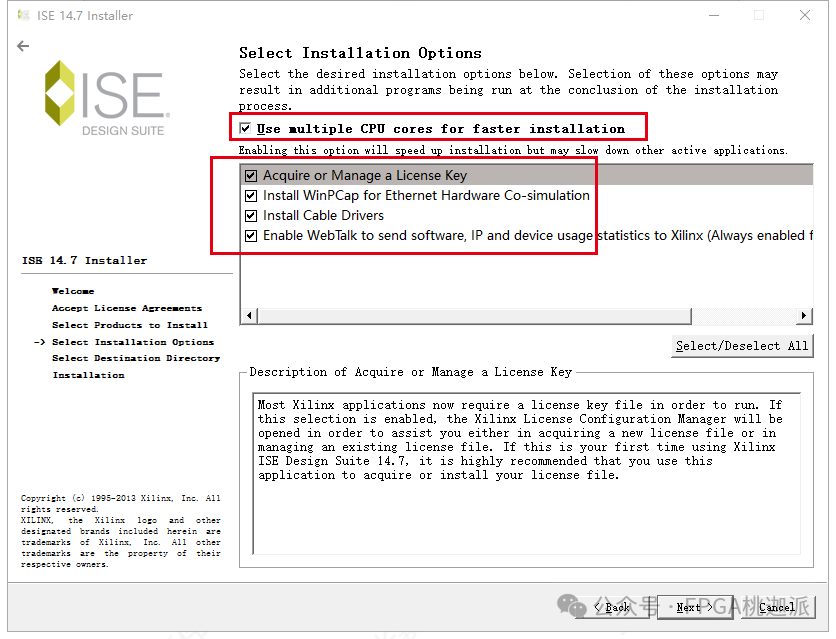
7. Default check the options below, then click “Next”.
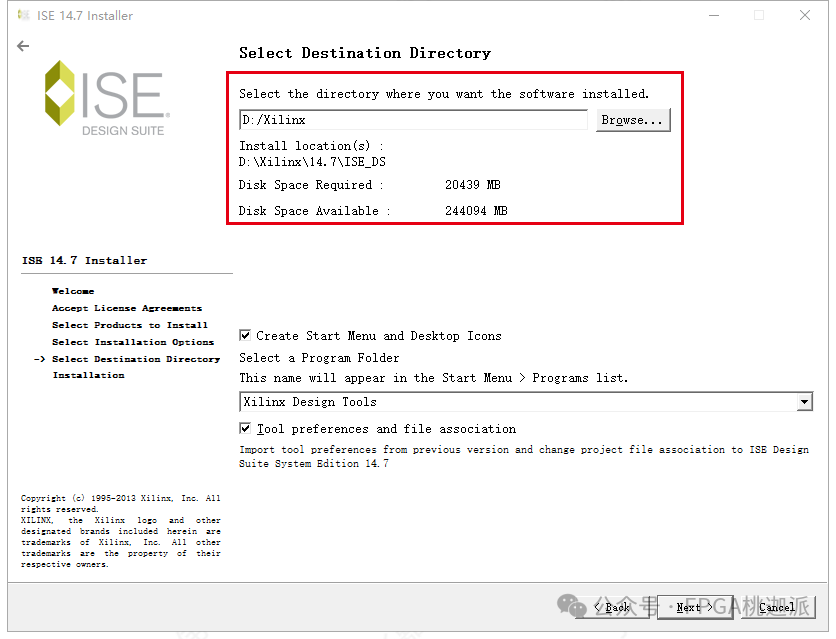
8. Choose the installation path (note that it should not contain Chinese characters). Here, considering that Vivado will also be installed, I created a folder named Xilinx in the D drive in advance for installing both ISE and Vivado. Then click “Next”.
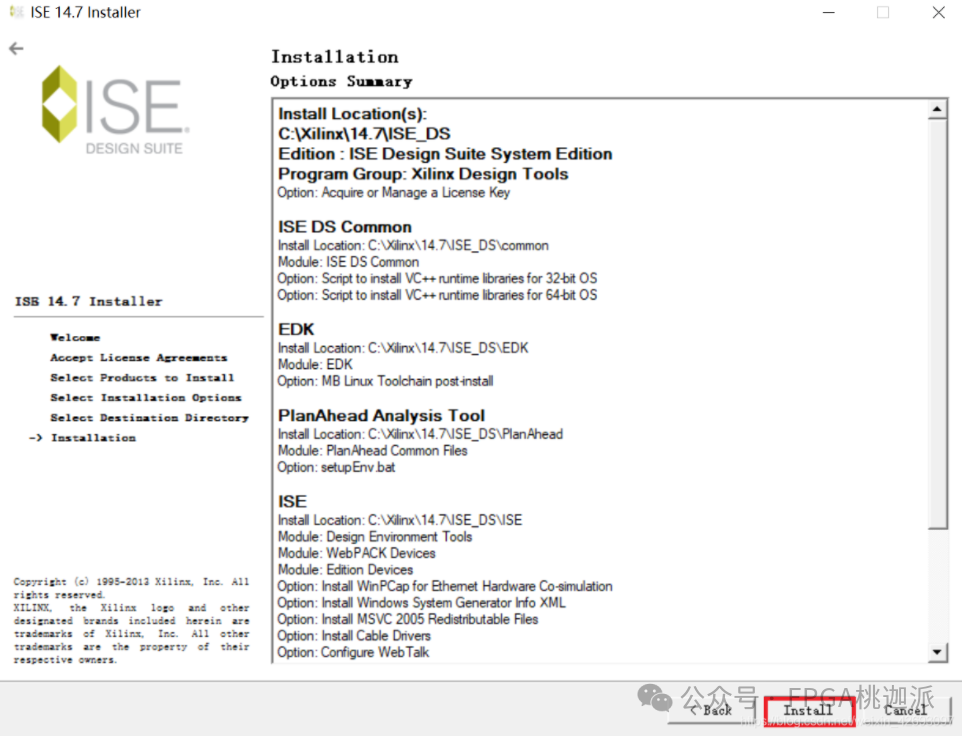
9. Click “Install”, then wait for the installation to complete.
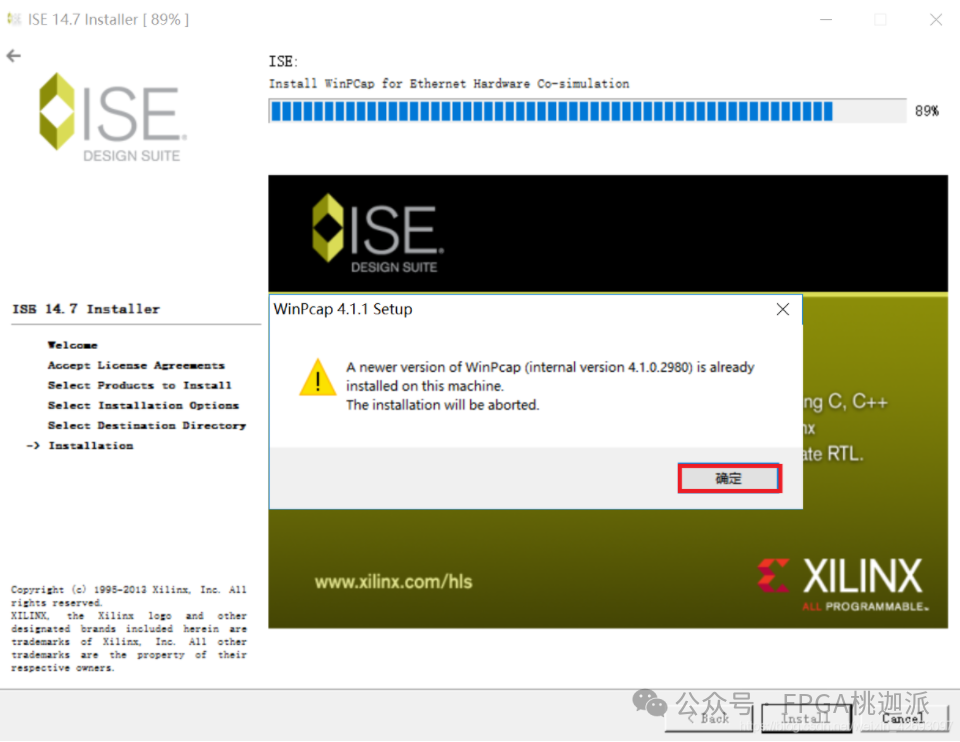
10. It prompts that WinPcap needs to be installed, just click install. If WinPcap was previously installed on the computer, it will prompt that a newer version is already installed, in which case just click OK.
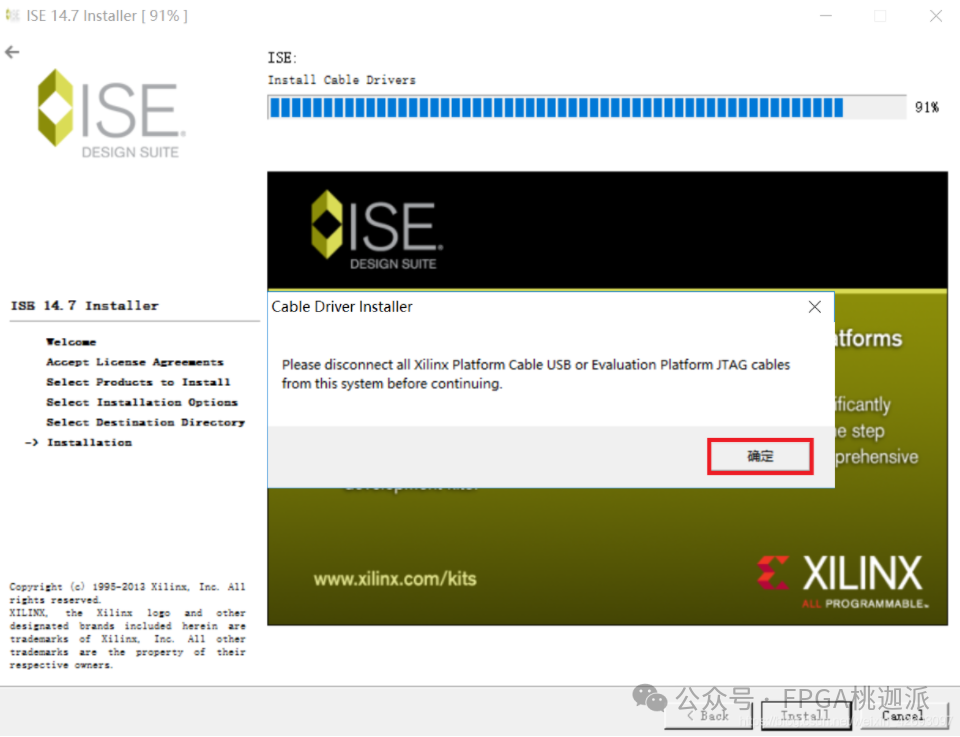
11. It prompts for the installation of the Cable driver, click OK.
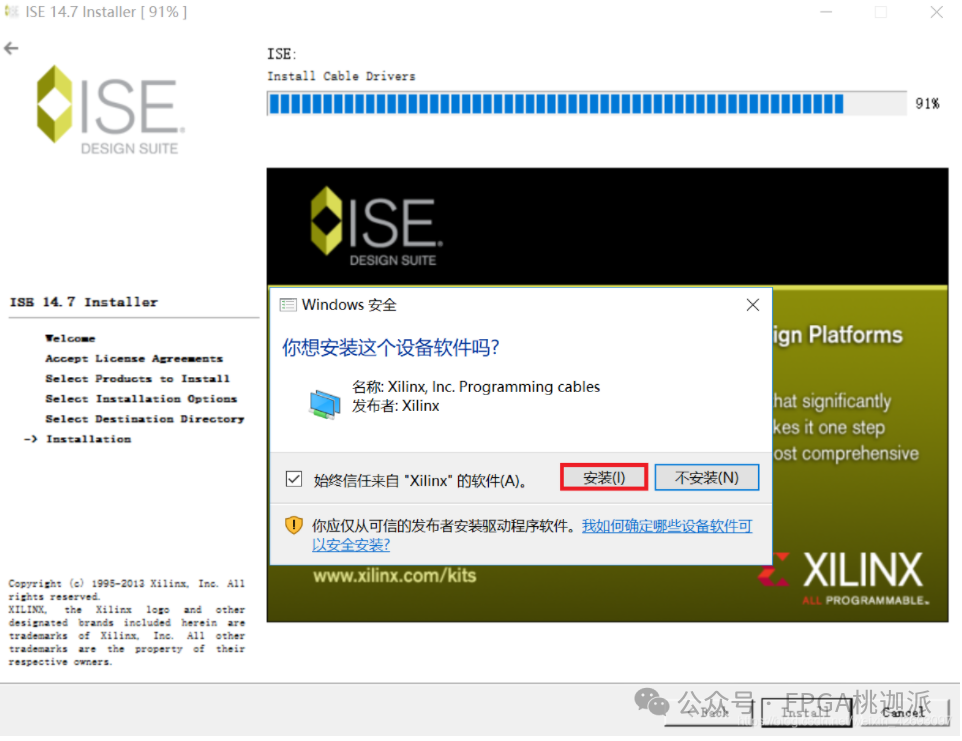
12. Install the following device software, click install.
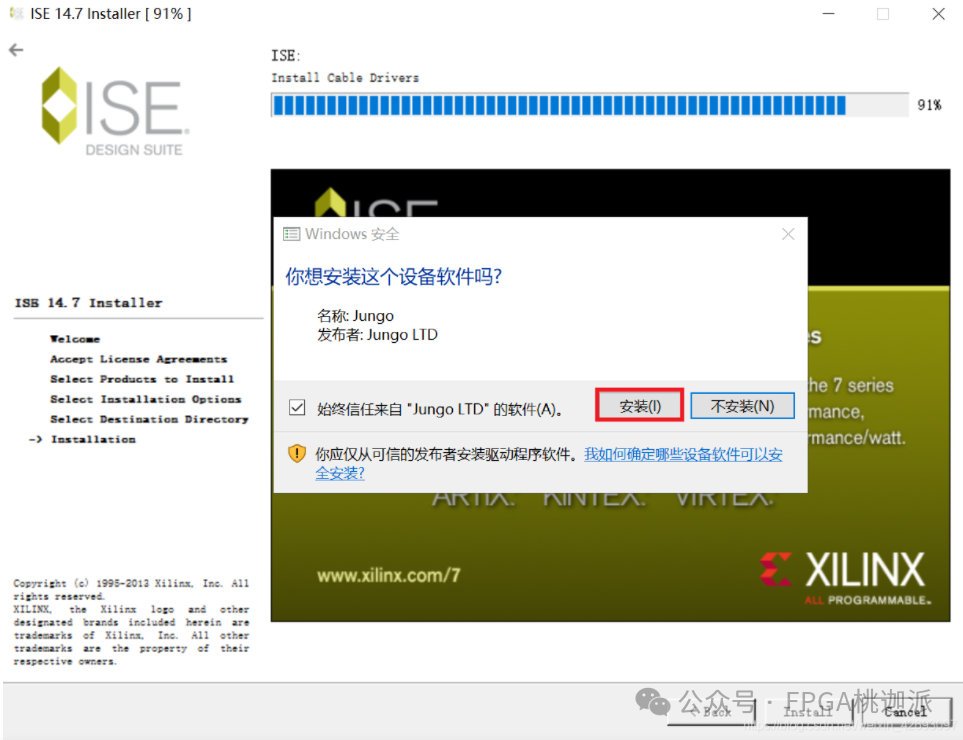
13. Install the following device software, click install.
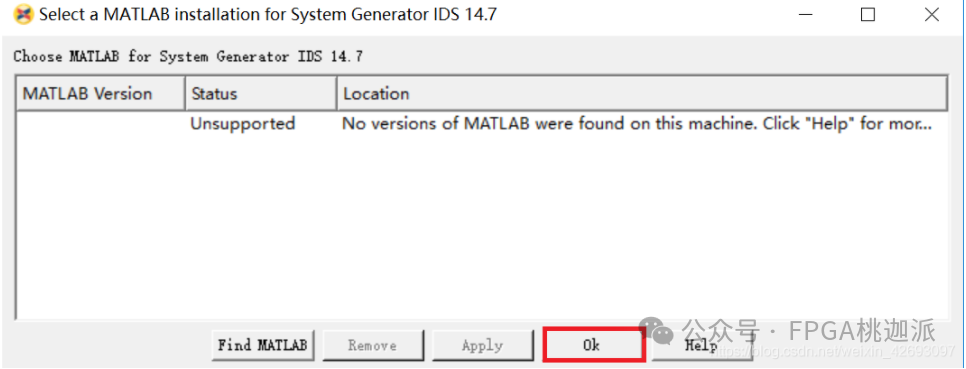
14. The System Generator will pop up here, do not associate it with Matlab, just click OK.
Note: The installation of System Generator will provide the Xilinx signal processing toolbox for the corresponding version of Matlab, allowing for FPGA digital signal processing development using Simulink in Matlab.
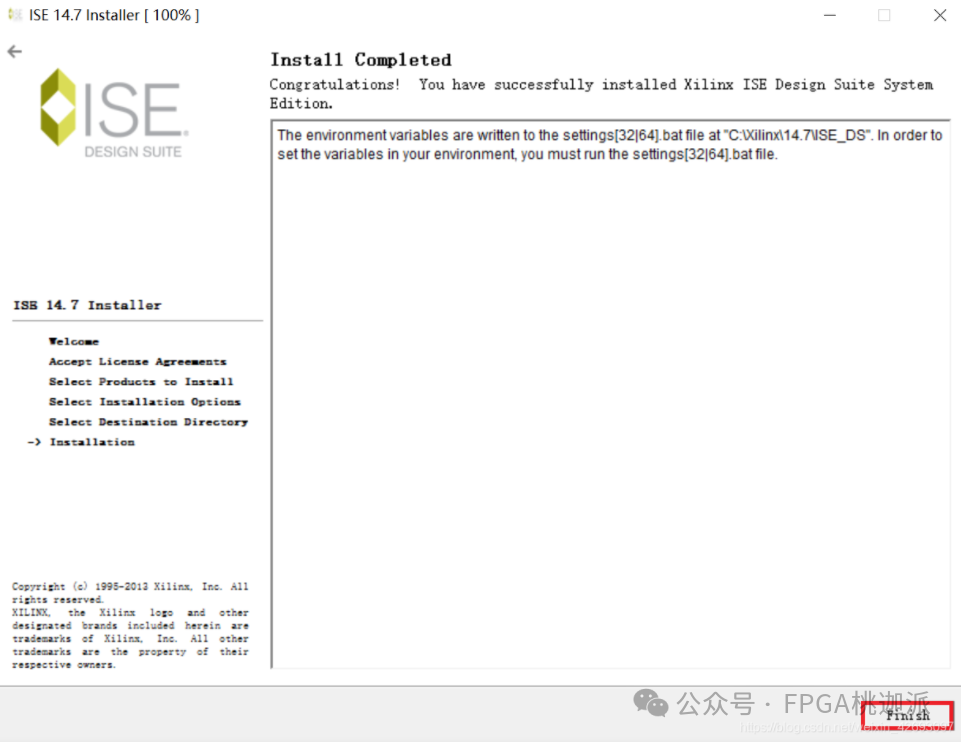
15. Click “Finish”, the installation work is complete.
3. Windows 10 Compatibility Settings
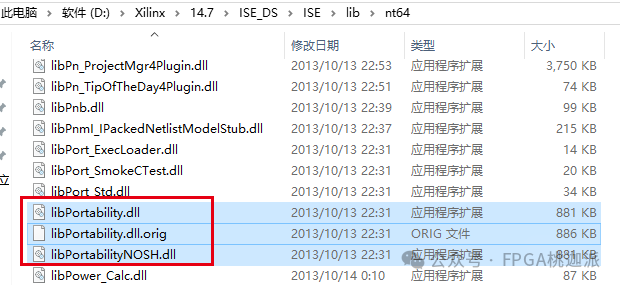
1. Open the nt64 folder in the lib directory of the installation path, for example, my path is D:\Xilinx\14.7\ISE_DS\ISE\lib\nt64, find libPortabilityNOSH.dll and libPortability.dll, rename libPortability.dll to libPortability.dll.orig, then copy libPortabilityNOSH.dll and rename the copied file to libPortability.dll.
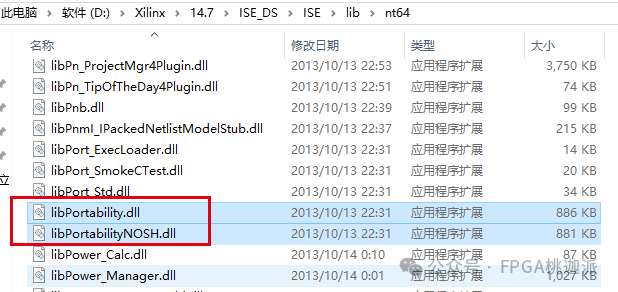
After following the above steps, you will get
2. Open the nt64 folder in the common lib directory of the installation path, for example, my path is: D:\Xilinx\14.7\ISE_DS\common\lib\nt64, copy the libPortabilityNOSH.dll from the previous step, then rename the libPortability.dll in this folder to libPortability.dll.orig, and rename libPortabilityNOSH.dll to libPortability.dll.
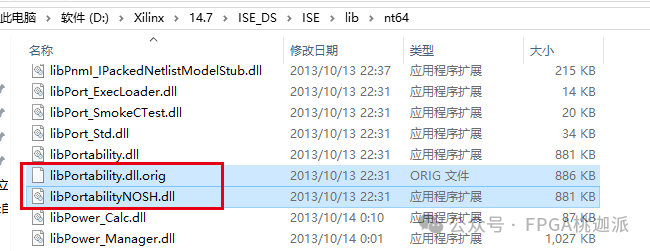
Compatibility configuration is complete.
4. Configuring the License File
1. After completing the above work, open the ISE icon on the desktop for the first time.

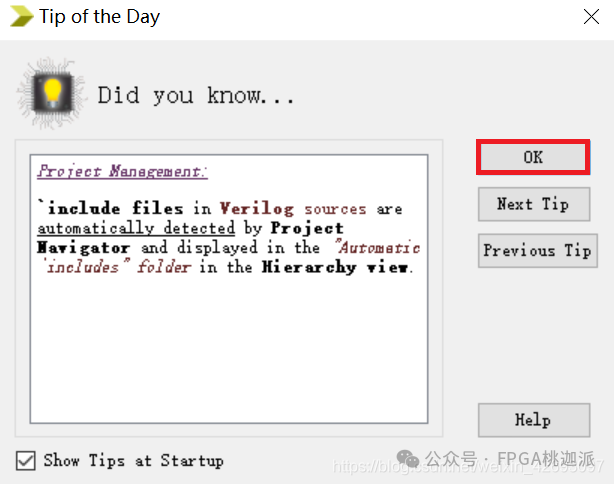
2. Close the software prompt message.
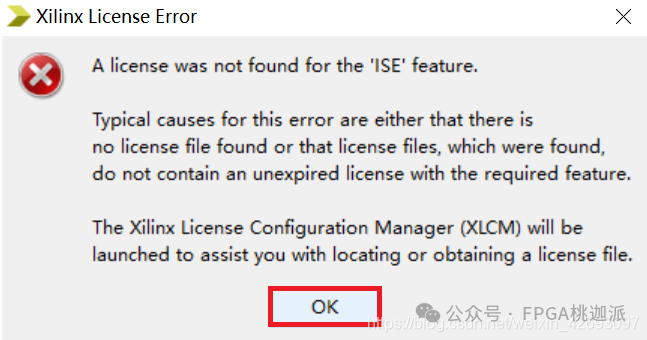
3. The software will prompt that there is no configured license file, click OK first.
Then configure the license file:
(1) Click Help -> Obtain a License Key
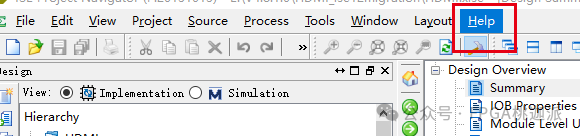
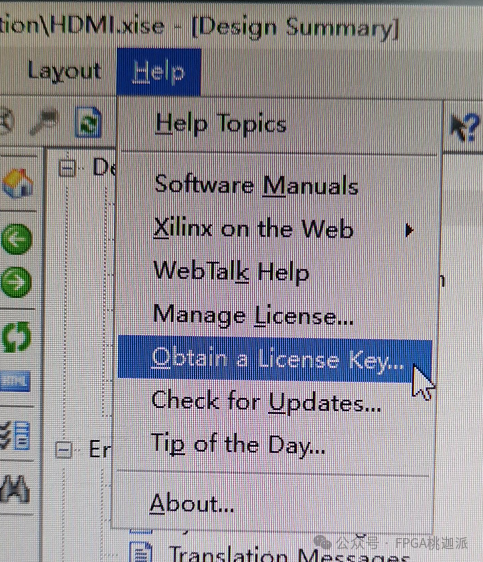
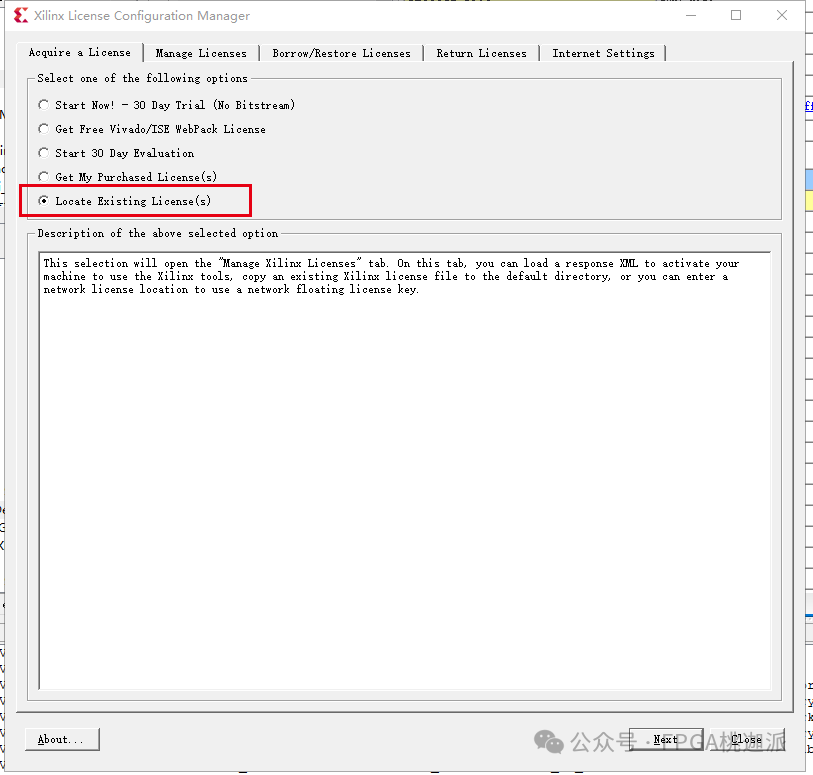
(2) In “Acquire a license”, select “Locate Existing License(s)”.
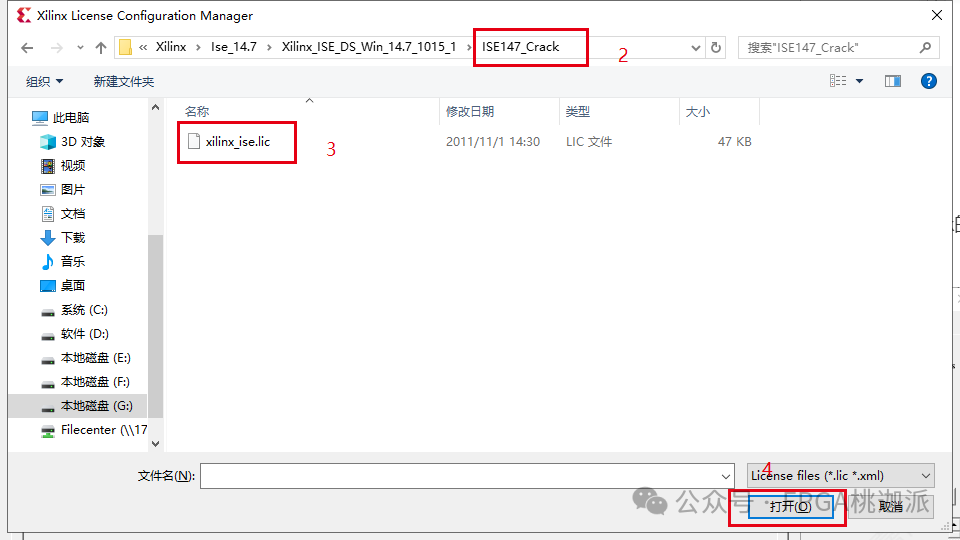
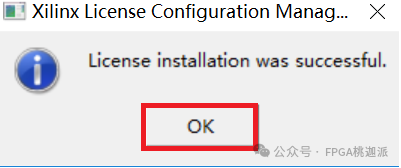
(3) In “Manage License”, click “Load License”, then select the xilinx_ise.lic file from the ISE147_Crack folder in the installation package. After loading, it will prompt that the license installation was successful, click “OK”.
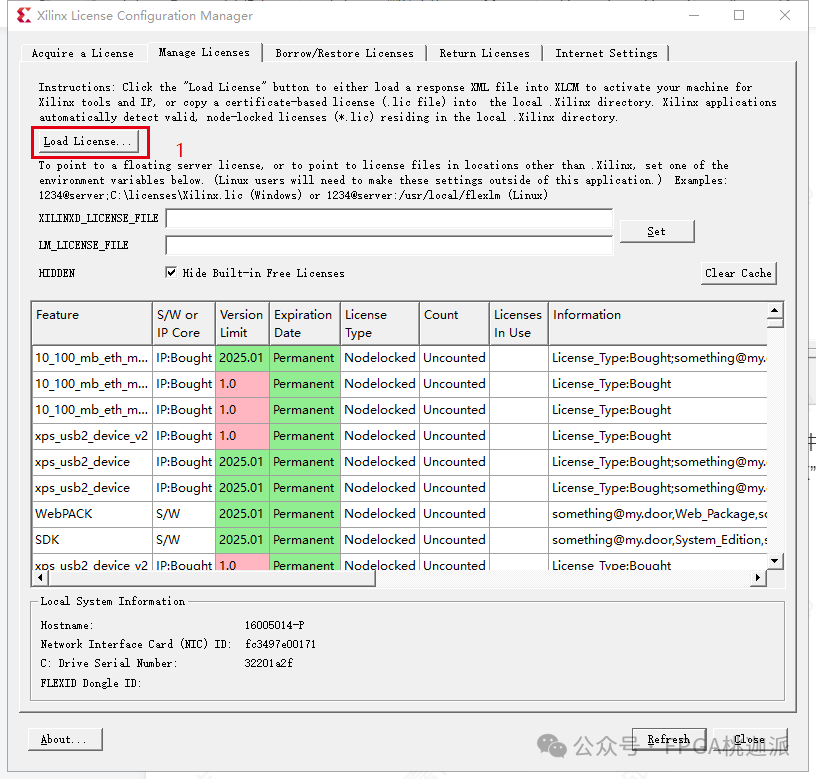
(4) After loading the license, it will prompt that the loading was successful.
Click close to complete the installation of the license file.