Introduction:
As a teaching assistant at Guyueju, I am fortunate to participate in the trial of the Xuri X3 board. Given that most AI development boards and chips like Raspberry Pi and Jetson Nano are from foreign manufacturers and their prices are steadily rising, I hope to contribute a little to domestic AI development boards and chips.
Development Environment
My personal laptop runs Ubuntu 18.04 (no Windows), with an Intel i5 11th generation processor.
Development Reference
Click through the Horizon official website -> Developer Community -> Xuri X3 -> Top Post Horizon Robot Development Platform (Hobot) version release to find the development manual. The link is: https://developer.horizon.ai/api/v1/fileData/documents_pi/index.html
Materials Preparation

-
Xuri X3 Board
-
TF card
Some TF cards may burn successfully but fail to boot properly. It is recommended to use a SanDisk TF card with a capacity of 16GB or more and a C10 mark, as indicated in the black frame in the image below.

-
TF card reader
A standard card reader is sufficient.
-
Type-C power cable
The output should be a 5V 2A charger.
System Image Burning
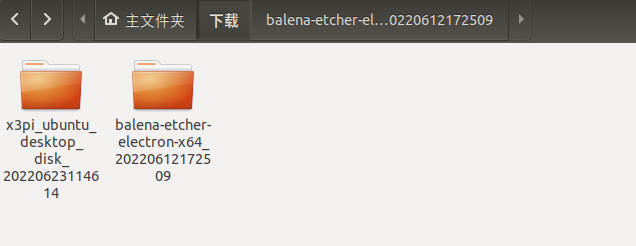
Step 1: Use the Linux version of balenaEtcher (balenaEtcher is an APPImage type, no installation required, just click to use) and the desktop image.
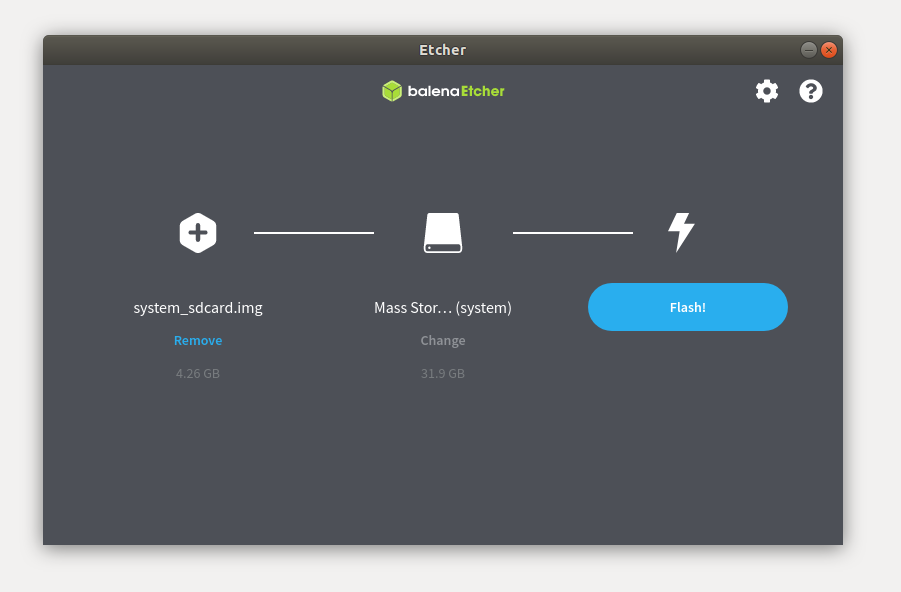
Step 2: In balenaEtcher, select the image file system_sdcard.img, choose the TF card as the device, and click flash to begin burning.
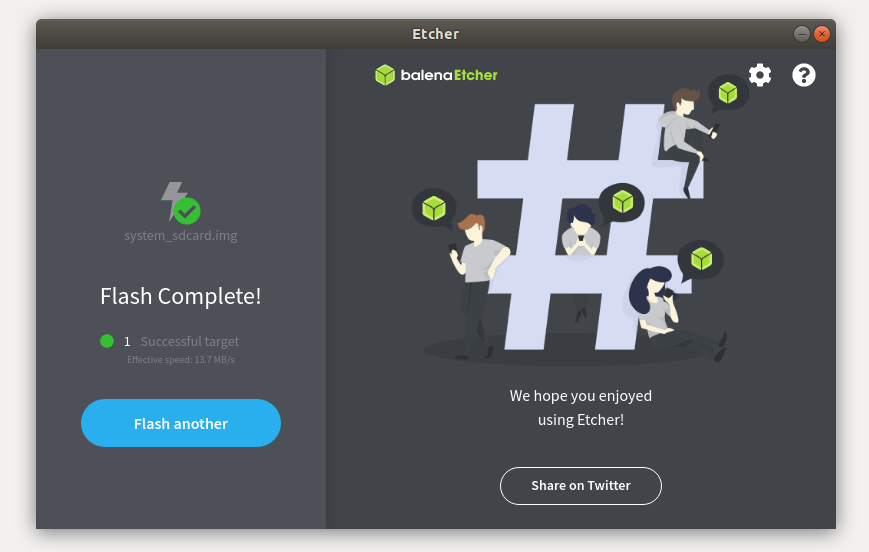
Step 3: When Flash Complete appears, the burning is complete.
Booting
Step 1: Insert the TF card into the Xuri X3, connect it to a monitor, power it on, and wait about 1-2 minutes. The system desktop should appear. If the desktop does not refresh, try restarting the monitor a few times.
Step 2: Connect your personal PC and the Xuri X3 to the same local area network and use VNC for remote connection.
Step 3: Click the Wi-Fi icon -> Edit Connections to forget other Wi-Fi networks, to prevent connecting to other Wi-Fi signals after the next boot.
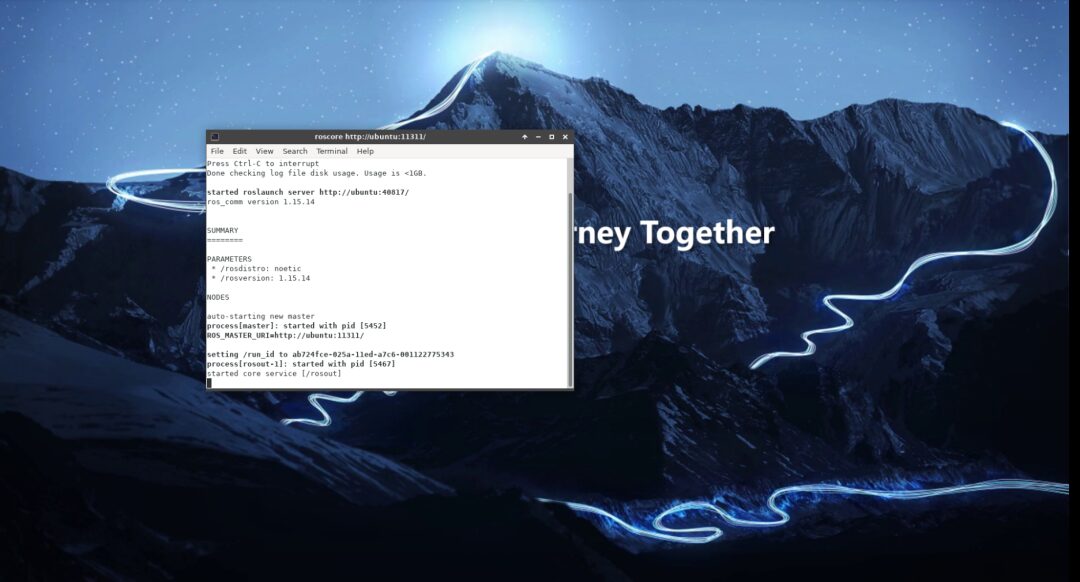
ROS1 Installation
The Xuri X3 image system is Ubuntu 20, and the corresponding ROS1 version is ROS Noetic. Follow the ROS wiki installation tutorial at wiki.ros.org/noetic/Installation/Ubuntu. With a good network connection, the installation can proceed in order, and roscore should start normally.
-
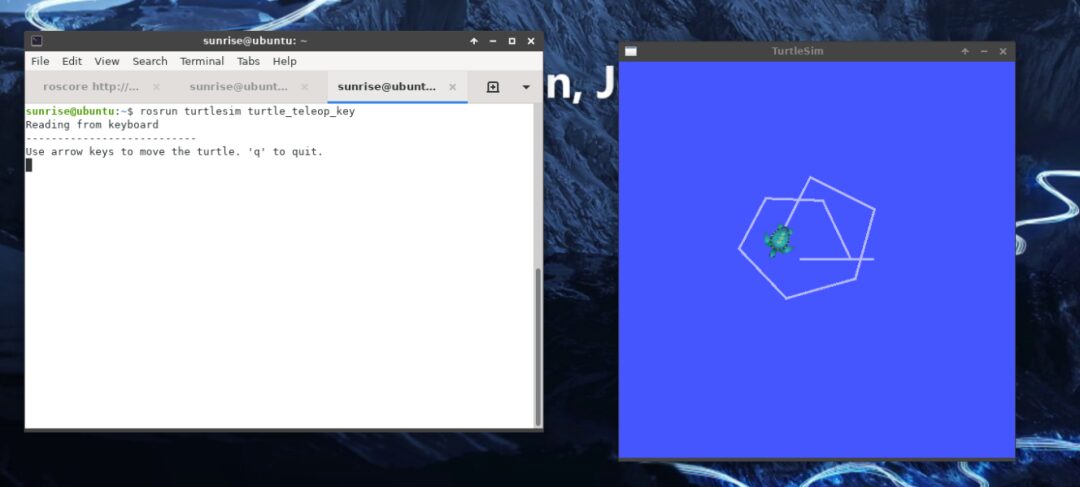
Turtlesim
Run the classic turtlesim example in ROS.
rosrun turtlesim turtlesim_nodeCreate a new terminal page.
rosrun turtlesim turtle_teleop_keyThe turtlesim example runs normally.
-
RViz
RViz is temporarily unable to run, and the same goes for Gazebo.
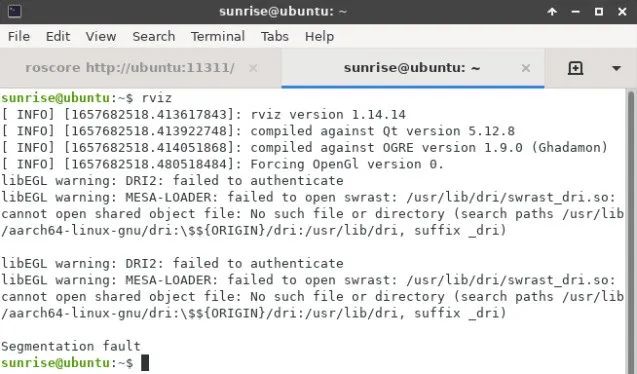
The official response is that the board does not currently support it.

TogetherROS™·Bot Installation
Refer to the Horizon Robot Development Platform User Manual https://developer.horizon.ai/api/v1/fileData/TogetherROS/index.html
Here we use the deb installation method.
sudo apt install hhpls /opt/
When “Generation complete” appears in the terminal and the “tros” folder appears in the /opt directory, it indicates that the installation was successful.
-
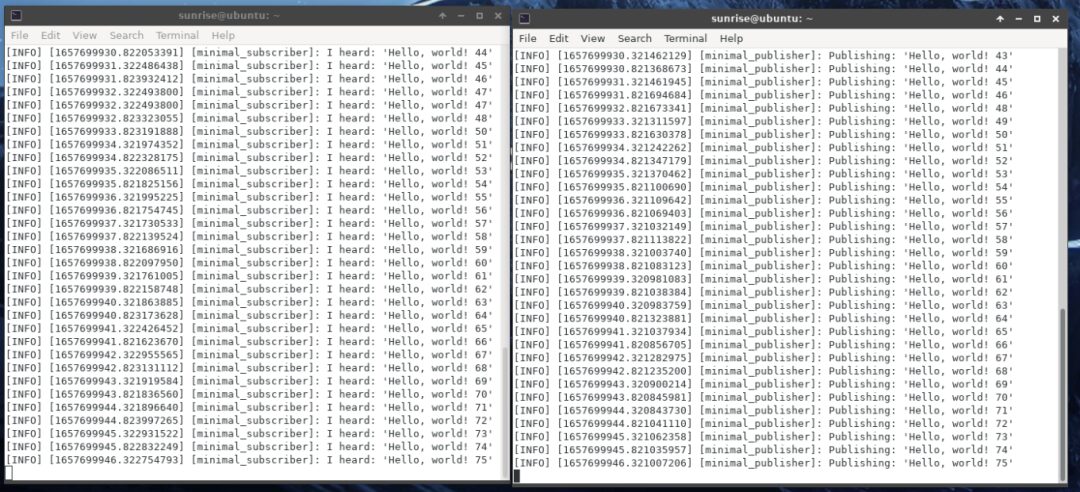
Hello World
Create a new terminal 1.
source /opt/tros/local_setup.bashros2 run examples_rclcpp_minimal_subscriber subscriber_member_functionCreate a new terminal 2.
source /opt/tros/local_setup.bash
ros2 run examples_rclcpp_minimal_publisher publisher_member_function The messages are sent and received normally in the terminal.