1. Introduction
Qt is a cross-platform C++ graphical user interface application framework that provides developers with all the necessary tools to create artistic graphical user interfaces. Qt allows us to easily develop cross-platform GUI applications using C++. On the Raspberry Pi, using Qt to develop graphical user interface applications is equally straightforward. This article will introduce how to install Qt Creator on the Raspberry Pi and create a simple application. Since Qt is cross-platform, it means that some project source codes developed with Qt on Windows can potentially be opened and recompiled on the Raspberry Pi with minor modifications. That’s amazing!
2. Installing the Qt Development Environment
Enter the following commands in the command line terminal to install:
sudo apt-get update
sudo apt-get install qt5-default
sudo apt-get install qtcreator
sudo apt-get install qtmultimedia5-dev
sudo apt-get install libqt5serialport5-dev
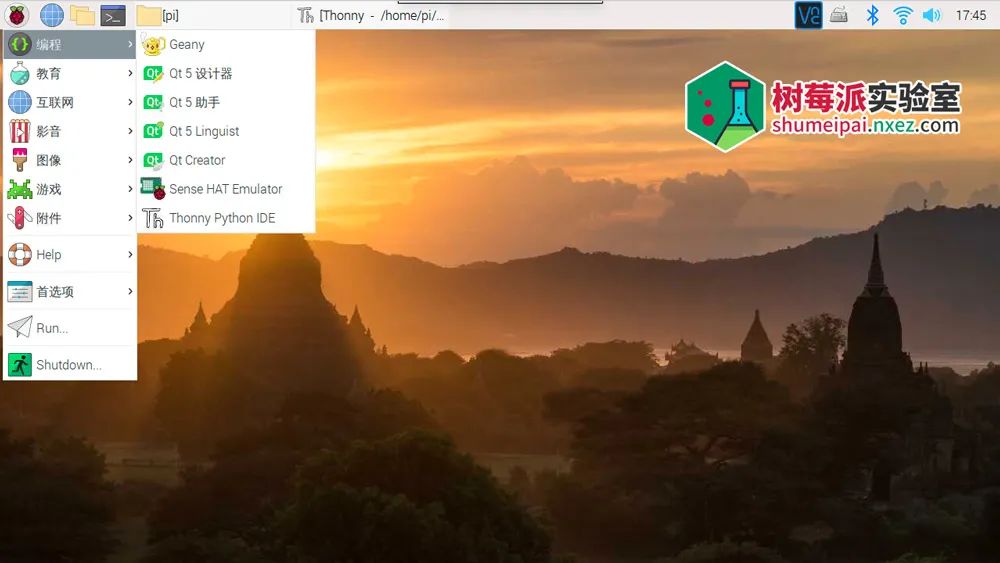
After the software installation is successful, you can find the software icon in the Raspberry Pi menu at the top left corner.
3. Try It Out
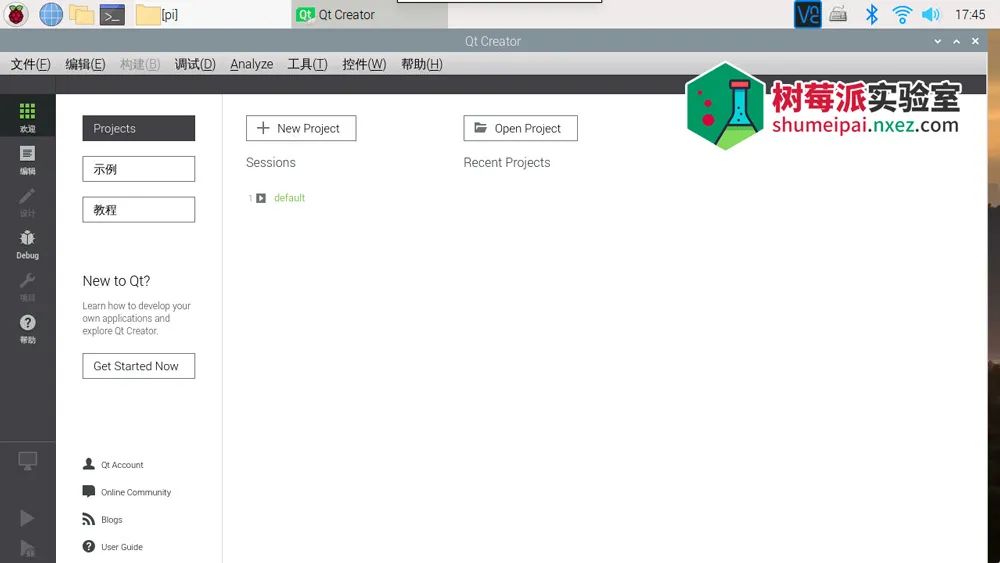
Open Qt Creator to enter the integrated development environment.
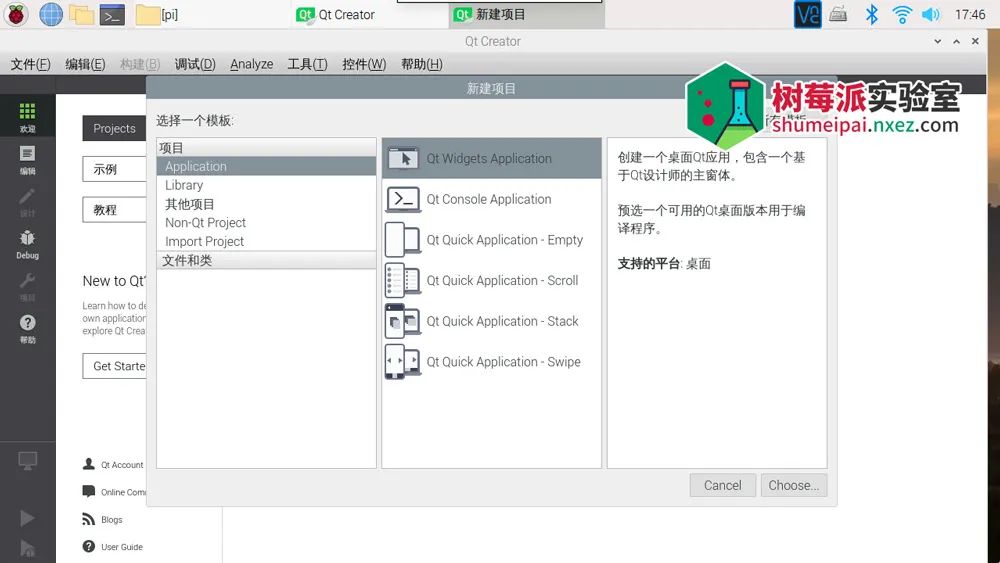
Create a simple project to test it out. After selecting the type of project, you need to name the project and choose the location to save it. In this example, the name is set to “nxez”, with the default path.
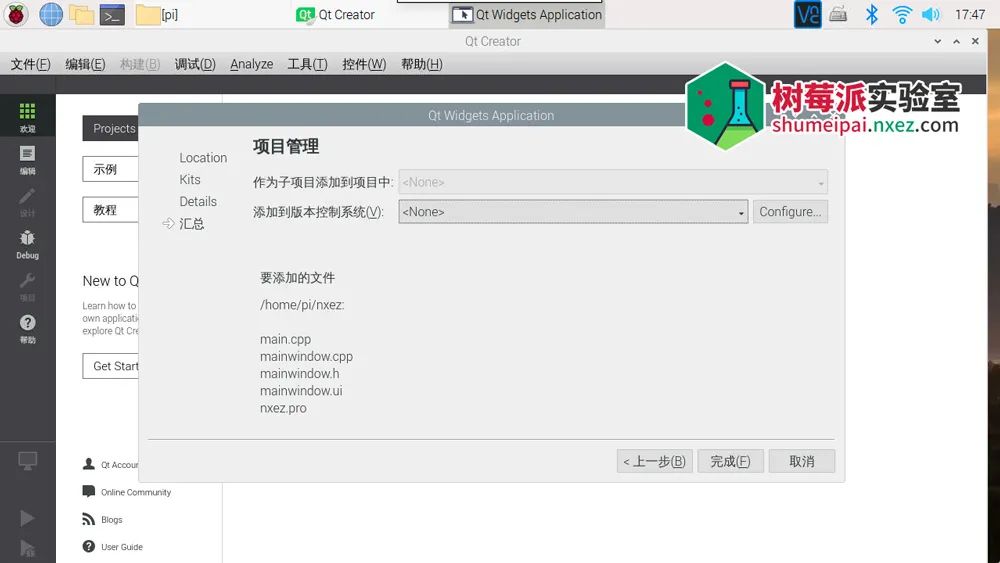
Since this is just for testing, use the default values for the next three steps and click “Next”, “Next”, “Finish”.
Then the project is created.
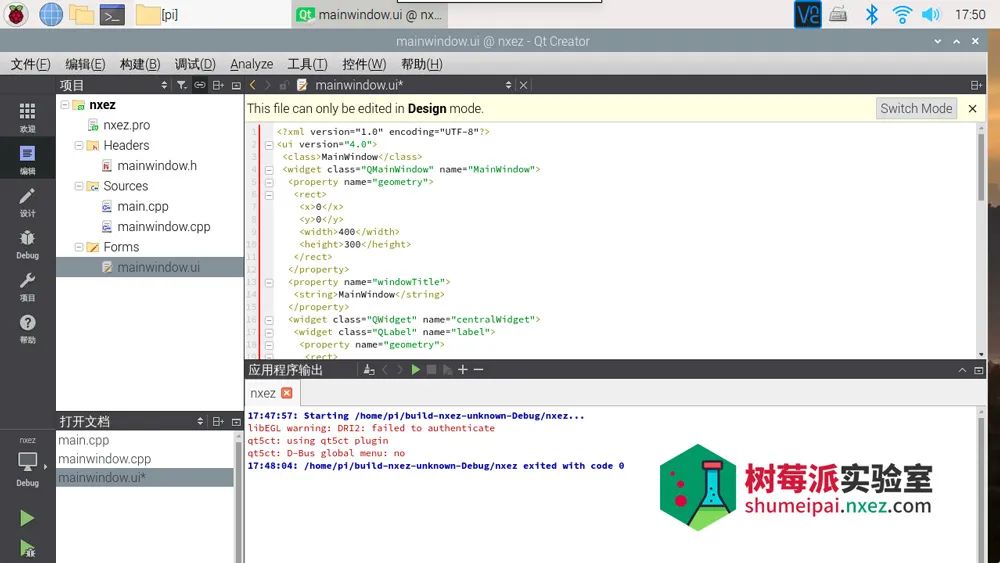
The tree structure on the left shows the entire project’s architecture and files. The basic structure will include “Click_Me.pro”, “mainwindow.h”, “main.cpp”, “mainwindow.cpp”, and “mainwindow.ui”. If you did not choose the default value for your “Class name”, the string ‘mainwindow’ will be your “Class name”.
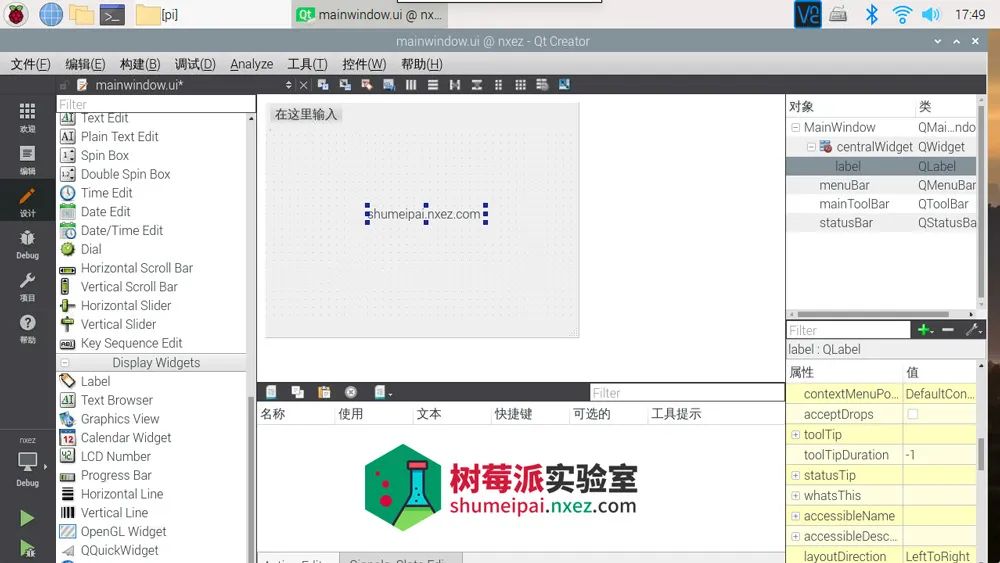
Open the mainwindow.ui under Forms; this is the design resource for the user interface. Once in the designer window, you can easily add common controls like text and buttons to your project by dragging them from the left.
Let’s add a line of text (Label) to test it out. Click on the control and enter the content to be displayed.
Click the green arrow at the bottom left to debug and run, and you will see the following screen.
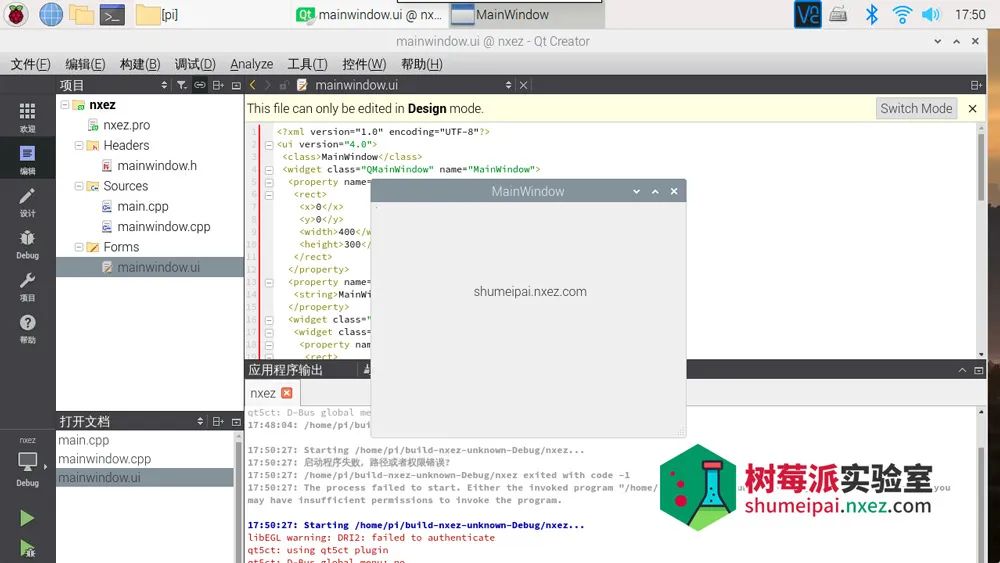
Isn’t it easy?
Additionally, Qt Creator comes with a set of examples that can quickly achieve the desired interactive effects based on these examples.
Of course, to use Qt in-depth, it is necessary to systematically learn C++, the Qt development framework, and the usage of development tools like Qt Creator. Finally, I recommend interested friends to further explore these topics on the Qt official website: https://doc.qt.io/
The links in the text can be clicked to read the original text at the end

More exciting content
Make a motorcycle dashboard with Raspberry Pi
Make a smart pet feeder with Raspberry Pi
Build a smart planetary observer with Raspberry Pi
Handmade metal wireframe X-wing clock
Arduino + 280 LEDs DIY music spectrum light
DIY Stanford Pupper 12 Degrees of Freedom Quadruped Robot Dog
Barrier: A solution for sharing keyboard and mouse between PC and Raspberry Pi