
☞ Free CSDN Resources Help Service | Free Group Join ☜
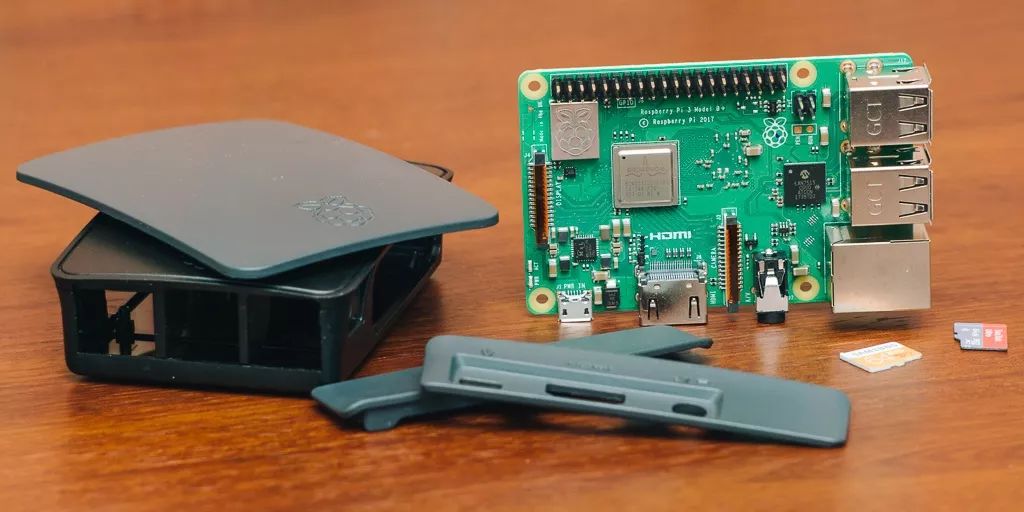
Lighttpd, like Nginx, is designed to run on devices with low memory and low CPU load, making it very suitable for running on a Raspberry Pi.
This article will introduce how to run a basic configuration of Lighttpd on a Raspberry Pi, and how to use it with PHP-FPM.


-
First, we need to ensure our Raspberry Pi software is up to date:
$ sudo apt-get update
$ sudo apt-get upgrade
-
We also need to remove Apache2; if your system has already removed it, you can skip this step.
$ sudo apt-get remove apache2
-
Next, we can install Lighttpd.
$ sudo apt-get install lighttpd
-
Once Lighttpd is correctly installed, we need to check if it is working properly. Use any browser to enter the local network address of the Raspberry Pi. If you do not know the local network address, you can use the following command to obtain it:
$ hostname -I
You will see the following page:
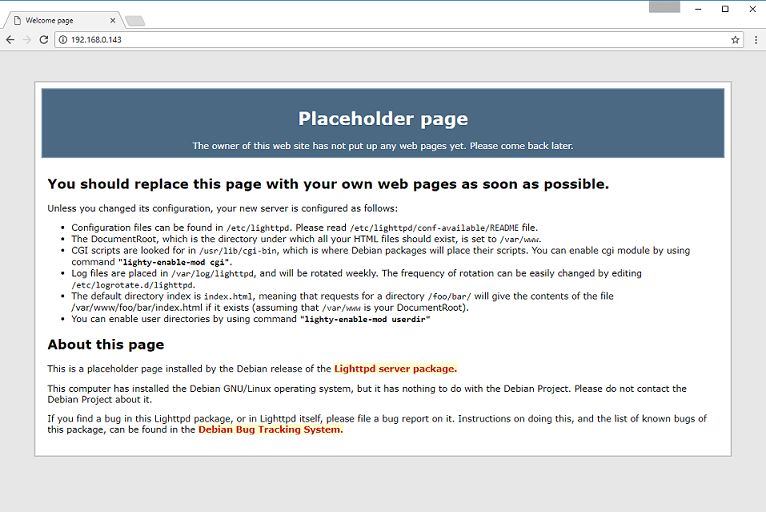
If you find this page too ugly, you can modify it yourself:
$ sudo vim /var/www/html/index.html


-
In this tutorial, we will use PHP-FPM, version PHP7. Why use PHP7 instead of PHP5? Because PHP7 is updated, has better performance, and improved memory management.
-
We can install PHP-FPM as follows:
$ sudo apt-get install php7.0-fpm


-
After installing PHP-FPM, we need to run the following two commands to create two symlinks so that Lighttpd can read these PHP settings when it runs.
$ sudo lighttpd-enable-mod fastcgi
$ sudo lighttpd-enable-mod fastcgi-php
-
Lighttpd defaults to running PHP-CGI instead of PHP-FPM. We can modify the following configuration file to run PHP-FPM:
$ sudo vim /etc/lighttpd/conf-available/15-fastcgi-php.conf
Modify the above configuration file as follows:
# -*- depends: fastcgi -*-
# /usr/share/doc/lighttpd/fastcgi.txt.gz
# http://redmine.lighttpd.net/projects/lighttpd/wiki/Docs:ConfigurationOptions#mod_fastcgi-fastcgi

## Start a FastCGI server for php (needs the php5-cgi package)
fastcgi.server += ( ".php" =>
        ((
                "socket" => "/var/run/php/php7.0-fpm.sock",
                "broken-scriptfilename" => "enable"
        ))
)
-
Once everything is ready, we can restart Lighttpd.
$ sudo service lighttpd force-reload
-
After restarting, we can write a PHP file to confirm if our configuration is effective.
$ sudo vim /var/www/html/index.php
The file content is as follows:
<?php phpinfo() ?>
-
Finally, we access the Raspberry Pi in the same way as in step 4. If you see a PHP information page, it means we have successfully set up a Lighttpd web server using PHP on the Raspberry Pi.
All articles on this public account have been organized into a directory. Please reply with “m” in the public account to obtain it!
Recommended Reading:
Analysis of Linux Boot Process
10 Practical and Interview Common Shell Scripts
GitHub Tips You Must Save
5T Technical Resources Giveaway! Including but not limited to: C/C++, Linux, Python, Java, PHP, Artificial Intelligence, Microcontrollers, Raspberry Pi, etc. Reply with “1024” in the public account to get it for free!!