Recently, I have been testing the integration of Mobotix cameras with HomeAssistant. Through testing, I found that the images from Mobotix cameras can be successfully integrated into HomeAssistant via the Onvif protocol or RTSP. So how can the alarm signals from the Mobotix cameras be integrated into HA? Since Mobotix cameras support the MQTT protocol, and HA also supports MQTT, it is quite feasible to integrate the camera’s alarm signals into HA using the MQTT protocol. Thus, I began to delve into the MQTT protocol and attempted to set up a testing environment for MQTT communication.
As we all know, the MQTT protocol is a message transmission protocol based on a client-server, publish-subscribe model. Implementing the MQTT protocol requires the presence of two or more clients and one server. In the MQTT protocol, there are three identities: Publisher, Broker (server), and Subscriber. Both the message publisher and subscriber are clients, while the message broker is the server. A message publisher can also act as a subscriber.

To set up the MQTT testing environment, we first need an MQTT broker (server), which can either be a cloud service or a server that we set up ourselves. Now that we have the HomeAssistant system, we can easily set up an MQTT broker using the add-ons available in the HomeAssistant system.
1
Setting Up the MQTT Broker
Log in to HA, go to “Settings” -> “Add-ons” -> “Add-on Store” and find the 【Mosquitto broker】 under the Official add-ons category.
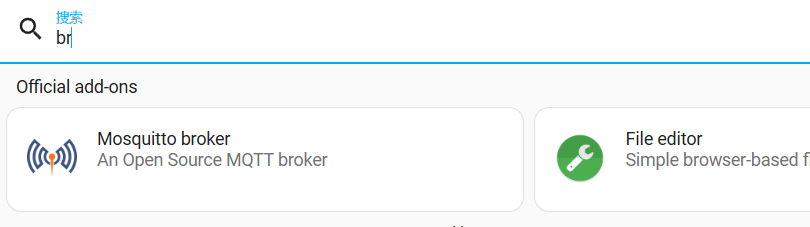
Then proceed to install it.
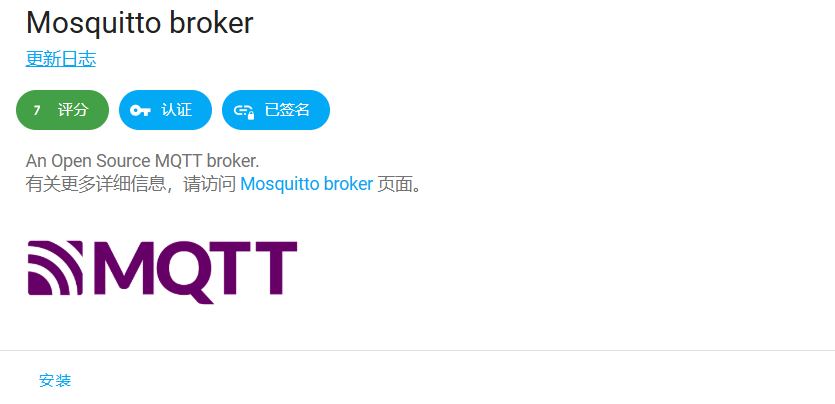
After installation, start it.
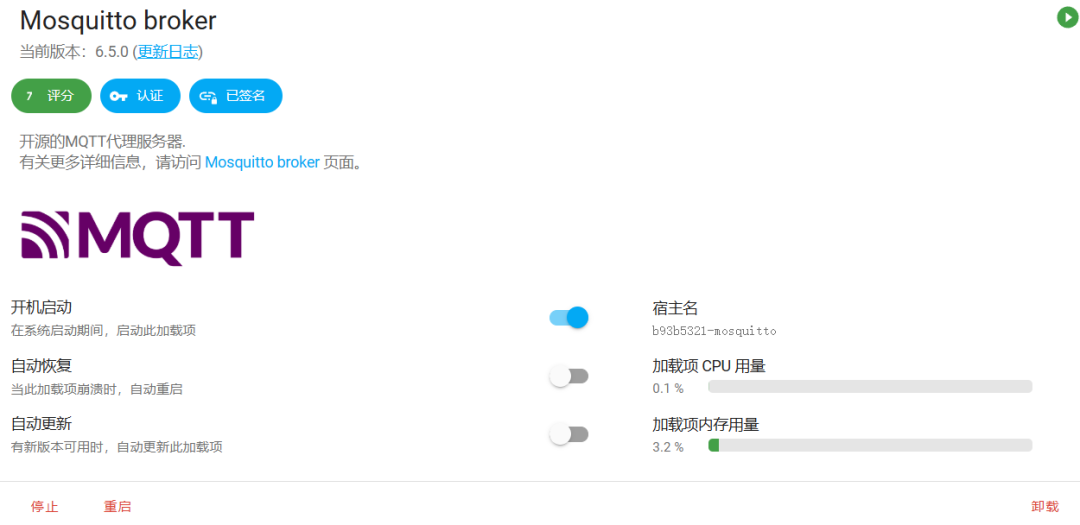
Once started, keep all the default settings.
2
Adding Users
Then return to the HA system to add users for mosquitto login. Go back to HA’s “Configuration” -> “People” -> “Users” and add two users with passwords for testing:
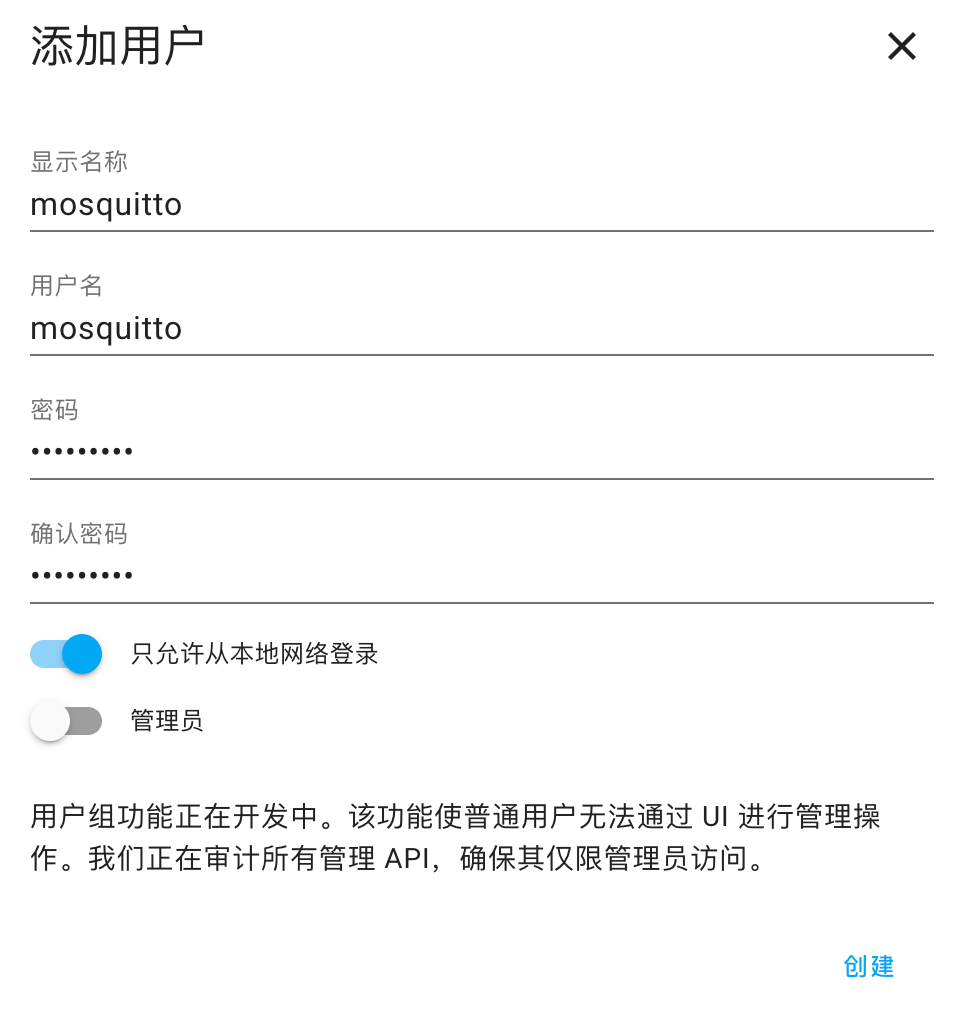
For security reasons, you can check “Allow only local network login” or leave it unchecked.
3
Configuring the MQTT Client
Return to HA, at this point, the 【MQTT】 should already be discovered in “Integrations”.
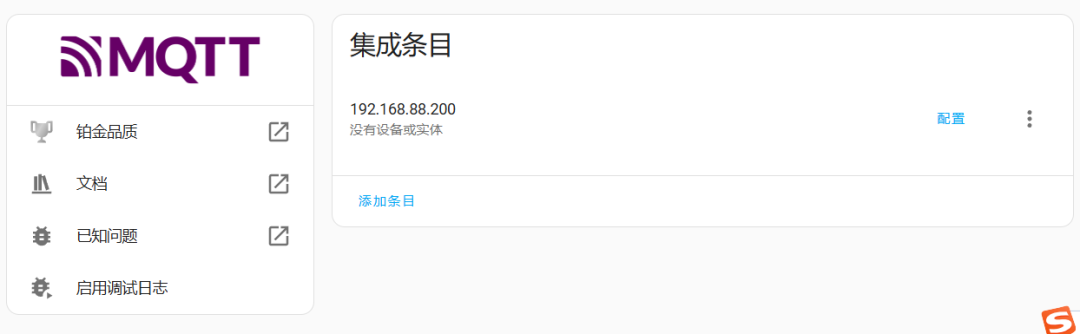
Click “Configure” to set it up.
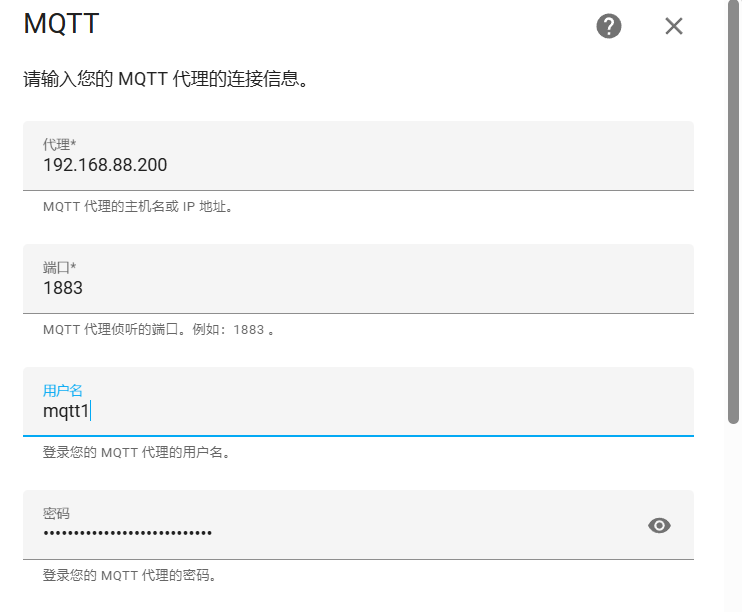
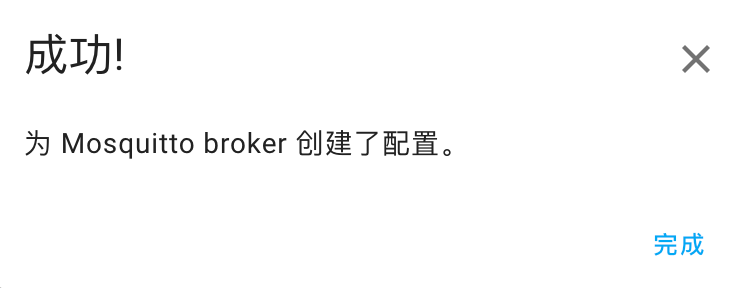
Correctly enter the IP address and port of the MQTT broker, fill in the username and password, and click the “Submit” button at the bottom right. If everything is set correctly, it will prompt that the creation was successful:
At this point, the most important work in setting up the MQTT testing environment has been completed. The next step is to download and install an MQTT client on the computer, or directly use the MQTT communication program of the Mobotix camera as a client to communicate and test with HA. For specific operations, please read the next section.

Click to identify and follow us

If you find this article helpful, please give it a thumbs up