Programming Mode of Pico and MicroPython Concepts
This section mainly discusses how to configure our Pico development board for MicroPython development mode, as well as the MicroPython REPL interactive development mode. You can refer to the Raspberry Pi official documentation for more information. Here is the link.
Flashing the bootloader firmware onto our Pico for MicroPython development
We will connect the Pico to the computer via USB and drag and drop files to program the Pico. Therefore, we have organized a downloadable UF2 file to make it easier for you to install MicroPython.
We need to download this UF2 file first. Before connecting the device via USB, we need to hold down the BOOTSEL button on the board. After connecting the Pico, release the BOOTSEL button. This will allow our system to enter the Pico’s BOOT mode, where we can perform some pre-development operations.
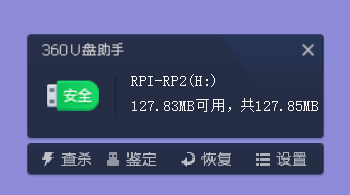
At this point, the computer will recognize the Pico as a large-capacity storage device for installation. We only need to drag the UF2 file we just downloaded into it.
This is what our Pico looks like after entering the system~
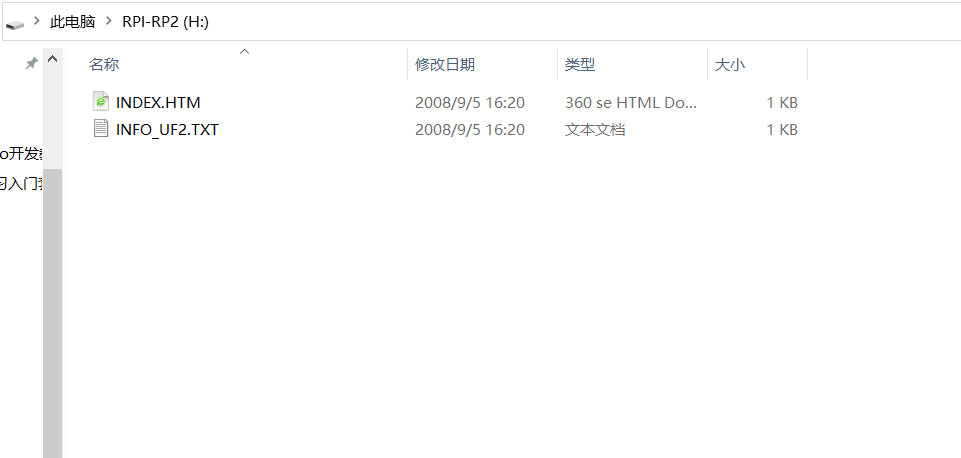
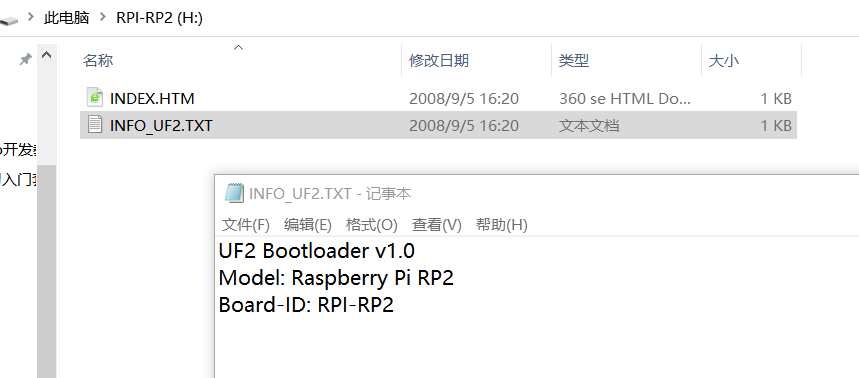
Here we have two files. The upper HTM file will directly redirect to our Pico’s official website, while INFO_UF2 contains the current information about the Pico.
We can complete the installation of MicroPython bootloader on the Pico by dragging the UF2 file we just downloaded into it. Once we drag it in, the Pico will automatically restart, and we can see a USB virtual port appearing in our device manager.

At this point, our Pico has been successfully configured. Next, we can start having fun with MicroPython~
I am operating on a Windows 10 system here, and the operations on the Raspberry Pi system are similar. However, for the port location, you need to confirm the current port number by using the command ls /dev/ttyUSB*.
Accessing Pico’s REPL Interactive Environment via Putty
The official manual of Pico uses minicom software to access it, but I have tried it a couple of times, and the experience was really poor. Since everyone here is familiar with Raspberry Pi, I believe you are no stranger to Putty, a remote login software. We will use Putty to log into our Pico and achieve REPL interactive development. As for what REPL is, let’s take a look.
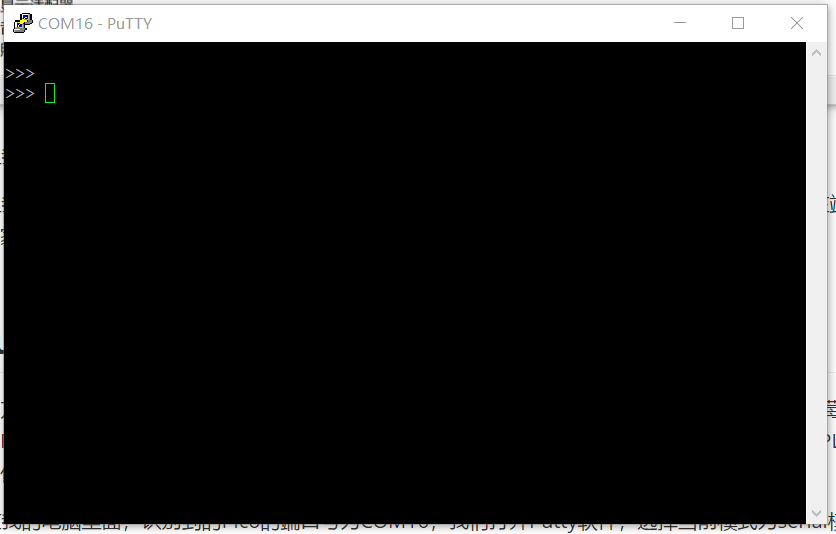
Just now, the port number recognized by my computer for the Pico was COM16. We open the Putty software, select the current mode as serial mode, input our port number, and set the baud rate to 115200 bps, which you can find in the official data manual.
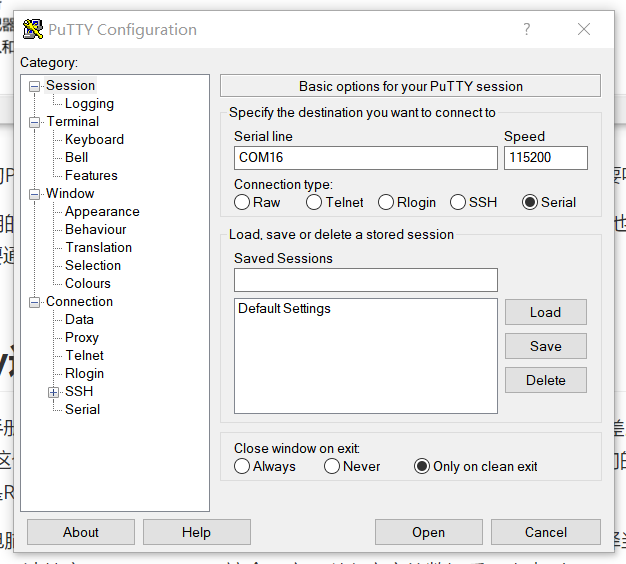
We click Open to log into our Pico development board. Initially, there might be no response when we log in. This does not mean it is stuck. Just press Enter, and you will see the symbol “>>>”, which indicates that we have successfully entered Pico.
Now, everyone can input the following code, and let’s see the effect~
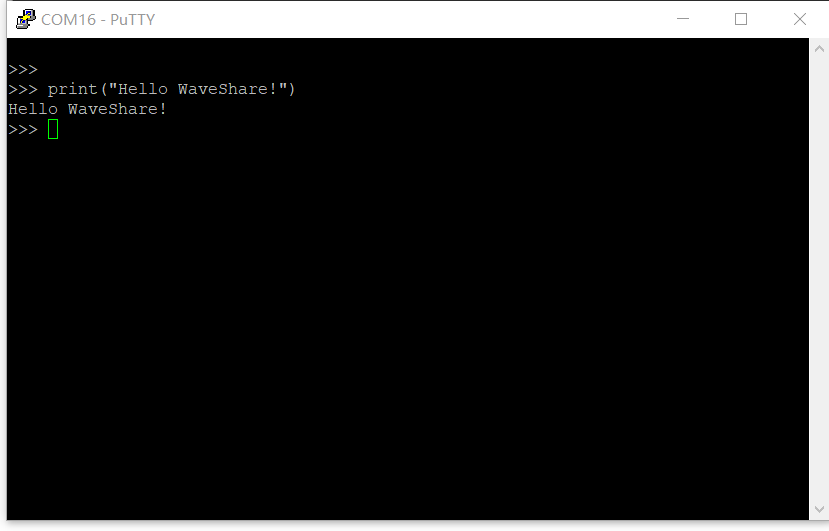
Isn’t it similar to Python programming? Let’s try turning on an LED with the following code.
import machine import Pin
led = Pin(25,Pin.OUT)
led.value(1)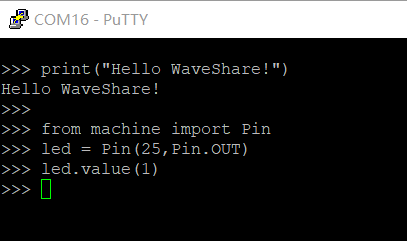
At this moment, our Pico looks like this!
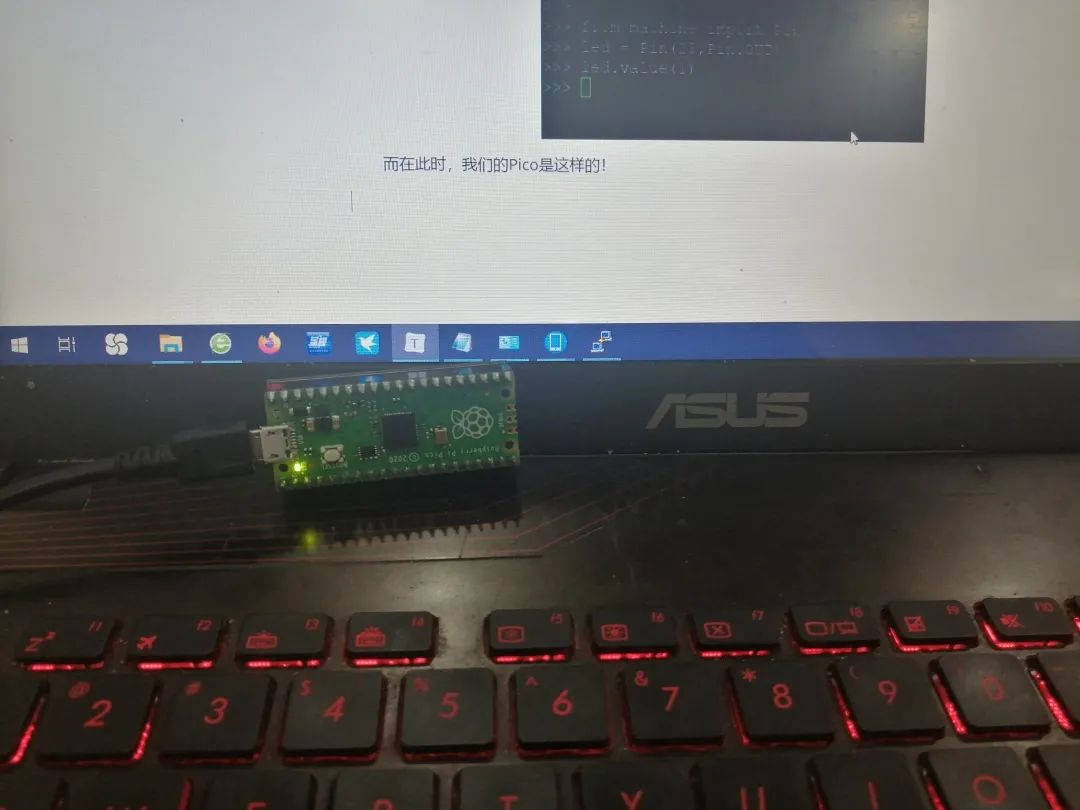
Everyone can also try the command led.value(0) to see how it runs.
So, what is REPL?
REPL — an interactive interpreter environment
R(read), E(evaluate), P(print), L(loop)
Inputting values, the interactive interpreter reads the input and evaluates it, then returns the result and repeats this process. Below is the official explanation and translation of REPL.
A Read-Eval-Print-Loop (REPL) is available both as a standalone program and easily includable in other programs. REPL provides a way to interactively run JavaScript and see the results. It can be used for debugging, testing, or just trying things out.The interactive interpreter (REPL) can run as a standalone program or be easily included in other programs as part of a complete program.
REPL provides a way to run JavaScript scripts and see the results interactively. Typically, the REPL interaction mode can be used for debugging, testing, and experimenting with ideas.
In general scripting languages, having REPL is the norm because REPL is very convenient. The programming term REPL (Read-Eval-Print Loop) can be translated into Chinese as “interactive interpreter” or “interactive programming environment”. However, I think it’s better not to translate it; just use REPL instead. Once translated into Chinese, readers may find it harder to understand.
In the code we execute in Putty, we can only execute one line at a time, rather than executing like a program file. This is REPL interactive development. In our Windows 10 installed Python environment, we have an IDLE that provides a REPL interactive environment, and we can also enter Python in our command prompt to perform REPL interactive verification development.
In our Raspberry Pi system, we can enter the REPL interactive development mode by typing Python or Python3 in the terminal, which can effectively validate our programs.

Learning PID Algorithm Through Motor ControlThis course progresses step by step from the initial motor part to the core PID algorithm. Through this course, students can recognize the importance of algorithms, while this course combines theory with practice, explaining the difficult theoretical parts in a simple manner.

(Scan the QR code to view course details)
 Click “Read the original text” to view course details