Introduction
The STM32N6 is a powerful microcontroller launched by STMicroelectronics, primarily targeting edge AI applications. You can think of it as a “super brain” for smart devices. Unlike traditional MCUs that rely on a single core, it employs a “combination punch,” making it particularly suitable for scenarios requiring real-time image recognition, speech processing, and other AI tasks.
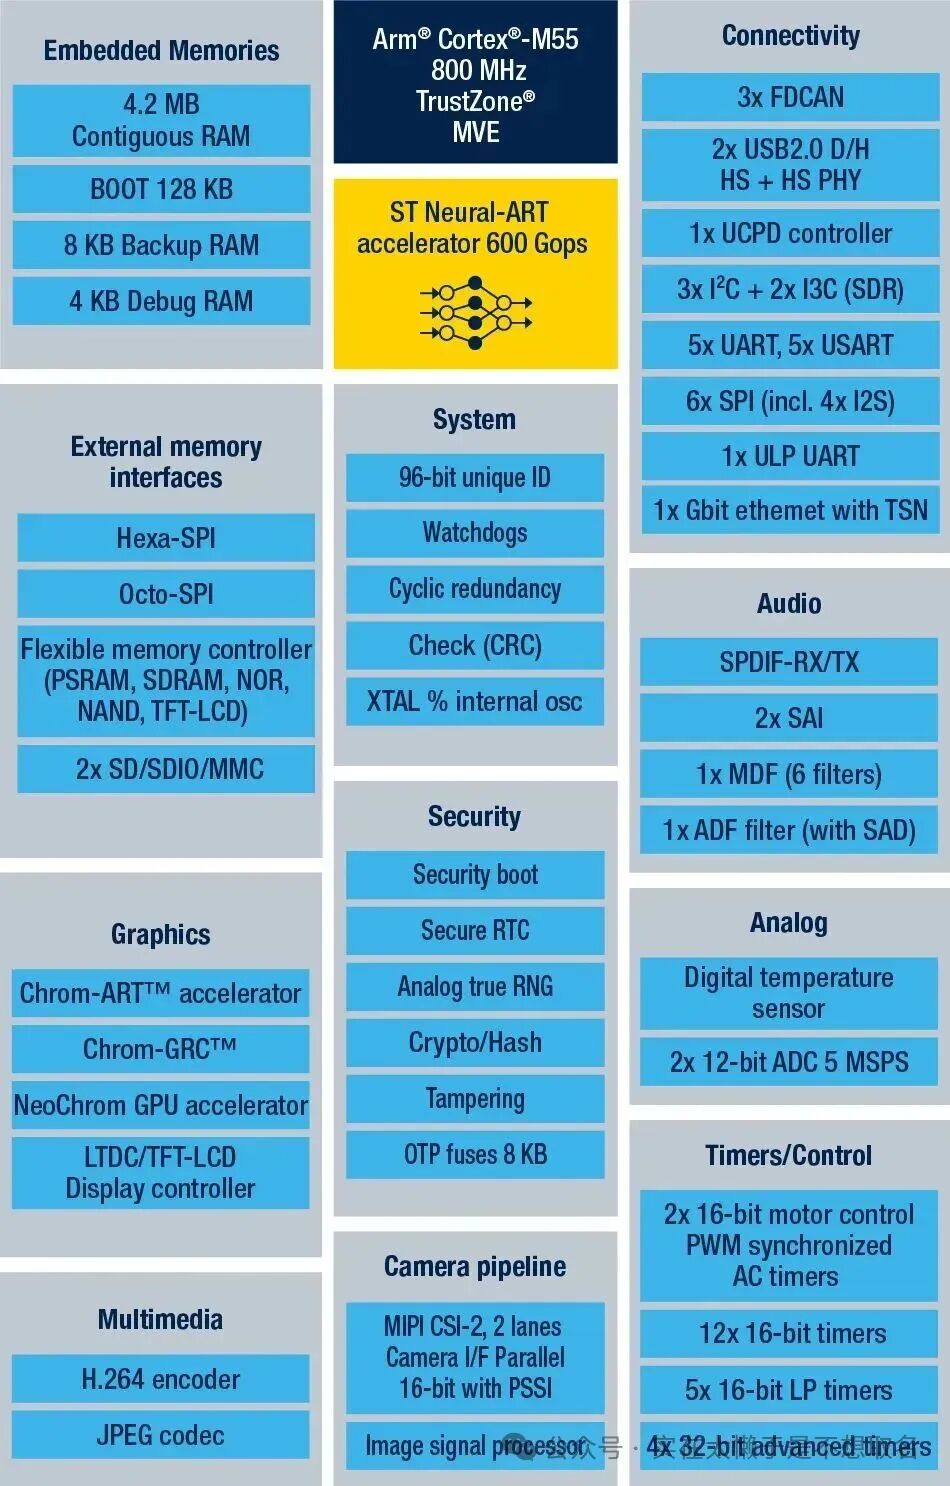
I am fortunate to use the STM32N6570-DK development board for development and testing.
The development difficulty of the N6 is quite high, and I have spent the past year exploring its usage in my spare time.
In this issue, we will detail how to validate a known model using the STM32N6570-DK.
1
Preparation Tools
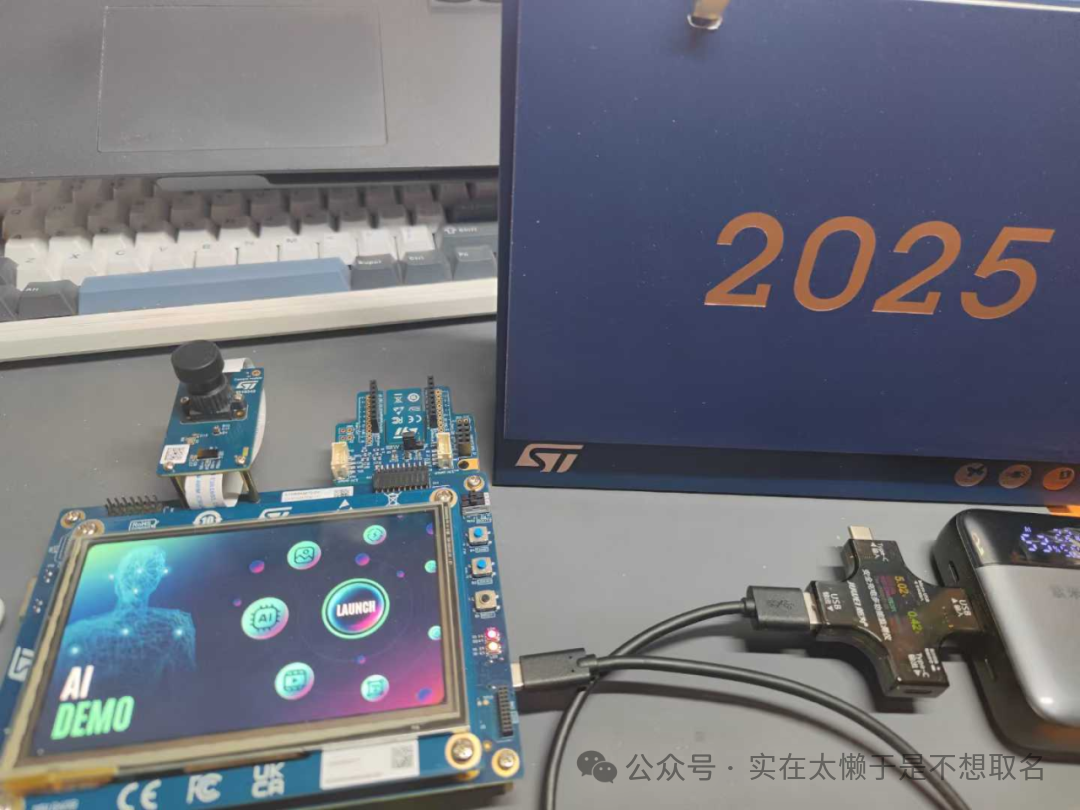
We need to prepare an STM32N6-DK (Nucleo is also acceptable, but I am using the DK version).
Install STM32CubeProgram

Install STM32CubeIDE (IAR environment is also acceptable)

Install STEdgeAI Core
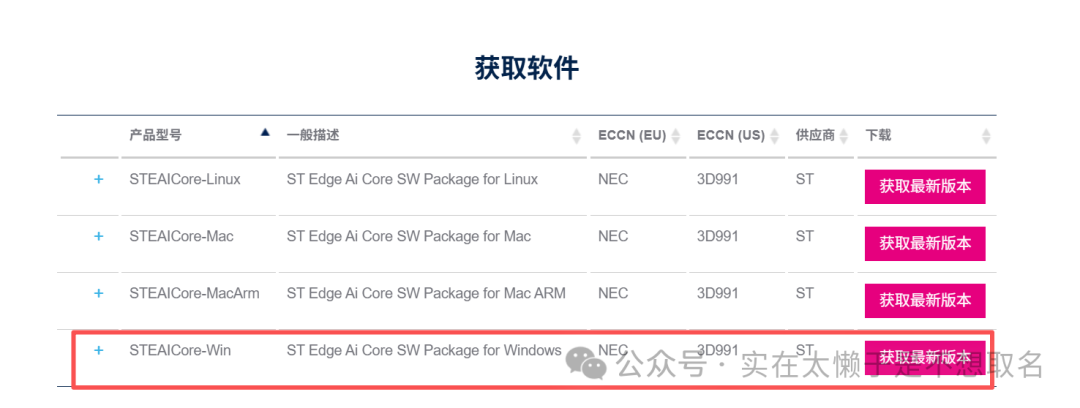
Since we need to use a Python environment, I installed PyCharm

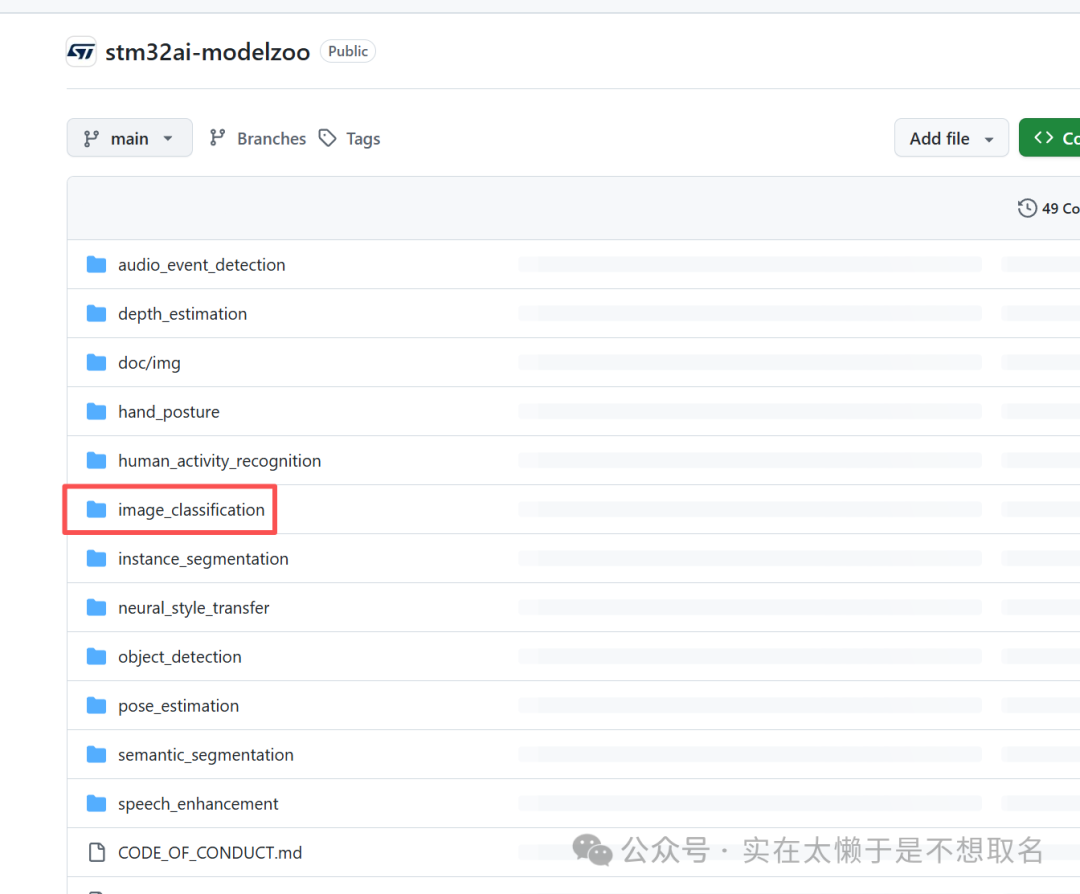
Here, I chose to test a model from the STM32 AI model library.
2
Environment Configuration
The environment configuration step is quite troublesome and can encounter many issues.
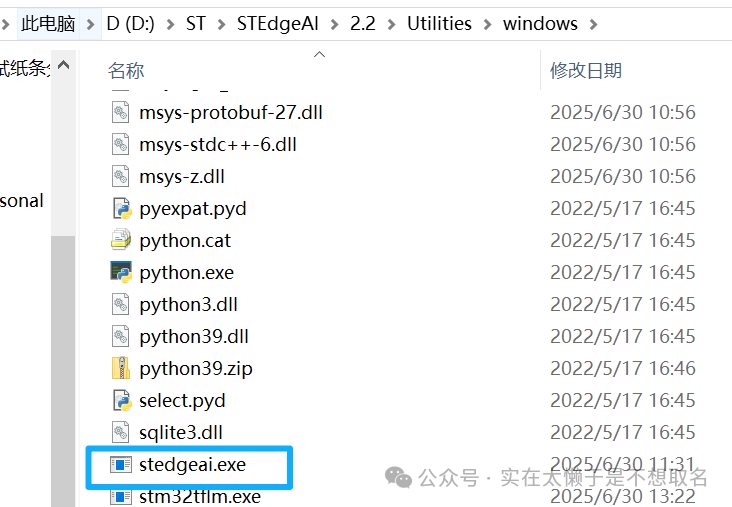
First, in STEdgeAI, we can find stedgeai.exe, which can help us convert the model into a .c file via the command line.
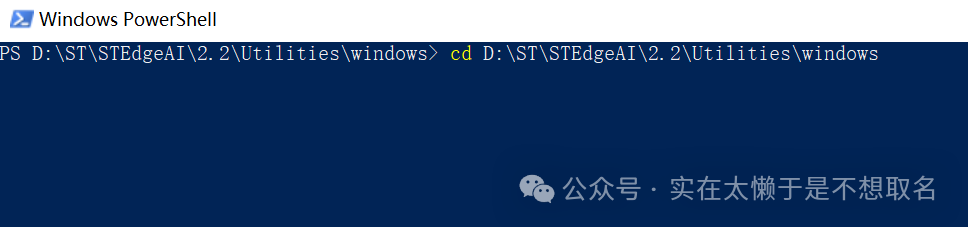
Enter the directory of stedgeai.exe in PowerShell and run the command provided in the manual:
stedgeai generate -m mobilenet_v2_0.35_224_fft_int8.tflite --target stm32n6 --st-neural-art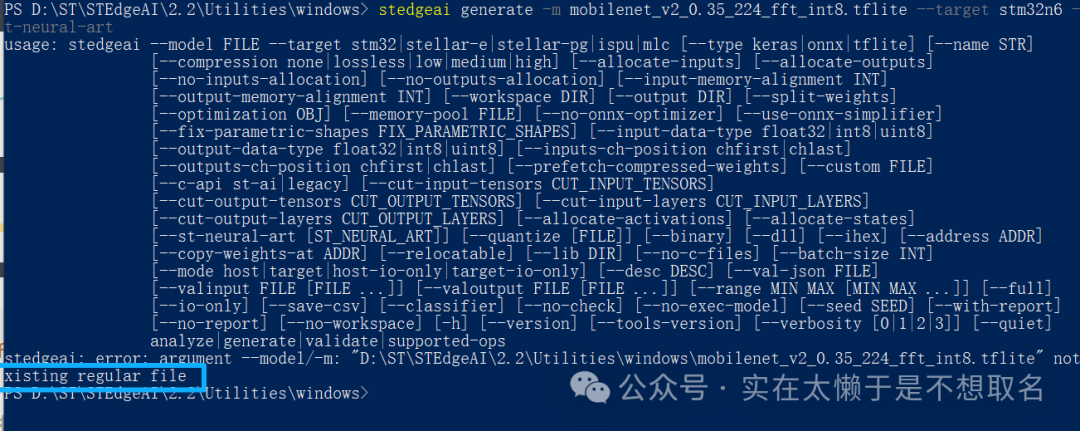
Since the model directory is not set in the environment variables, it cannot be found directly. Here, we will use direct addressing:
stedgeai generate -m F:\Code\STAI\AIProject\mobilenet_v2_0.35_224_fft_int8.tflite --target stm32n6 --st-neural-artDirectly use absolute address to add the model location.
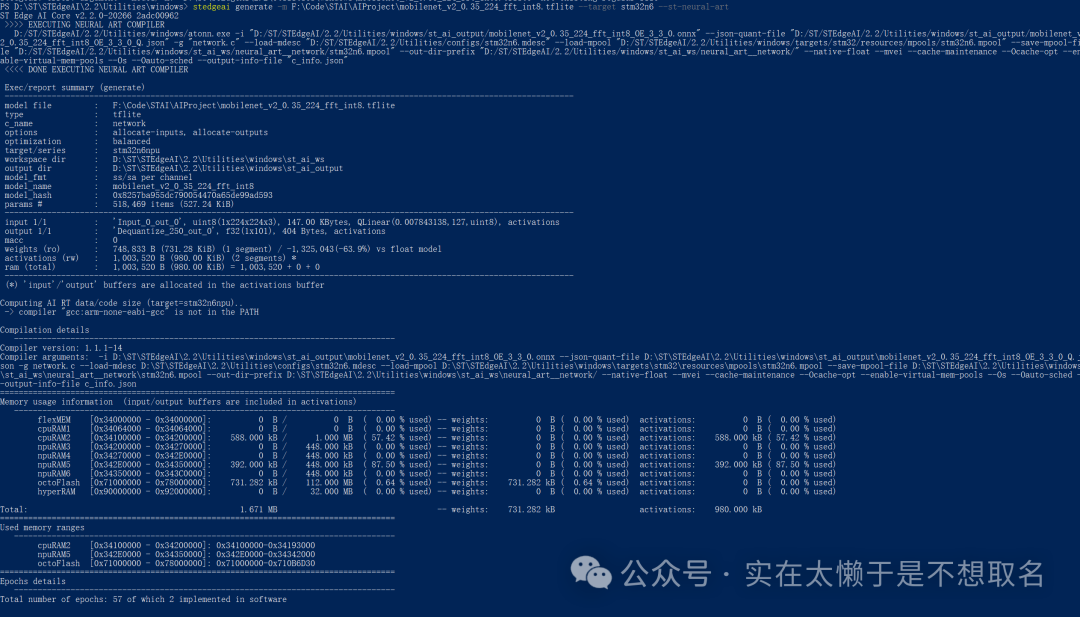
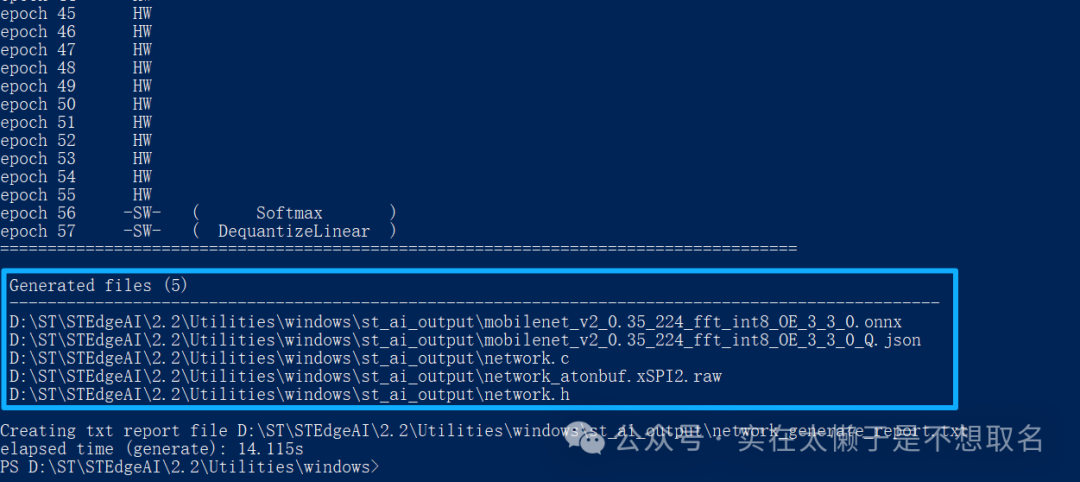
We can see that the corresponding file was generated successfully.
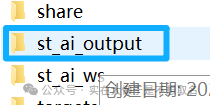
Next, configure the relevant settings for running on the N6:
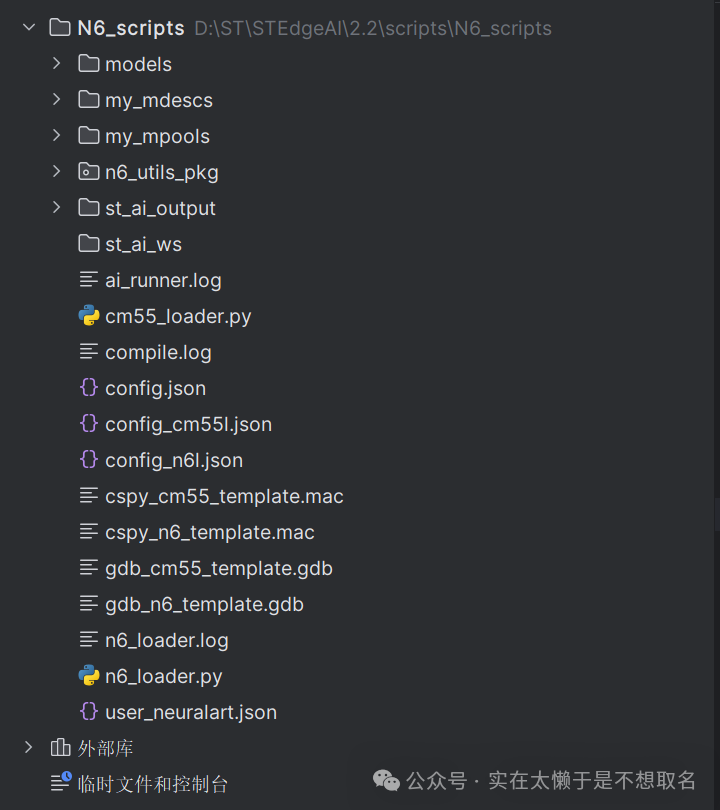
Open the N6_scripts project directory in PyCharm, which can be found where STEdgeCore is installed.
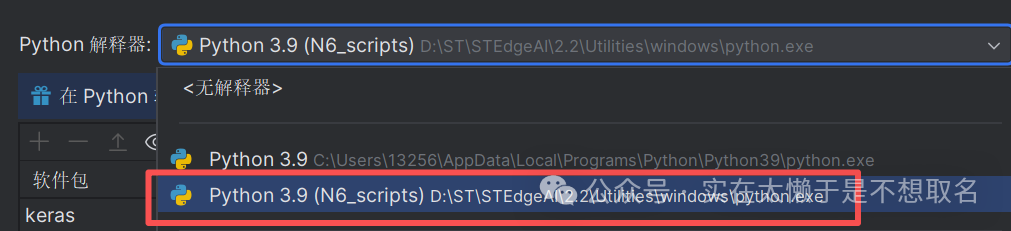
Configure the Python base interpreter, do not use the built-in base interpreter; use the base interpreter from STEdgeCore.
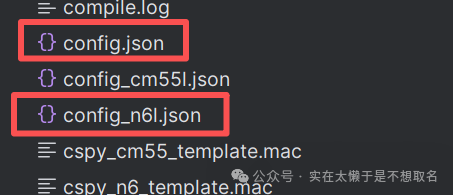
Modify the configuration file corresponding to the project:
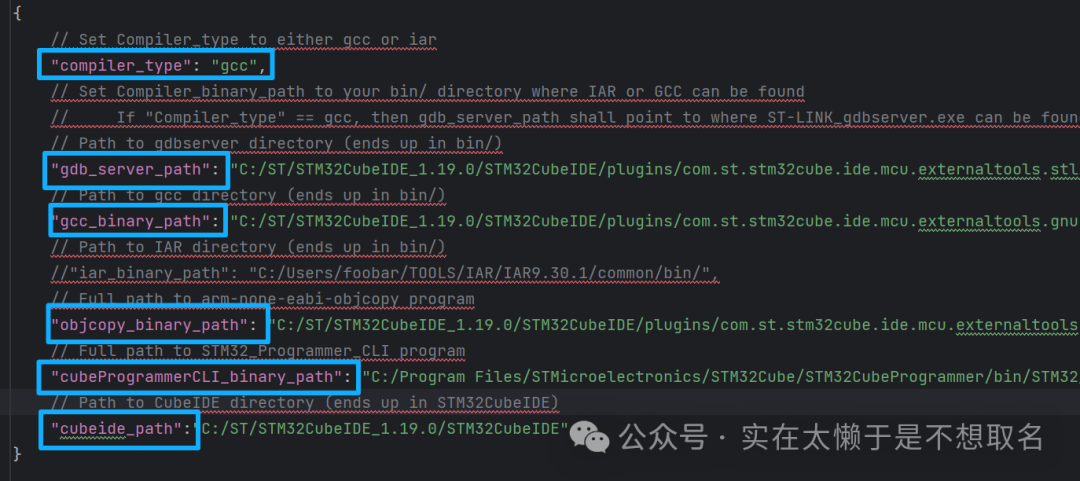
Change the compiler type and tool path; even a small error here can cause the script to fail.
After modifying the configuration, apply it in the terminal.
python n6_loader.py --n6-loader-config ./config.json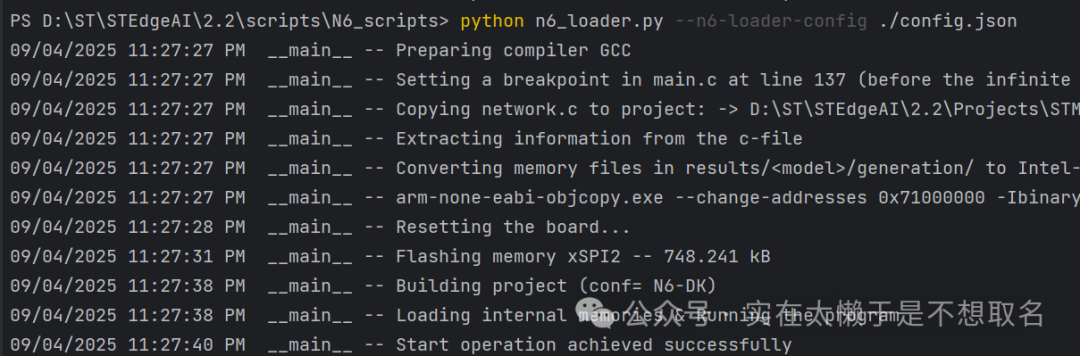
If it shows Successfully, the configuration is complete.

Similarly, we need to modify the config_n6l.json configuration, mainly to change the location of the generated model file (.c):
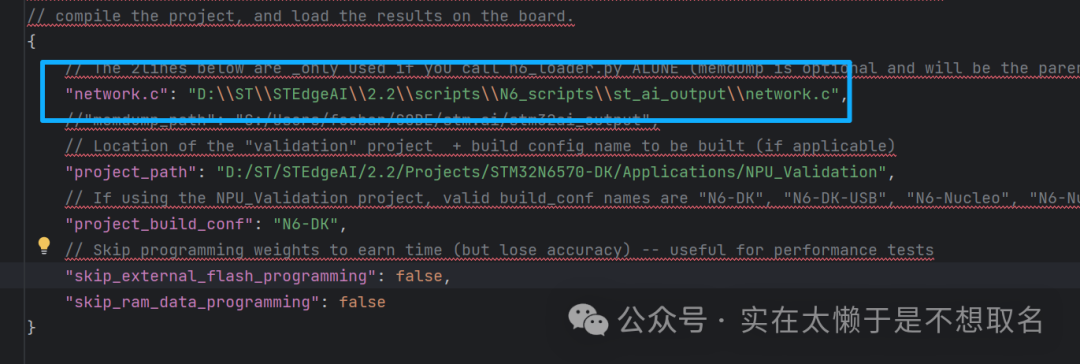
We also need to apply the configuration file:
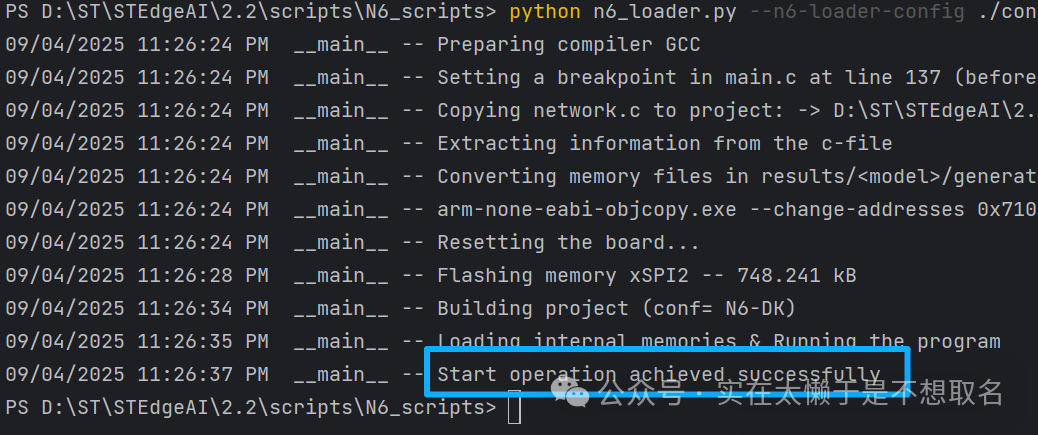
3
Speed Test
After completing the above environment configuration, we can burn the test program and pull up the BooT1 of the development board to enter the Bootloader.
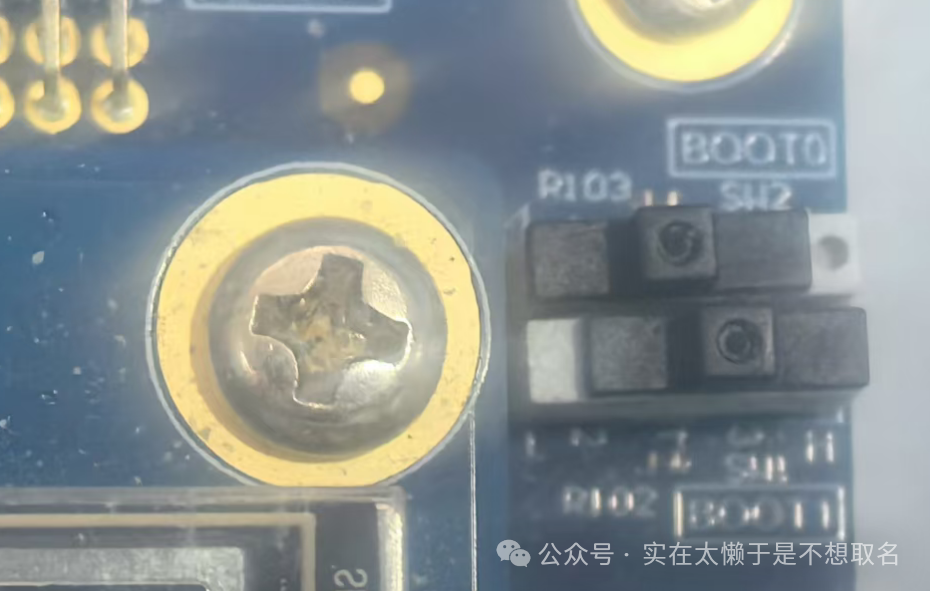
python n6_loader.pyRun n6_loader.py code
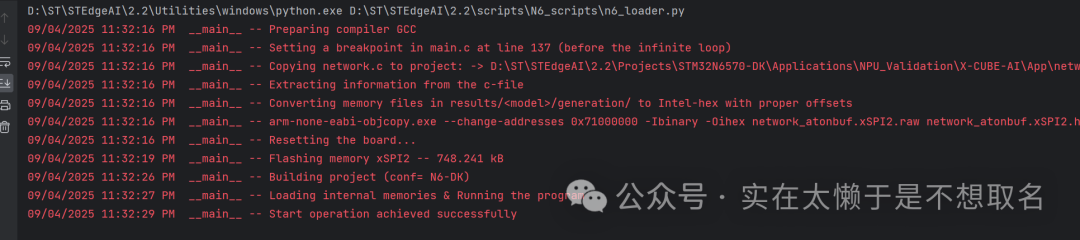
$env:PYTHONPATH = "D:\ST\STEdgeAI\2.2\scripts\ai_runner"Make sure to add this directory to the environment variable!!!!
python D:\ST\STEdgeAI\2.2\scripts/ai_runner/examples/checker.py -d serial:921600 --perf-only -b 10Next, run Check.py to perform model inference on ten random samples (an error will occur if the environment variable is not added)
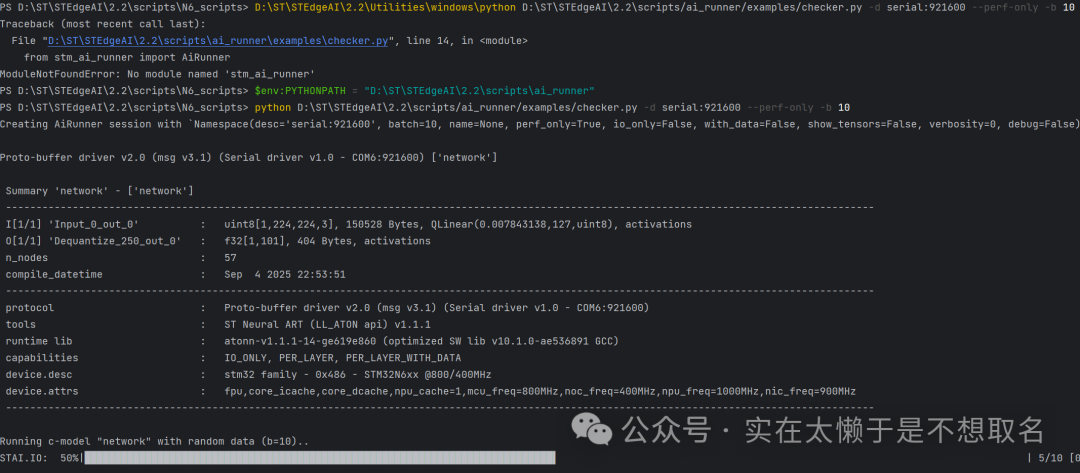
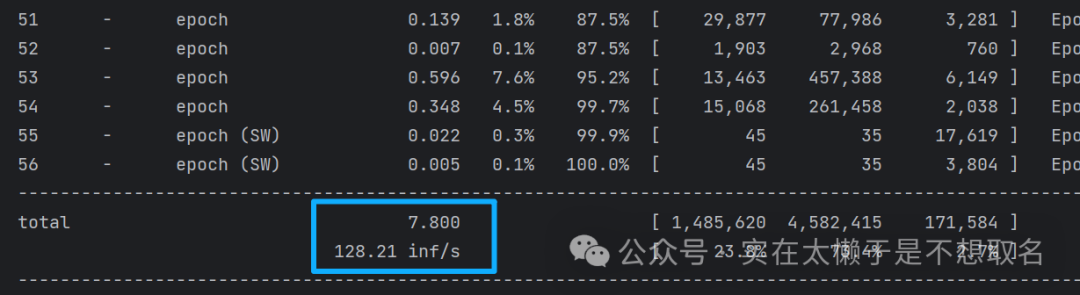
Obtain evaluation data on the model’s running speed.



stedgeai validate -m F:\Code\STAI\AIProject\mobilenet_v2_0.35_224_fft_int8.tflite --target stm32n6 --mode target -d serial:921600Similarly, we can quickly evaluate the accuracy of the model:
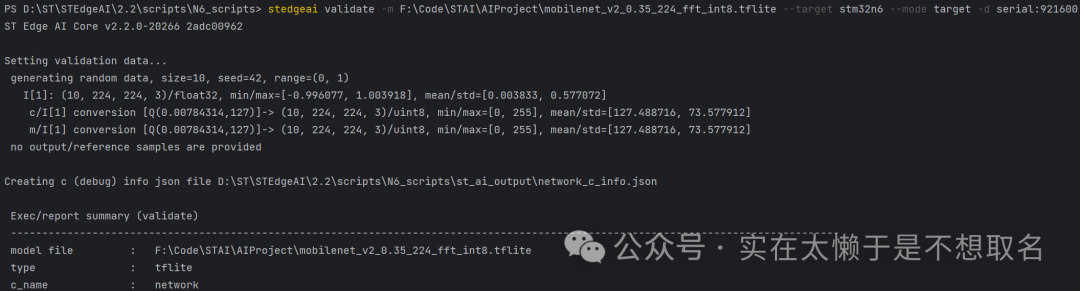
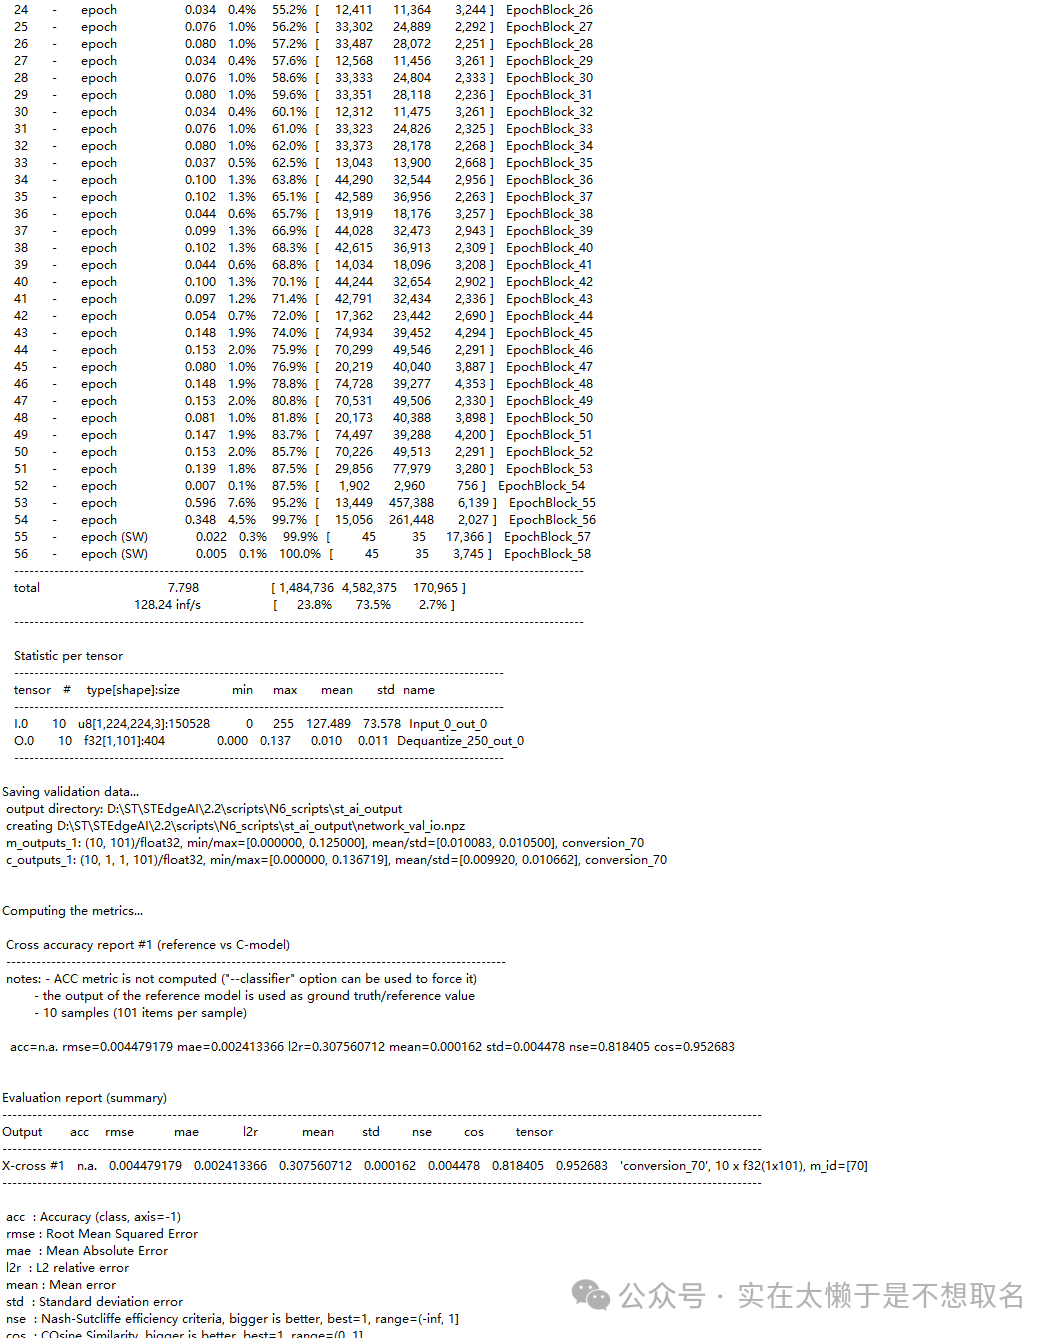
We obtain the model evaluation report (though I can’t understand it), and there is also a routine for inputting samples for real accuracy analysis.
The AI summary is as follows:
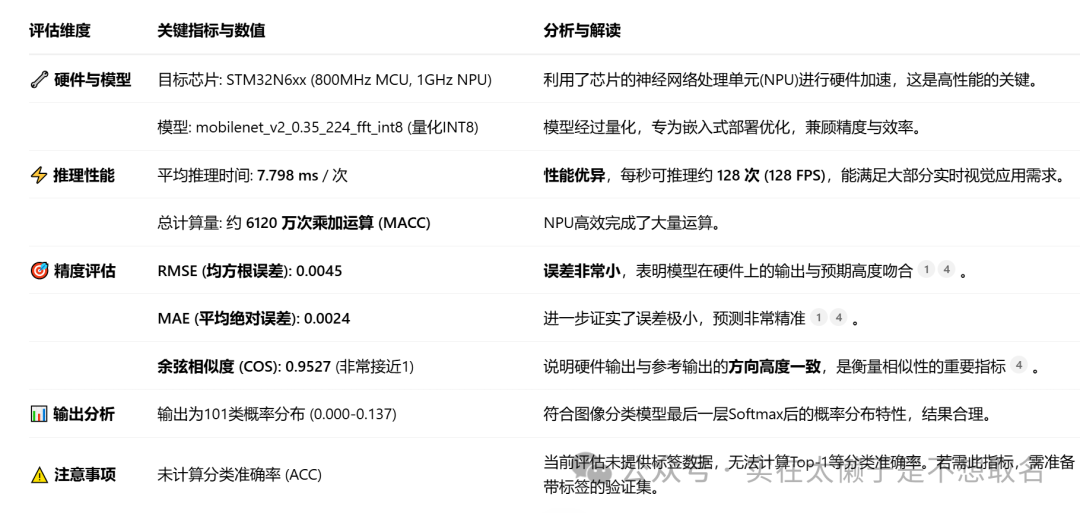
4
Future Functions to Explore
Next, I will mainly look into how to deploy the model on the actual machine.