
Click the blue text above to follow us


1.Power off the device completely (LCC water cooling does not need to be turned off) before proceeding to ensure personal and equipment safety.
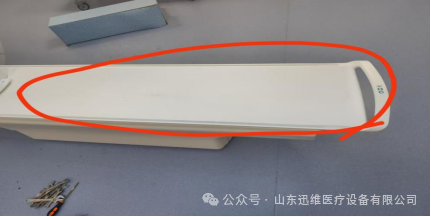
2.After the device is powered off, the bed board on the bed frame can be lifted down.
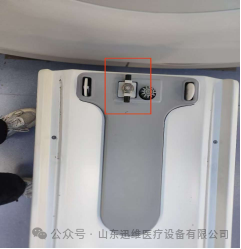
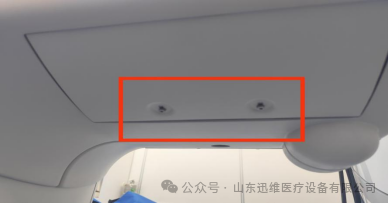
3.After lifting down the bed board, remove the screws circled in the image below(Note that there is a ground wire connection under this bed board)
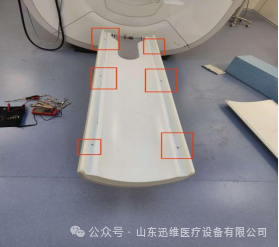
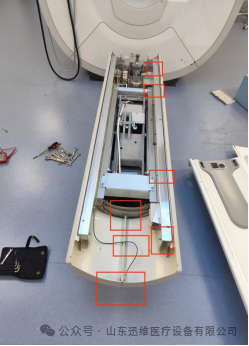
4.After removing the screws, the second layer of the bed board can be lifted down as shown in the image below.
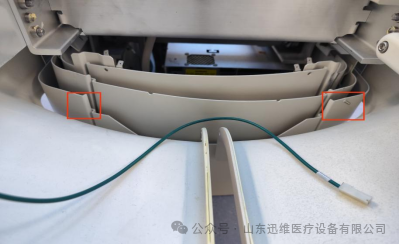
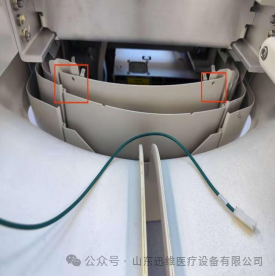
5.Remove the small bottom covers on both sides under the head of the bed.
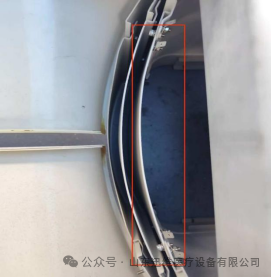
6.After removing the small bottom covers, remove the side shells (the top side shell is connected to the emergency stop, so it needs to be unplugged before removal), both sides are the same (the first image is the foot of the bed, the second image is the head of the bed).
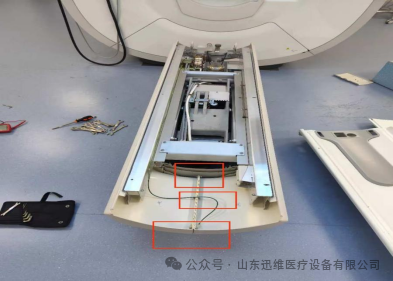
7.After removing the four screws from the bed and the foot of the bed, the side shells of the first and second layers can be removed (note that there are ground wire connections between the various side shells).
8.Then, after removing the screws between the connecting shells of the head and foot of the third and fourth layers, the side shells can be removed.
End

Long press to scan the code to follow