
Introduction


You can switch the target files we need to compile. Click the “hammer” icon to compile, and click the “triangle” icon to compile and run.


Computer Environment

-
Ubuntu 20.04 -
PCL-1.10
VS Code

Reasons for Recommendation

Lightweight, many plugins, stronger customization.
Many people may not know how to compile and run C++ with VS Code, while Visual Studio 2019 is too intelligent, users do not need to write CMakeLists.txt, but it only supports C++ development on Windows. Writing C++ in VS Code has a certain threshold, so I will share my experience with you; basic usage should be fine.

Create Project

Execute the following in the terminal:
mkdir PCL_study # Create a new foldercd PCL_study/mkdir build # For storing executable filesmkdir src # For storing C++ files touch CMakeLists.txt # For adding compilation files, libraries, etc.cd build/cmake ..The above process is equivalent to creating a project.
To have code suggestions and jump to header files, you need to configure the path of the PCL library in VS Code.
After opening the project folder, press Ctrl + Shift + P in VS Code to display the input box, input configurations, and it will look like this:
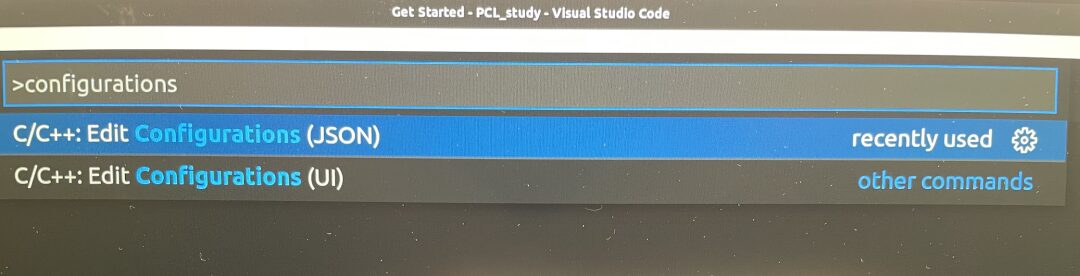
Click the first option, which will generate a new folder and a new file:
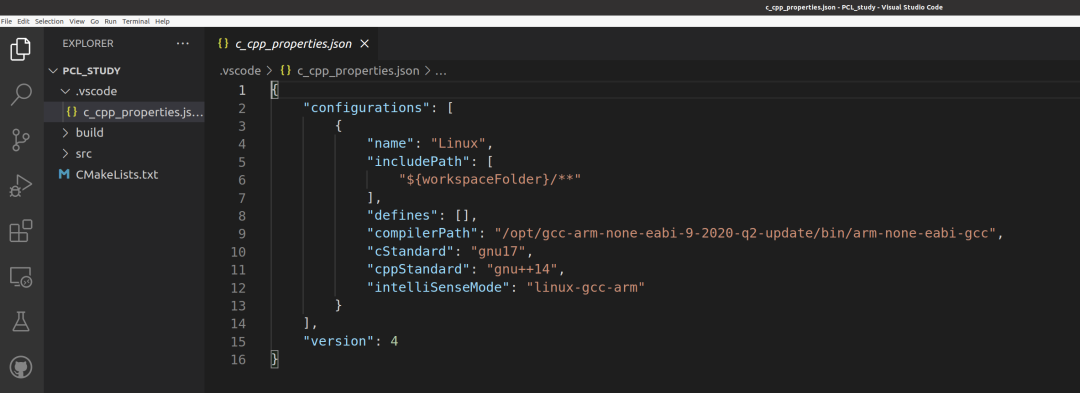
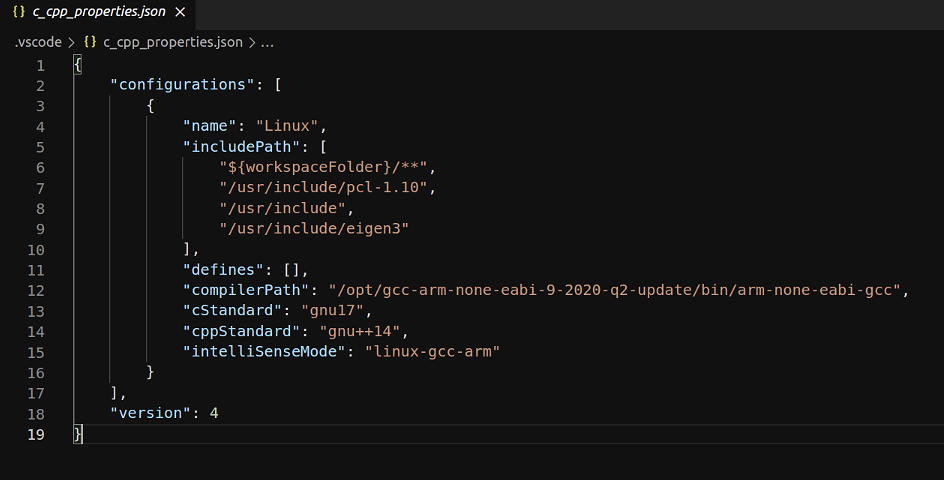
Add the installation path of PCL and the path of Eigen3 (a matrix computation library often used in PCL) as follows (first ensure that your PCL is installed at that path):
Create a cpp file in the src folder; here I will create a main.cpp file.
cmake_minimum_required(VERSION 3.5 FATAL_ERROR) project(PCL_study) find_package(PCL 1.7 REQUIRED) include_directories(${PCL_INCLUDE_DIRS}) link_directories(${PCL_LIBRARY_DIRS}) add_definitions(${PCL_DEFINITIONS}) find_package(Eigen3 REQUIRED) include_directories(${EIGEN3_INCLUDE_DIRS}) link_directories(${EIGEN3_LIBRARY_DIRS}) add_executable(main src/main.cpp) target_link_libraries(main ${PCL_LIBRARIES} ${EIGEN3_LIBRARIES})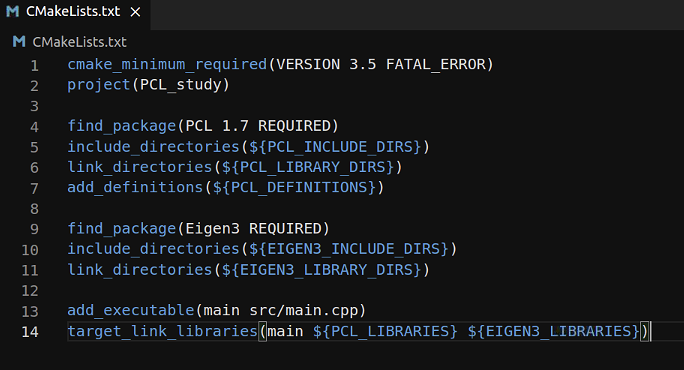
Next, you can write code in main.cpp.

Compile and Run

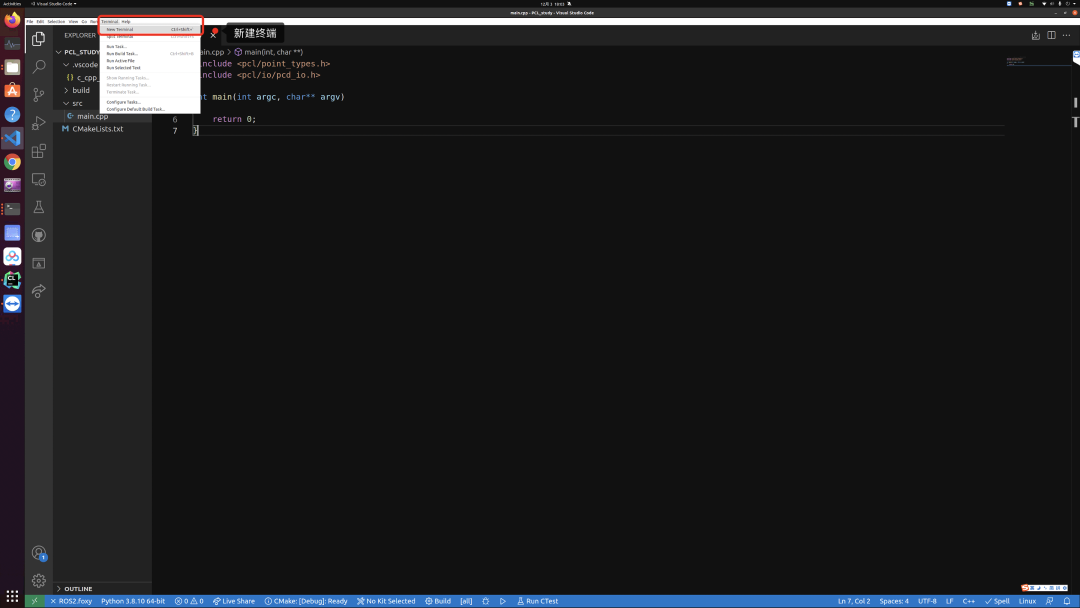
Create a new terminal:
Compile the program to generate the executable file:
cd build/ # Enter directorycmake .. # Generate Makefilemake -j8 # Compile (my CPU is 4 cores 8 threads, so I choose j8, multi-threading can speed up compilation)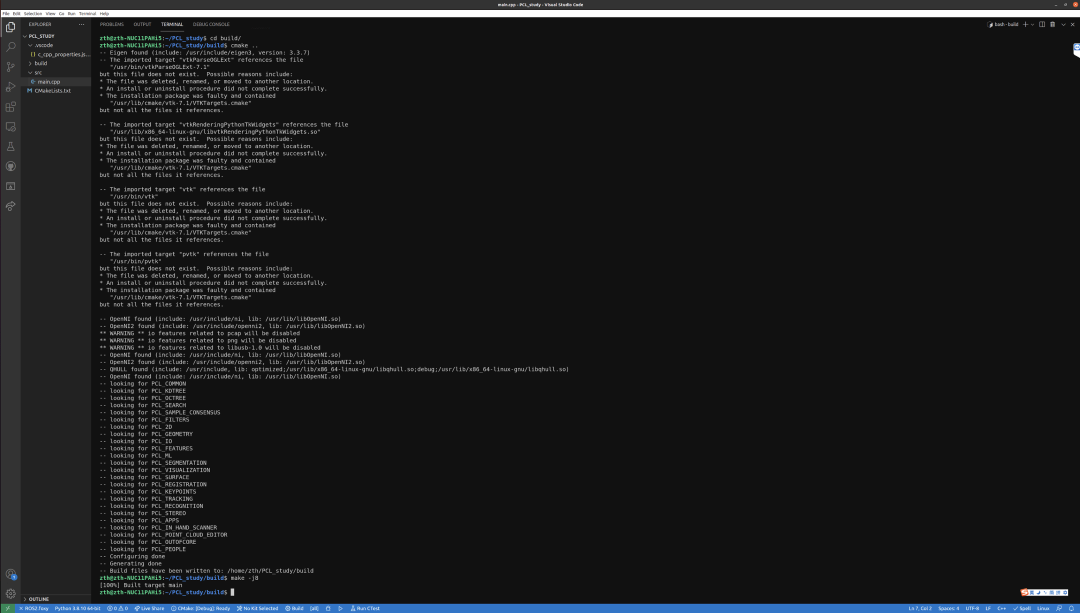
Run the program:
./main
CLion


JetBrains IDEs are great!!!
Compared to many of you who have used PyCharm, CLion is a smart C++ IDE from the same company. Educational email accounts can be used for free registration and download, and it supports multiple platforms. Compared to VS Code, it is more intelligent and everyone who has used it says it’s good.
Create Project
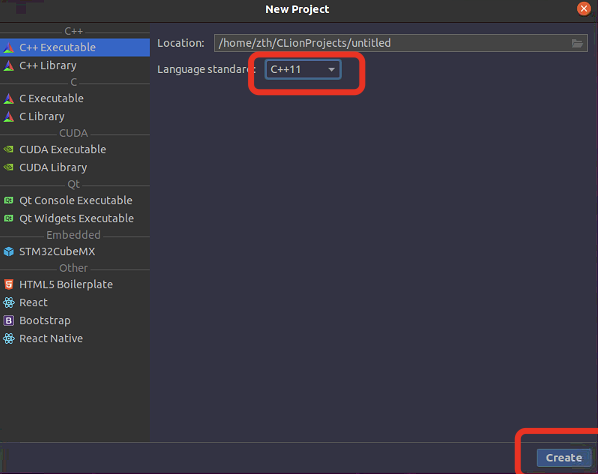
CLion automatically generates some files for us:
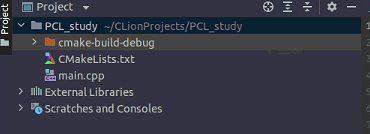
Among them, cmake-build-debug is equivalent to the previous build folder.
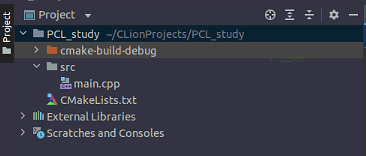
To keep the folders organized, create a new src folder under the project and move main.cpp into it. The modified directory structure is as follows:
In CLion, you do not need to configure c_cpp_properties.json; CLion can find the path of the PCL library by itself.
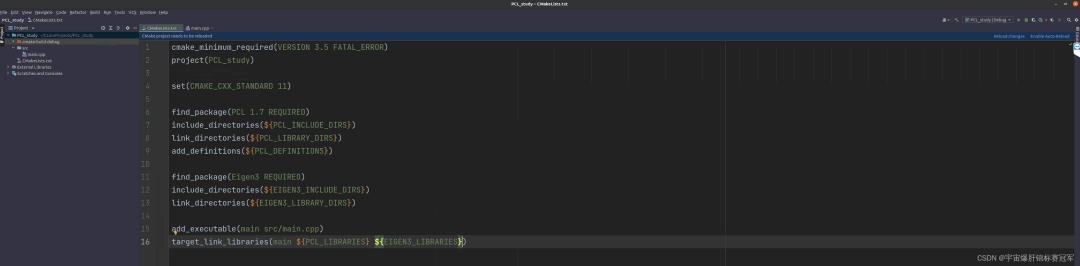
Every time you modify CMakeLists.txt, make sure to click the “Reload changes” button at the top right to refresh the loading; otherwise, you will not be able to compile and run the new cpp files we added.
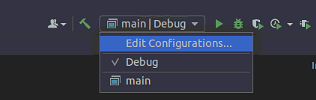
Here you can switch the target files we need to compile. Click the “hammer” icon to compile, and click the “triangle” icon to compile and run.
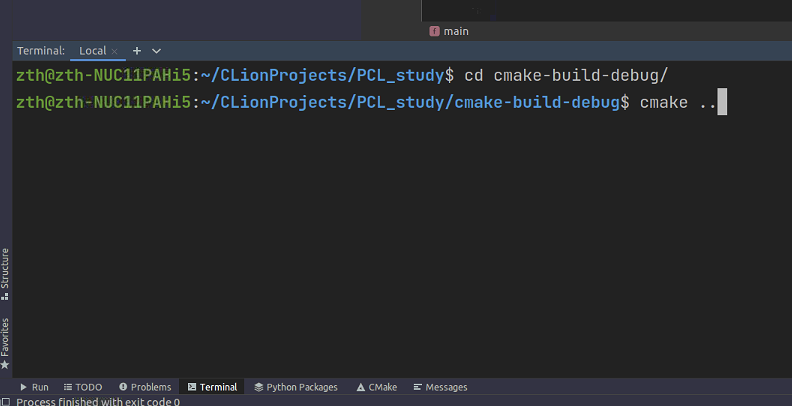
You can also compile and run the program in the terminal at the bottom of the IDE like in VS Code.


“MoveIt! Mastering Dual-Arm Robots • Li Jianghao”
Leading everyone to design a dual-arm robot based on MoveIt!, while also designing a teaching handwheel and developing the corresponding ROS package for controlling the robotic arm in the ROS system. This tutorial is still a course that combines software and hardware development; once you make a dual-arm robot, you can also play with a single-arm robot.


Click “Read More” to join the study