Here’s a benefit for students! Not sure what to do for your graduation project? Check out this project that combines three technologies, which even the supervisor praised.Recently, I worked on a project, but it wasn’t completed as a product. It is somewhat complex to use; although it is packaged, some operations are still needed for normal use. Here, I will document and introduce it.1. Effect & Product Introduction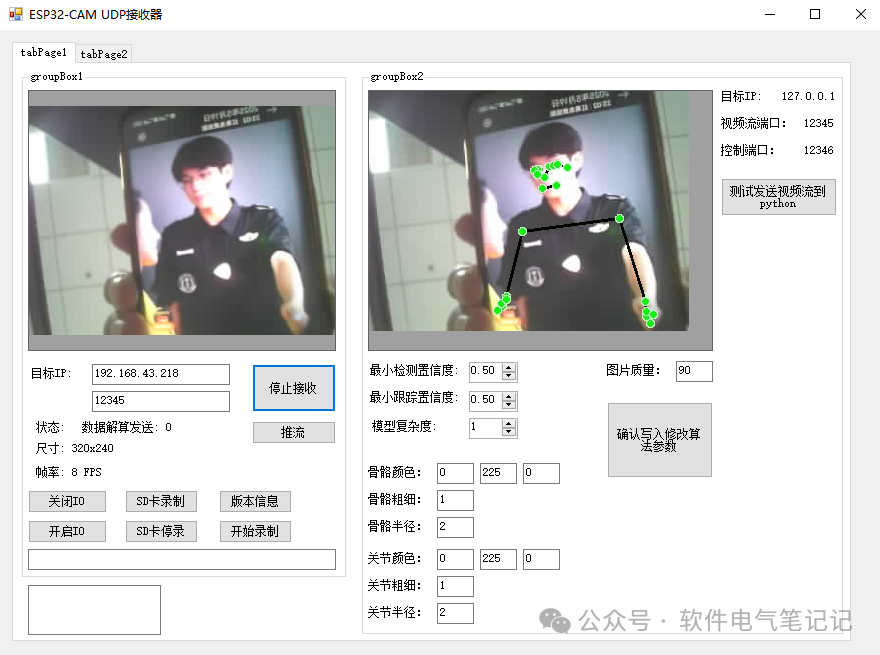 Final product files:
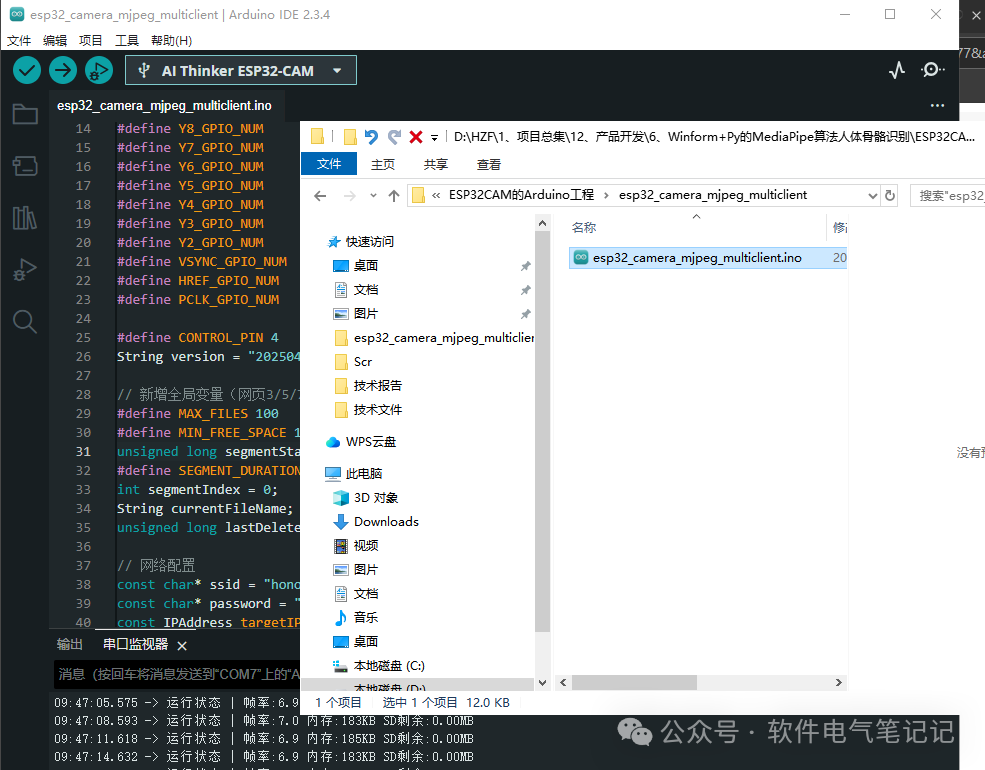
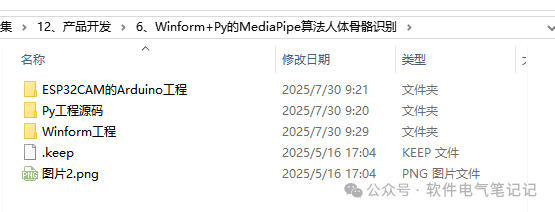 2. Code Usage for ESP32 CAMMake sure to modify the WIFI account and password in the code, as well as the IP address (according to your computer’s WiFi IPv4 address). Install the Arduino IDE, open the project, select the correct development board, and upload the program to the board. (If you are unclear, you can refer to my other articles; the method is similar: ESP8266 Lights Up an LED (with source code)).
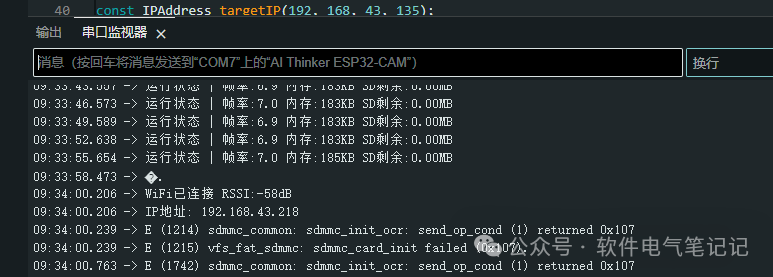
 After running, the monitor will print out its IP address, which will be used later.
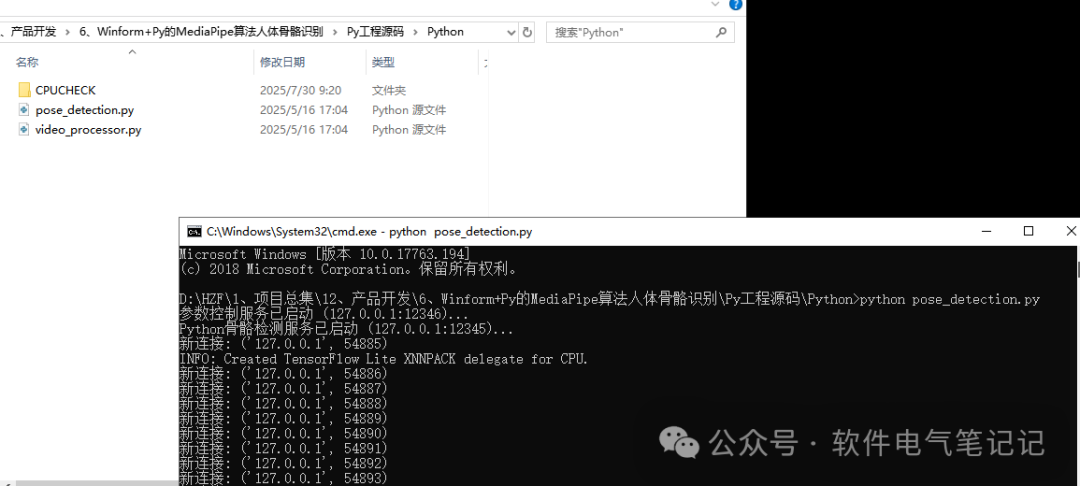
 3. Running the Python CodeOpen the folder containing the Python code and run the Python file using the command:python pose_detection.py. You will see the Python code running and outputting the IP address.
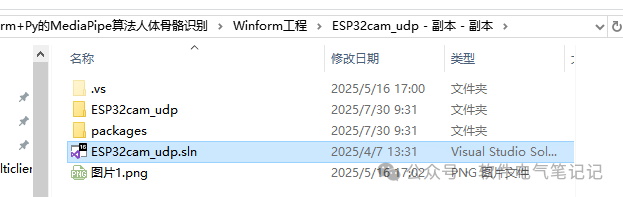
 4. Running WinFormsOpen this project file (you need to install Visual Studio first).
 After entering the project, make sure to install the LibVLCSharp.WinForms library.
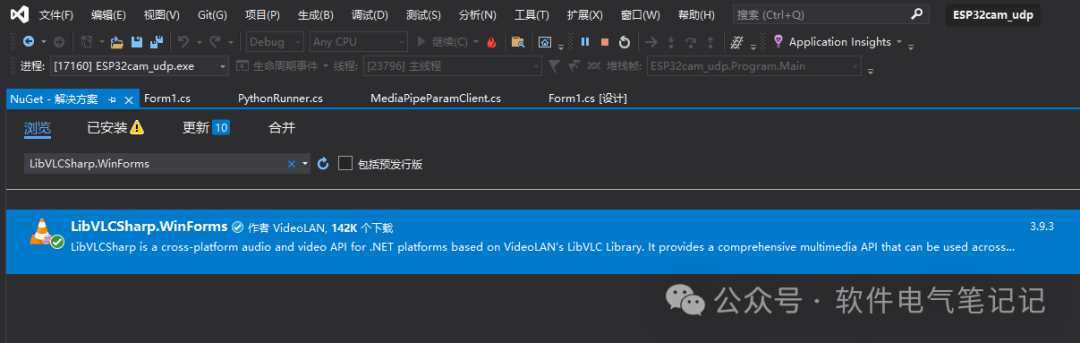 Once the library is installed, click run.5. Connecting the ApplicationMake sure to enter the IP address printed in the serial monitor of the ESP32 CAM (mentioned earlier).
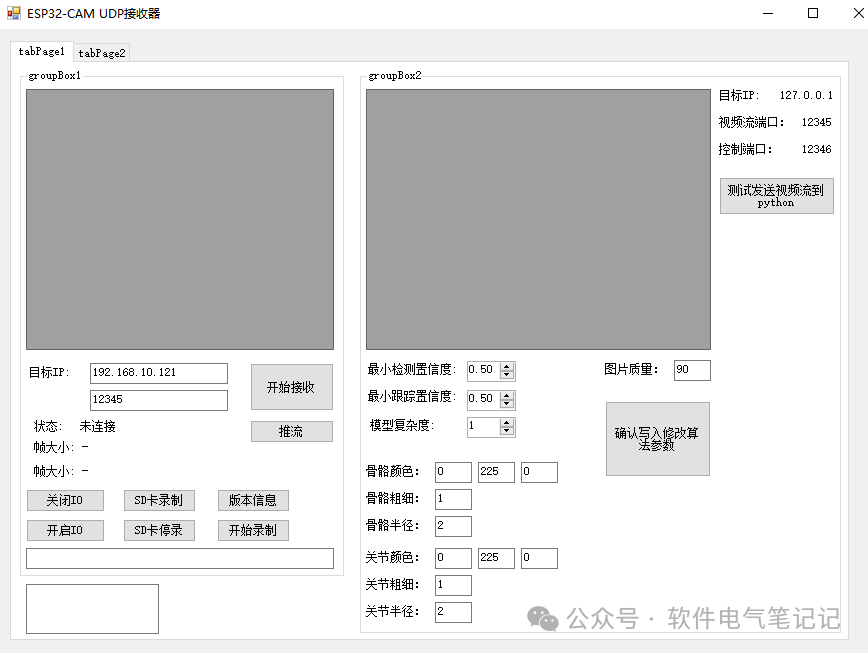 Click start receiving to see the video feed.
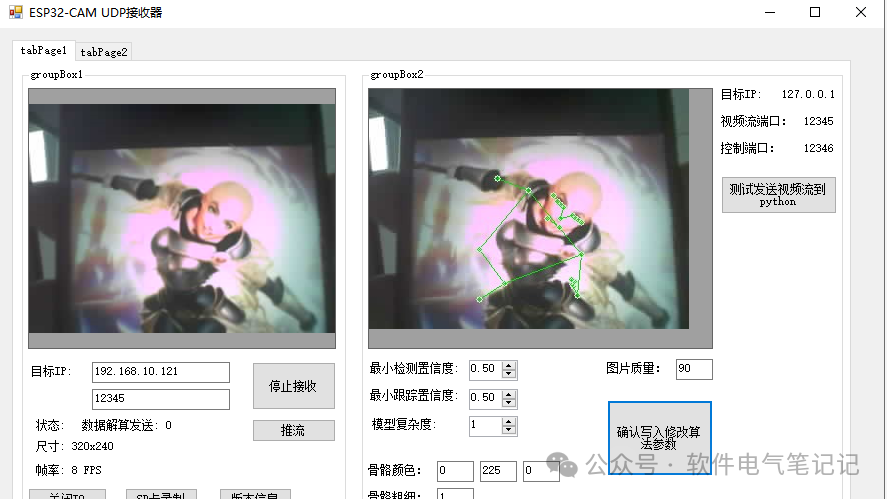
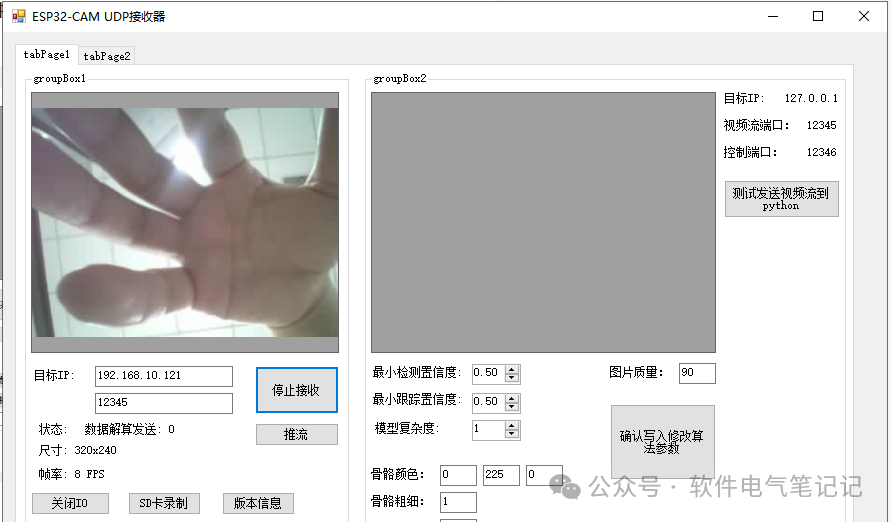 We previously ran the Python program; here, click the button on the right to test sending video stream to Python, and you will start to see the pose calculation results returned by the Python code. Of course, the recognition effect will depend on the actual situation, haha.
 6. Project Connection
This not-so-great project is of course open source. The address is
https://gitee.com/YMMXXX/python_.git
Students in need can take it.