Introduction
This article is a casual account written for my friends, most of whom are not in the IT industry. To make it enjoyable for a wider audience, I should explain what NAS (Network-attached storage) is. It is a small computer connected to your home router that houses multiple hard drives (commonly several TB in size). By installing appropriate software, you can back up photos from all family members’ phones and computers (it even supports facial recognition and geographical categorization), watch media resources stored on the NAS on your TV (high-definition or rare content), and even use it as the brain of your smart home. There are some commercial solutions available, such as Synology[1], but many people prefer to buy components and assemble their own.
Let’s get started.
Background
This year, I’ve been quite fascinated by Raspberry Pi-style development boards. One day while browsing online, I came across this board:
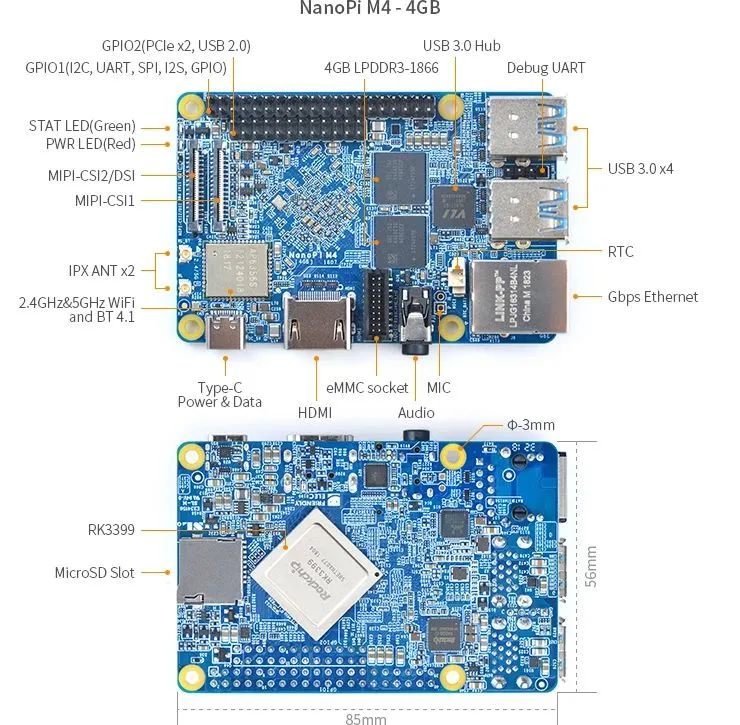
FriendlyELEC NanoPi M4 / wiki.friendlyelec.com
NanoPi M4[2], with a processor from Fuzhou Rockchip, the RK3399[3], and 4GB of memory, looked promising. It even has a PCIe interface… Wait, PCIe? What can it connect to?

Upon investigation, I found that the manufacturer has released three peripherals[4], one of which is called the SATA Hat[5], which looks like this:
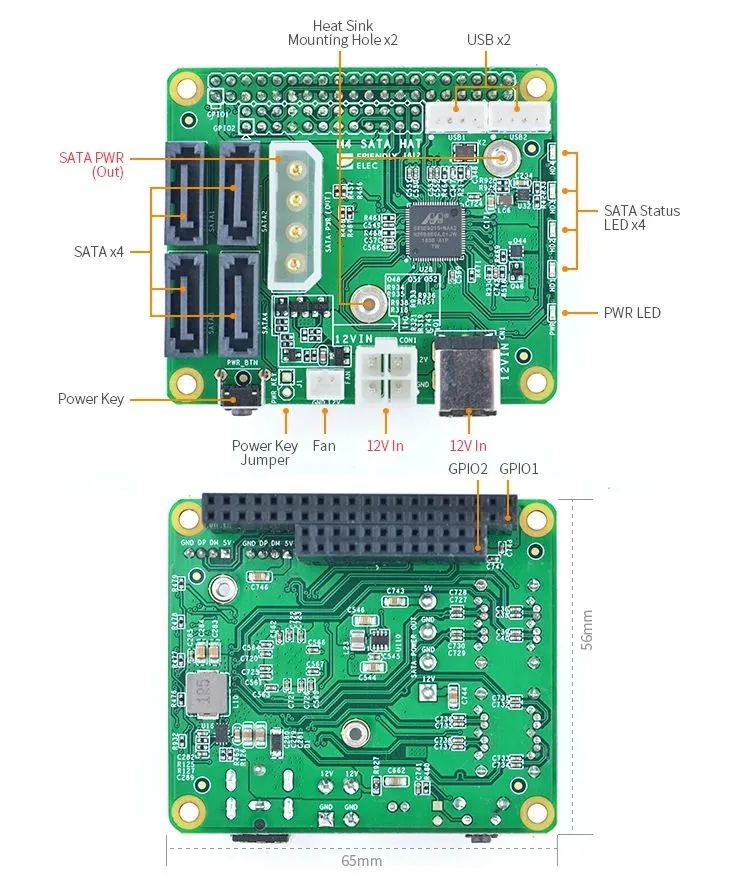
NanoPi M4 SATA HAT / wiki.friendlyelec.com
In simple terms, by attaching this hat to the front of the board and connecting an external 12V power supply, you can have an ARM host with four SATA interfaces, allowing you to set up a 4-bay NAS! Considering the human tendency to replicate successful ideas, it was no surprise to find that Brazilian user Carlos Gomes[6] and Shanghai user Sham Cat Sesame Paste had already successfully done this and shared their experiences. With their guidance, I felt confident I could build one as well!

Gathering Materials
Excitedly, I rushed to Taobao, only to find that things were not straightforward—NanoPi M4 was no longer widely available, and the few listings were all priced over a thousand yuan. Had it been discontinued? This didn’t add up. I looked back at user articles and forum posts and deduced that they had used this board between 2019 and 2021, so perhaps I was too late to the party?

It seemed I was heading into an archaeological expedition; I could only search for second-hand items on Xianyu. After a week of waiting, I miraculously found a brand new one from a seller in Guangzhou! For 329 yuan, it included a 16G eMMC chip and a WiFi antenna. I placed the order immediately and eagerly awaited the delivery of the board and power supply for seven days, only to find that the board wouldn’t power on—refusing to work?
This was embarrassing. I had never used this board before. Was there some unique startup trick? The seller assured me there was nothing special about it. I meticulously read the official documentation to no avail, scoured domestic and international forums, and tried various methods to flash different operating systems, but nothing worked. After three frustrating days, I had to negotiate a return with the seller, who was very nice about it.
Feeling dejected, I returned the board and found myself back at square one, continuing to search for sellers of this model, but they were few and far between. I tried reaching out to a distributor on Alibaba, but they told me the minimum order was 1000 units… So, I could only wait patiently. This was quite disheartening, and during that time, I often revisited the board’s documentation just to get my fix—this probably wasn’t very healthy.

Fortunately, three weeks later, a seller from Shanghai listed a second-hand NanoPi M4 + SATA Hat + CPU heatsink + TF card for a bundled price of 350 yuan, which was perfect for me. After friendly communication, I learned that these were surplus devices from a factory—what perfect timing! I immediately placed the order and anxiously awaited four days for the board to arrive. This time, it powered on successfully! We are back in the game!
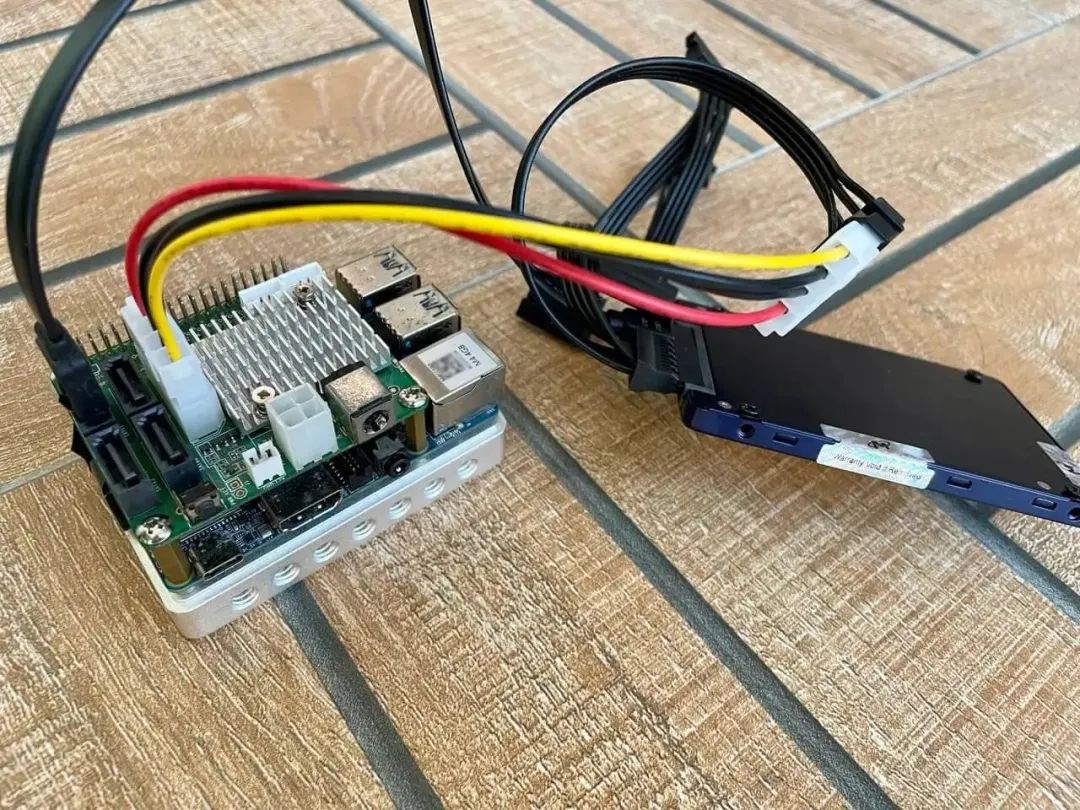 On the left is the development board and SATA Hat, on the right is a hard drive used for testing
The remaining materials were relatively easier to find; whether it was Taobao, Xianyu, or Pinduoduo, I was sure to find what I needed. The next step was to keep placing orders and receiving deliveries:
| Component | Quantity | Price |
|---|---|---|
| NanoPi M4 4GB | 1 | 350 |
| NanoPi M4 SATA HAT | 1 | Included |
| NanoPi M4 Heatsink | 1 | Included |
| TF Card 16GB | 1 | Included |
| Delta 12V 10A Power Adapter | 1 | 28 |
| IDE to SATA 4P Power Cable (1 to 4) | 1 | 12 |
| IDE 4P Power Cable (Female to Female) | 1 | 6.8 |
| SATA 3.0 Data Cable | 4 | Reused |
| Delta Fan 6cm 12V | 1 | 8 |
| Dust Filter Mesh 30cm*50cm | 1 | 5.5 |
| Case | 1 | Reused |
| M2.5 Screws and Nuts | Several | Reused |
| M2.5 Standoffs | Several | Reused |
| Total | – | 410.3 |
Building the Case
During the DIY NAS process, constructing the case seems to be an inevitable step. The reasons vary for everyone; for me, it was primarily due to the high cost of pre-made cases…

So I had to do it myself. I looked at previous examples; a Brazilian enthusiast 3D printed a case:
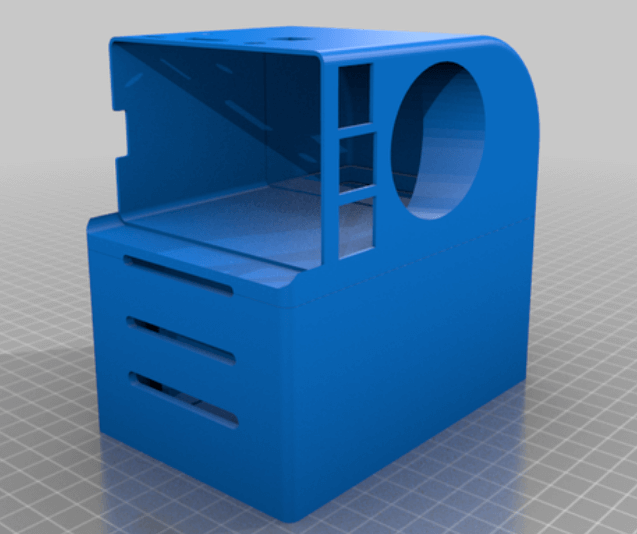
3D printed case by the Brazilian enthusiast / cgomesu.com
A Shanghai enthusiast took a different approach and built one using carbon fiber board:
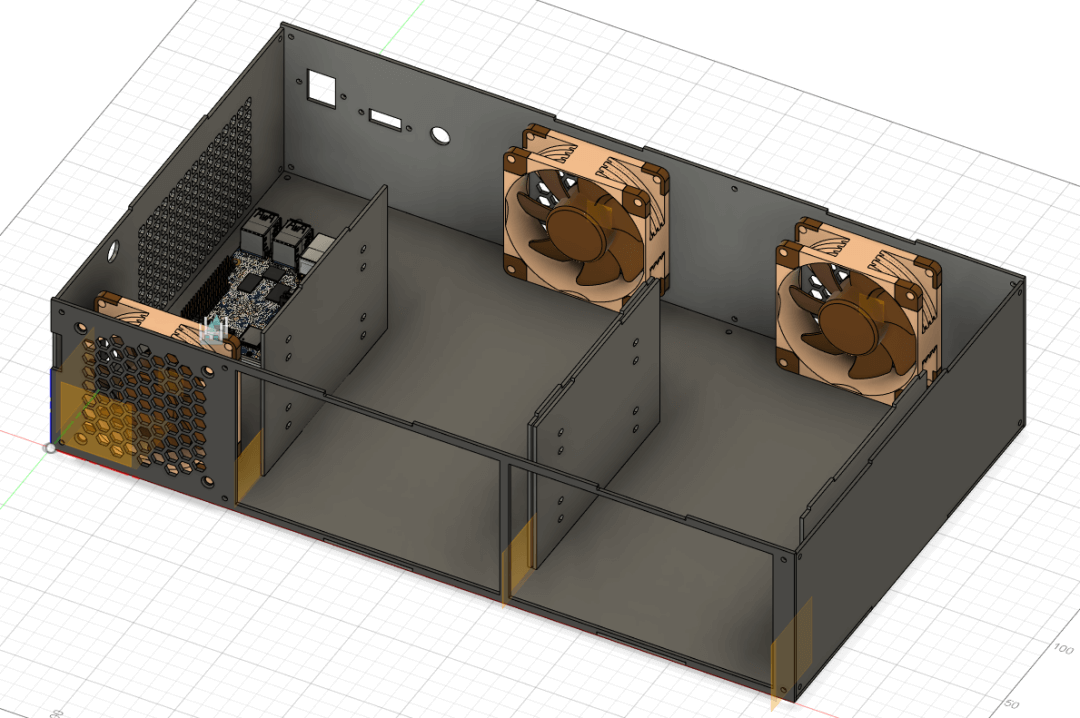
Carbon fiber board case by the Shanghai enthusiast / WeChat public account Sham Cat Sesame Paste
Great, you are all skilled CAD users with strong hands-on abilities and ample budgets!
That’s not something I can learn. Sitting at my desk, resting my chin on my hand, I suddenly noticed a camping storage box from a past event:
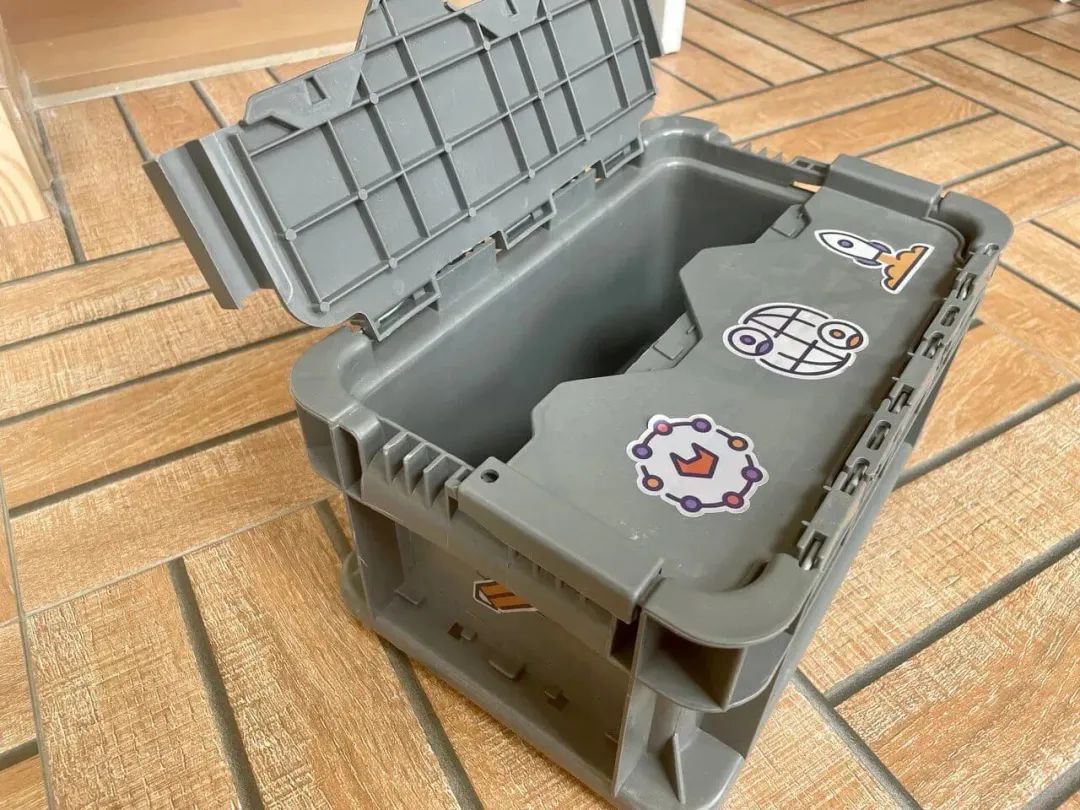 This is the box!
It was the right size and thickness, and I could drill holes in the plastic, so I decided it was the one, Pikachu!
Without hesitation, I began by drilling positioning holes based on the fan’s dimensions (actually, the fan size was chosen based on the case size):
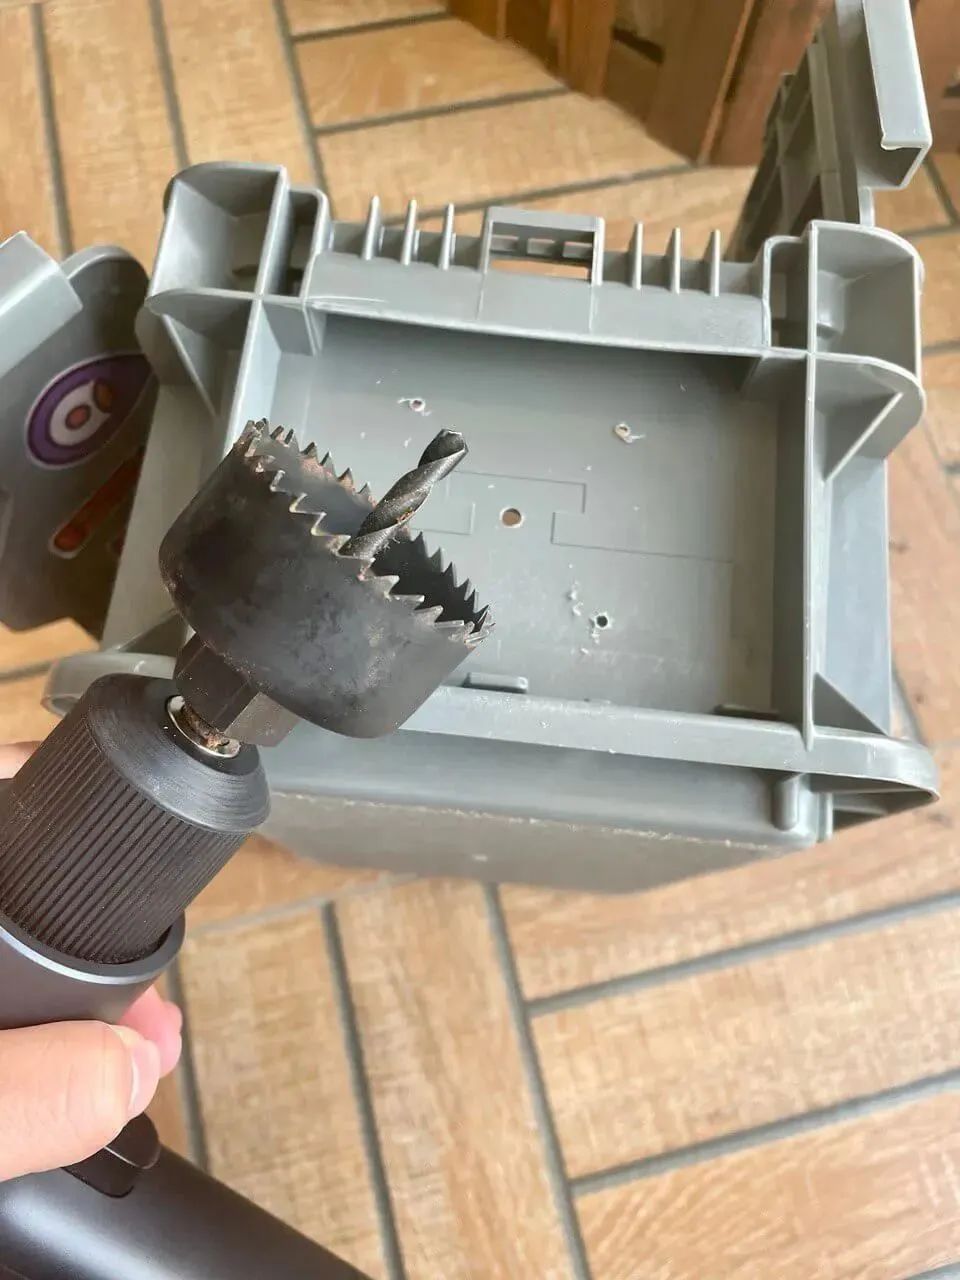
Fan positioning holes
I cut out ventilation holes on both sides:
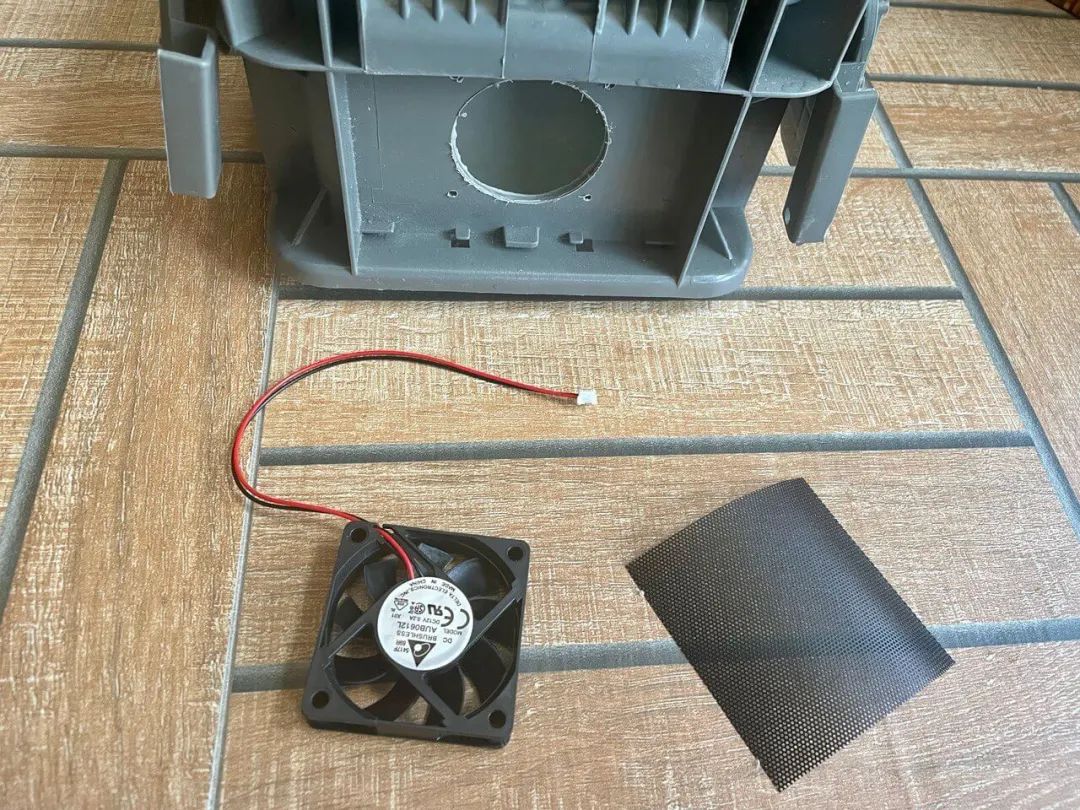 Cutting ventilation holes
I secured the fan and dust filter mesh using screws and nuts:
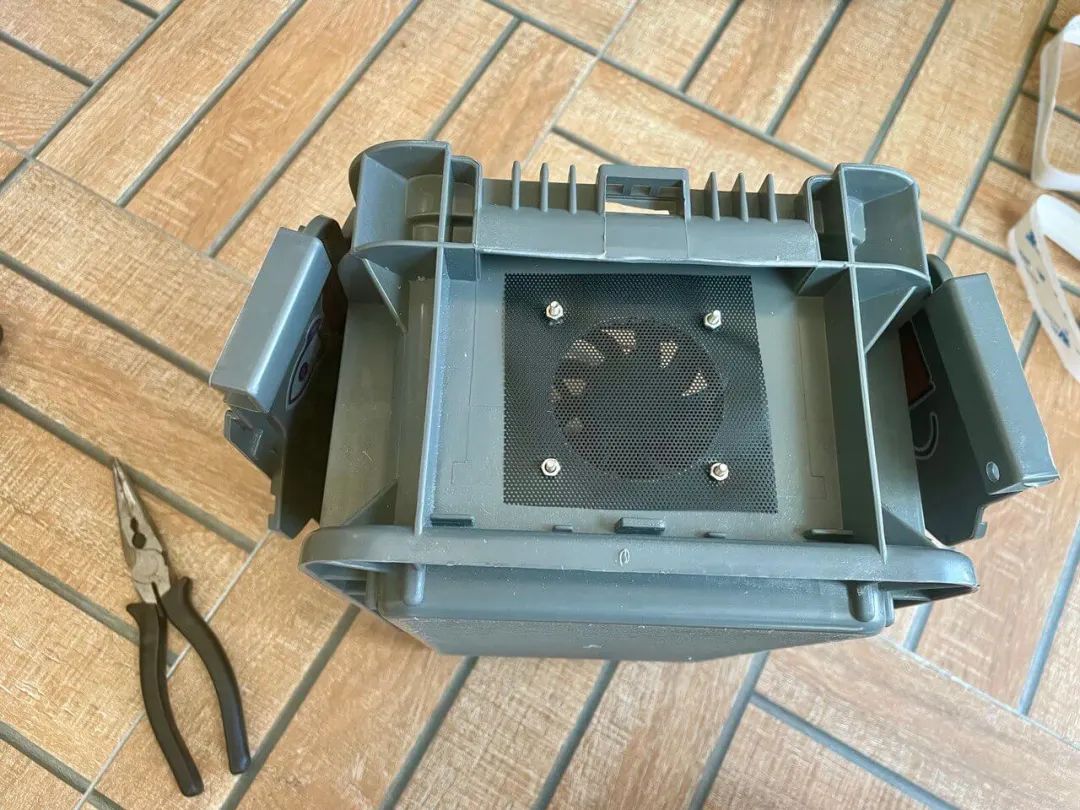 Securing the fan and dust filter mesh
I placed all components and the hard drive inside the case and connected them, linking the fan to the development board:
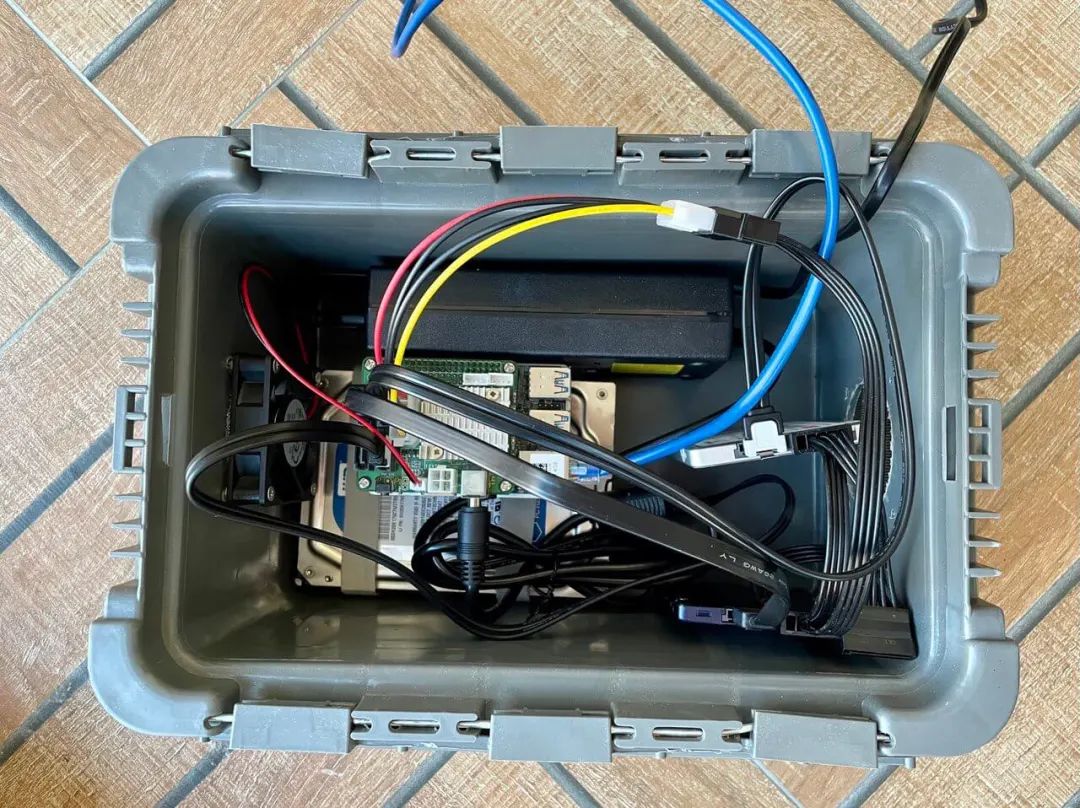 Group photo, please ignore the messy wiring
I wrapped the mechanical hard drive in non-woven tape, guessing it might reduce some vibrations. The SSD’s placement didn’t have strict requirements; I put it wherever it was convenient to connect.
With the case lid closed, the heat dissipation would be poor, so I thought of using leftover dust mesh to cover the top, leaving the box open:
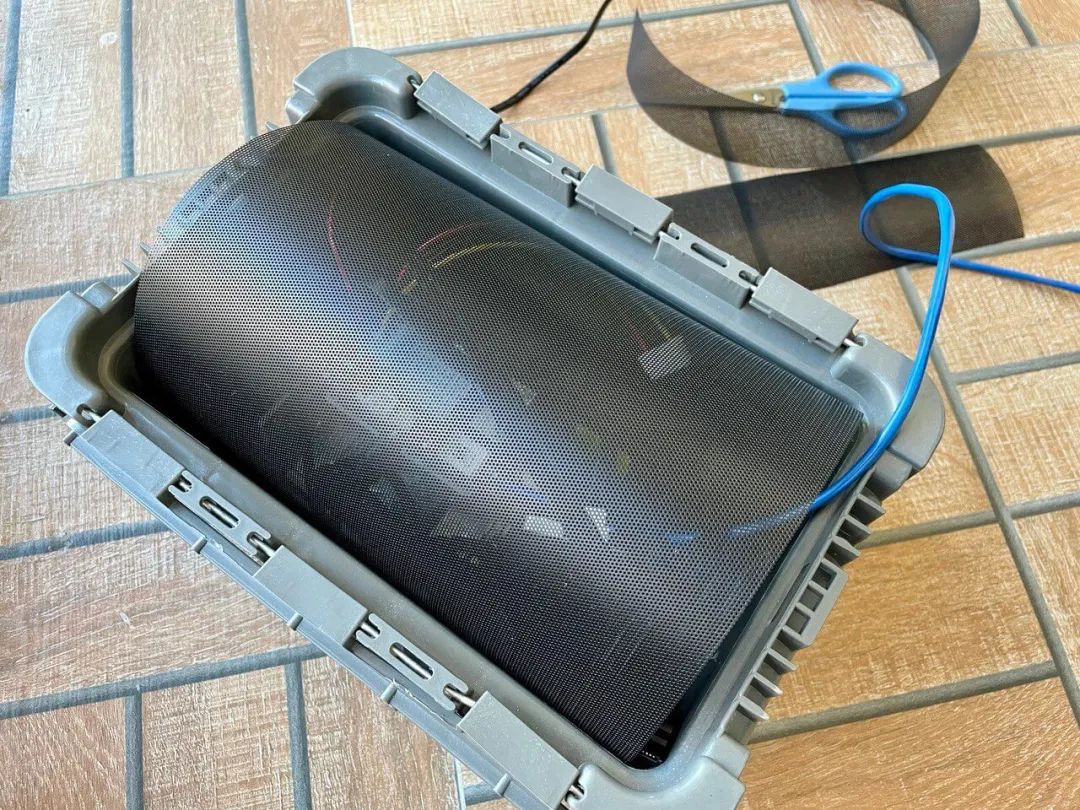 Covering with dust mesh
There was a perfect space under my TV cabinet to fit the case, and the network cable conveniently connected to the router—perfect!
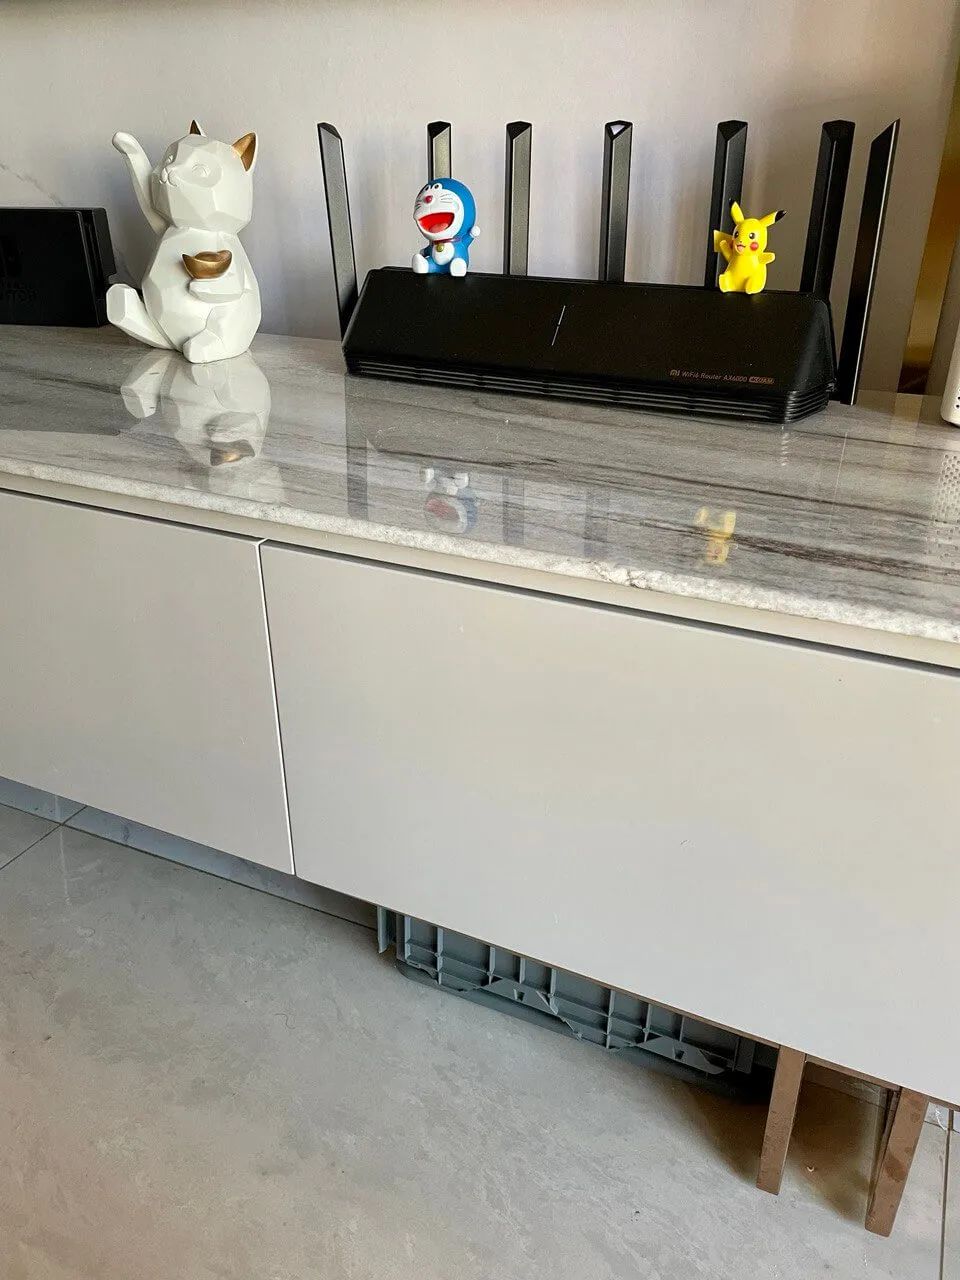
The new home for the NAS
Experienced veterans might now ask, where’s your power switch? Can hard drives be hot-swapped?

Just plug it in to power on, and unplug it to turn it off. I might not even plug or unplug the hard drives once a year, so I won’t worry about those details.
Installing the System
The Brazilian and Shanghai enthusiasts used the Armbian[7] system. I looked at the forums and saw it was usable, but it required some tweaking. OpenMediaVault needs to be installed manually, and I would also have to configure the fan to adjust its speed based on temperature (otherwise, it would be too noisy if the fan ran at full speed all the time). I was feeling lazy; was there a simpler way?
Indeed! Upon further inspection, the development board documentation mentioned that the official team had created a pre-packaged Debian image, complete with OpenMediaVault and Docker pre-installed, and it was set up for fan PWM control! It was like finding a pillow when you were sleepy.

I tried the 8 yuan fan, and it worked well; it was quiet at low speeds and kept the CPU temperature below 65℃ when fully loaded.
Although my manual skills are lacking, once I entered Debian, it became my domain, and I set up useful software:
-
Immich[8]: I uploaded all the photos and videos I’ve taken over the past decade. It’s interesting to observe people and events over a long time span. It also provides useful facial recognition and geographical categorization, automatically backing up when my phone connects to WiFi at home. -
aria2[9] and User Interface[10]: Used for downloading various resources. Since the NAS has low power consumption and doesn’t shut down, it can download many things at a slow speed without being intrusive. -
Kodi[11]: Installed on the TV and phone, allowing me to stream downloaded resources over the home network. -
Tailscale[12]: Build your own virtual private network over the public internet, allowing access to the NAS even when I’m not at home, or share NAS resources with friends. -
Restic[13]: Encrypting and backing up important data to the cloud.
I also wrote some small programs that only have meaning for me, since a NAS is essentially a Linux server.
Finally, here’s a screenshot of the download speed; this board can easily saturate my public bandwidth:
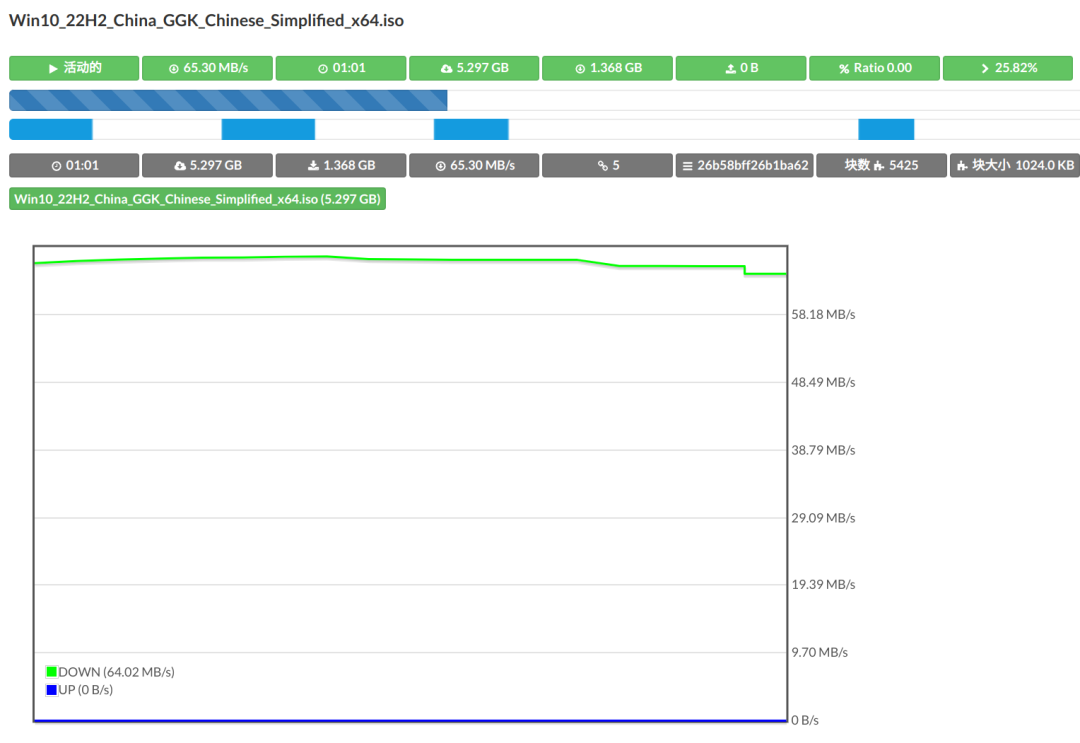 GeoIP indicates this Microsoft CDN is in the same city as me
Conclusion
This NAS project took nearly two months, with much time spent waiting for deliveries, replacing wrong parts, or deliberating over various solutions.
On the day it was completed, I felt very happy and watched the long-awaited Friends: The Reunion[14] with my wife on the TV.
This concludes the article; stay tuned for the next adventure!

References
Synology: https://www.synology.cn/zh-cn
[2]NanoPi M4: https://wiki.friendlyelec.com/wiki/index.php/NanoPi_M4/zh
[3]RK3399: https://www.rock-chips.com/a/en/products/RK33_Series/2016/0419/758.html
[4]The manufacturer released three peripherals: https://wiki.friendlyelec.com/wiki/index.php/Main_Page#:~:text=for%20NanoPi%20NEO-,NanoPi%20M4%20SATA%20HAT,-NVME%20SSD%20Adapter
[5]SATA Hat: https://wiki.friendlyelec.com/wiki/index.php/NanoPi_M4_SATA_HAT
[6]Carlos Gomes: https://cgomesu.com/blog/Nanopi-m4-mini-nas/
[7]Armbian: https://www.armbian.com/
[8]Immich: https://immich.app/
[9]aria2: https://aria2.github.io/
[10]User Interface: https://github.com/ziahamza/webui-aria2
[11]Kodi: https://kodi.tv/
[12]Tailscale: https://tailscale.com/
[13]Restic: https://github.com/restic/restic
[14]Friends: The Reunion: https://movie.douban.com/subject/34908189/