1. Install EMQX on Synology Docker
(Refer to https://blog.csdn.net/weixin_43888891/article/details/122518479)
SSH into Synology and obtain root privileges.
1. Download the EMQX image
docker pull emqx/emqx2. Start the container
docker run -dit --name emqx -p 18083:18083 -p 1883:1883 -p 8083:8083 -p 8084:8084 emqx/emqx:latest3. Access the EMQX web management page to change the password
http://Synology IP Address:18083
Initial account: admin
Initial password: public
2. Router Port Forwarding Settings
Different routers have different settings; configure it yourself to forward port 1883 via TCP to the public network.
3. Vehicle Terminal Settings
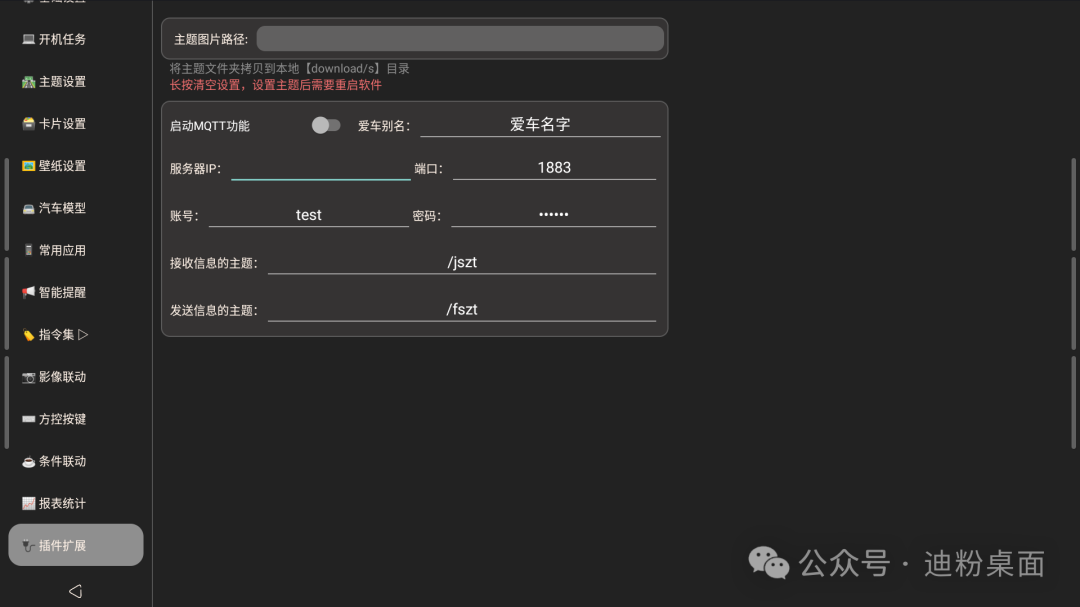
In Settings → Plugin Extensions, fill in the required information.
Vehicle Alias: XXXXX (Custom, must be different from the mobile phone and vehicle terminal; other settings must be the same for both mobile and vehicle terminal.)
MQTT Server Address: xxx.xxx.xxx.xxx (your public IP address or dynamic domain address)
MQTT Server Port: 1883
Username: admin
Password: changed password
Receiving Topic: /XXXX (must start with ‘/’ and can be customized)
Sending Topic: /YYYY (must start with ‘/’ and can be customized)
After completing the settings, check if the MQTT service is running normally in Settings → Basic Settings → View Running Services, and check if there is a client with the “Vehicle Alias” on the page http://Synology IP Address:18083/#/clients.
4. Run the Message Relay Script
(This step requires an Android package to open and set up the content to run)
(Refer to https://blog.csdn.net/agoling/article/details/134976022)
 Download this file from the cloud drive.
1. Configure Python environment on Windows (version 3.10.11+). When installing, check the box for “Add Python x.x.x. to PATH” at the bottom of the first step page, then continue with the next steps.
2. Modify some information in main.py (change the content inside the double quotes, keeping the double quotes).
broker_url = "Server External IP or Domain"
broker_port = 1883
username = "admin"
password = "changed password"
3. Run the main.py script.
Right-click in the empty space of the main.py directory, and click “Open Command Prompt Here,” or type cmd in the address bar above the directory and hit enter.
Install dependencies
pip install paho.mqttRun the script
python main.pyAfter receiving a successful run prompt, do not close the cmd window; otherwise, the script will become ineffective.
Open http://Synology IP Address:18083/#/clients to check if there is a client for “Relay Service”.
5. Configure the Mobile End
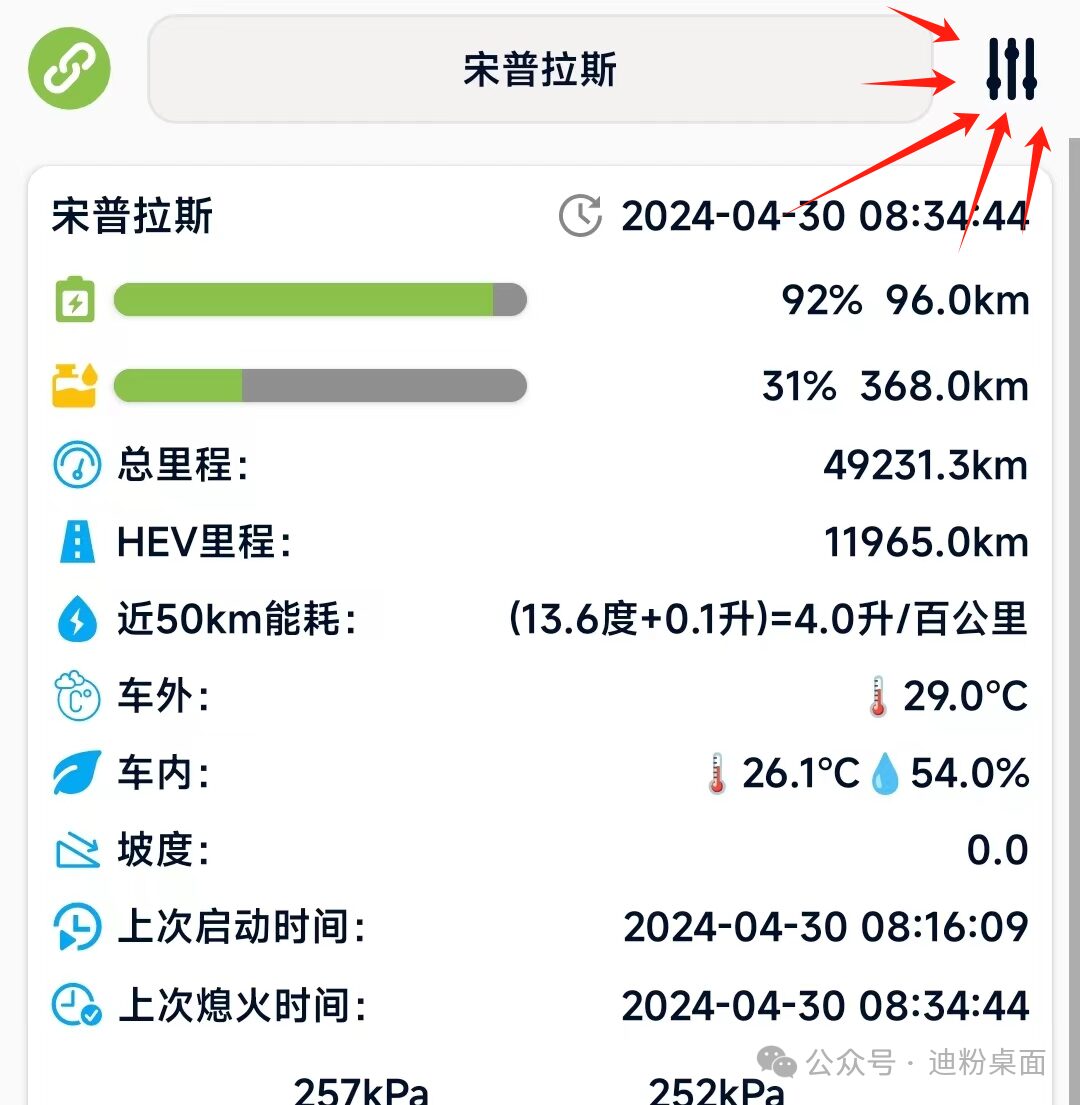
After entering the software, click the icon in the upper right corner and fill in the required information based on the content in step three.
Display Name: XXXXX (Custom, do not use the same as the vehicle terminal.)
MQTT Server Address: xxx.xxx.xxx.xxx (same as the vehicle terminal)
MQTT Server Port: 1883
Username: admin (same as the vehicle terminal)
Password: changed password (same as the vehicle terminal)
Receiving Topic: /XXXX (same as the vehicle terminal)
Sending Topic: /YYYY (same as the vehicle terminal)
After saving and connecting, start the vehicle, and the mobile end will receive the push notification.