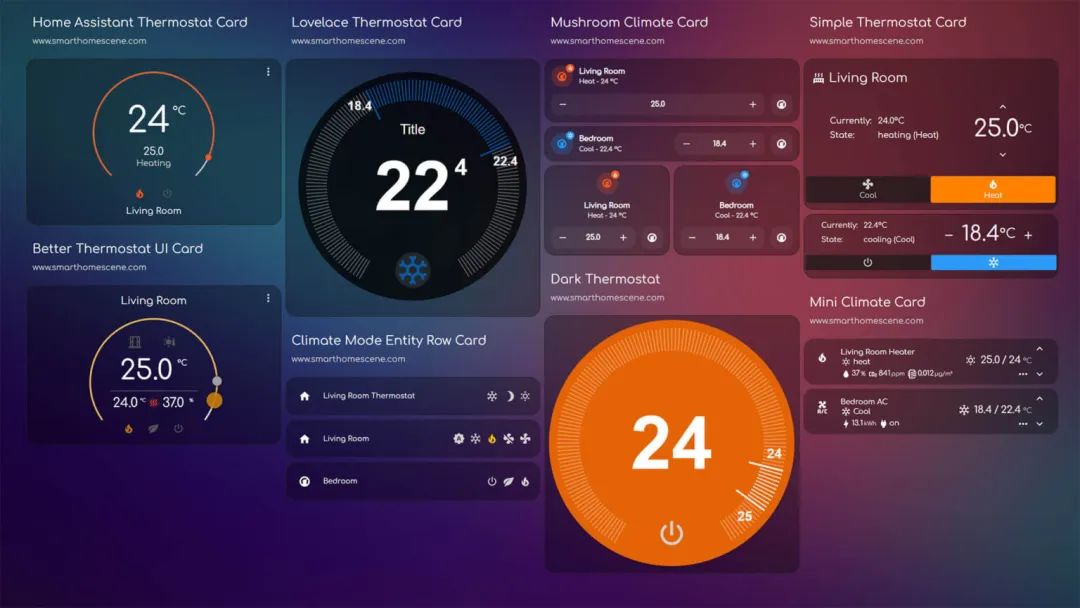
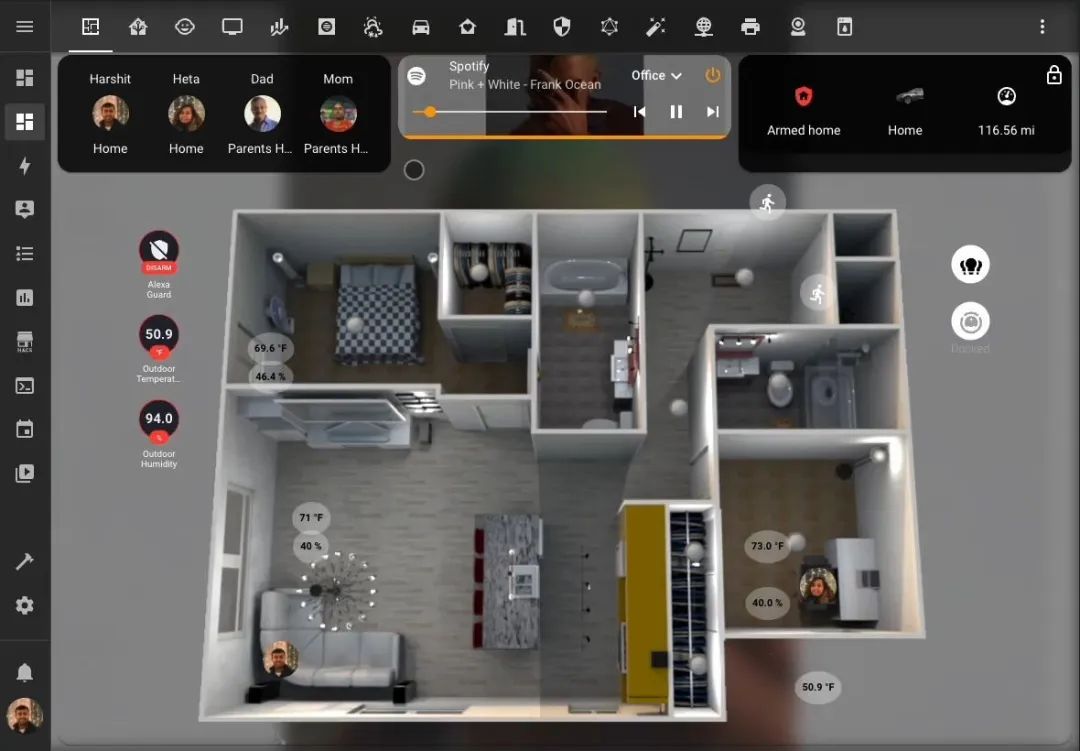
Smart homes have become a part of modern life, bringing us unprecedented convenience and comfort. Home Assistant, as an open-source smart home platform, can help you easily build a personalized smart home system. This article will detail how to install Home Assistant on a Raspberry Pi and provide you with practical operational guidelines to embark on your smart home journey.

Preparation
1. Hardware Preparation
-
• Raspberry Pi: It is recommended to use Raspberry Pi 4 or 5, but if your budget is limited, Raspberry Pi 3 Model B can also be used.
-
• Power Adapter: Provides stable power to the Raspberry Pi.
-
• Micro SD Card: An A2 class application card with a capacity of at least 32GB is recommended.
-
• SD Card Reader: Most laptops come with a built-in SD card reader; if not, you can purchase a USB adapter.
-
2. Software Preparation
-
• Raspberry Pi Imager: The official tool for writing images to SD cards, available for download at https://www.raspberrypi.com/software/.
-
• Home Assistant Image: The image file used to install the Home Assistant operating system.
-

Installing Home Assistant Operating System
1. Using Raspberry Pi Imager
-
• Download and install Raspberry Pi Imager.
-
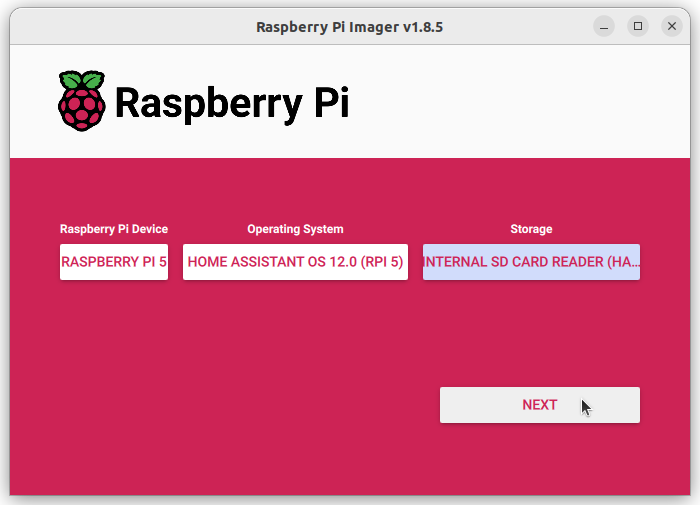
• Open Raspberry Pi Imager and select your Raspberry Pi model.
-
• Choose the operating system: Click “Choose OS”, select “Other specific-purpose OS” > “Home assistants and home automation” > “Home Assistant”.
-
• Select the Home Assistant operating system that matches your Raspberry Pi model (RPi 3, RPi 4, or RPi 5).
-
• Select the storage device: Insert the Micro SD card into your computer and select your SD card. Note: Data on the SD card will be overwritten.
-
• Write the image: Click “Next” to start writing the image. Wait for the Home Assistant operating system to be written to the SD card.
-
• Eject the SD card.
-

2. Booting the Raspberry Pi
-
• Insert the Micro SD card into the Raspberry Pi.
-
• Connect an Ethernet cable to ensure the Raspberry Pi and computer are on the same network and can access the internet.
-
• Connect the power adapter to power on the Raspberry Pi.
3. Accessing Home Assistant
-
• Wait a few minutes for the Raspberry Pi to boot up completely.
-
• In your computer’s browser, type
<span>homeassistant.local:8123</span>. -
• If your computer is running an older version of Windows or has strict network configurations, you may need to access
<span>homeassistant:8123</span>or<span>http://X.X.X.X:8123</span>(replace<span>X.X.X.X</span>with the Raspberry Pi’s IP address). -
• If you cannot access Home Assistant after 5 minutes, the image writing may have failed. It is recommended to rewrite the SD card or try a different SD card.
-
• If the issue persists, check the Raspberry Pi’s console output. You can view the output information by connecting a monitor via HDMI.
Congratulations, you have successfully installed Home Assistant!
Downloading Home Assistant Image (Optional)
If your platform does not support Raspberry Pi Imager, you can download the Home Assistant image and use other imaging tools, such as Balena Etcher.
-
• Visit the Home Assistant image download page https://github.com/home-assistant/operating-system/releases, and select the image file that matches your Raspberry Pi model.
-
• Download the image file to your computer.
Configuring Home Assistant
After successfully installing Home Assistant, you need to perform some basic configurations to start using it:
1. Create a User Account
When you first access Home Assistant, you need to create a user account. Follow the prompts to complete the account creation.
2. Add Smart Devices
Home Assistant supports various smart devices, including bulbs, switches, sensors, cameras, etc. You need to add your smart devices according to your actual situation and configure them accordingly.
3. Install Plugins
Home Assistant has a rich library of plugins that can help you extend functionality and achieve more personalized features. You can install the required plugins based on your needs, such as music playback, weather forecasts, smart home automation, etc.
4. Set Up Automation
By setting up automation, you can let Home Assistant automatically perform some tasks, such as:
-
• Automatically turn on or off lights based on time.
-
• Automatically trigger alarms when doors or windows open.
-
• Automatically adjust air conditioning temperature based on weather conditions.
Conclusion
Through this article, you have mastered the basic steps to install Home Assistant on a Raspberry Pi. I hope this guide helps you easily build your smart home system and enjoy the convenience and fun that smart homes bring.
Project Address: https://github.com/home-assistant/operating-system/releases