Previously, I introduced the installation processes of Rocky Linux 10, Ubuntu 25.04, Ubuntu Server 24.04, Debian 12, and Deepin 25.0.1. I also noticed that there is another distribution of Linux that is quite popular, especially in the server domain. This distribution is a lightweight version characterized by security, simplicity, efficiency, and low resource usage. Many servers use this distribution as their operating system. The name of this distribution is “Alpine Linux”.
This time, we will introduce the installation process of Alpine Linux, using version 3.22.
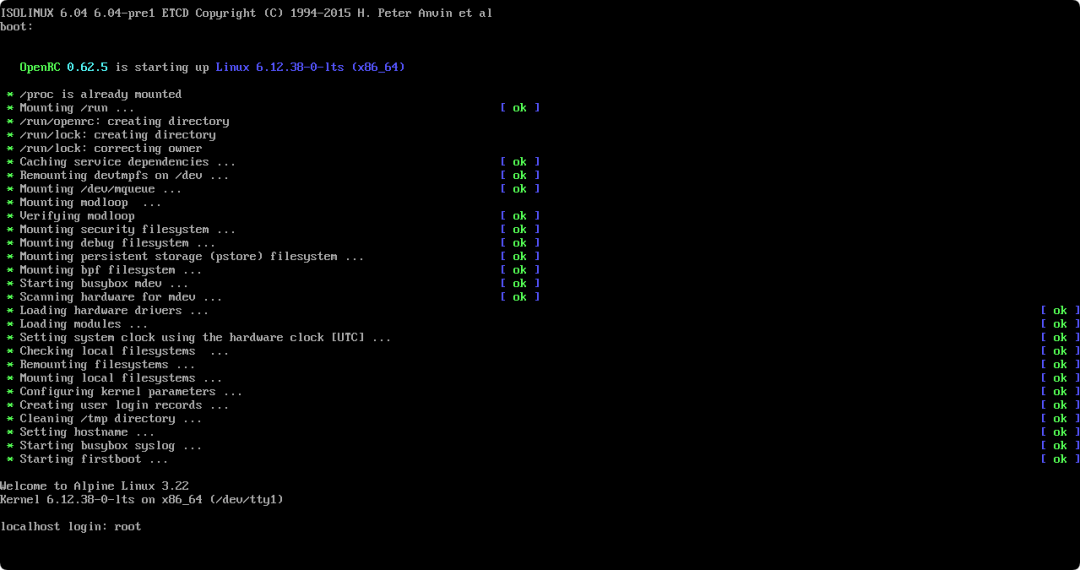
1. Prepare the installation media for Alpine Linux and boot the computer using this media;
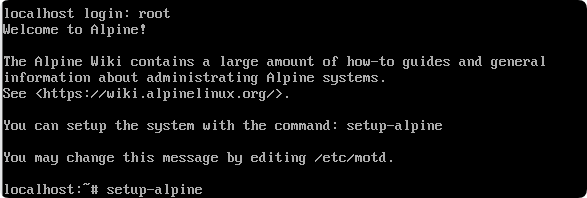
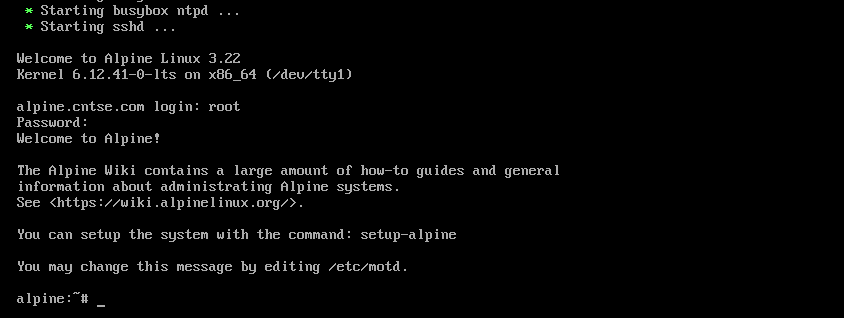
2. After booting to the following interface, enter “root” to prepare for logging into the system:
3. After logging in, enter “setup-alpine” to start the installation program:
4. Choose the keyboard layout according to your actual needs. For example, I chose “cn” and entered “cn”, then pressed Enter to proceed to the next step:
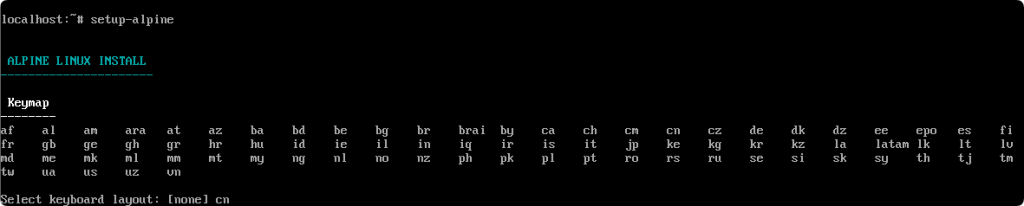
5. Continue to enter “cn” and then press Enter to proceed to the next step:

6. Define the computer name. For example, I named this computer “alpine.cntse.com” (it needs to use numbers or lowercase letters). After entering, press Enter to confirm:

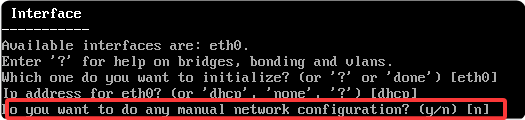
7. Start configuring the network. First, select the network card to configure. For example, my computer has only one network card, which defaults to eth0. Just press Enter to proceed to the next step:

8. The system asks how to assign an IP address to the network card. In this case, I chose to use DHCP to automatically assign an IP address to the computer. If needed, I can modify it later:

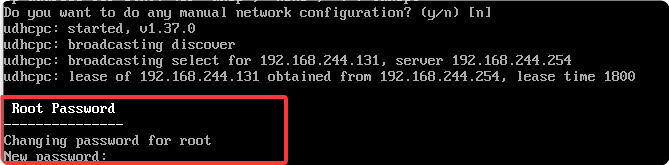
9. The system asks whether to manually set the network configuration items. Here, it is not necessary, so I keep the default option and press Enter:
10. After completing the network configuration, set a new password for the root account:
11. Re-enter the root password just set (I made a mistake once):

12. Choose the time zone. For example, I am in South China, which belongs to the East Eight District, corresponding to the time zone “shanghai”. First, enter “Asia”, press Enter, then enter “Shanghai”, and press Enter:


13. The system asks whether to set a proxy server. I did not use a proxy server, so I keep the default option “none” and press Enter to proceed to the next step:

14. Choose the NTP time service client. This depends on personal preference. I keep the default “busybox” and press Enter to proceed to the next step:

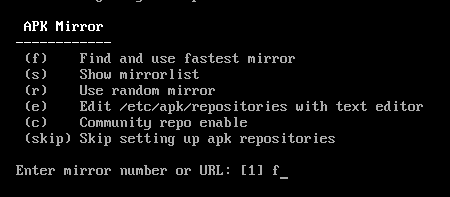
15. Set the mirror link for the apk software repository. Press “f” on the keyboard to find and use the fastest mirror:
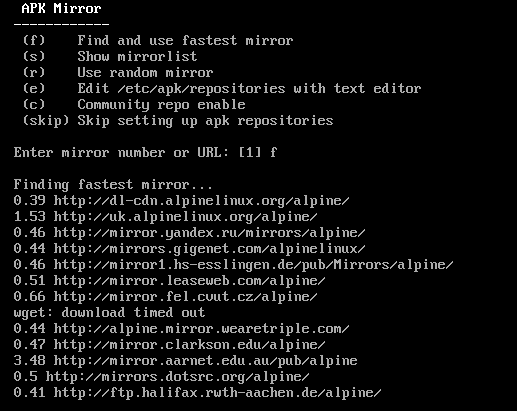
16. Searching and testing the link speeds of various mirror sites:
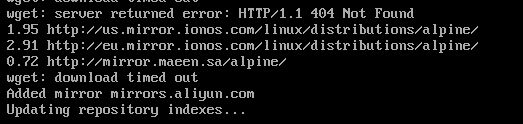
17. The test result shows that Alibaba Cloud’s mirror is the fastest, and it will be automatically written into the system:
18. Whether to set a user. Here, I will not set one for now, keeping it as no, and press Enter to proceed to the next step:

19. Choose the SSH server software. I prefer openssh, keeping the default option and pressing Enter:

20. The system asks whether to allow SSH connections using the root account. I choose “yes” here:

21. Keep the default option “none” and press Enter to proceed to the next step:

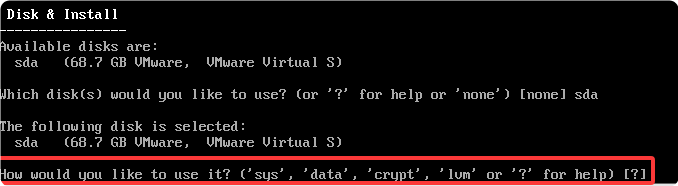
22. Choose the hard disk to install the system. For example, I choose (the only option) “sda”:

23. The system asks how to use this hard disk. Just press Enter or enter “?” and press Enter. The system will explain the characteristics of several options. Here, I choose “sys”:
24. The system asks whether to erase the data on the selected hard disk. After confirming that there is no important data on the hard disk, you can enter y; if there is important data, it is recommended to back it up first and then choose y when you reach this step:
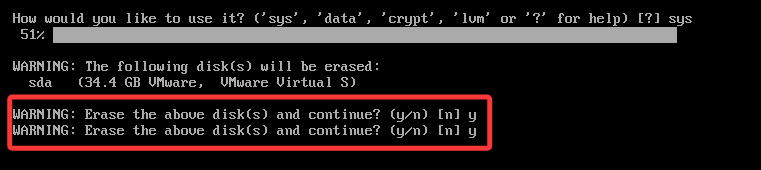
The system will confirm twice.
25. The system is installing…

26. The installation is complete, and the system prompts that you need to reboot the computer. Enter reboot and press Enter, and the system will perform the reboot operation. It is recommended to remove the installation media from the computer during the reboot process:

27. After the reboot is complete, you can enter the username and password to log into Alpine Linux. The entire installation process is now complete:
 —————–Related historical articles about Linux:System installation tutorial: Introduction to the installation process of Debian 12.11 (graphical interface)Upgrading AlmaLinux 9 and Rocky Linux 9 to 10Resolving the issue of isc-dhcp-server not assigning IP addresses to clients after power recovery on Ubuntu Server—————Recently published articles:How to prevent automatic upgrades to Windows 11 through WSUS service on Windows 10?Considering whether to directly upgrade my Rocky Linux 9 to Rocky Linux 10Viewing battery usage reports and health of laptops on Windows 10/11—————-
For more content, you can click the search bar below to search: