Interesting Basic Experiments with Raspberry Pi Pico

Interesting Basic Experiments with Raspberry Pi Pico

Last week we gave away Raspberry Pi Pico, and today we have prepared some experimental routines for everyone. This includes several basic experiments with code and results.

01 PI Pico Experiment Board

The Raspberry Pi Pico Development Board Basic Test[1] provides the basic setup for the PI Pico development board. By installing the Thonny development environment[2], it is convenient to perform initial development on the Pi Pico.
Interesting Basic Experiments with Raspberry Pi Pico
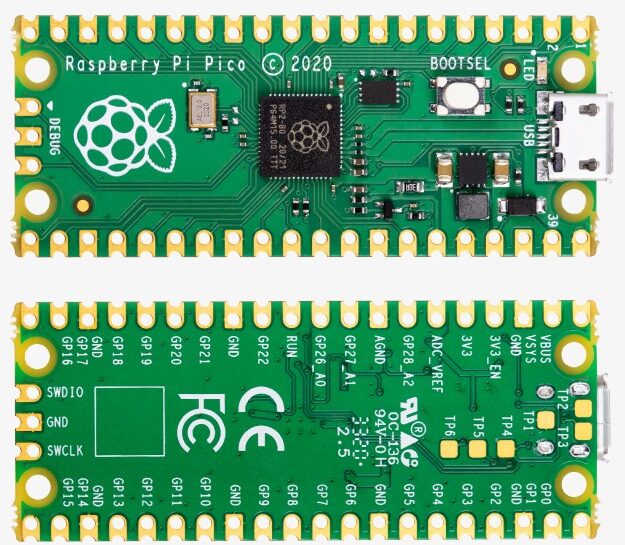
▲ Front and back of the Pi Pico circuit board
Below, based on the Raspberry Pi Pico Python SDK[3], we will test some basic modules of the PI Pico.
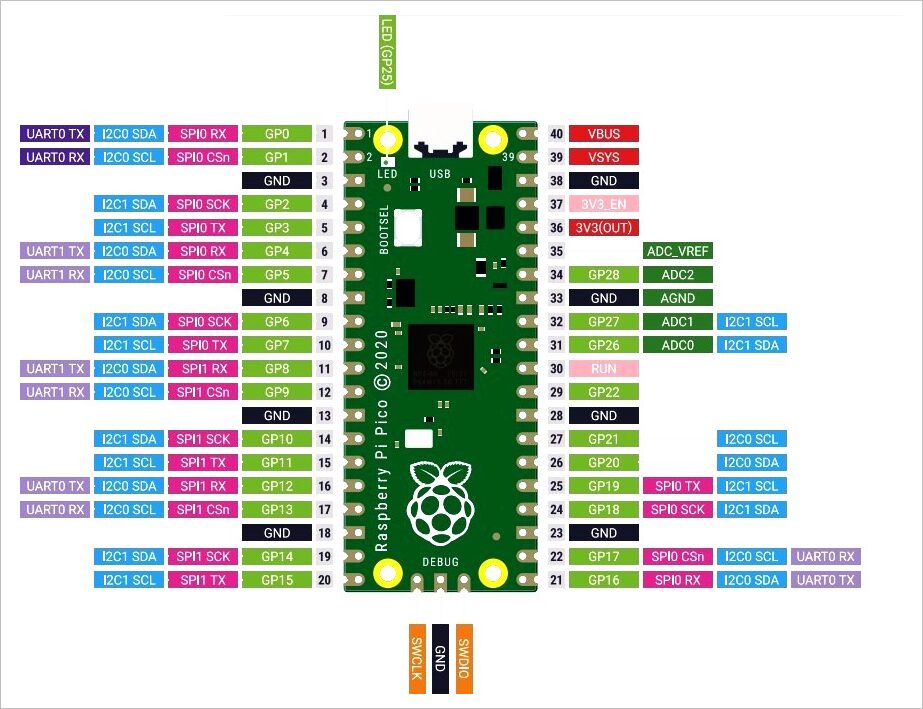
For the pin configuration of Pi Pico, please refer to the Pi Pico datasheet[4] for the pin diagram definition:
Interesting Basic Experiments with Raspberry Pi Pico
▲ Pi Pico pin function definition diagram

02 Basic Tests

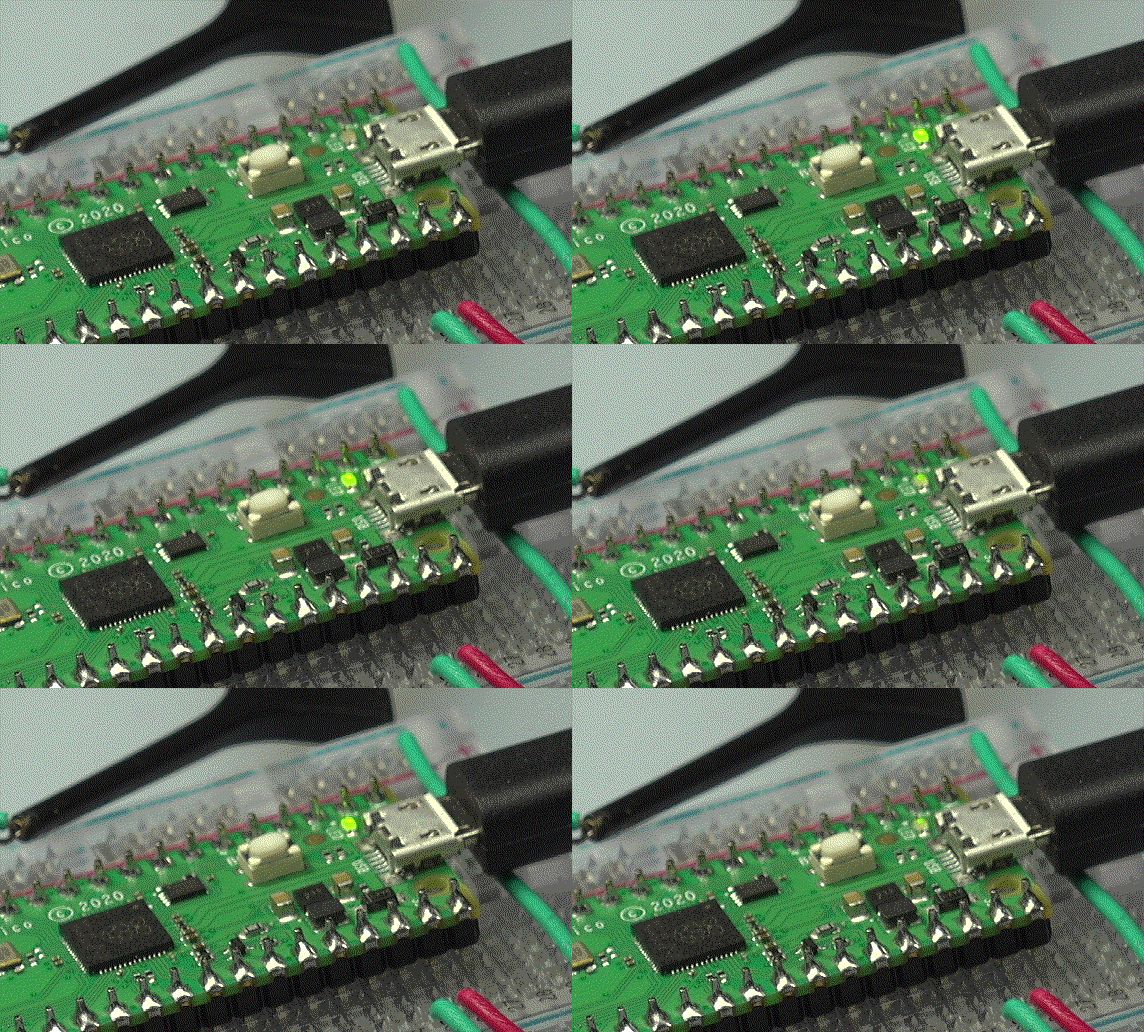
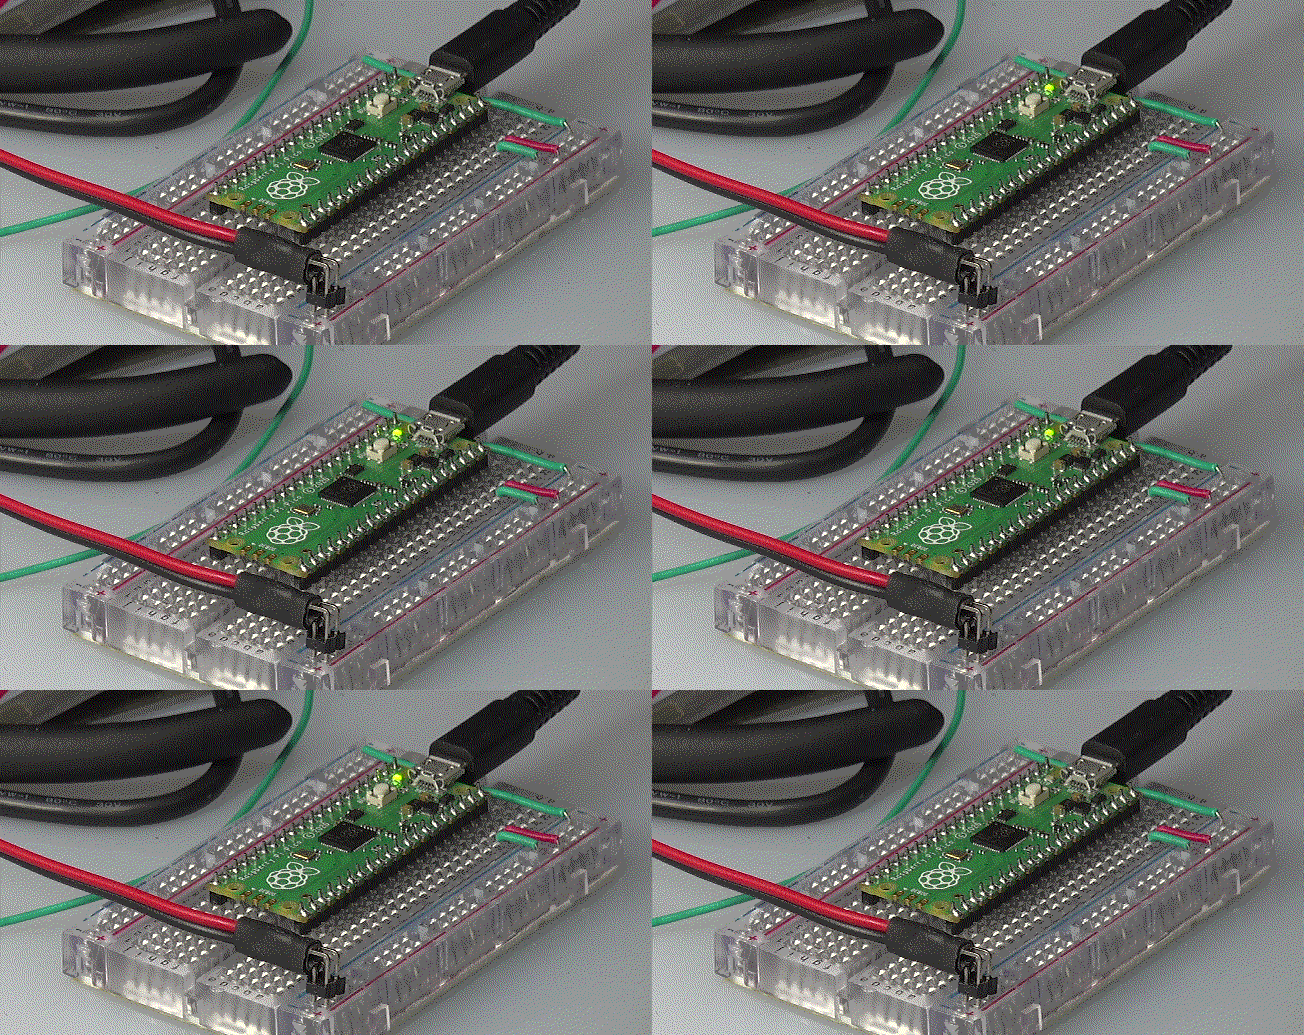
1. Flash LED on Board

from machine                import Pin,Timer
from time                   import sleep_us

led = Pin(25, Pin.OUT)
tim = Timer()

print("Flash LED.")

def tick(timer):
    global led
    led.toggle()

tim.init(freq=2, mode=Timer.PERIODIC, callback=tick)
Interesting Basic Experiments with Raspberry Pi Pico

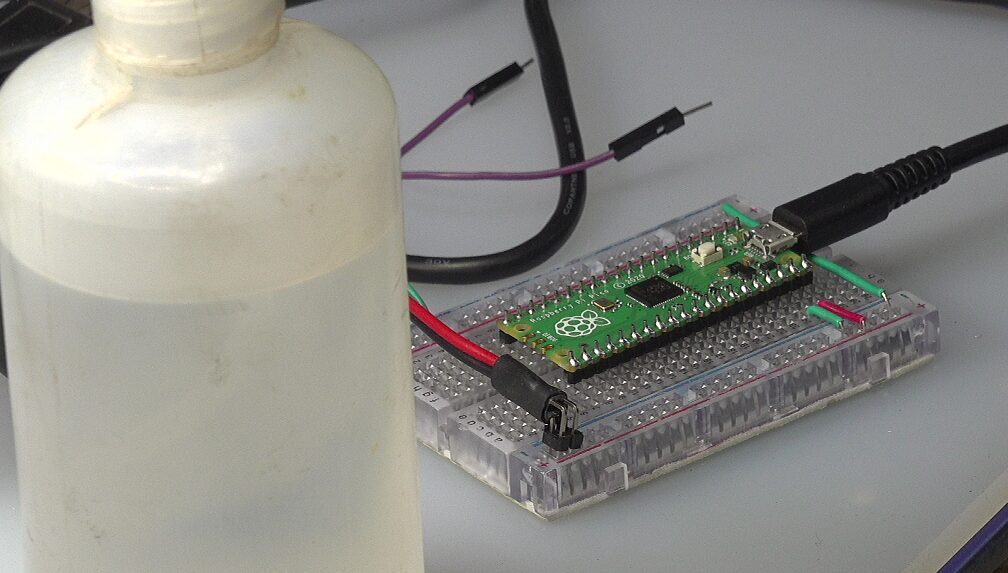
▲ Experimental circuit board

2. UART

(1) Test Program

from machine                import UART,Pin,Timer
from time                   import sleep_us

uart = UART(0, baudrate=115200, tx=Pin(0), rx=Pin(1), bits=8, parity=None, stop=1)
led = Pin(25, Pin.OUT)

tim = Timer()

print("Send UART.")

def tick(timer):
    global uart, led

    led.toggle()
    uart.write(b'\x55')

tim.init(freq=10, mode=Timer.PERIODIC, callback=tick)
Interesting Basic Experiments with Raspberry Pi Pico
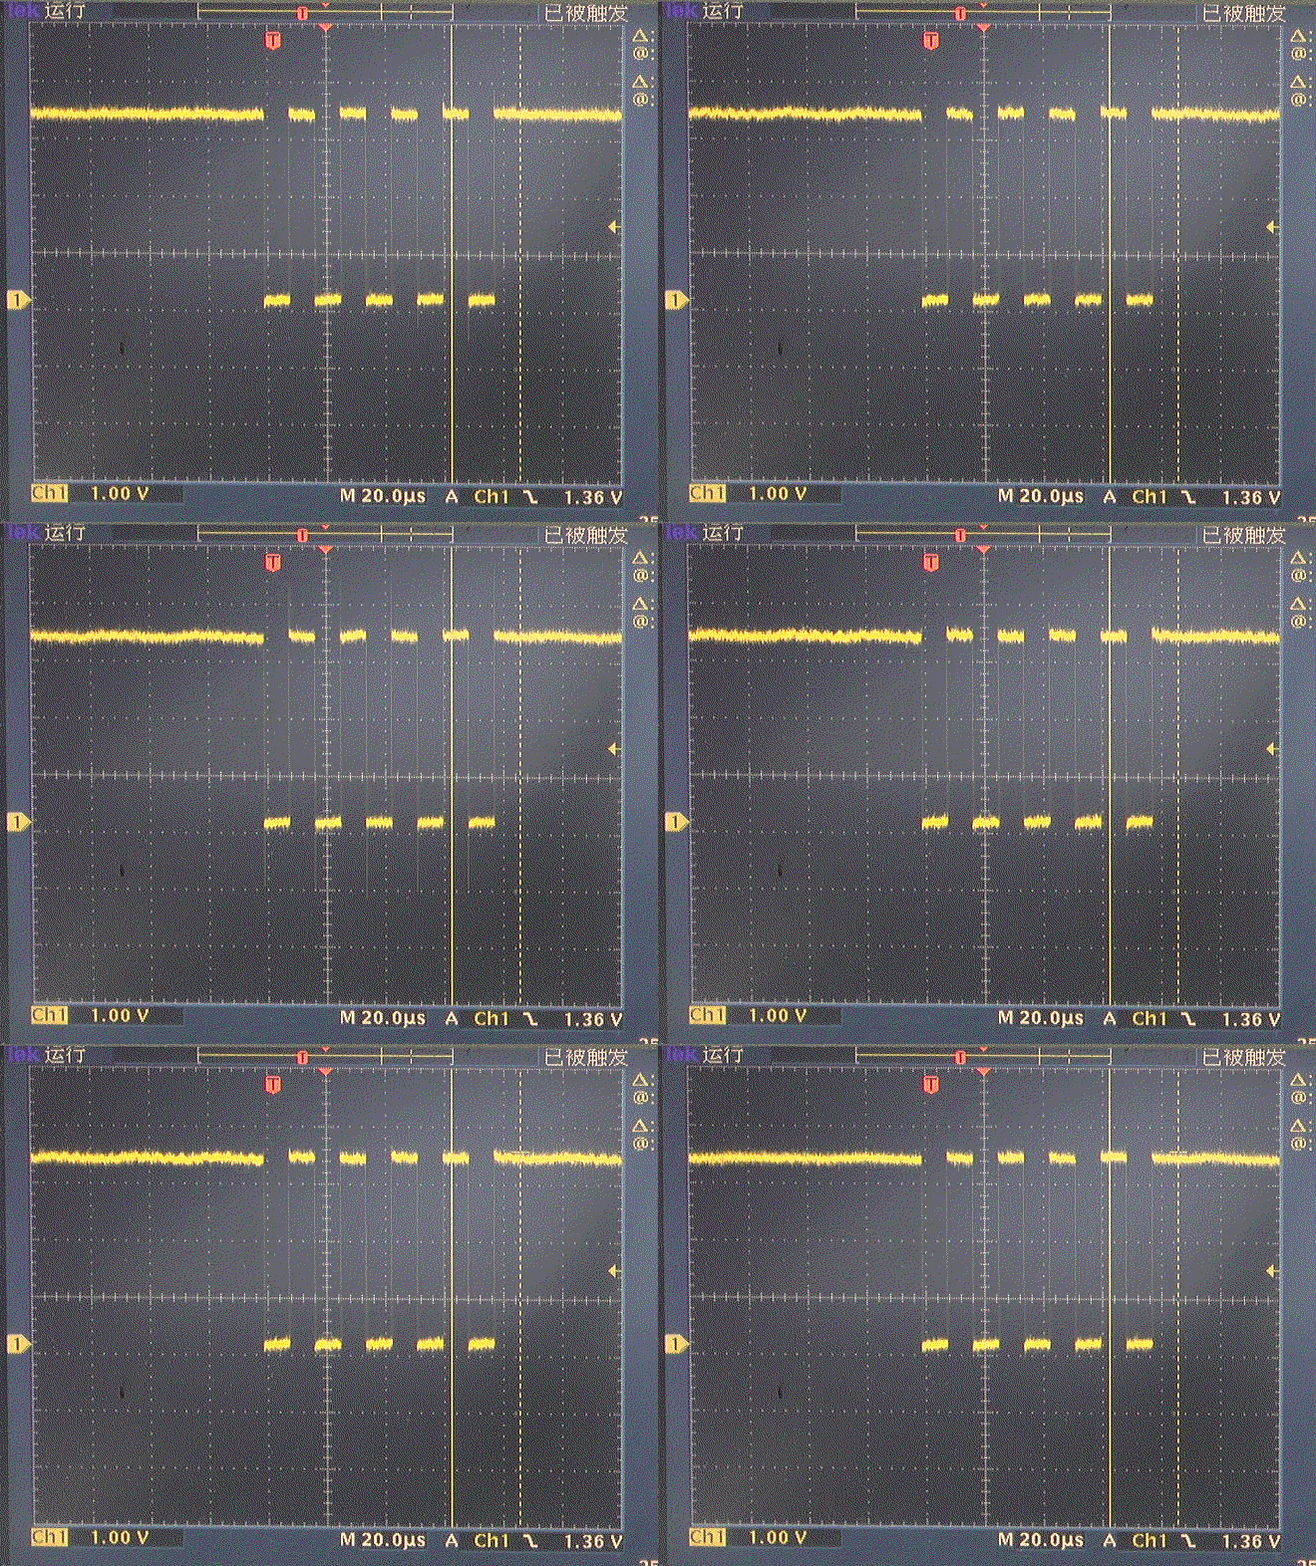
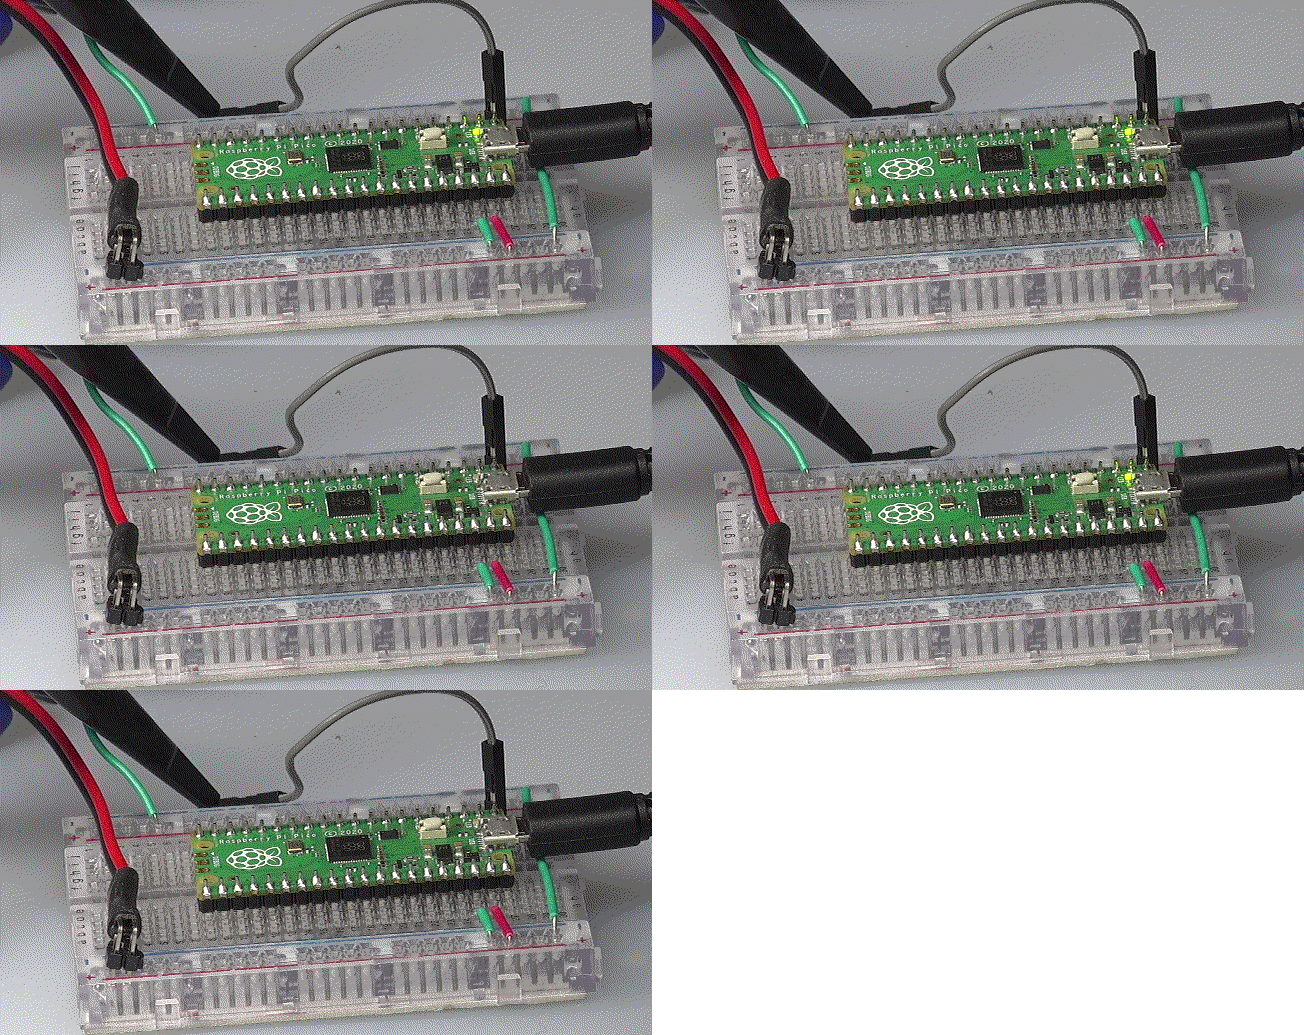
▲ Measuring Pin(0)
Interesting Basic Experiments with Raspberry Pi Pico
▲ Measuring the waveform of Pin(0)

3. ADC

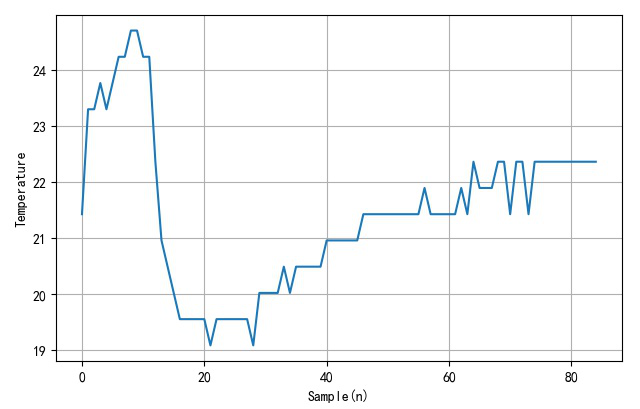
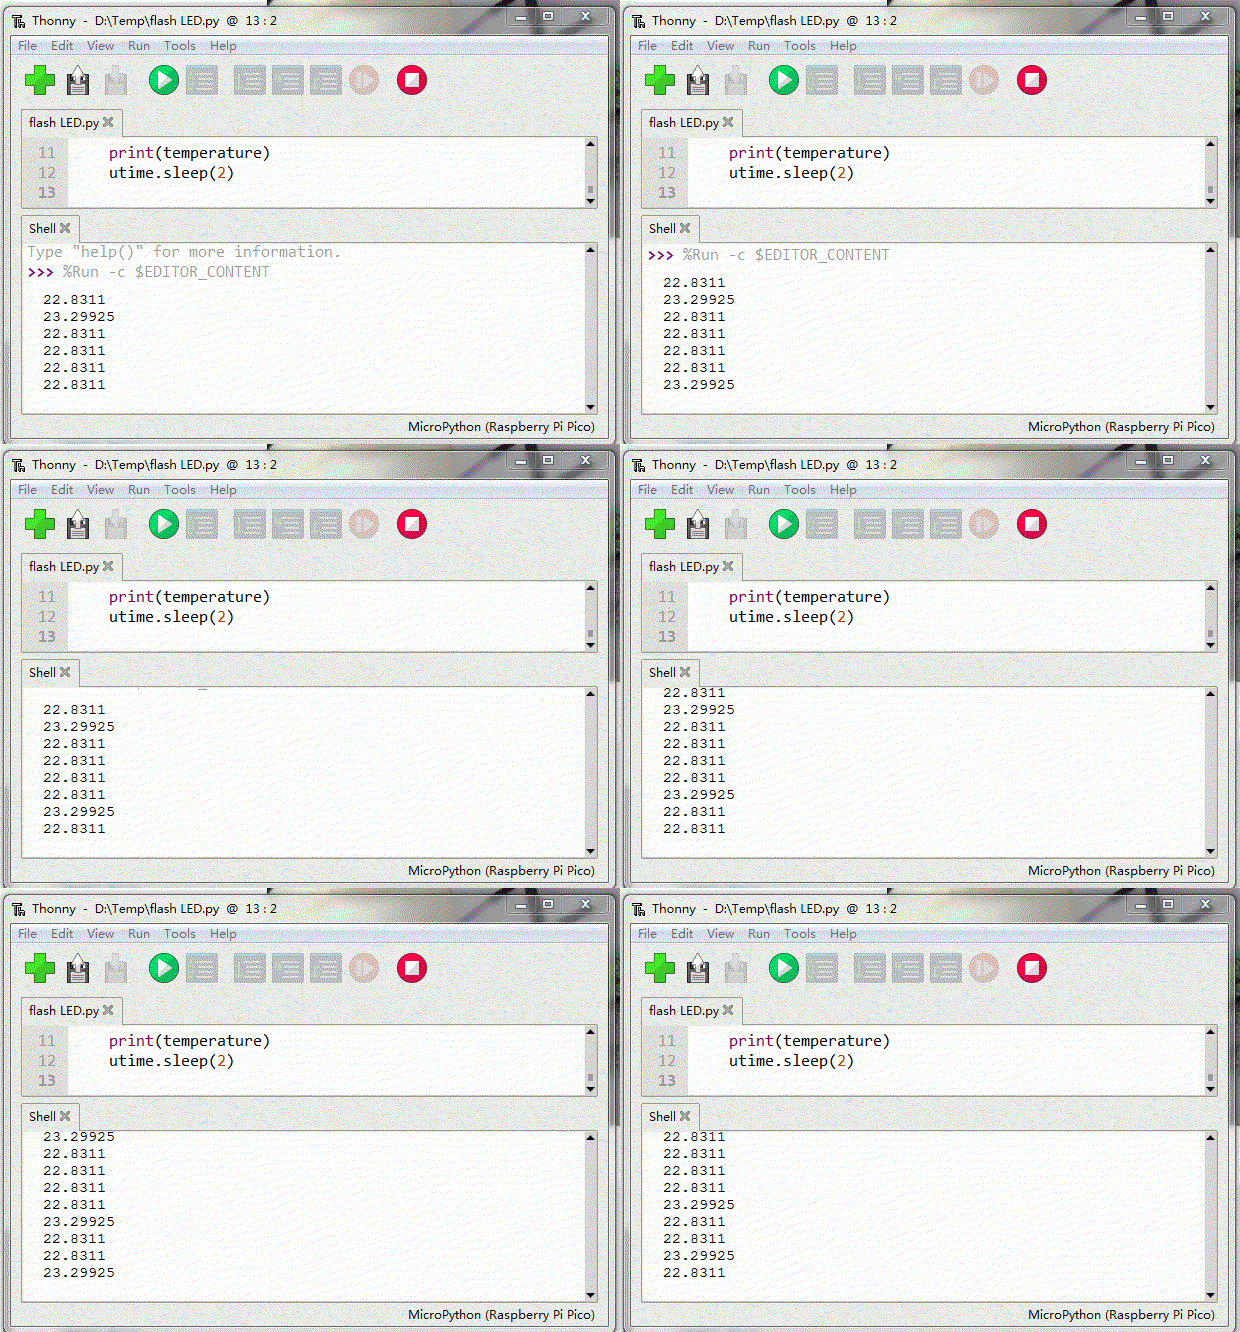
Read the internal temperature of the chip through ADC channel 4. During this process, use your hand to touch the surface of the Pi Pico to heat it, or use alcohol to spray the surface of the chip for cooling.
Interesting Basic Experiments with Raspberry Pi Pico
▲ Reading the internal temperature of the chip
import machine
import utime

sensor_temp = machine.ADC(4)
conversion_factor = 3.3/(65535)

while True:
    read = sensor_temp.read_u16() * conversion_factor

    temperature = 27 - (read - 0.706) / 0.001721
    print(temperature)
    utime.sleep(2)
Interesting Basic Experiments with Raspberry Pi Pico
▲ Displaying the read temperature value
Interesting Basic Experiments with Raspberry Pi Pico
▲ Changes in the read temperature values

4. PWM

(1) PWM Driving LED

The waveform controlling the onboard LED operates on PWM.
from machine                import Pin,PWM
import time

pwm = PWM(Pin(25))

pwm.freq(1000)

duty = 0
direction = 1

for _ in range(16*255):
    duty += direction

    if duty > 255:
        duty = 255
        direction = -1
    elif duty < 0:
        duty = 0
        direction = 1

    pwm.duty_u16(duty*duty)
    time.sleep(0.001)
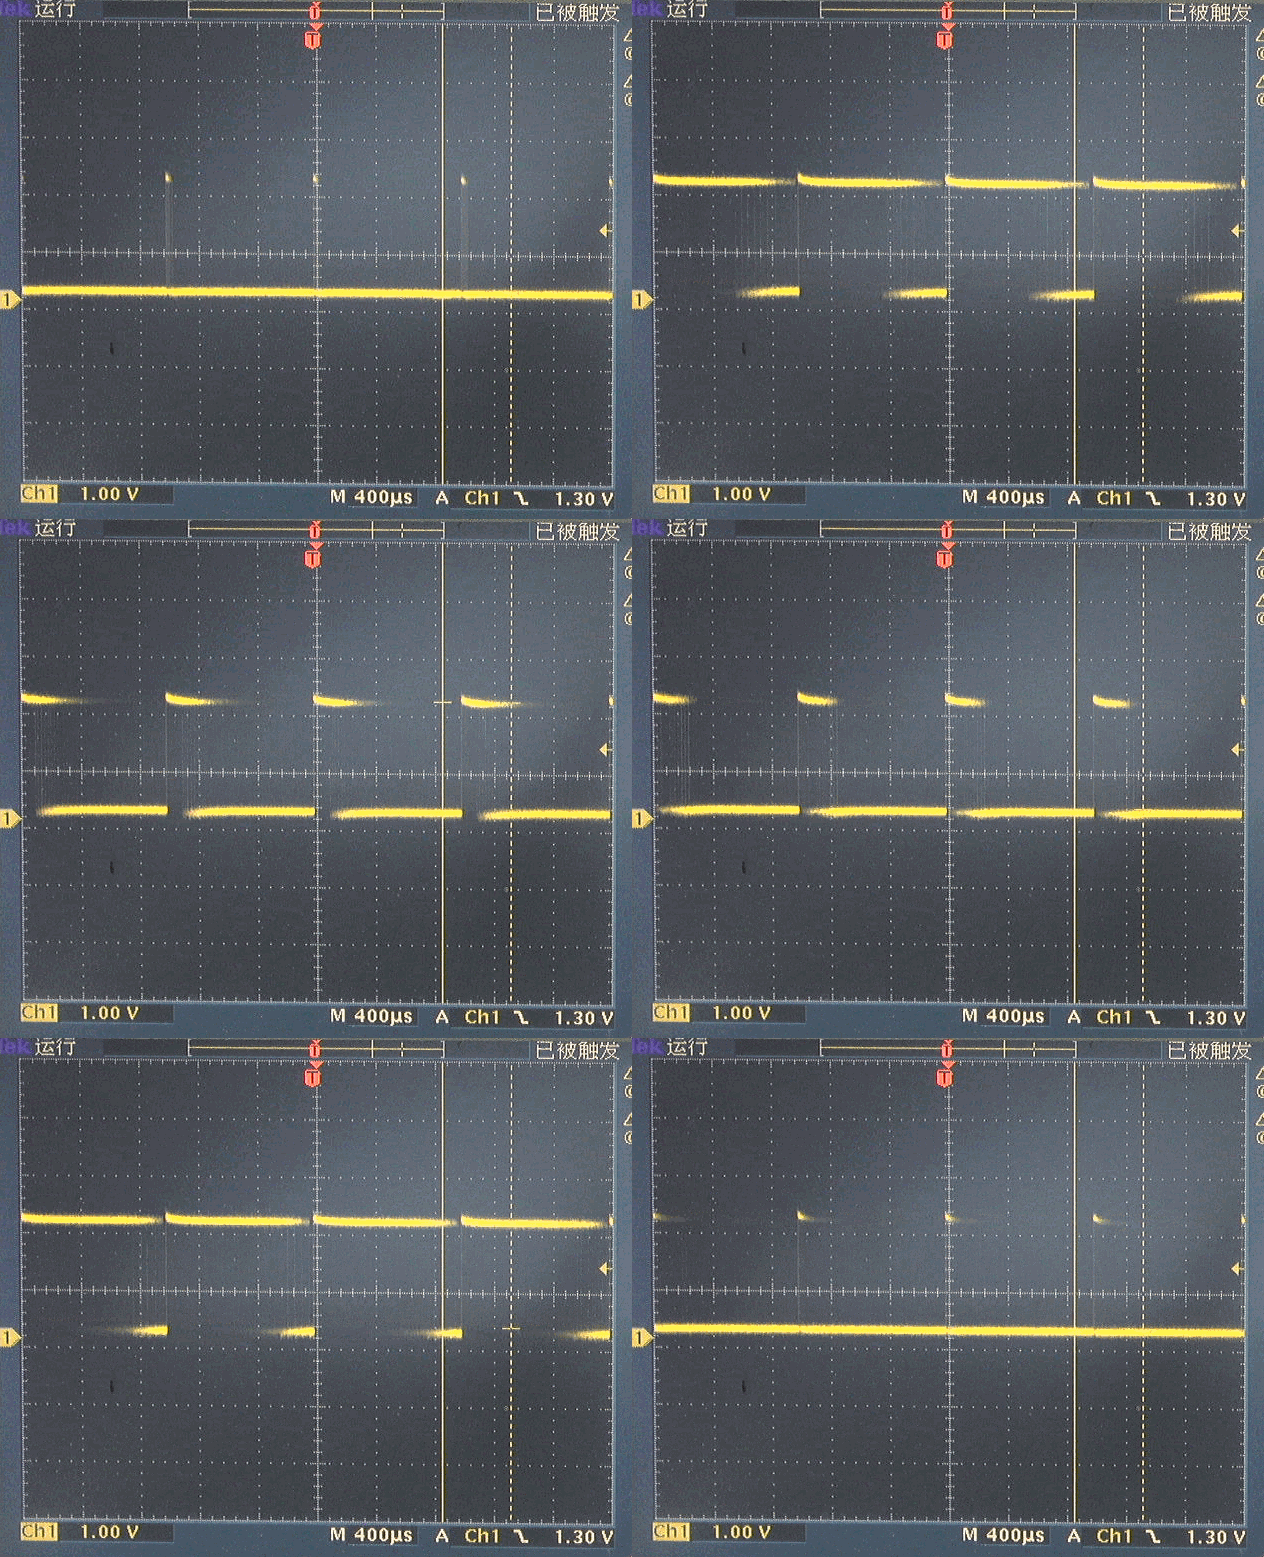
PWM is software PWM, and it can be set on any pin. Preliminary tests have been conducted on Pin0, 15, 16, etc. All have similar waveforms.
Interesting Basic Experiments with Raspberry Pi Pico
▲ Waveform changes at Pin25 (driving LED)
Interesting Basic Experiments with Raspberry Pi Pico
▲ Changes in LED brightness

(2) PWM Driving Servo

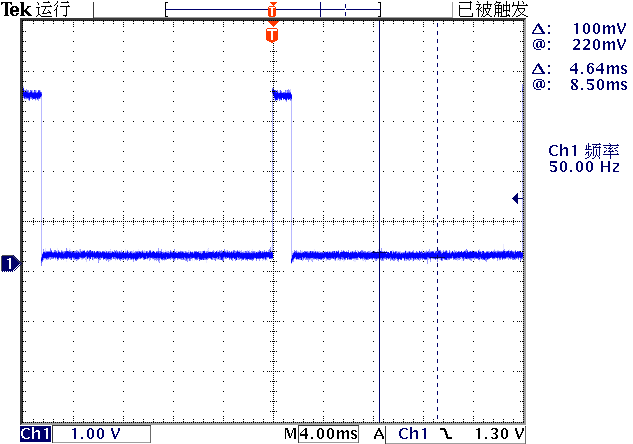
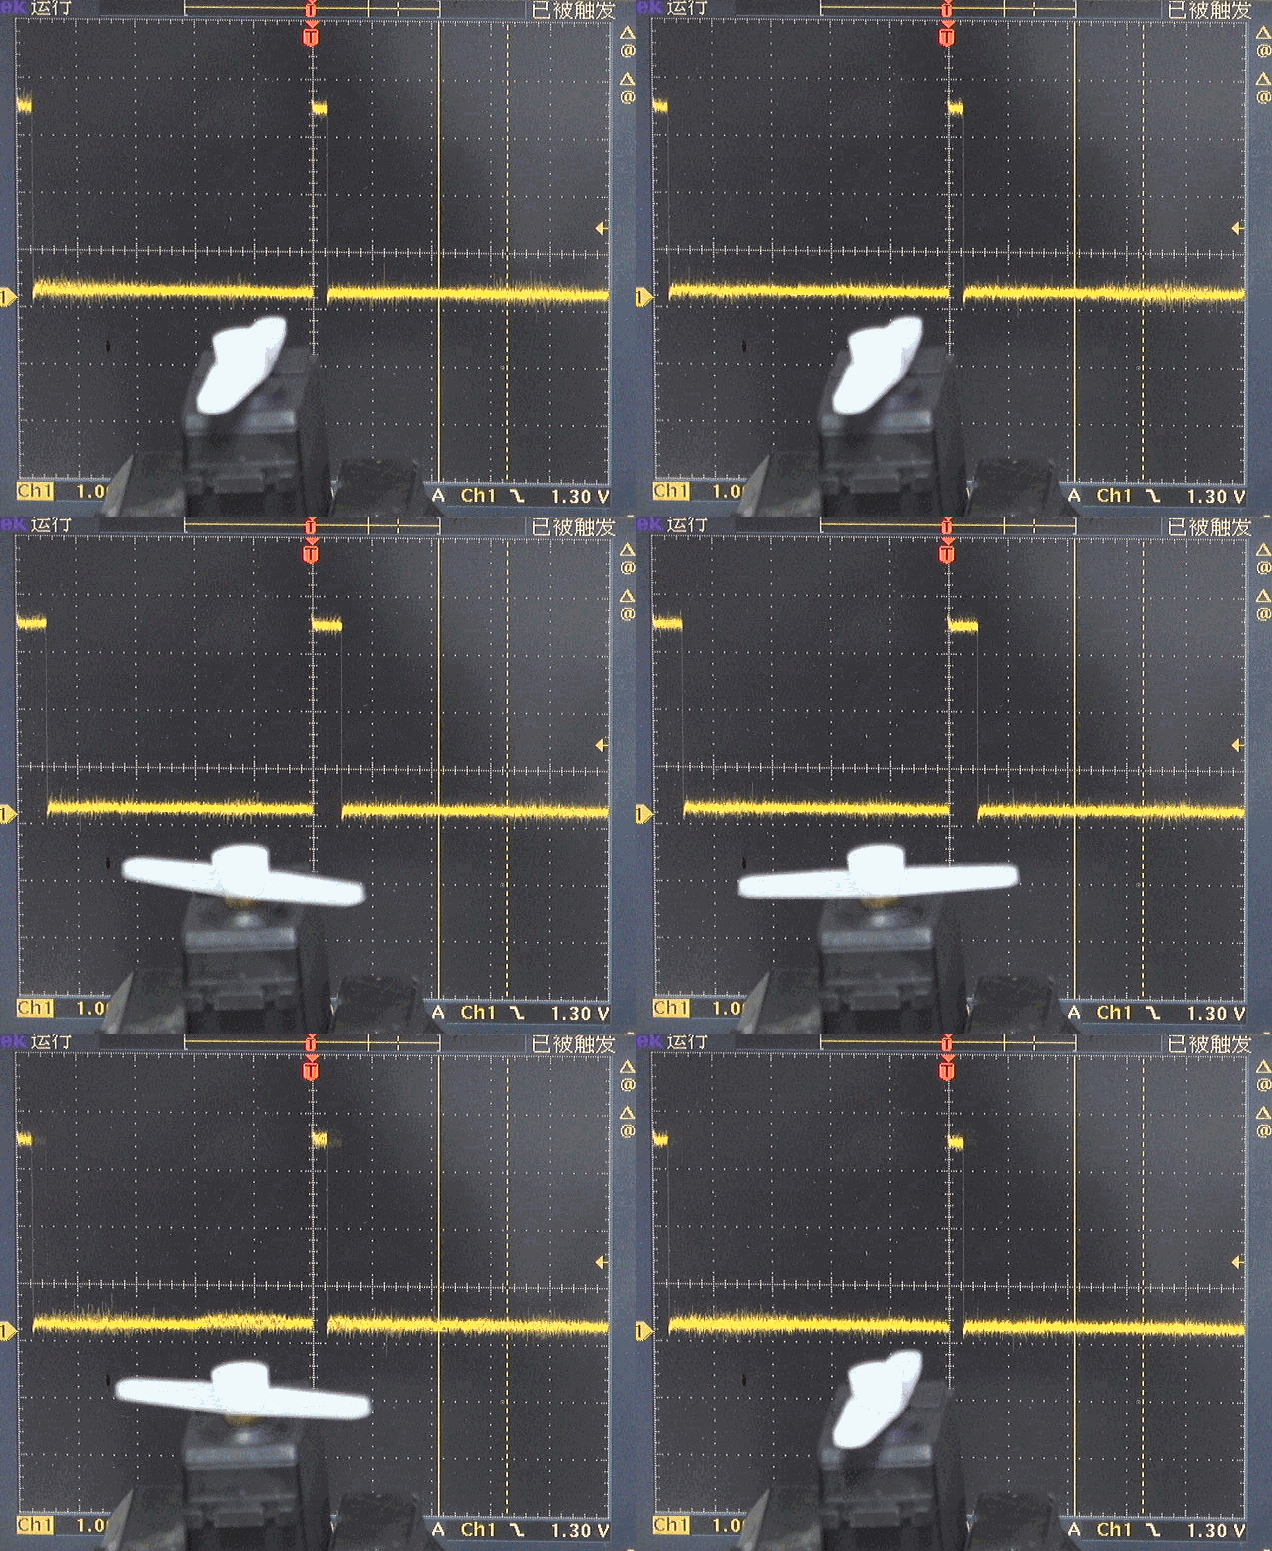
The servo uses a frequency of 50Hz, with a pulse width of 1.0 ~ 2.0ms as the control signal. Below is the output control pulse generated for the basic middle position of the servo.
from machine                import Pin,PWM
import time

pwm = PWM(Pin(15))

pwm.freq(50)
pwm.duty_u16(4915)
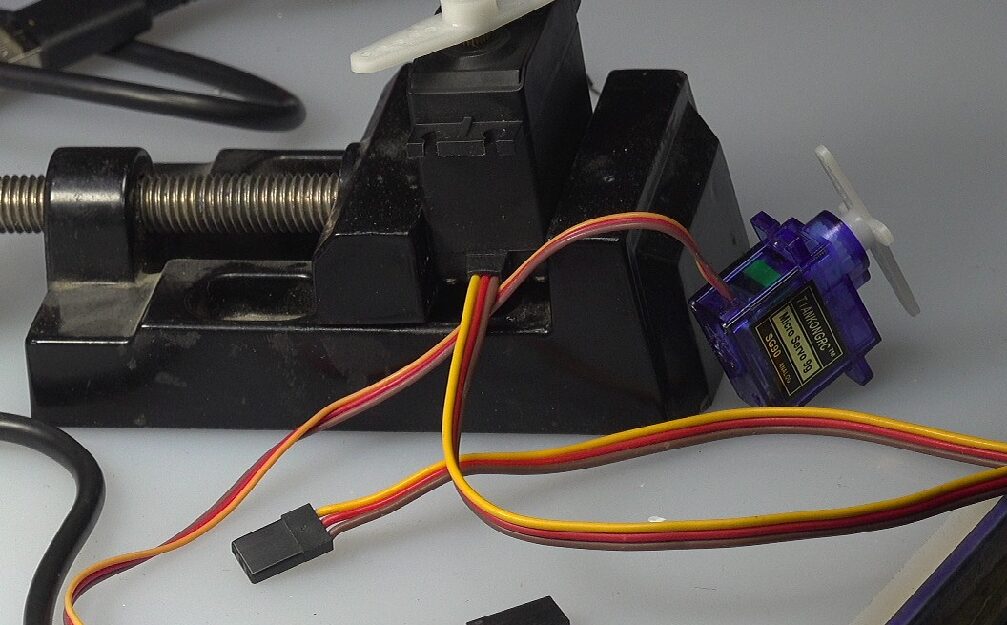
The servo has three wires:
  • Brown: GND
  • Red: +4.5 ~ +6V
  • Yellow: Command pulse signal
Interesting Basic Experiments with Raspberry Pi Pico
▲ Servo and its interface
Calculate the Duty_16 formula as follows:
The relationship between the corresponding pulse width and duty_u16:

Interesting Basic Experiments with Raspberry Pi Pico

Interesting Basic Experiments with Raspberry Pi Pico
▲ Output 50Hz, 1.5ms pulse width
Interesting Basic Experiments with Raspberry Pi Pico
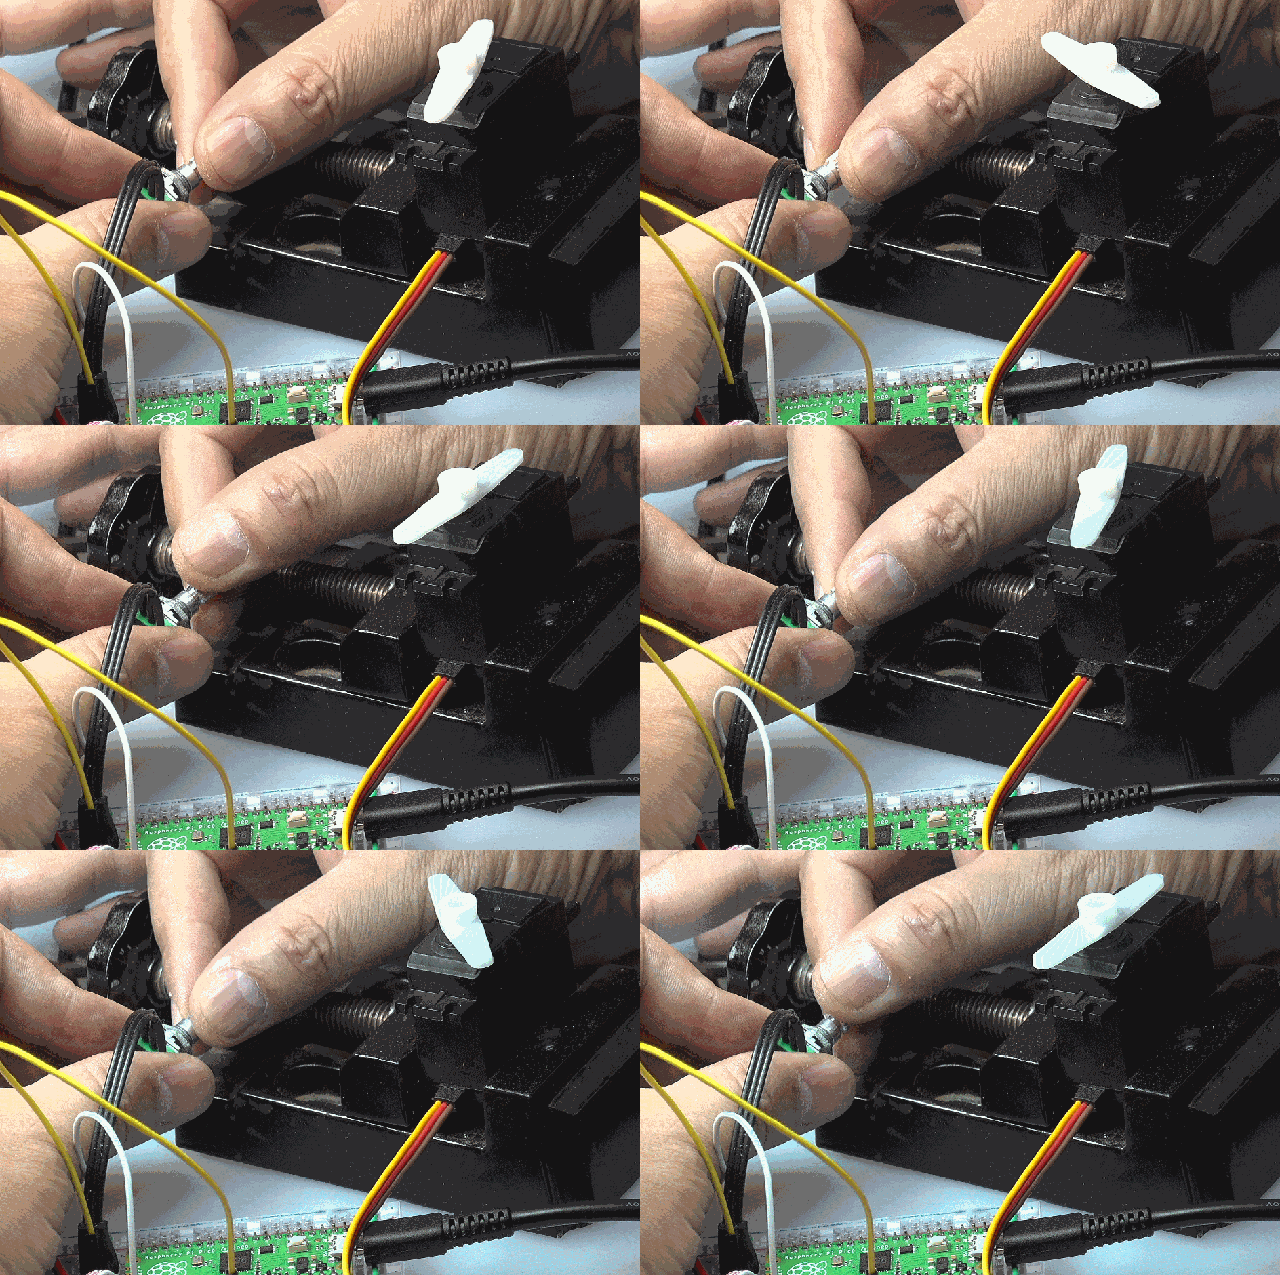
▲ Changing PWM waveform drives the servo to rotate
from machine                import Pin,PWM
import time

pwm = PWM(Pin(16))

pwm.freq(50)

for _ in range(100):
    pwm.duty_u16(3276)
    print("Out pulse width : 1ms")
    time.sleep(1)

    print("Out pulse with : 2ms.")
    pwm.duty_u16(6553)
    time.sleep(1)

(3) PWM+ADC Experiment
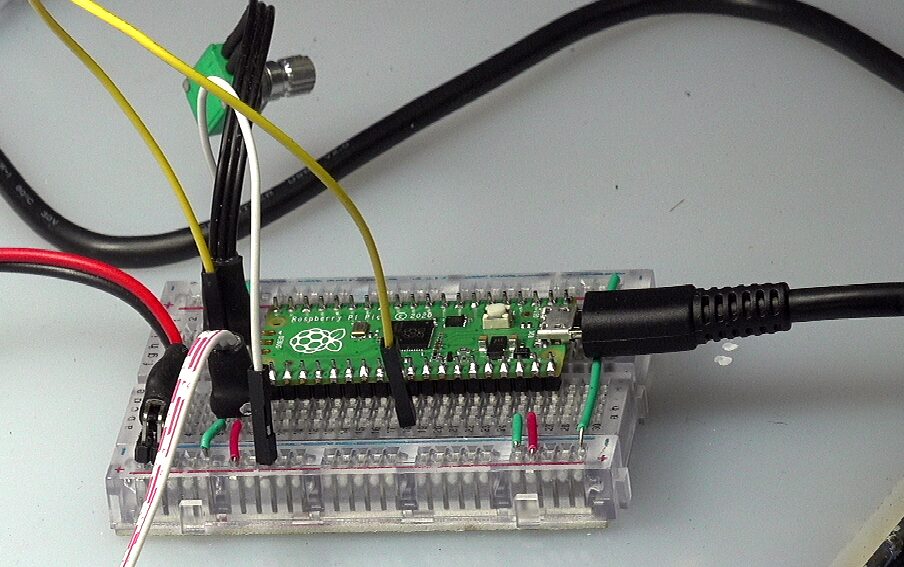
Using a potentiometer to introduce a changing voltage into ADC(0), the microcontroller obtains the corresponding ADC value, and changes the PWM output to proportionally vary the output time width from 1ms to 2ms.
Interesting Basic Experiments with Raspberry Pi Pico
▲ Introducing potentiometer input to ADC(0)
You can see that the servo’s output angle changes with the potentiometer.
Interesting Basic Experiments with Raspberry Pi Pico
▲ Rotating the potentiometer changes the servo’s angle
from machine                import Pin,PWM
import time

pwm = PWM(Pin(16))

pwm.freq(50)

control = machine.ADC(0)

for _ in range(1000):
    adc = control.read_u16()
    duty = int(adc * (6553-3276)/0xffff) + 3276
    pwm.duty_u16(duty)
    time.sleep(0.1)

5. Interrupt IRQ

Using the falling edge of pin PIN2 to generate an interrupt. The example program is as follows:
from machine                import Pin

p2 = Pin(2, Pin.IN, Pin.PULL_UP)

p2.irq(lambda pin:print("IRQ with flag:",
        pin.irq().flags()),
        Pin.IRQ_FALLING)
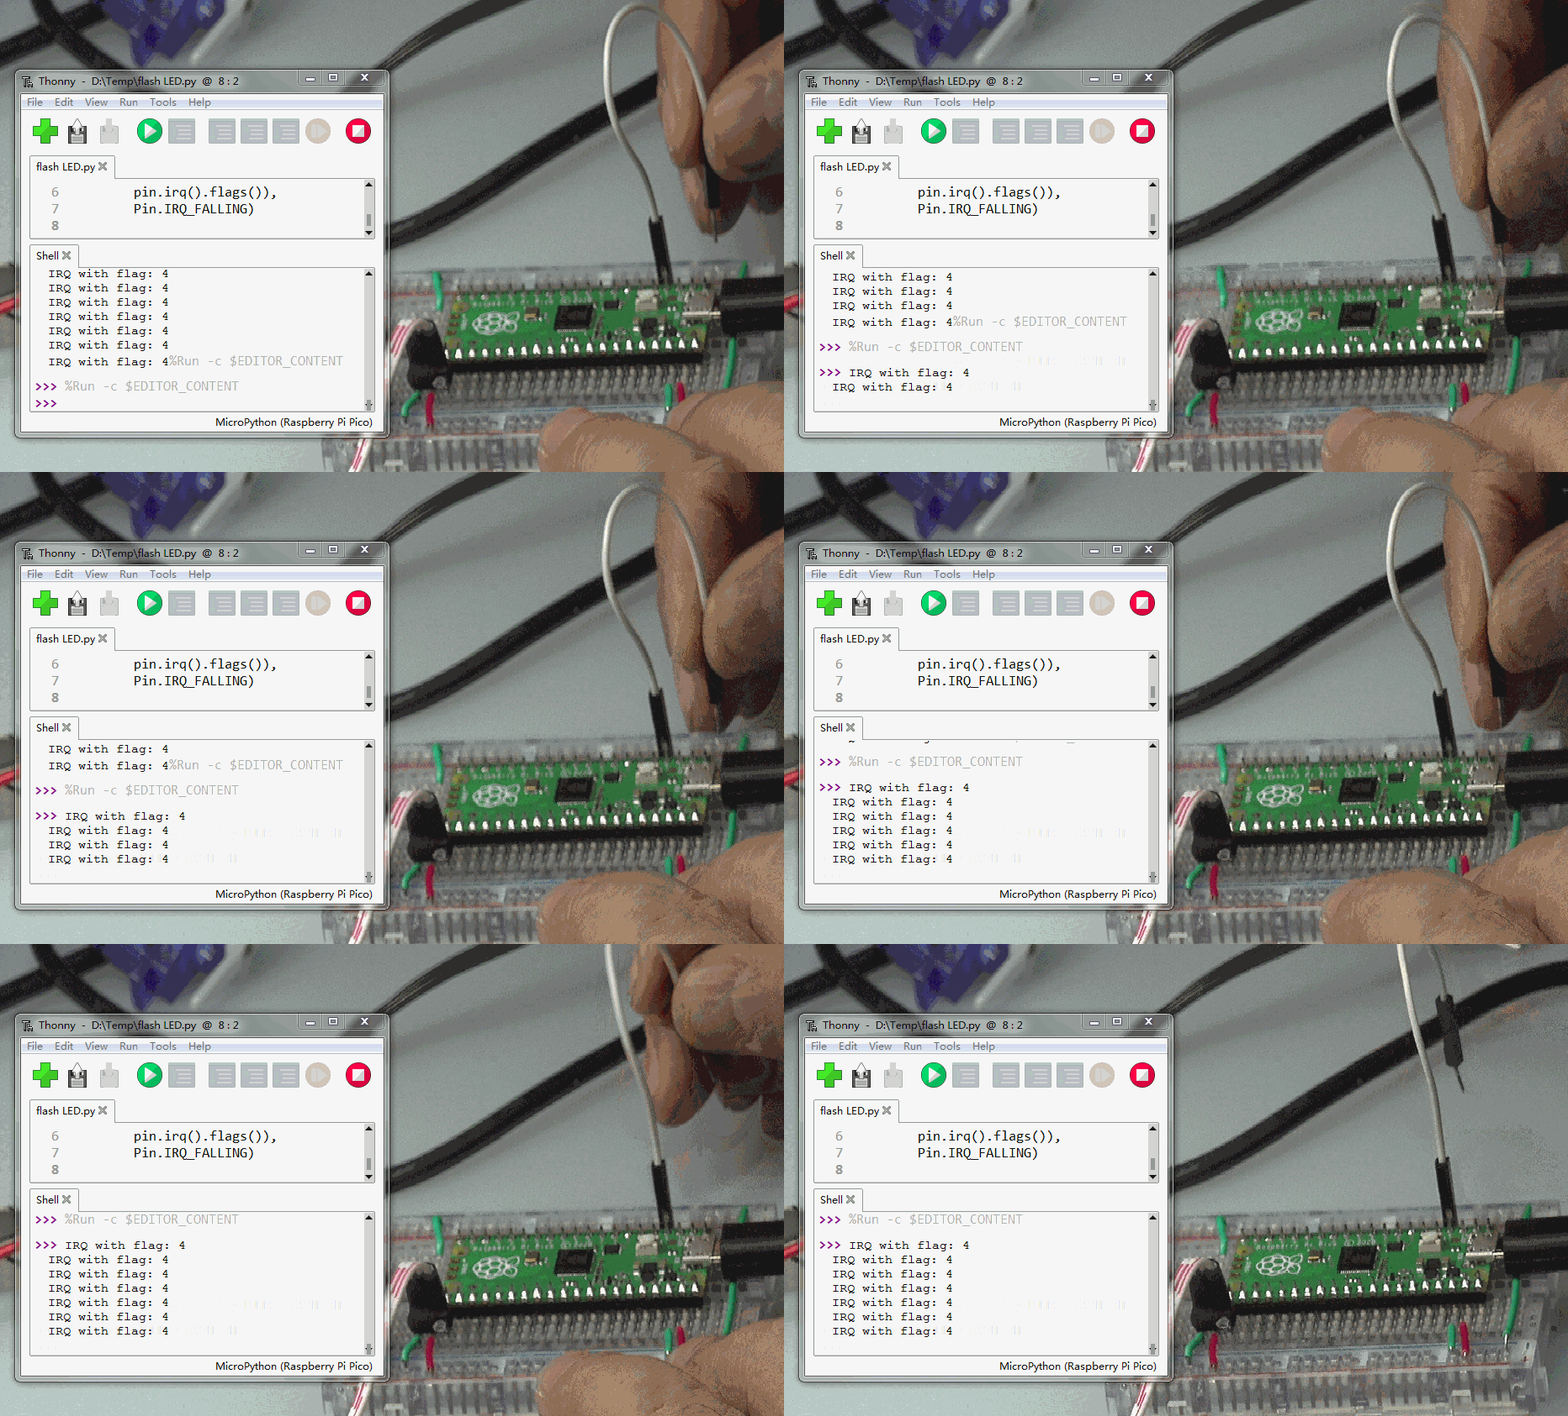
Using a jumper to ground PIN2. Each time it is grounded, an interrupt is triggered.
Interesting Basic Experiments with Raspberry Pi Pico
▲ Grounding PIN2 triggers the interrupt

03▌Conclusion

Through several basic Pi Pico experiments, preliminary application examples of this module have been provided.
Interesting Basic Experiments with Raspberry Pi Pico

Last week’s event, we gave away some Raspberry Pi Pico, come and see the lucky draw!

References

[1] Raspberry Pi Pico Development Board Basic Test:

https://zhuoqing.blog.csdn.net/article/details/114037888

[2] Installing Thonny Development Environment:

https://zhuoqing.blog.csdn.net/article/details/114064833[3] Raspberry Pi Pico Python SDK:
https://datasheets.raspberrypi.org/pico/raspberry-pi-pico-python-sdk.pdf[4] Pi Pico Datasheet:
https://datasheets.raspberrypi.org/pico/pico-datasheet.pdf[5] Pi Pico Official Website:
https://www.raspberrypi.org/documentation/rp2040/getting-started/
Interesting Basic Experiments with Raspberry Pi Pico

1

Free to grab the Programmer’s Guide to Embedded Systems

2

Did not expect Linux commands could be played like this!

3

Programmers should also jump higher? A god-level job-hopping strategy is given to you.

Interesting Basic Experiments with Raspberry Pi Pico
Click to share
Interesting Basic Experiments with Raspberry Pi Pico
Click to like
Interesting Basic Experiments with Raspberry Pi Pico
Click to view

Leave a Comment