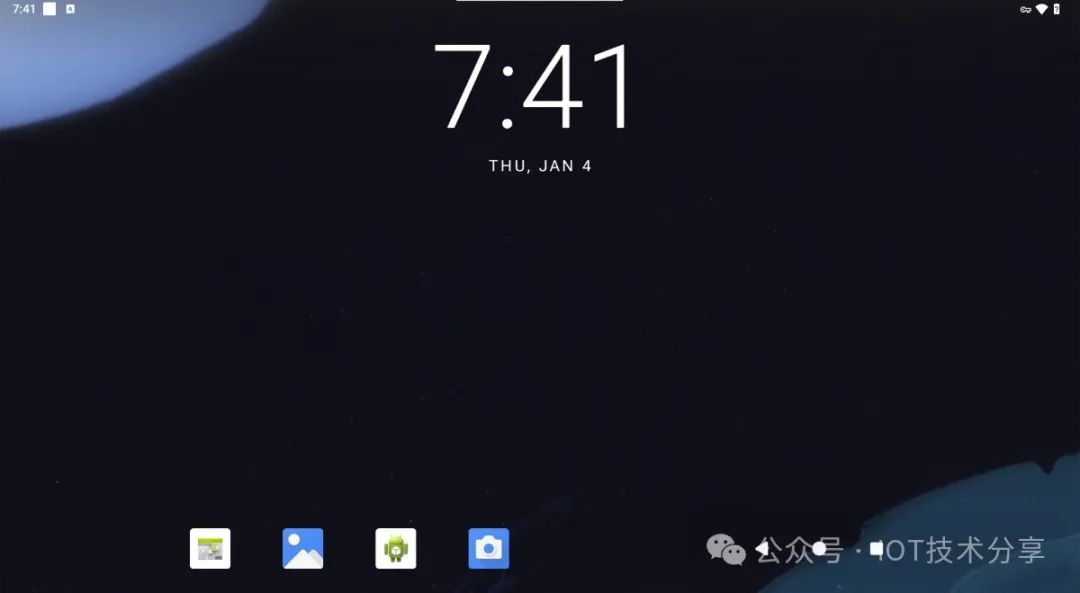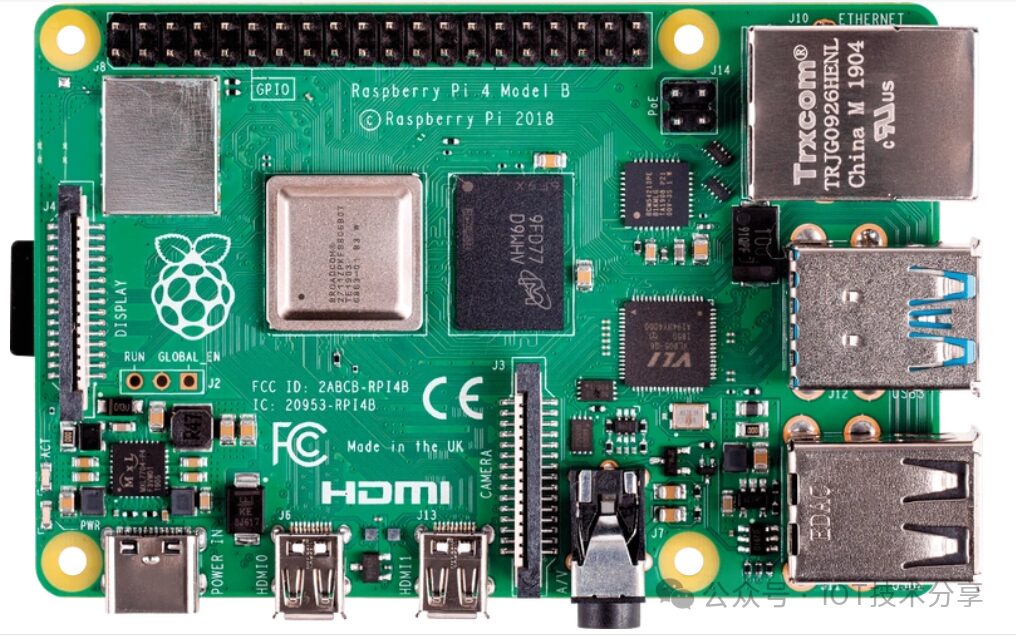
Since its launch, the Raspberry Pi has been sought after by many computer enthusiasts and makers, once in short supply. Although it has a small appearance, it is rich in functionality, supporting video, audio, and more, making it a “small but complete” device. The Raspberry Pi has a dedicated operating system based on Debian Linux, called Raspbiann, and multiple Linux distributions have derived various Linux-based operating systems. It can also run Android and Windows 10 IoT systems, allowing users to run Android apps and Windows applications. This article mainly introduces how to install Android 14 on the Raspberry Pi and configure ADB to run apps.

1. Image and Burning Tools
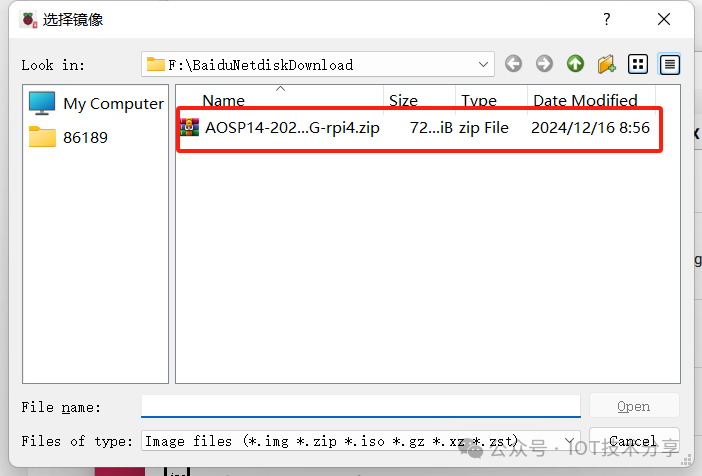
System Image:

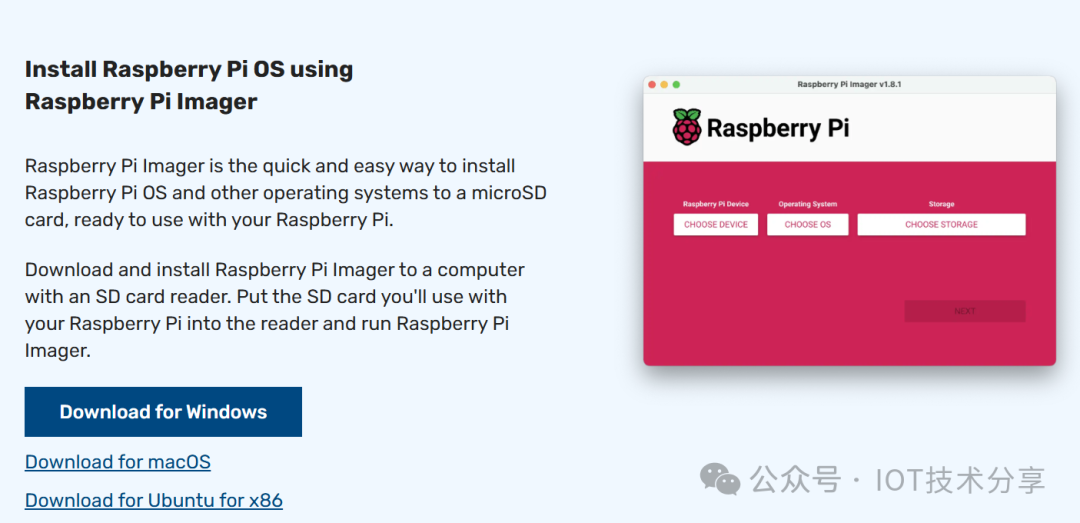
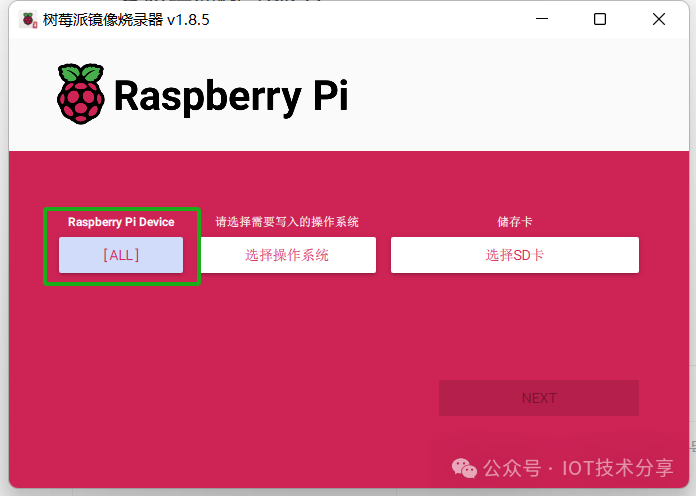
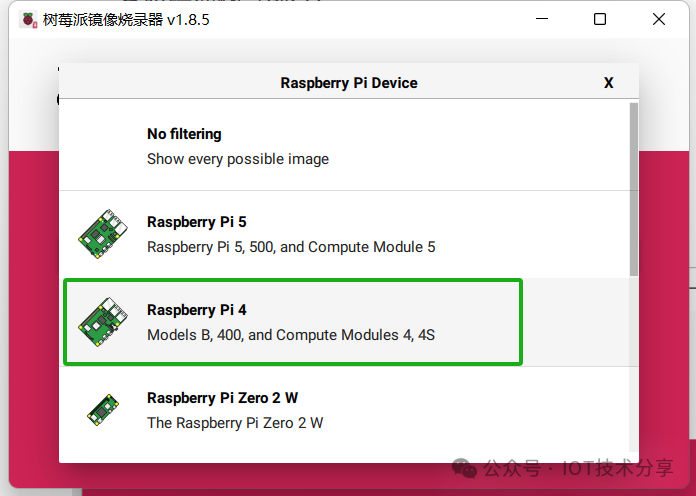
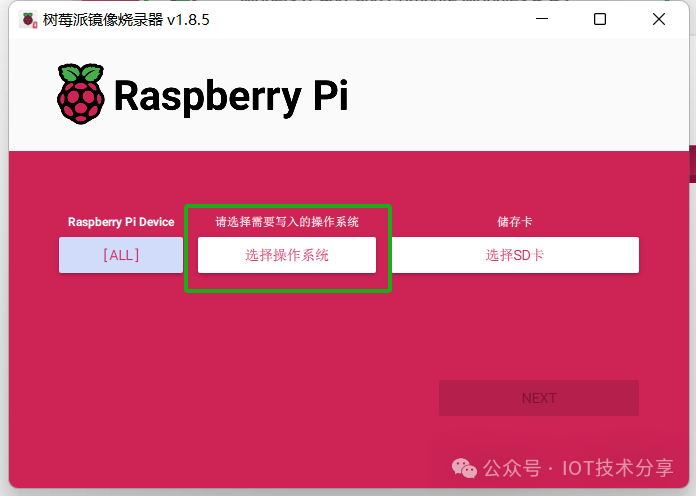
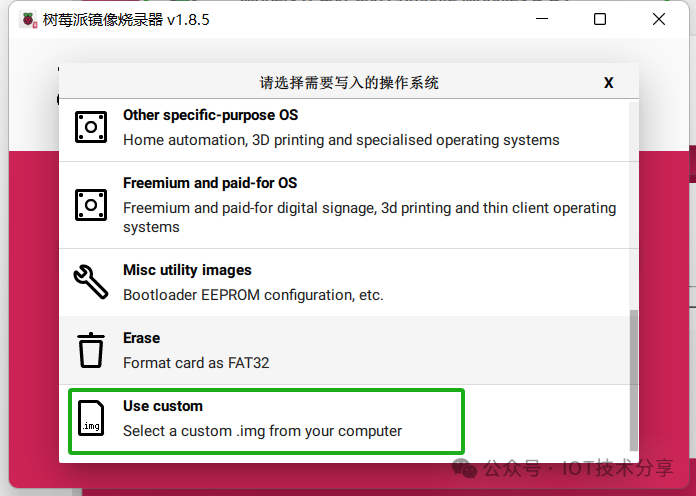
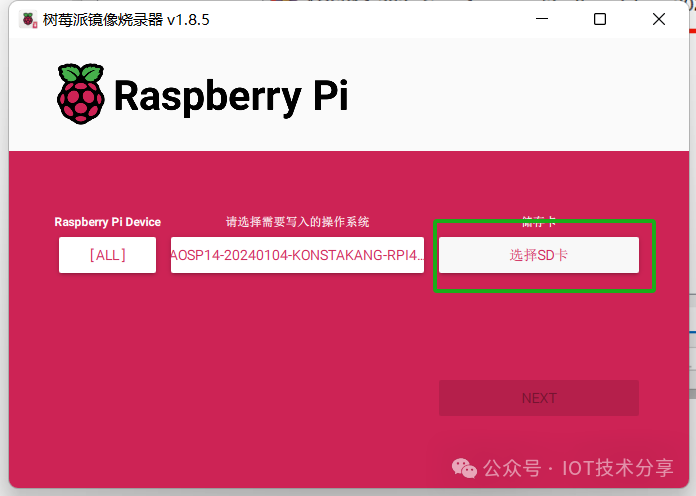
Burning Tool: