SEGGER Embedded Studio (SES) is an integrated development environment that supports application development and debugging for ARM and RISC-V architectures. It also allows for the quick import of projects created with other toolchains, such as Eclipse, CMSIS, Keil, IAR, and CMake. This article will introduce how to import STM32CubeMX projects into Embedded Studio.
The example is based on STM32CubeMX 6.3.0 and the NUCLEO-G474RE MB1367C evaluation board created.

Project Import
The following steps are also applicable to other ST development boards and MCUs in STM32CubeMX.
· Create a new project for the NUCLEO-G474RE development board in STM32CubeMX.
· Configure the STM32CubeMX project, set the “Project Name” and “Project Location” in the Project Manager tab.
· Set the Toolchain/IDE to STM32CubeIDE.
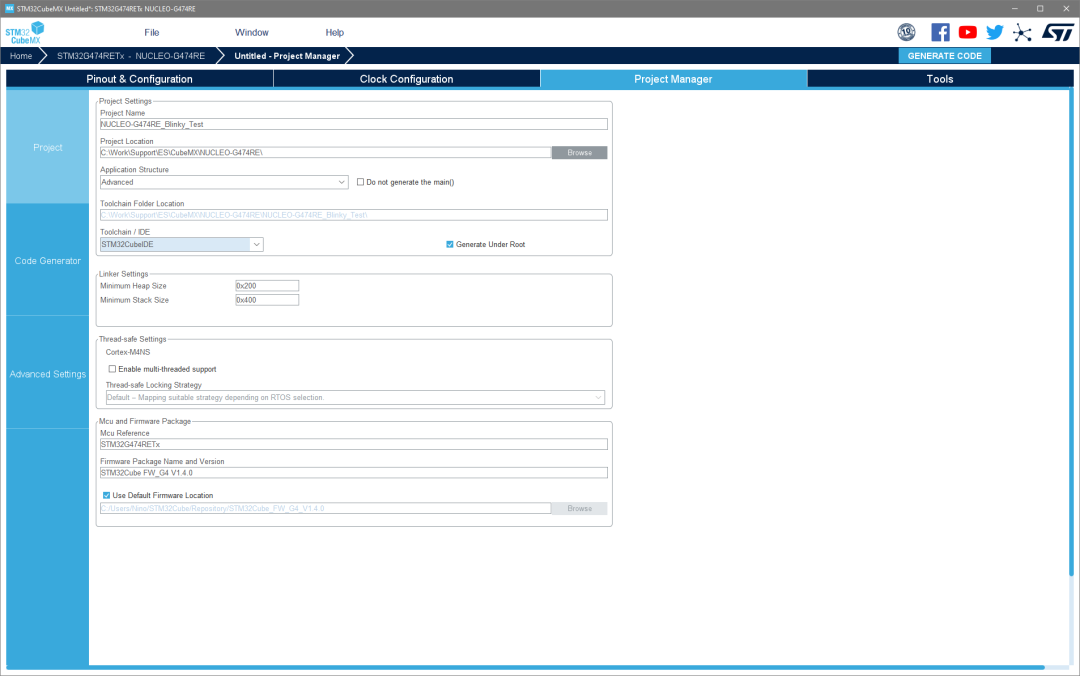
· Click the Generate Code button to generate the code.
· The system will prompt whether to open the projects folder; select “Open Folder” and keep it open.
· Open Embedded Studio, select File->Import Project……->Import Eclipse Project,
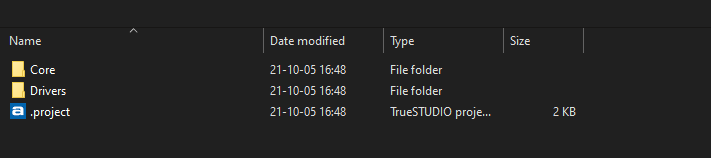
· Open the project directory, select the .Project file, and click Open.
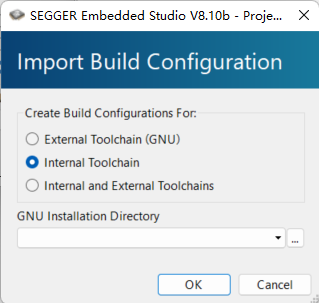
· Select “Internal Toolchain” and click “OK”.
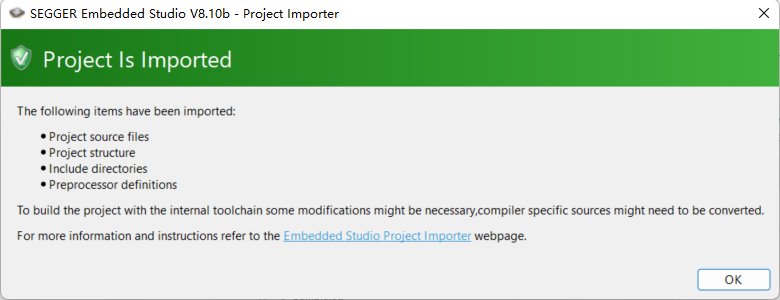
· Embedded Studio imports the project, generating the project file .emProject and displaying a success message.
· In Embedded Studio, right-click the Core folder in the Project Explorer window, then select Setup… and edit the “Exclude Specifications” line: Core/;syscalls.c; systemm.c; startup_*.s, then click “OK”.
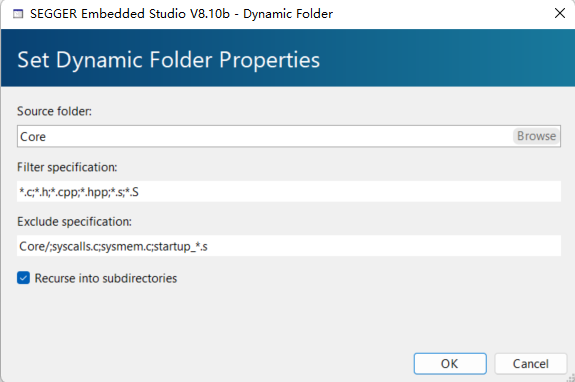
The basic project import and setup are now complete. Further adjustments can be made to the target project using the corresponding target files in the CPU support package:
· In Embedded Studio, download the CPU support package via Tools-> Package Manager, select the corresponding processor, and install the support package. For STM32F474RE, install the STM32G4xx package.
· Open the folder of the package just installed via File->Open Studio folder…->Packages folder, in this case, it is /STM32G4xx/.
· Create a new folder ES in the project directory.
· Enter the ES directory and copy the device-related files from the CPU support package to this folder. In this case, copy from $(PackagesDir)/STM32G4xx/ to $(ProjectDir)/ES/, the relevant files are as follows:
Startup code, /Source/<DeviceName>_Startup.s (Source/STM32G4xx_Startup.s)
Vector table, /Source/<DeviceName>_Vectors.s (Source/STM32G474_Vectors.s)
Linker script, /Scripts/<DeviceFamily>_Flash.icf (Source/STM32G4xx_Flash.icf)
Memory map, /XML/<DeviceName>_MemoryMap.xml (/XML/STM32G474RETx_MemoryMap.xml)
Register file /XML/<DeviceName>_Registers.xml. (/XML/STM32G474xx_Registers.xml)
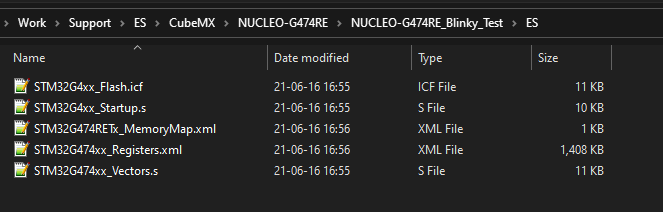
· Drag the /ES/ folder into the Embedded Studio project through the Project Explorer window.
· Open the project options and change the build configuration to Common, modifying the configuration as follows:
Set Code->Linker->Linker Script File to the corresponding .icf file
Set Code->Linker->Memory Map File to the corresponding *_MemoryMap-.xml file
Set Debug ->Debugger->Register Definition File to *_Registers.xml (if available)
· Delete the common startup code file Internal Files/Cortex_M_Startup.s in the project explorer.
The project import, setup, and adjustments are complete, and you can now add code and debug applications in Embedded Studio.

Download the complete example project: https://wiki.segger.com/images/6/62/NUCLEO-G474RE_Blinky_Test.zip, the example will blink an LED on the evaluation board.
Using Embedded Studio offers many benefits, such as access to runtime libraries and toolchains tailored for embedded target devices, local J-Link support, etc. For IDE evaluation, please visit https://www.segger.com/products/development-tools/embedded-studio/ for download (click “Read the original text”).
Feel free to follow our WeChat public account [MicTech Technology], reply “Join group” to join the technical exchange group as prompted.
Product inquiries:
Beijing: 010-62975900
Shanghai: 021-62127690
Shenzhen: 0755-82977971

Share, view and like, at least I want to have one