 ArticleOverview
In this article, DigiKey introduces the method and process of deploying large models on the Raspberry Pi 5 to create a real-time translator. The project utilizes the voice recognition capabilities of the Raspberry Pi 5 to convert speech into text, which is then submitted to the large language model’s API for processing. The returned content is displayed on a screen and printed using a thermal printer, with Chinese being translated into English to suit the output of the thermal printer. The deployment process includes hardware testing, printer connection, installation of Python libraries and the Ollama framework, API testing, and code integration. This project validates the applicability of the Raspberry Pi 5 in lightweight AI tasks and introductory learning.
In today’s technological wave, the application of large language models is becoming increasingly widespread. From the powerful Jetson Orin Nano to the flexible Lattepanda Sigma, these devices can easily deploy large models. So, can the Raspberry Pi 5, as a compact and cost-effective device, handle the deployment of large models?
The fourth lesson of the “Large Model Practical Series Course” provides the answer. This article will detail how to deploy large models on the Raspberry Pi 5 to achieve speech recognition and translation functions.
For related course videos, please click “Read More” at the end to watch on DigiKey Bilibili:
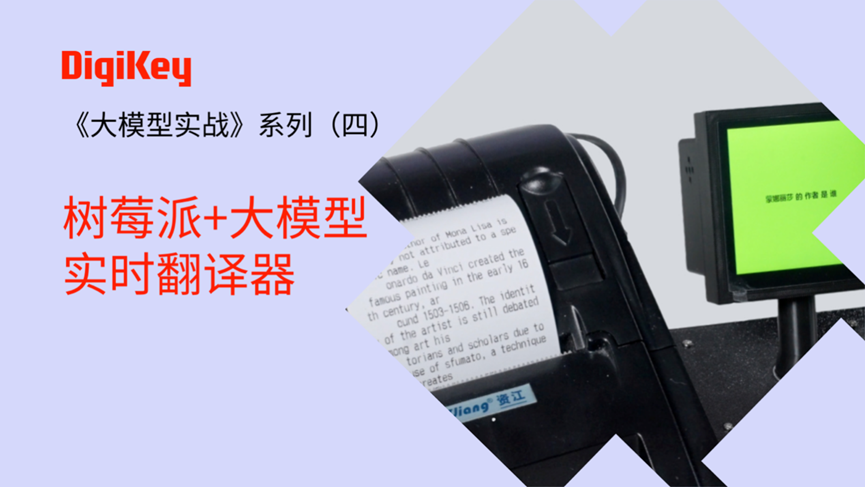
Project Introduction
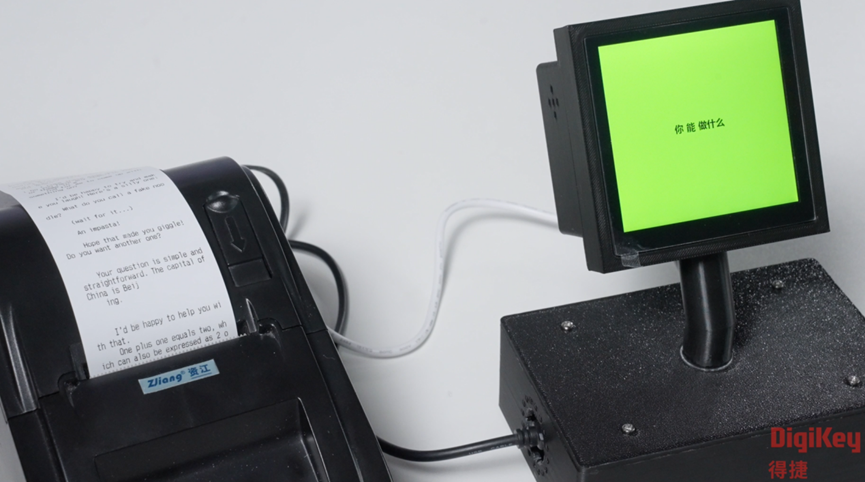
The goal of this project is to implement speech recognition and translation functions using the Raspberry Pi 5, displaying the results on a screen and a thermal printer. The specific process is as follows:
-
The Raspberry Pi receives voice input through a microphone and converts it into text.
-
The text is sent to the API of the large language model to obtain translation results.
-
The translation results are displayed on the screen and printed out using a thermal printer.
-
Since it is inconvenient for the thermal printer to print Chinese, the project will convert the translation results into English to suit more application scenarios, such as real-time online translation for asking directions.
Hardware Performance of Raspberry Pi 5 and Model Selection
The Raspberry Pi 5 is equipped with a 64-bit quad-core Arm Cortex-A76 processor, with a clock speed of up to 2.4GHz, an 800MHz VideoCore VII GPU, and 8GB of LPDDR4 SDRAM2 memory. Although its performance is slightly inferior to that of the Jetson Orin Nano and Lattepanda Sigma, it can still deploy some quantized or smaller parameter large language models.
The following models are suitable for deployment on the Raspberry Pi 5:
-
Qwen-1.8B, Qwen-4B: These models have fewer parameters, with a minimum memory requirement of about 4GB, which the 8GB Raspberry Pi 5 can easily handle. These models are suitable for simple intelligent voice chat, image recognition, and human-computer interaction projects.
-
Phi-3-3.8B: A model launched by Microsoft, running through the Ollama framework, with good token speed performance.
-
Llama-3-8B: Can run on the Raspberry Pi 5, but is slightly slower. Through the Ollama framework, it supports 32K or 128K context, with an output speed of about 12K token/s.
-
Gemma 3: A large model launched by Google, supporting multiple languages and multimodal applications. The 1B and 4B versions are very suitable for deployment on the Raspberry Pi 5.
This project selected the Gemma 3.2 1B model, which runs quickly and meets the project requirements.
Project Implementation Process
Step 1: Hardware Testing
Before starting, ensure that all hardware devices are functioning properly, especially the microphone and speaker. The testing steps are as follows:
-
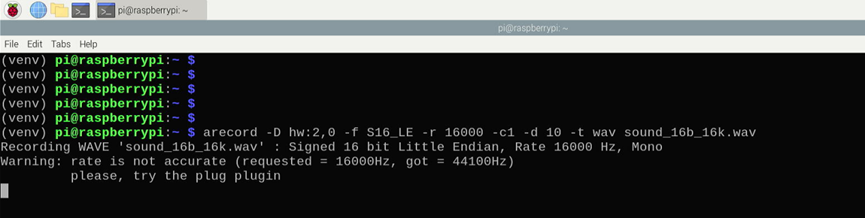
Test Recording: Use recording software to record an audio segment and check if it can record normally.
-
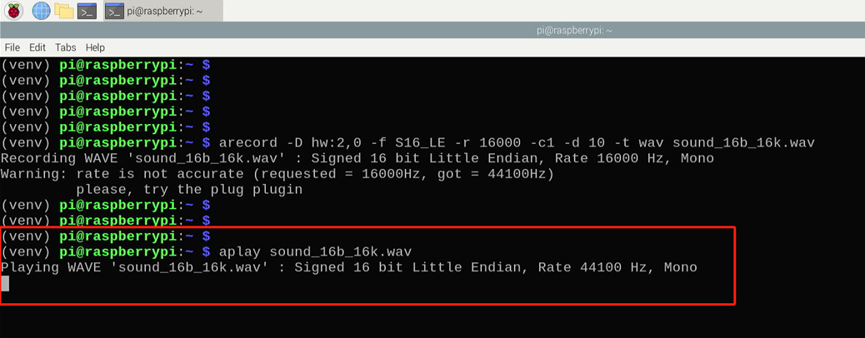
Test Speaker: Play an audio segment to confirm that the speaker is functioning normally.
-
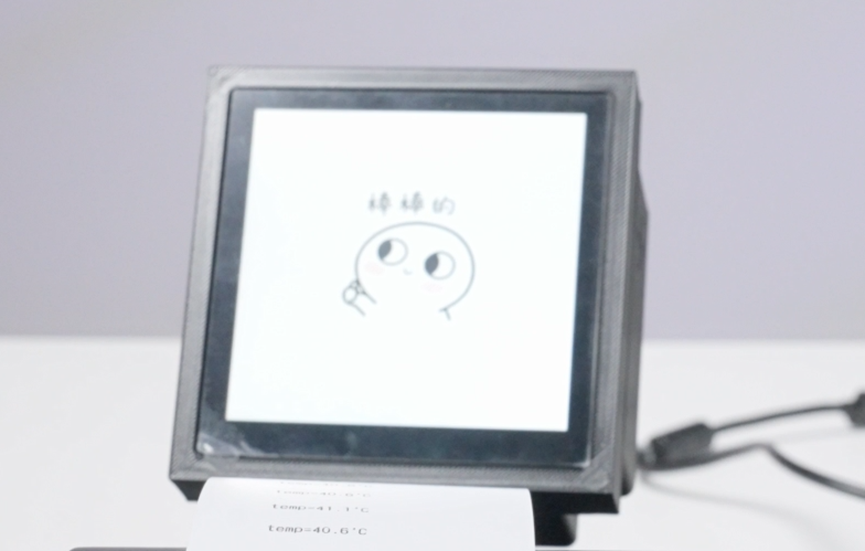
Connect Screen: Connect the serial screen to the Raspberry Pi, perform initialization settings, define information and text framework, and display content transitions through GIF animations.
Step 2: Connect Printer
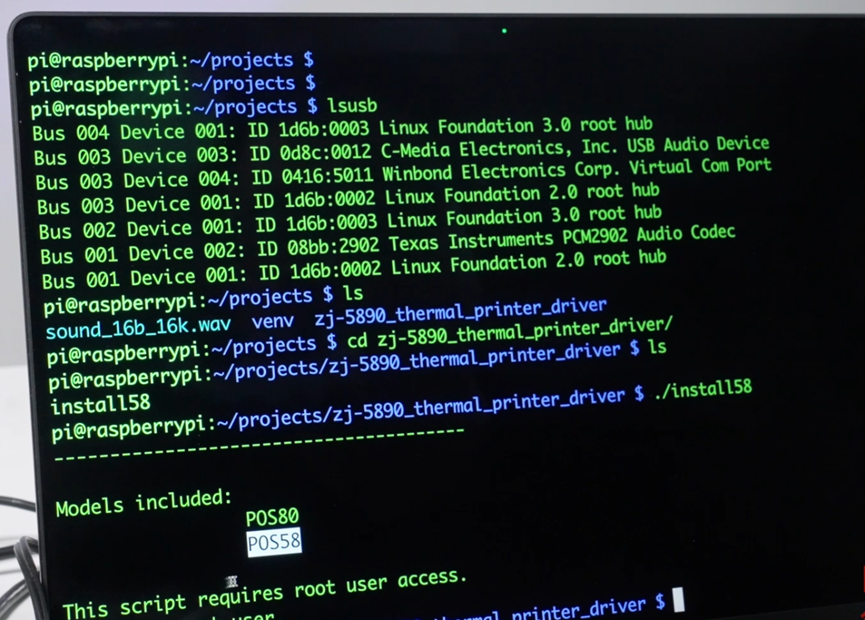
Connect the thermal printer to the Raspberry Pi via USB and install the driver files. Root permissions are required during installation.
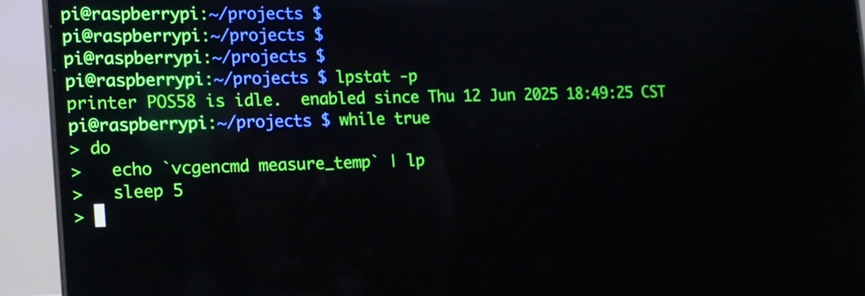
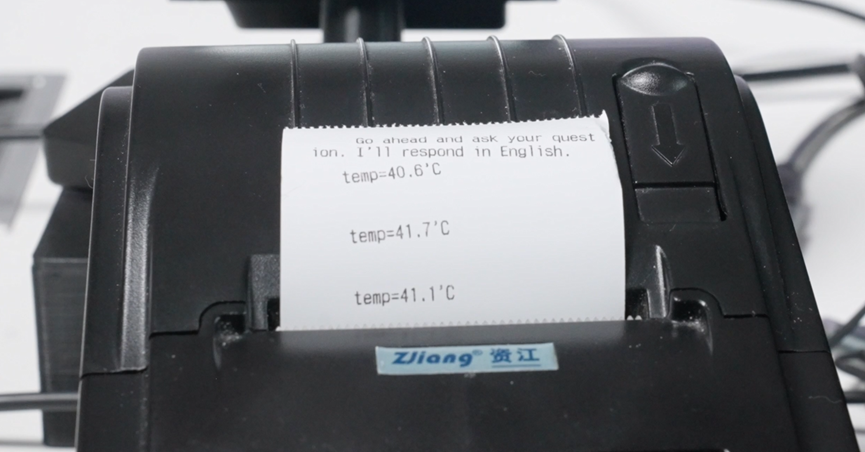
Use the command: lpstat -p to check the printer status and perform a temperature print test on the Raspberry Pi.
Step 3: Install Python Libraries and Ollama Framework
-
Activate Virtual Environment:
Use the command:source bin/activate
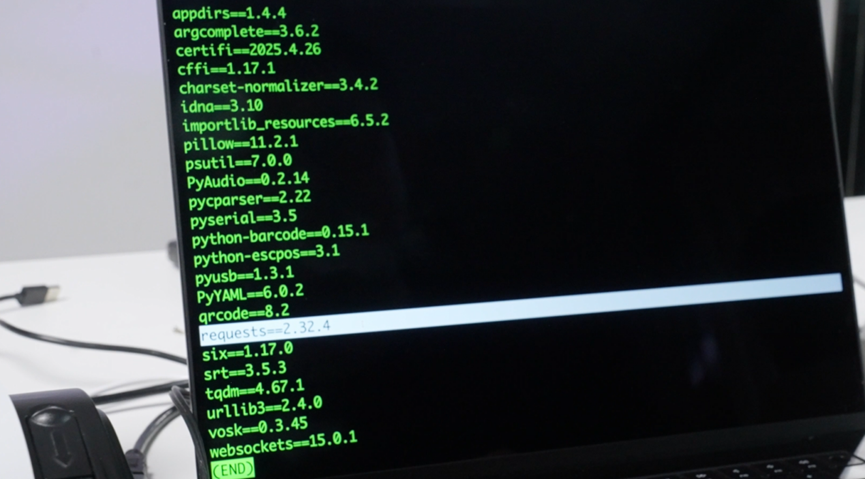
2. Install Python Modules: Install necessary Python libraries according to project requirements.
3. Install Ollama Framework:
Use the command below to install the ollama framework, download models, and view already downloaded large models:
curl -fsSL https://ollama.com/install.sh | sh
ollama pull xxx (model name)
ollama list
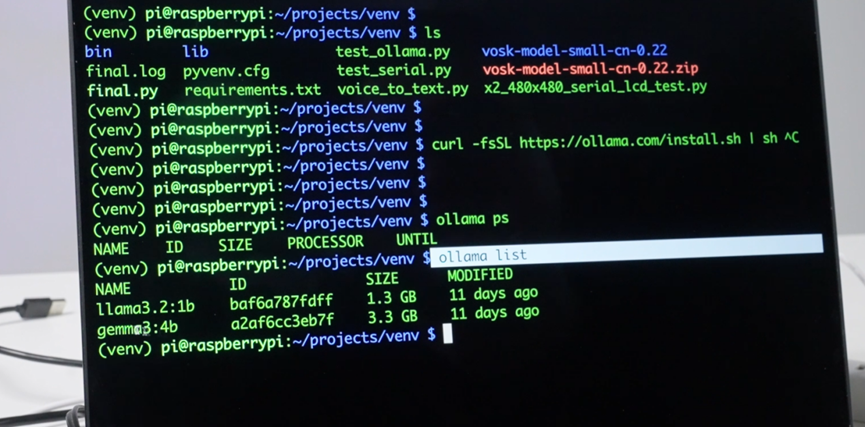
4. Test Large Model
ollama run llama3.2:1b –verbose
ollama run gemma3:4b –verbose
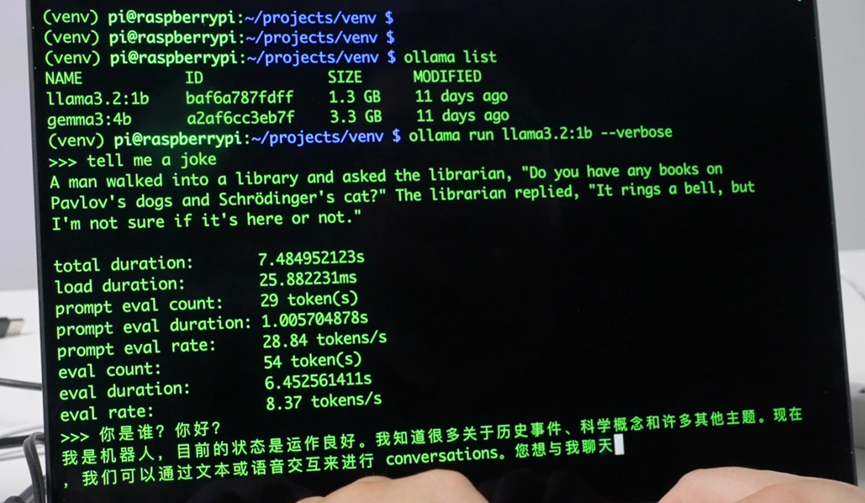
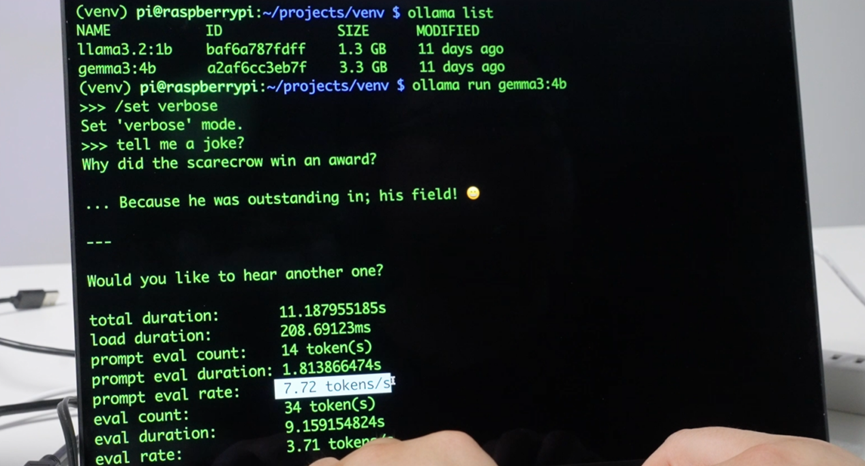
Through testing, it was found that the llama 3.2:1B model is significantly faster and meets the basic conversation requirements, so this project will use the llama 3.2:1B model.
Step 4: Test Ollama API Interface
-
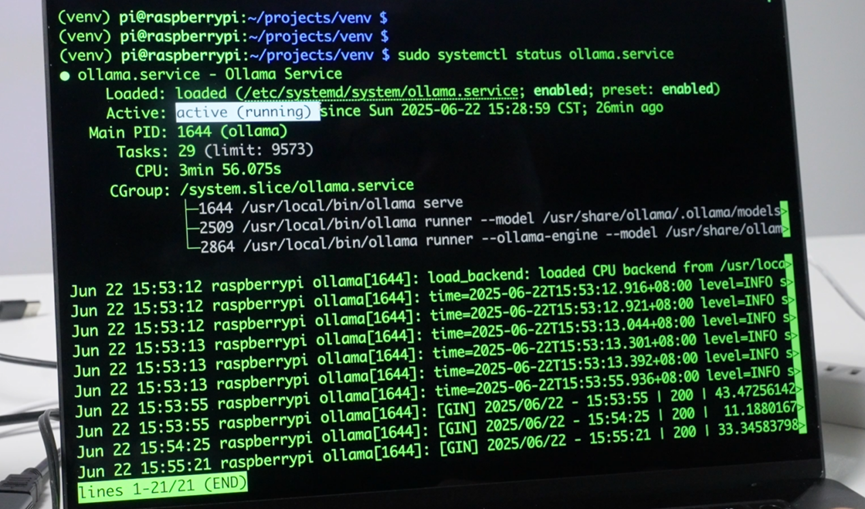
Check Ollama Service Status:
Sudo systemctl status ollama.service
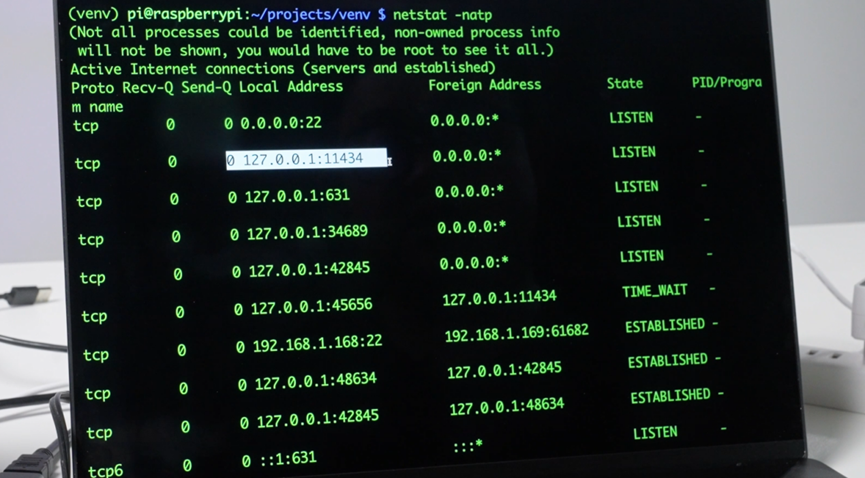
2. Check Port 11434 Listening Status
If it is listening, it indicates that the ollama service is normal and waiting for local requests.
netstat -natp
Next, you can perform tests, including text to printer and voice to text tests.
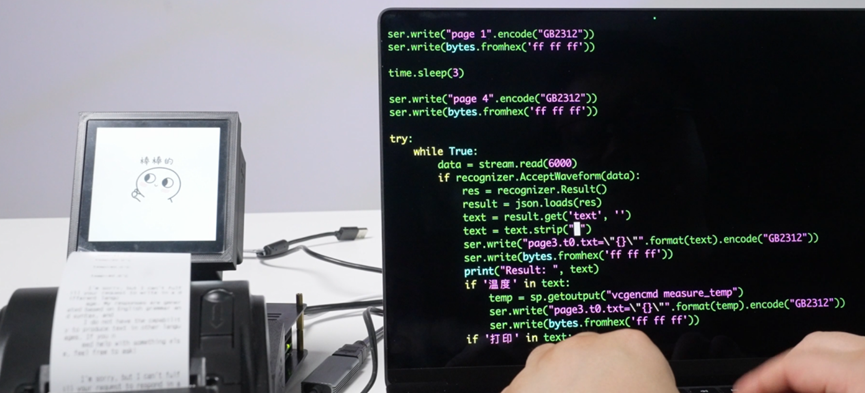
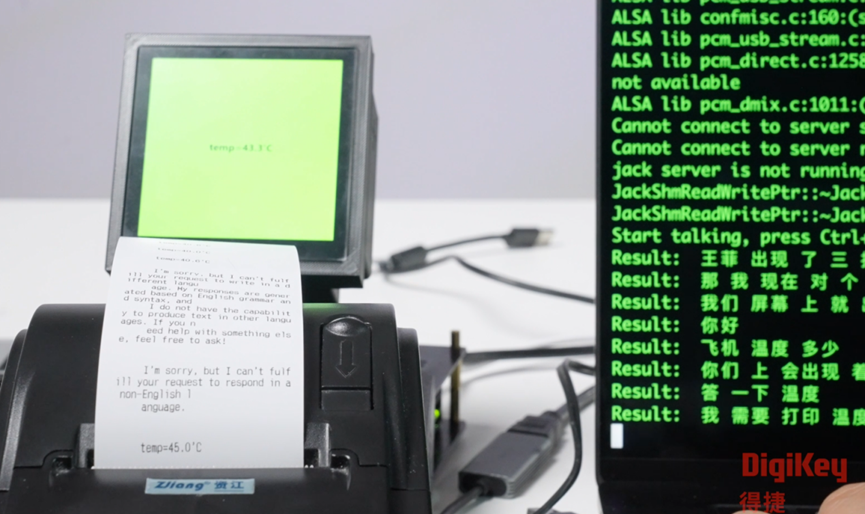
Step 5: Code Integration and Final Testing
Write the <span><span>final.py</span></span> file to integrate the following functions:
-
Import model libraries
-
Define serial communication
-
Embed Ollama API interface
-
Use Gemma 3.2 1B model
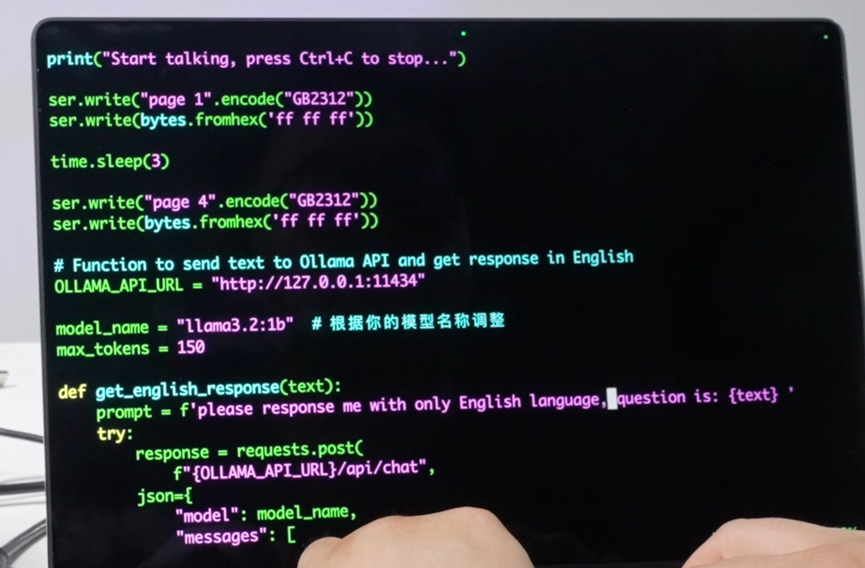
The final effect is as follows:
From the demonstration effect, the Gemma 3.2 1B model runs smoothly on the Raspberry Pi 5 and meets the project requirements.
Conclusion
Although the Raspberry Pi 5 cannot deploy larger models, it is very suitable for lightweight AI tasks and introductory learning. Through the practice of this project, we can see the potential of the Raspberry Pi 5 in deploying large language models. Readers interested in large language models can learn how to deploy their own large language models on the Raspberry Pi 5 through a series of videos and articles and complete development tasks.
 Editor’s Note
As demonstrated in the videos and articles, the Raspberry Pi 5, with its low price, low power consumption, and community-level ecosystem, provides an efficient, economical, and easily expandable AI deployment solution for education, prototyping, and edge computing scenarios by precisely selecting and optimizing lightweight large models under computational constraints. It brings small models that originally relied on GPUs to the edge, truly realizing the widespread application of AI technology in tasks such as voice interaction and real-time translation. Are you currently using the Raspberry Pi 5 for edge AI project development? What experiences or questions do you have regarding related development and deployment? Feel free to leave a message and share with friends from DigiKey!



“Star” us to not miss fresh cases and industry insights