As we all know, a fully functional electrical device requires a good circuit board, quality components, and a plastic or metal casing, along with switches, etc. Today, we will hand-wire a PCB layout ourselves.
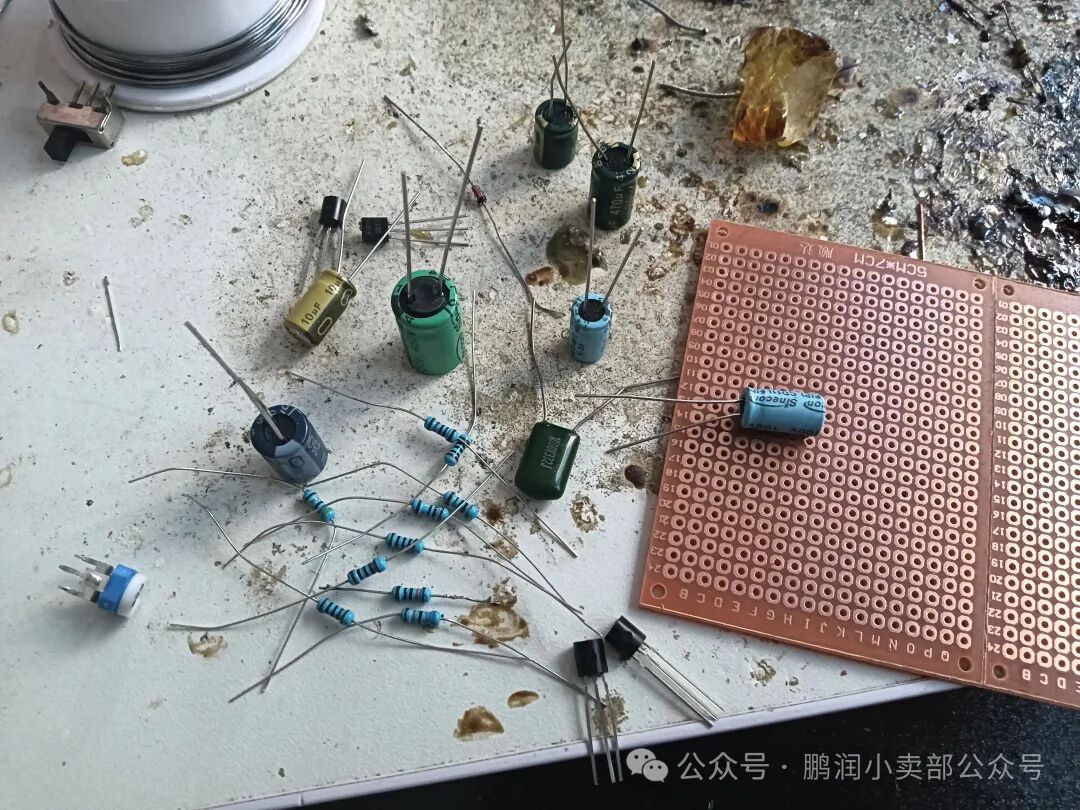
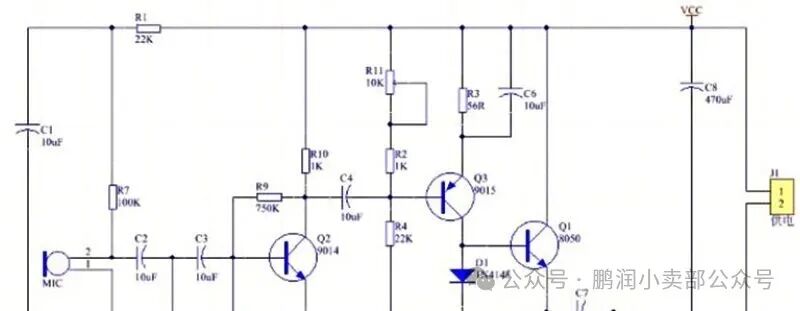
This circuit is quite simple, requiring only basic series and parallel connections, along with a four-transistor microphone amplifier, which does not perform as well as the LM386. We just need to solder these twenty to thirty components according to the circuit diagram on a perforated board.
The finished product after soldering is shown below.
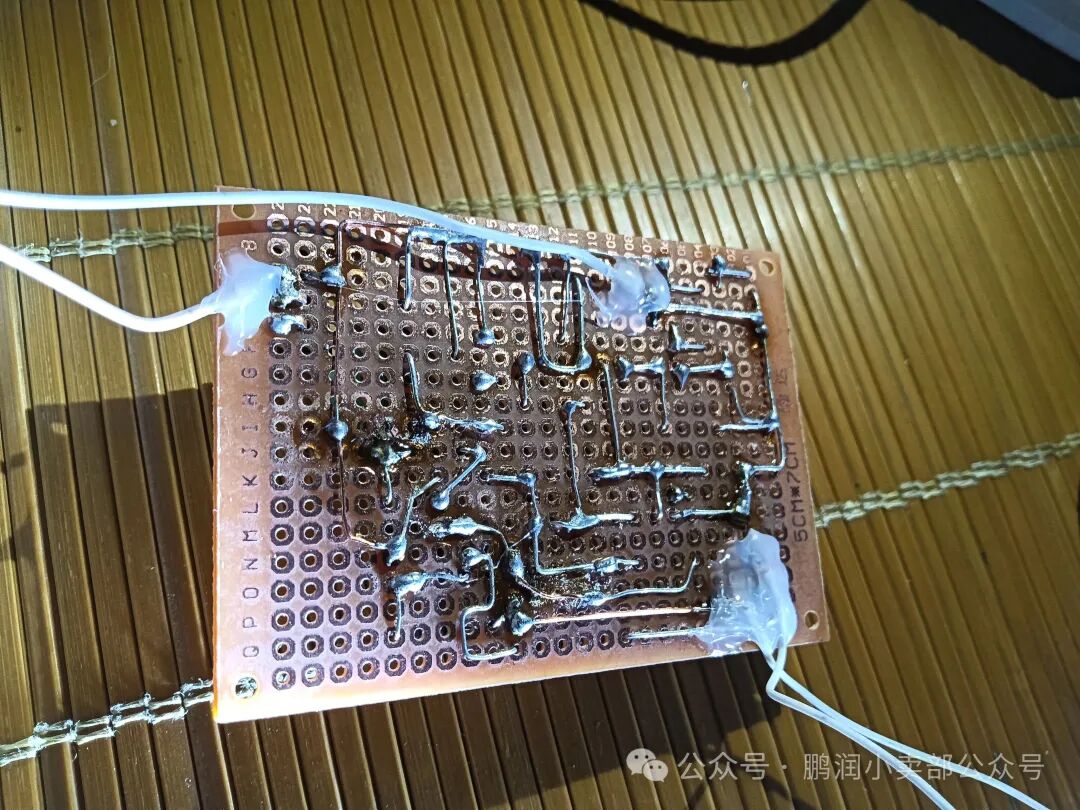
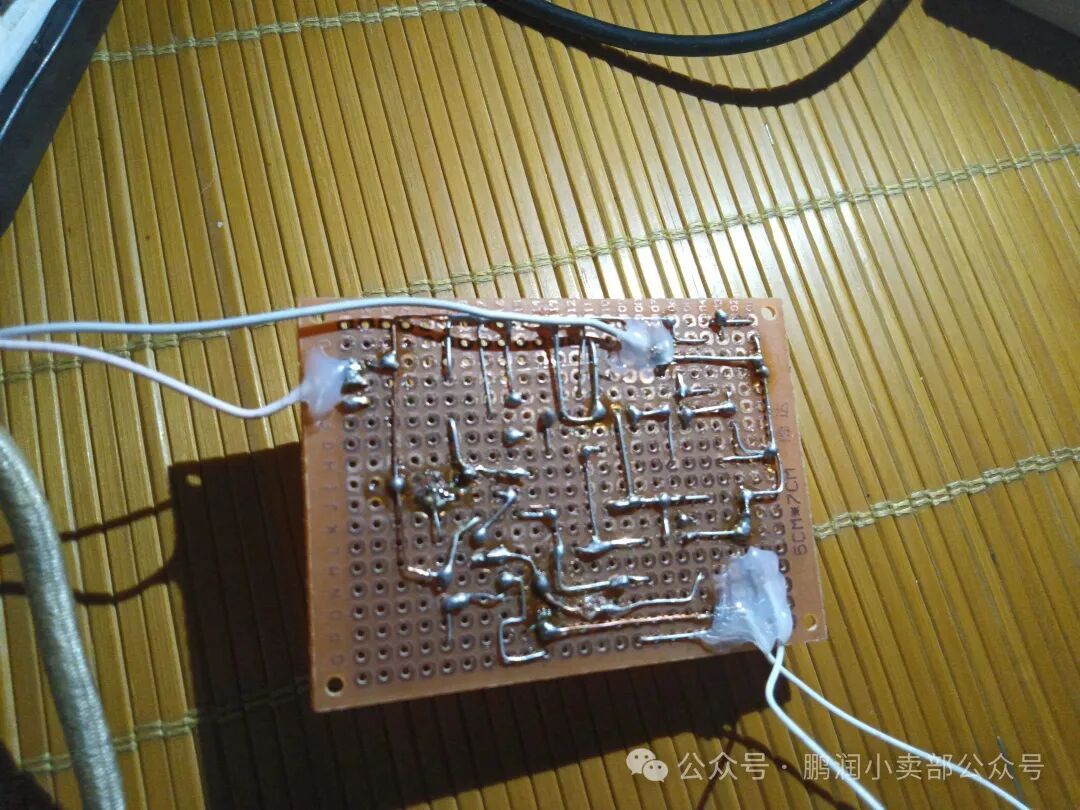
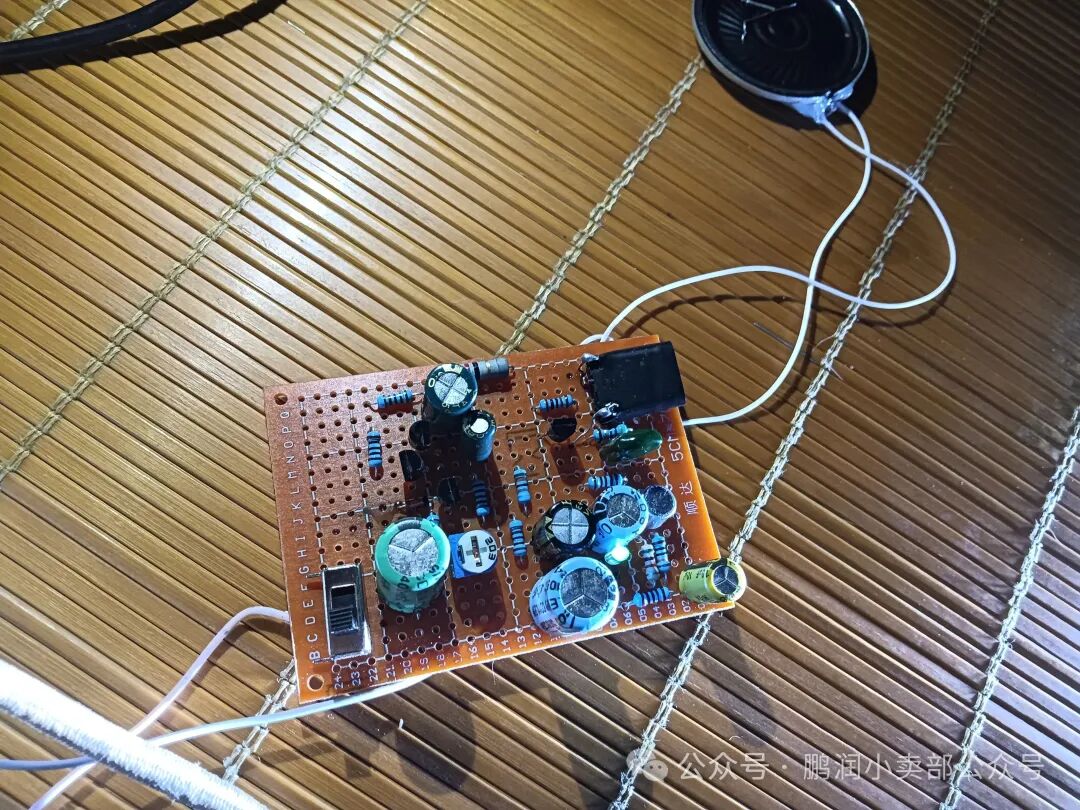
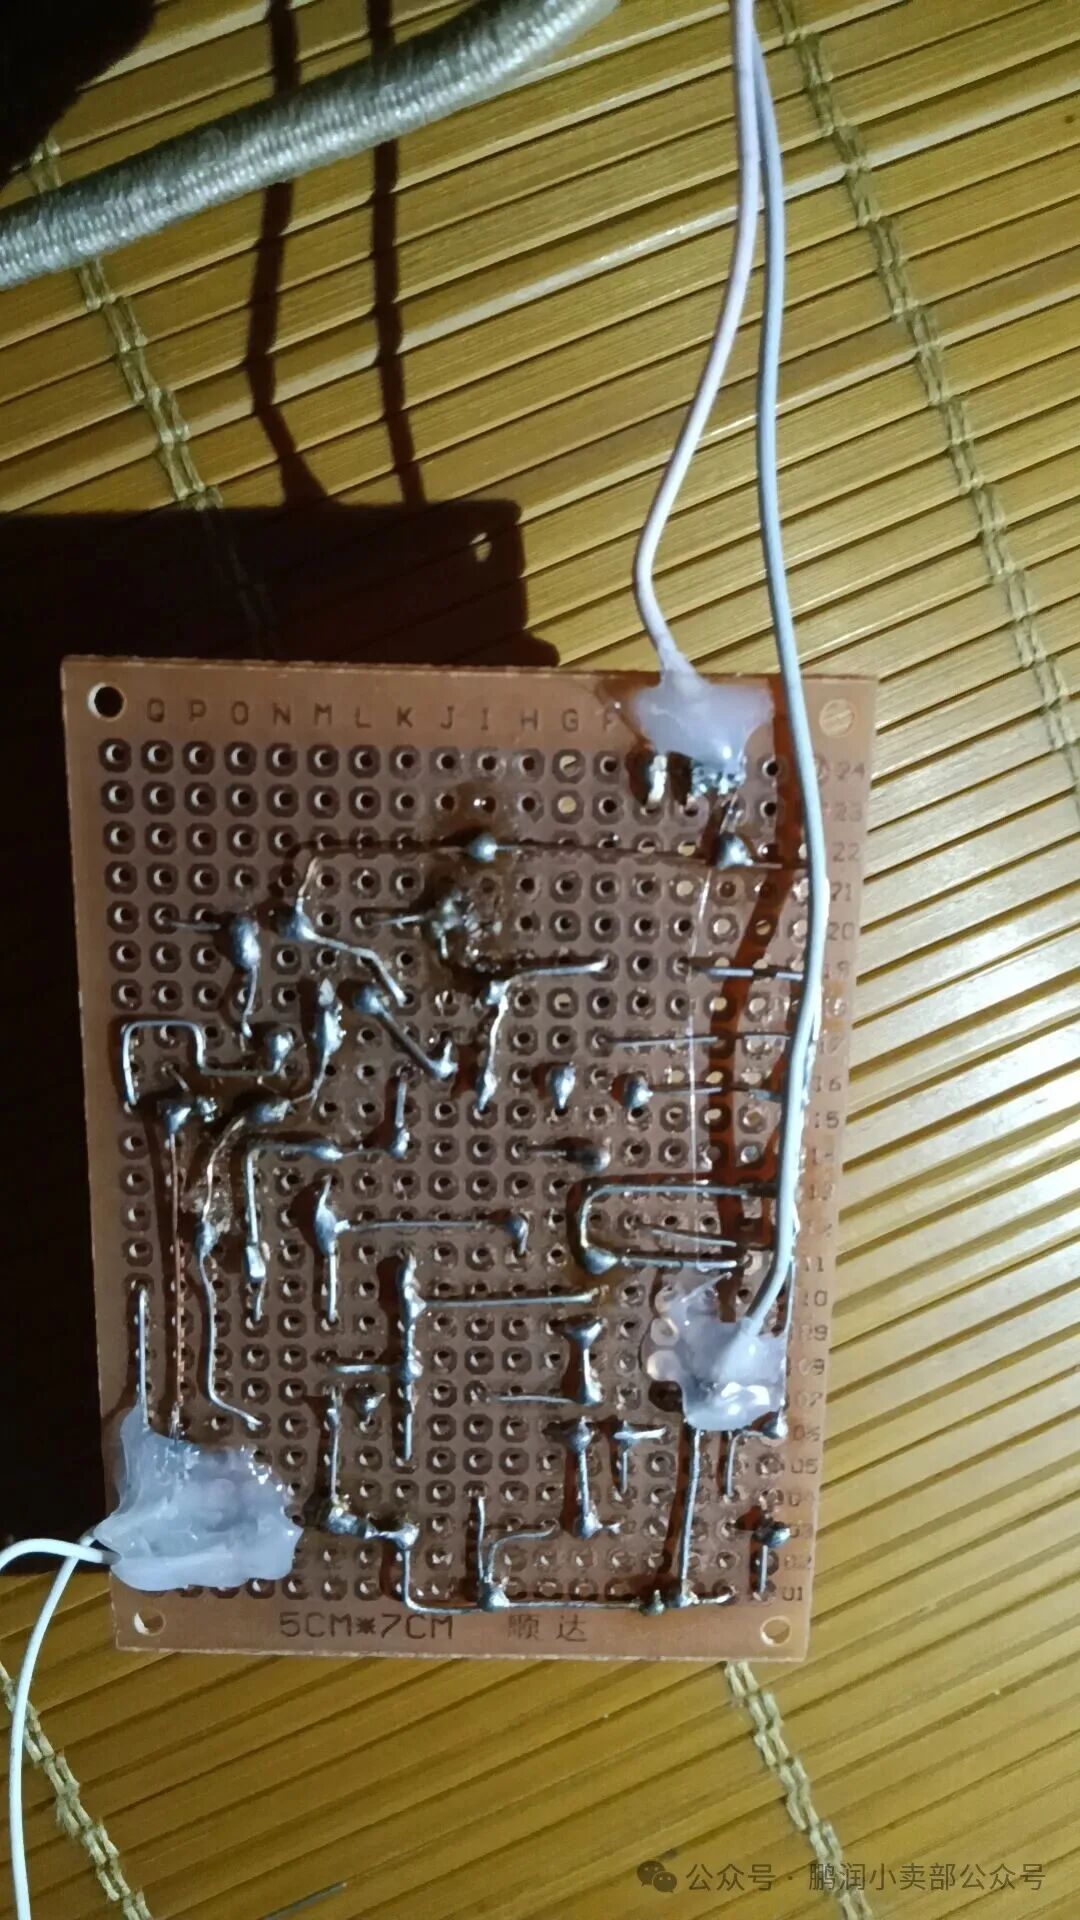
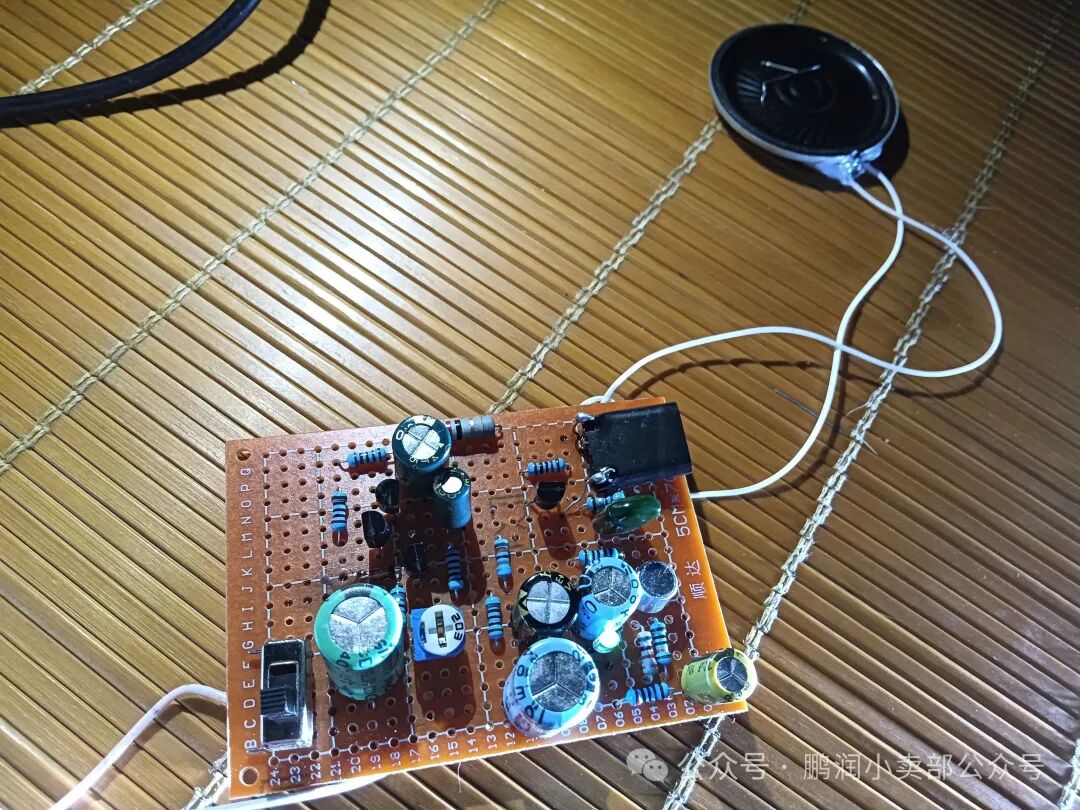
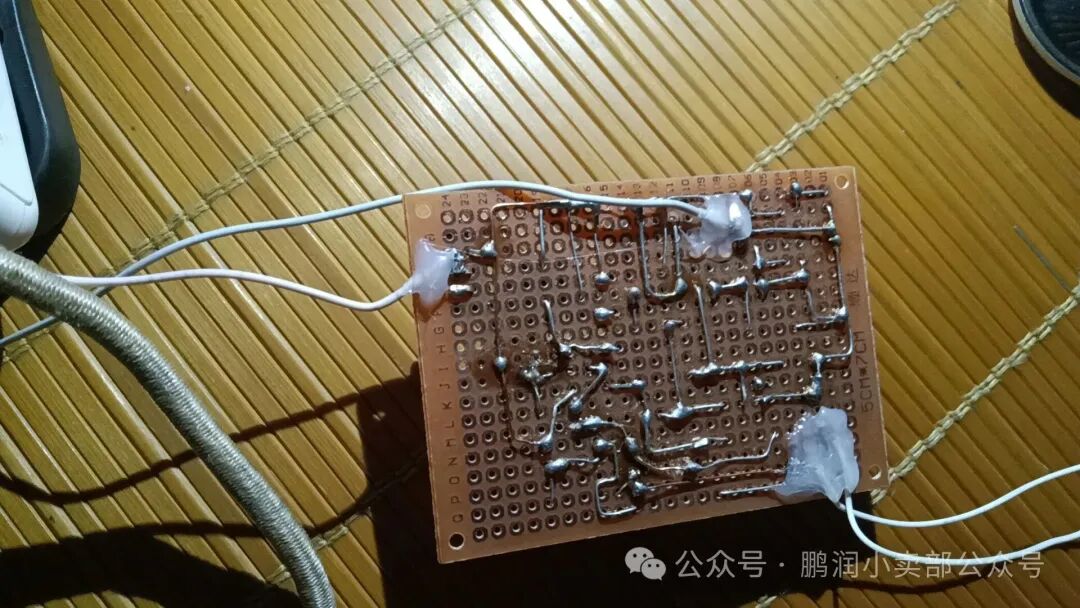
The first wiring attempt is a bit messy and differs from the products sold online, as shown below.
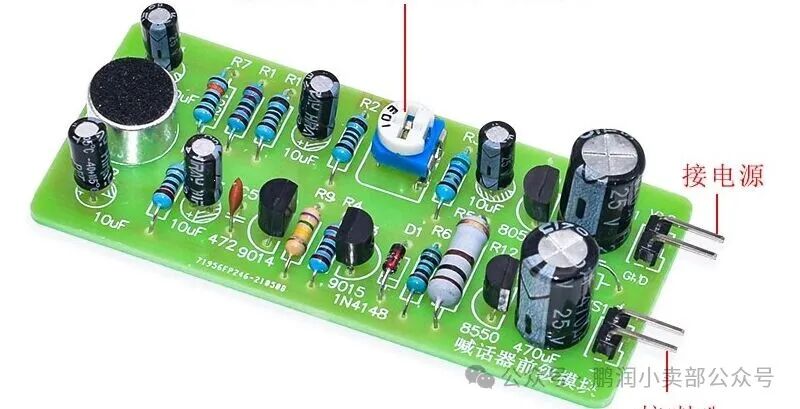
The circuit diagram is as follows.
 Thank you for reading