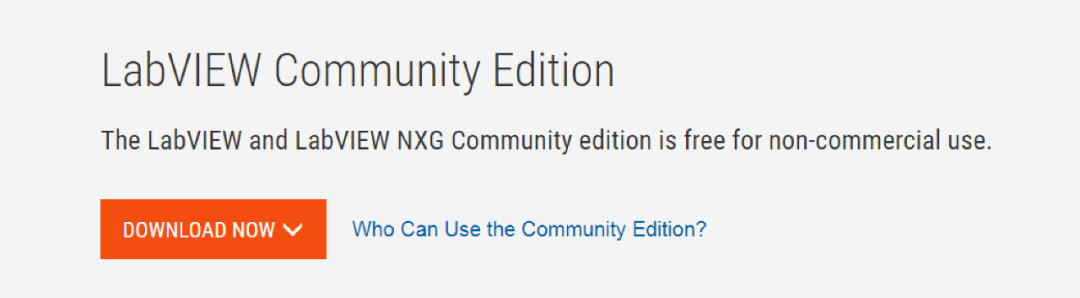
At the end of last month, the LabVIEW Community Edition (LabVIEW Standard and LabVIEW NXG Standard) was officially released for personal project use. The LabVIEW Standard version will be freely available for non-commercial users, providing the same functionality as the LabVIEW Professional version.
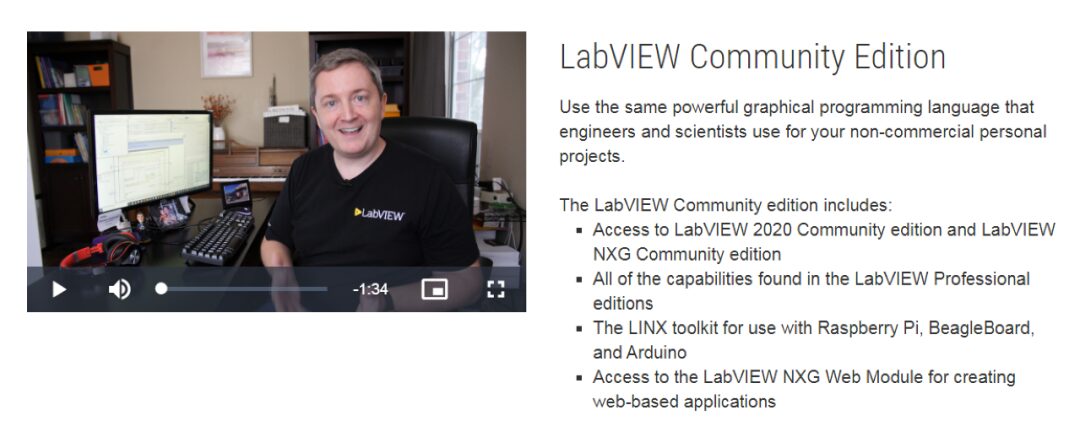
This includes an updated version of the LINX toolkit to assist engineering enthusiasts in connecting or deploying LabVIEW applications to mainstream computing hardware, such as Arduino, Raspberry Pi, and BeagleBoard.
Free licensed software paired with the Raspberry Pi costing only a few hundred yuan!Start from scratch!
Demo video for the latest generation Raspberry Pi at 265 yuan + 0 yuan LabVIEW Standard version:
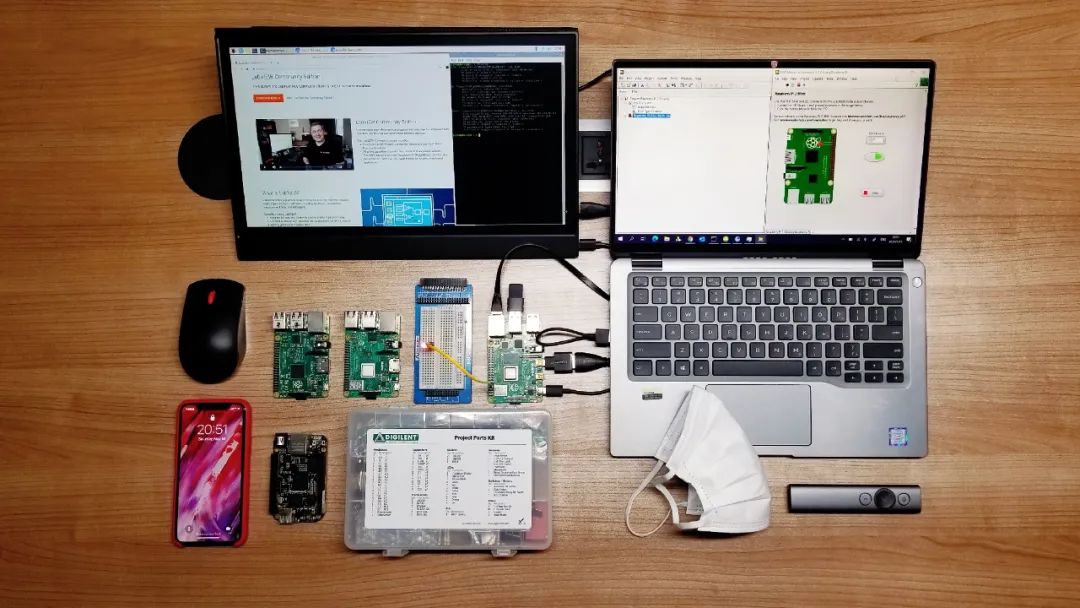
Step by Step, follow my lead:
Hardware Preparation
-
A computer with LabVIEW 2020 Community Edition installed (Note: The account used to download the software package must be the same as the account used to activate the software in the NI License Manager to successfully activate for free)
-
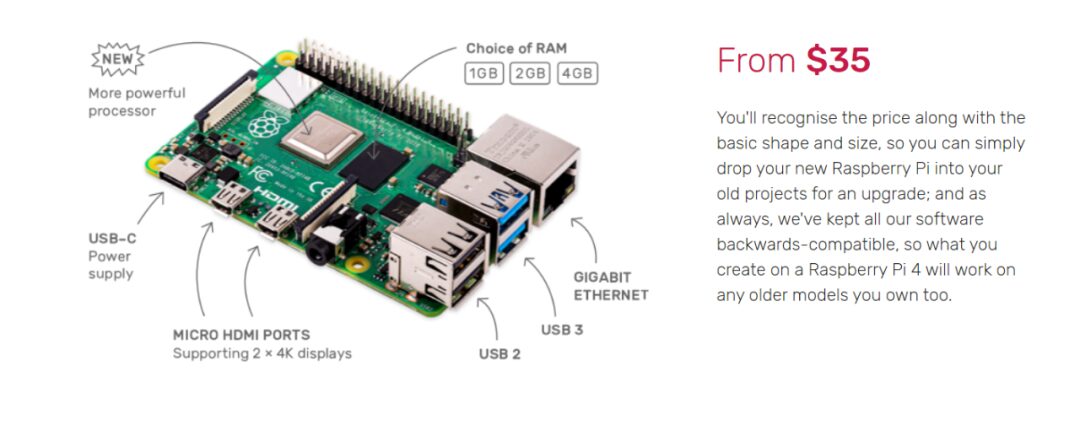
Raspberry Pi 4b [The editor tested with the latest generation Raspberry Pi 4b (starting at 265 yuan), but Raspberry Pi 3 (starting at 238 yuan) or 2 (less than 200 yuan) can also be used] + microSD card
-
Raspberry Pi 4b USB type-C power cable
-
Raspberry Pi 4b micro HDMI video cable + monitor
-
Keyboard and mouse
-
Breadboard + Dupont wires + LED
Software Preparation
-
Free LabVIEW Standard software (the editor uses LabVIEW 2020 Community Edition as an example) Access link:
https://www.ni.com/zh-cn/shop/labview/select-edition/labview-community-edition.html
-
Correctly download and flash the Raspbian image to the microSD card (the editor flashed Raspbian Buster with desktop and recommended software)
Access link:
https://www.raspberrypi.org/downloads/
Operating Steps on Raspberry Pi
-
After Raspbian starts normally, ensure that the Raspberry Pi and the computer are on the same Wi-Fi local area network, and enter the following command in the command line:
ifconfigto obtain the Raspberry Pi’s IP address. My Raspberry Pi 4b’s IP address is:
192.168.50.121
-
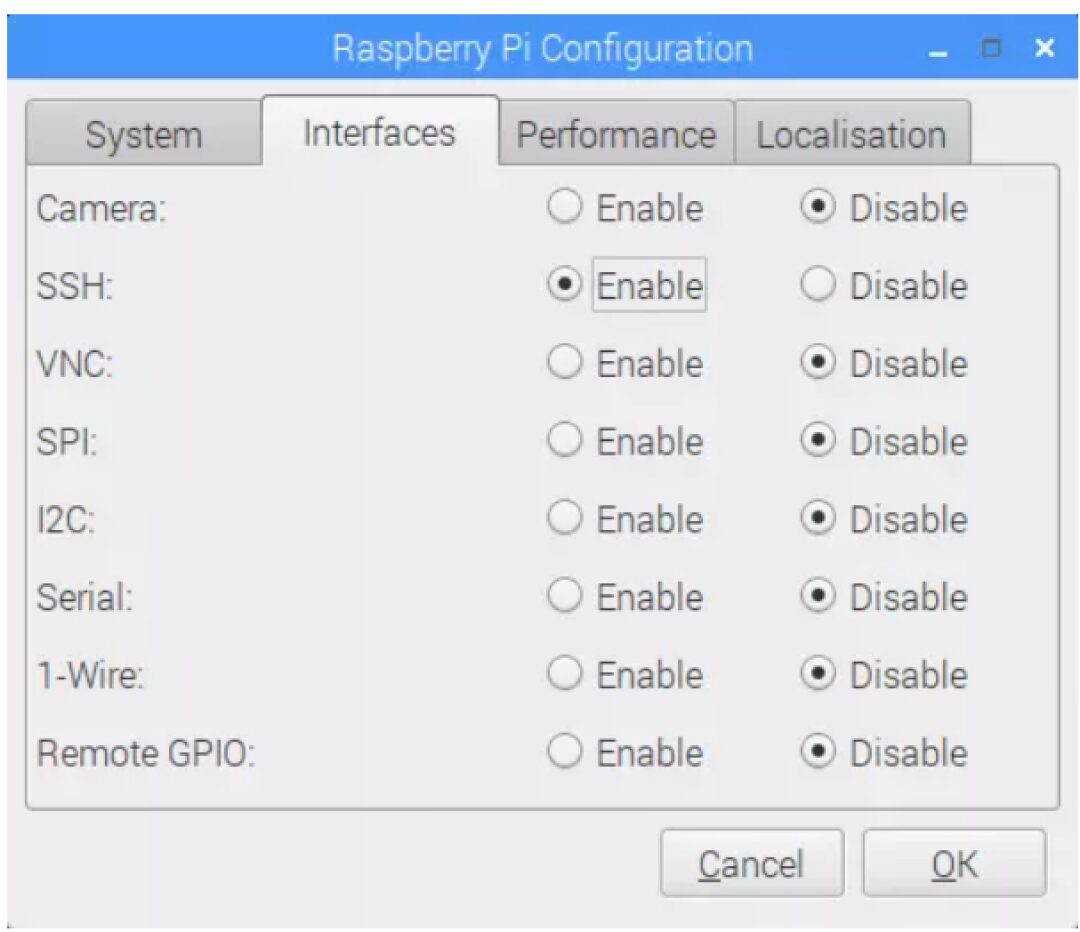
Enable SSH on the Raspberry Pi
-
Start Your First LabVIEW Raspberry Pi Project on the Computer
-
Open LabVIEW

-
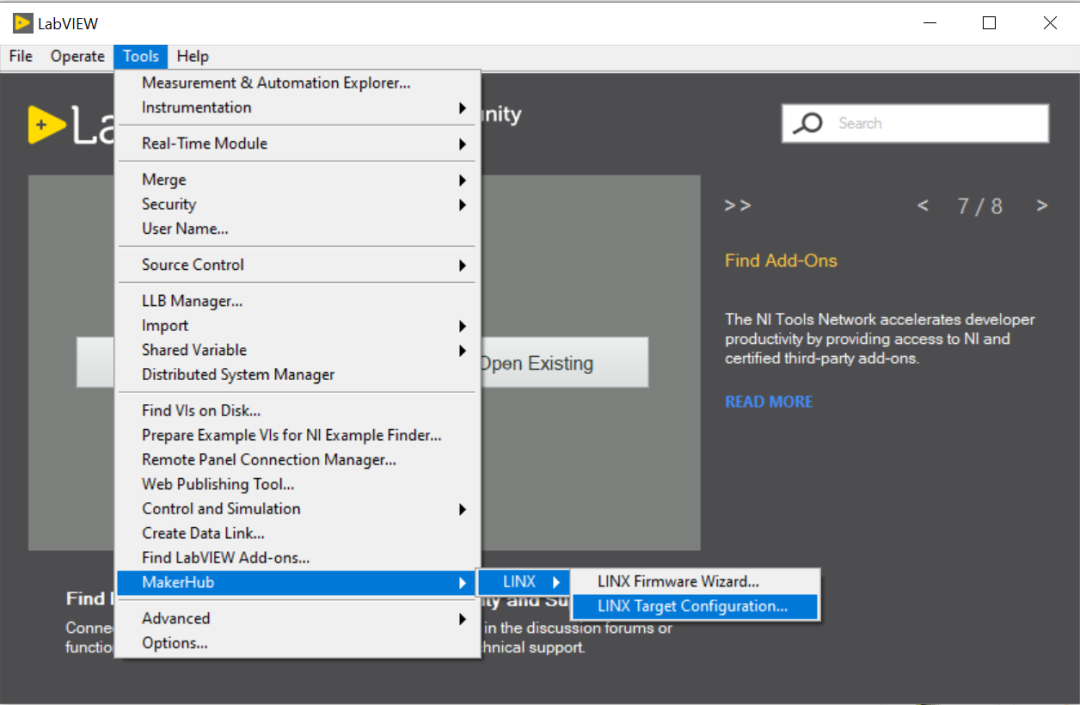
Select
Tools/MakerHub/LINX/LINX Target Configuration…
-
In the LINX dialog, enter the IP address of our Raspberry Pi, User name, and Password
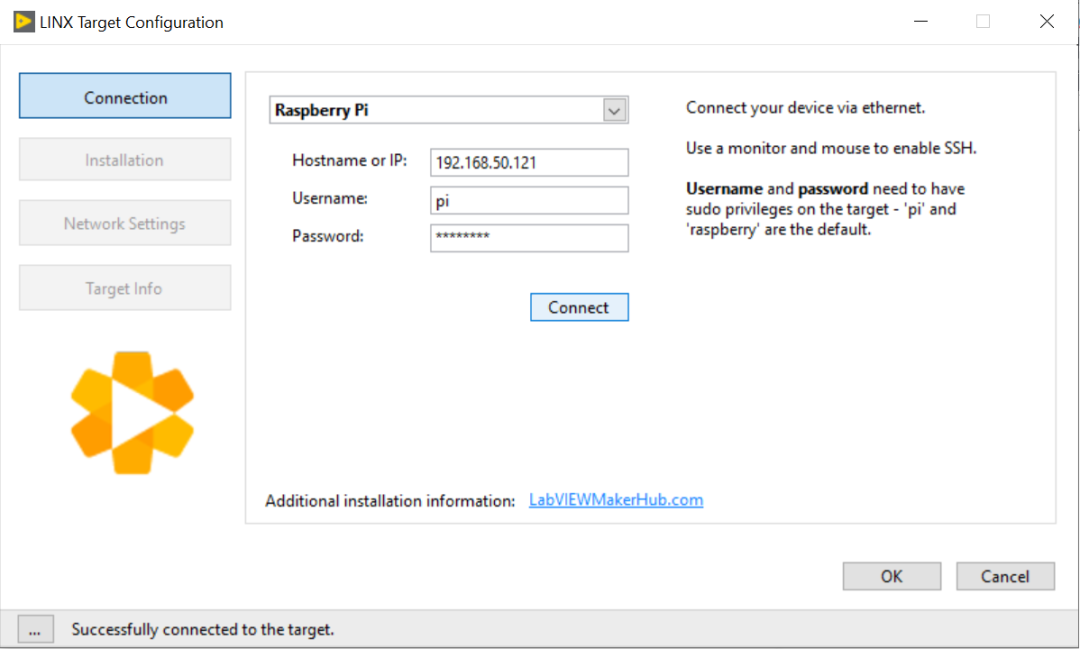
-
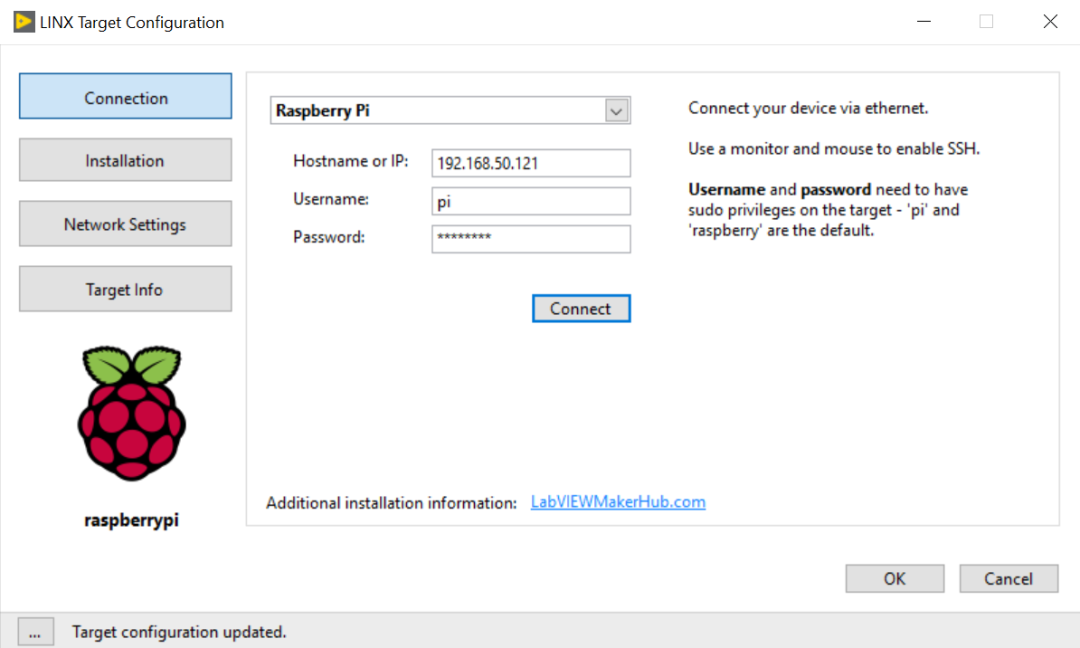
Click connect, and if the connection is correct, you will see “Successfully connected to the target” in the status bar at the bottom. Click on the left side of Connection to see the Raspberry Pi icon appear.
-
Click on the left side Installation to see that the Installed Version on the unconfigured Raspberry Pi is empty.

-
Click Upgrade to upgrade the software on the Raspberry Pi. Depending on network speed and system, this may take a few minutes. The status will look like this after a successful upgrade.

-
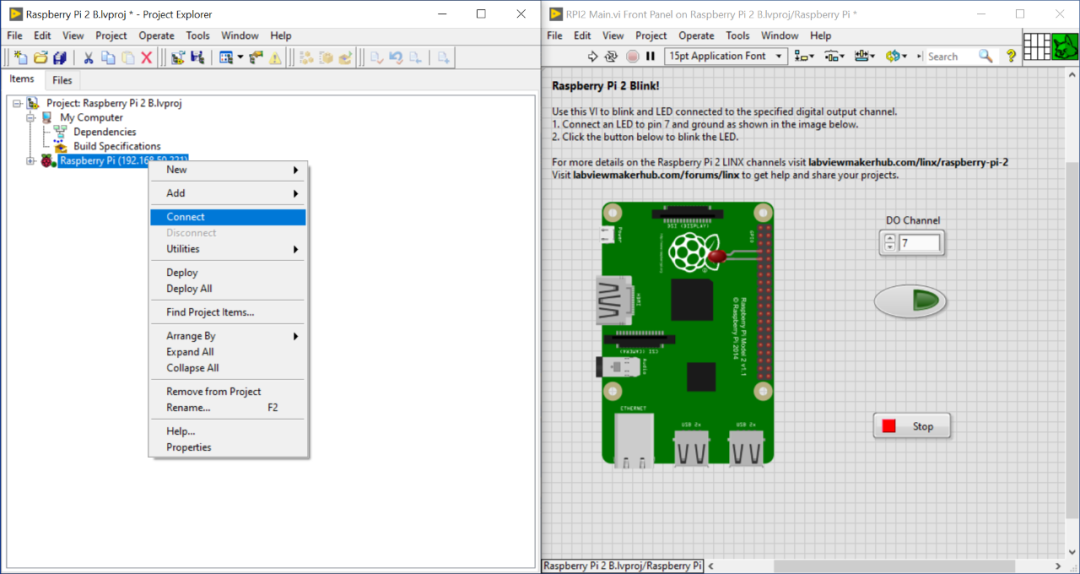
Now we can click Launch Example to start our first LabVIEW + Raspberry Pi project. Right-click the Raspberry Pi icon in the LabVIEW project tree and click connect (make sure to confirm again that the Raspberry Pi IP address matches the one configured above, which is 192.168.50.121).
-
After successfully connecting to the Raspberry Pi, you will see that the indicator light at the bottom right corner of the Raspberry Pi icon in the project tree is “lit up”, indicating a successful connection.
-
Before running the VI on the right side of the figure, we first connect the positive lead of an LED to pin 7 and the negative lead to pin 9 (GND) according to the GPIO pin definition of the Raspberry Pi.
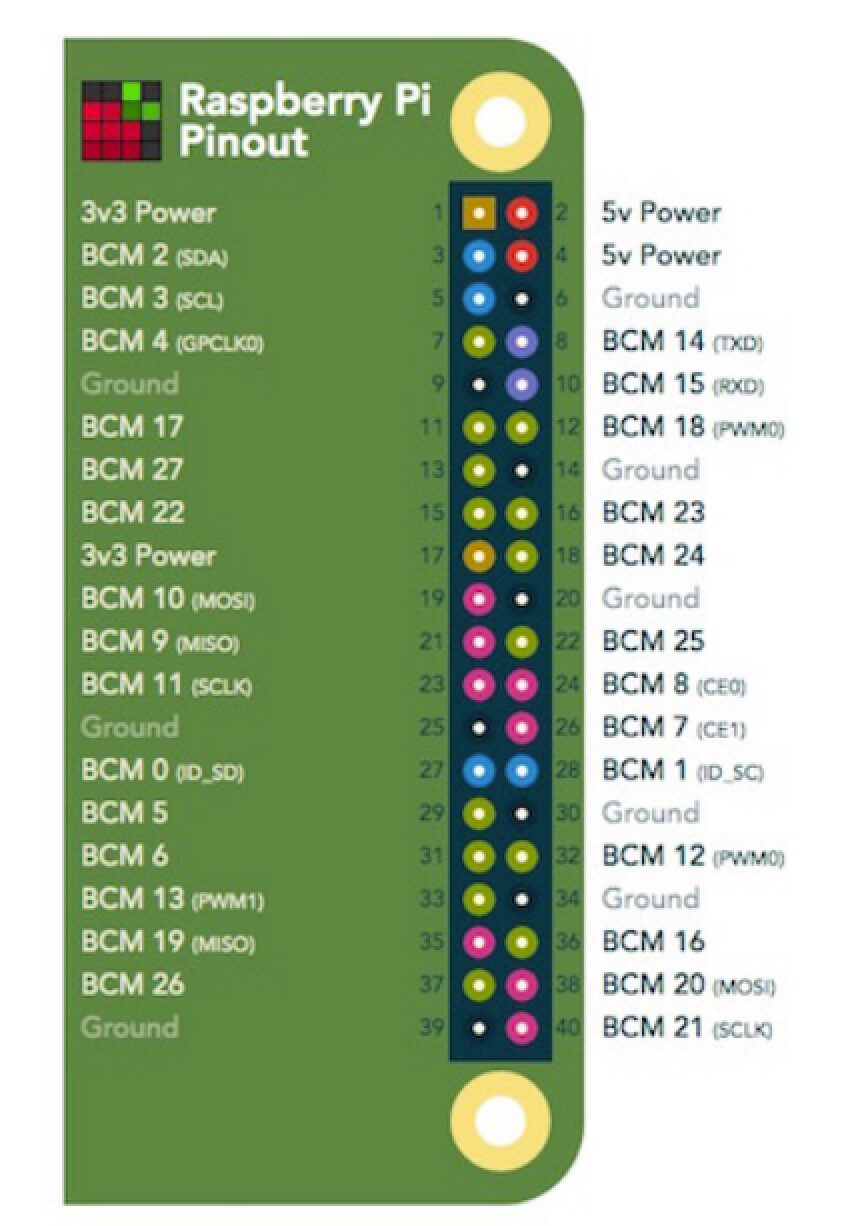
-
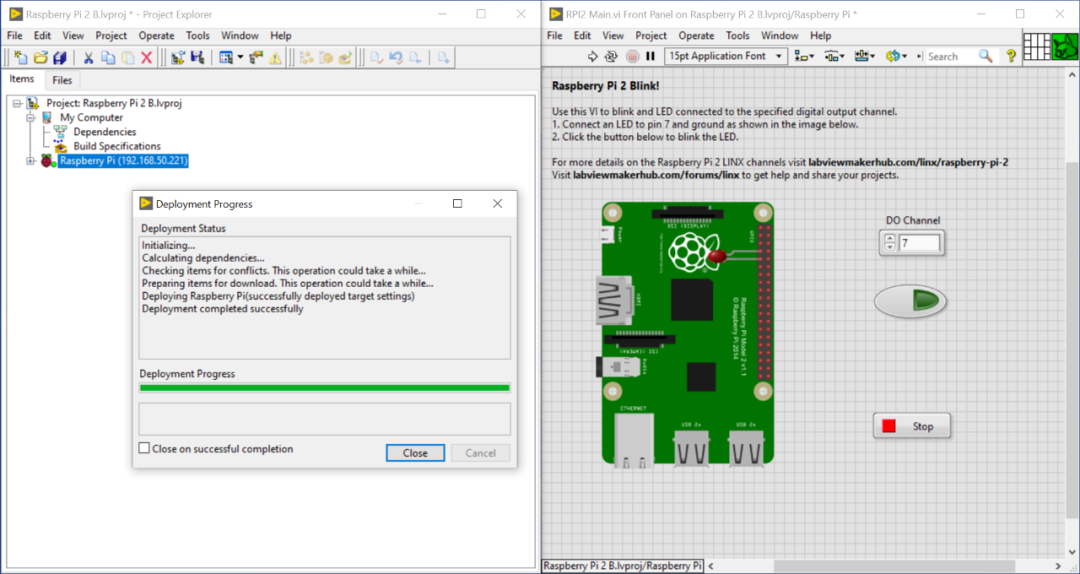
Click the run button in LabVIEW and wait for the program to deploy successfully.
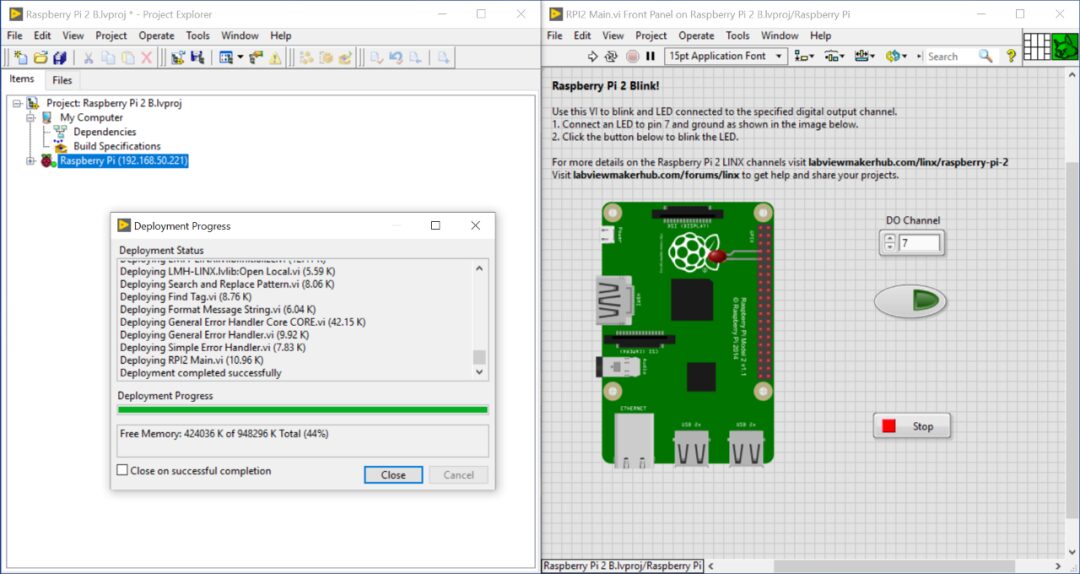
-
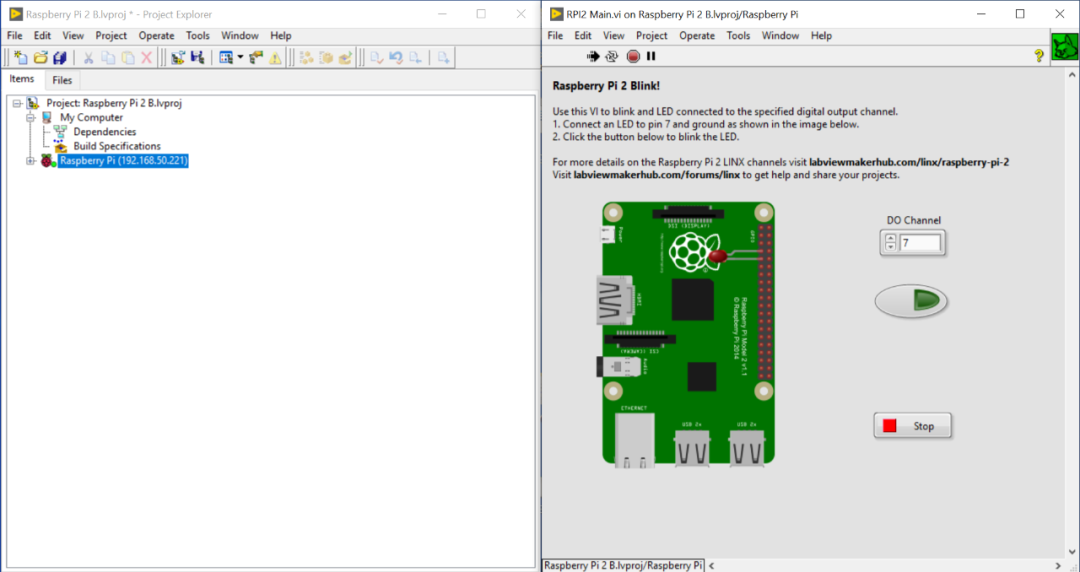
At this point, clicking the Boolean input control on the front panel of the VI will allow you to control the LED on and off.
The editor’s installation environment is Windows 10 pro 64bit, Intel x64 Core-i7-8665 [email protected], 16GB RAM, Raspberry Pi 4B-4GB version, Raspbian Buster with desktop and recommended software (February 2020). There may be some incompatibilities in different software and hardware combinations. Feel free to scan the QR code and contact us for communication, and get creative with LabVIEW + Raspberry Pi and other high-cost-performance open-source hardware!
https://www.wjx.top/jq/77852210.aspx
Instructor
END