For some basic concepts about ARM, you can refer to my previous article: “0. What are Cortex, ARMv8, ARM architecture, ARM instruction set, and SoC? A comprehensive overview of basic concepts【Popular Science】”
0. How to Learn ARM?
There are many scattered knowledge points about ARM, and many students have encountered similar problems. Individual assembly instructions are easy to understand, but when combined with uboot code, they become incomprehensible. Searching online yields a plethora of information, but it often lacks clarity. What is the reason for this?
The main issue is that the relationships between various knowledge points are intricate, forming a cohesive whole. To understand assembly code like that in uboot, one must not only grasp the assembly instructions but also comprehend the entire SoC architecture, the principles of various controllers, the usage of various registers, code compilation principles, and so on. If one does not follow a certain sequence in learning, they are bound to take many detours.
In order to facilitate many beginners’ entry into the field, I will filter out some tedious theoretical knowledge and focus entirely on practicality. Below, I will start from environment installation and teach everyone step by step how to learn ARM, eventually enabling them to analyze uboot code.
Let’s start with the installation environment.
1. The Relationship Between KEIL, MDK, uVision, and ARM
1. KEIL
. 1) It is both the name of the company and all development tools owned by KEIL.
. 2) Acquired by ARM in 2005.
2. uVision
. 1) The integrated development environment (IDE) developed by KEIL.
. 2) There are 4 versions: uVision2, uVision3, uVision4, uVision5.

3. MDK
. 1) Full name in English: Microcontroller Development Kit.
. 2) MDK-ARM = KEIL MDK = RealView MDK = KEIL For ARM, all refer to it as MDK-ARM.

MDK-ARM provides a complete development environment for devices based on Cortex-M, Cortex-R4, ARM7, and ARM9 processors. MDK-ARM is designed specifically for microcontroller applications; it is not only easy to learn and use but also powerful enough to meet the needs of most demanding embedded applications.
MDK-ARM has four available versions: MDK-Lite, MDK-Basic, MDK-Standard, and MDK-Professional. All versions provide a complete C/C++ development environment, and MDK-Professional also includes a large number of intermediate libraries.
2. Installation
The installation package we are using is Keil MDK-ARM version 4.14, which includes the ARM compiler and uVision 4 integrated development environment.
This environment has a good simulation of the ARM instruction environment, making it very suitable for everyone to learn ARM instructions.
For software download, reply in the background with 【mdk】

Click mdk414.exe on the right –> Run as administrator
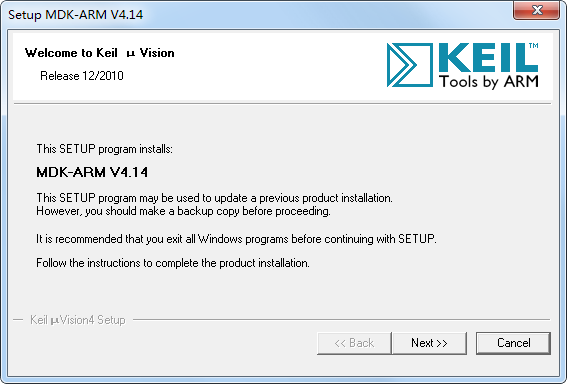
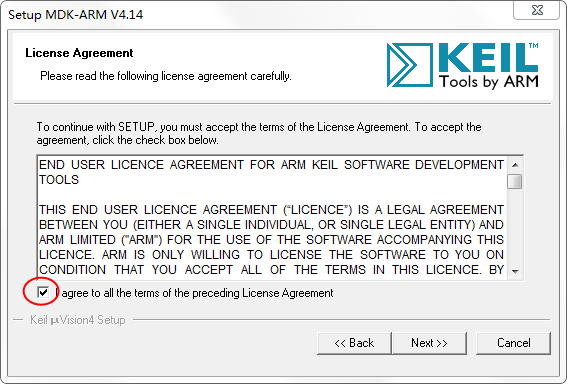
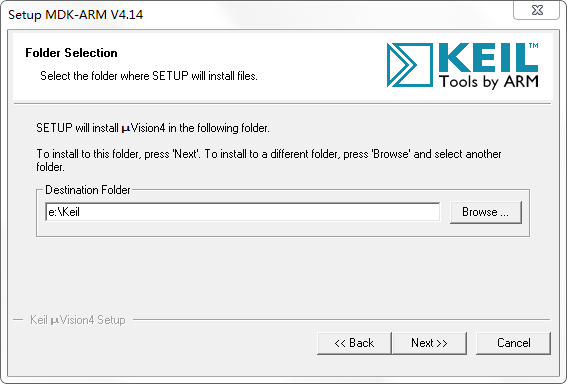
Select the installation directory; try to avoid using Chinese characters in the directory:
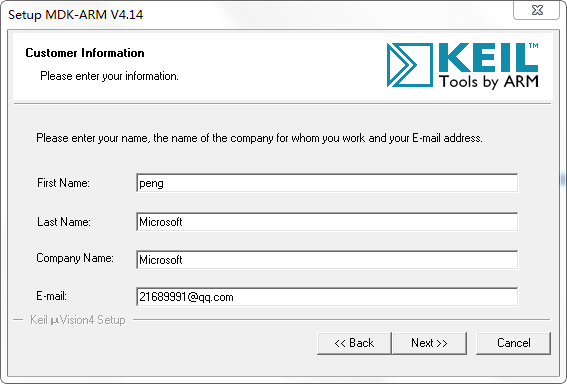
Enter any name and email:
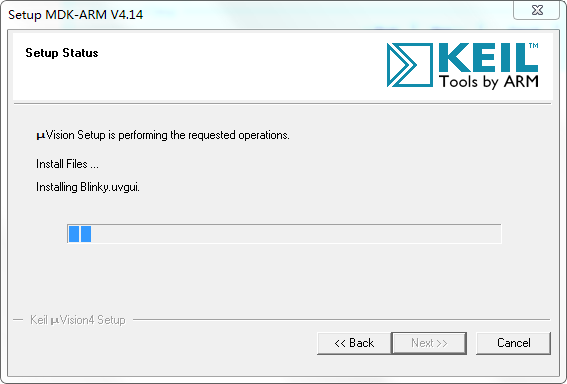
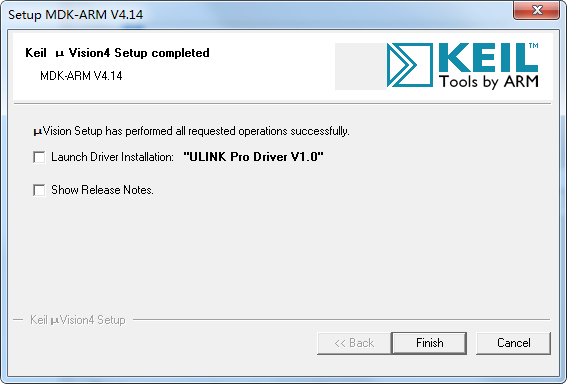 Click Finish:
Finally, the following icons will appear on the desktop:
3. Create Your First Project
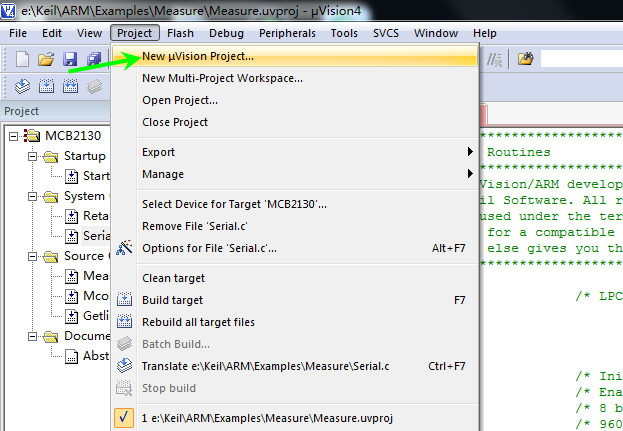
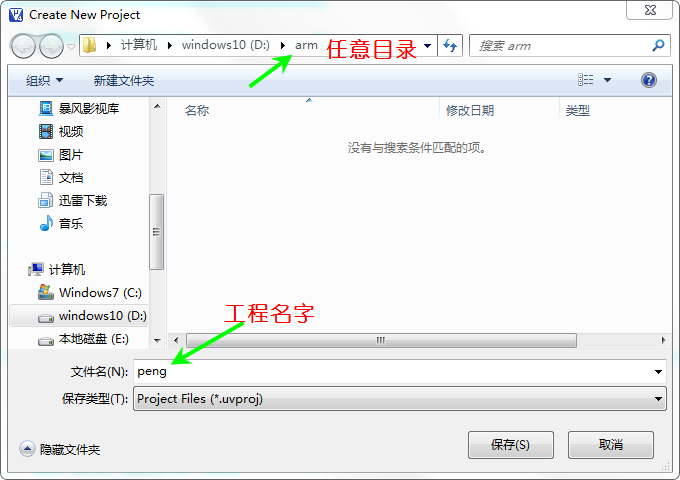
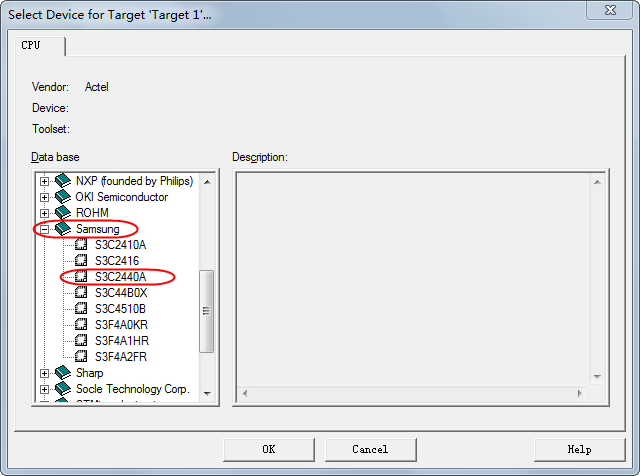
Select CPU -> Samsung -> S3C2440A. Since most of the ARM instruction set instructions do not differ much, we choose S3C2440A.
Download the datasheet, reply in the background with 【exynos】
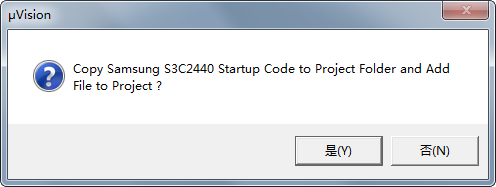
Click Yes to enter the following interface:
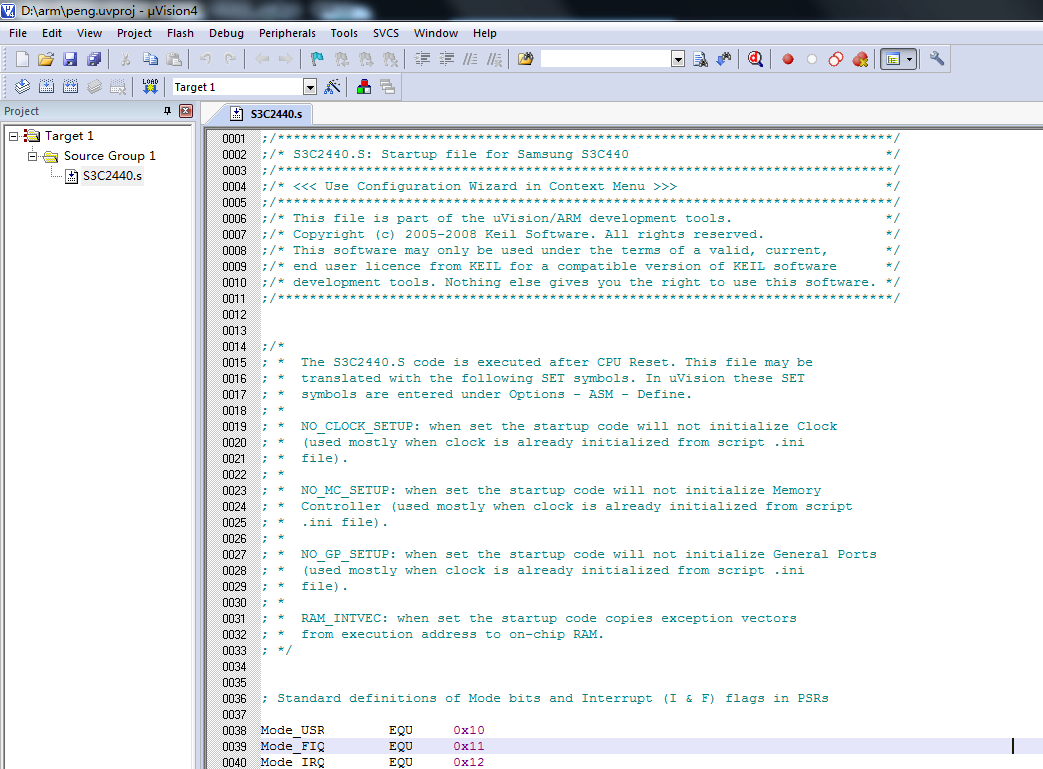
The code in the code area is some test code provided by KEIL based on the S3C2440A processor. For now, we will not pay attention to this code, delete all the code in this file, and copy the code below【Note the indentation】:
 AREA Example,CODE,READONLY    ; Declare code segment Example
 ENTRY ; Program entry
Start              ; Label in the program, essentially an alias for the memory unit (address)
 MOV R0,#0     ; Set actual parameters, store the parameters passed to the subroutine in r0 and r1
 MOV R1,#10
 BL ADD_SUM    ; Call subroutine ADD_SUM
 B OVER        ; Jump to label OVER to enter the end
ADD_SUM
 ADD R0,R0,R1  ; Implement addition of two numbers
 MOV PC,LR     ; Subroutine returns, R0 contains the return result
OVER
 END
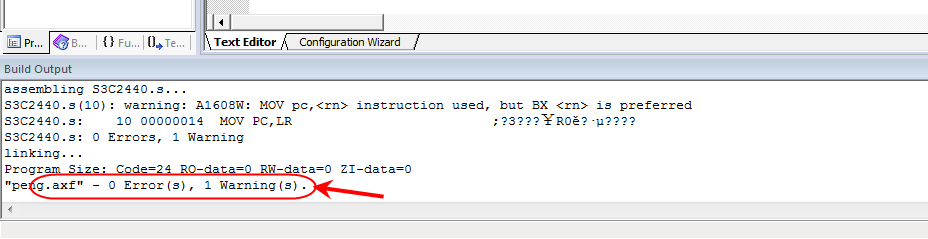
Compile
Clicking the two buttons in the image below can compile the code:
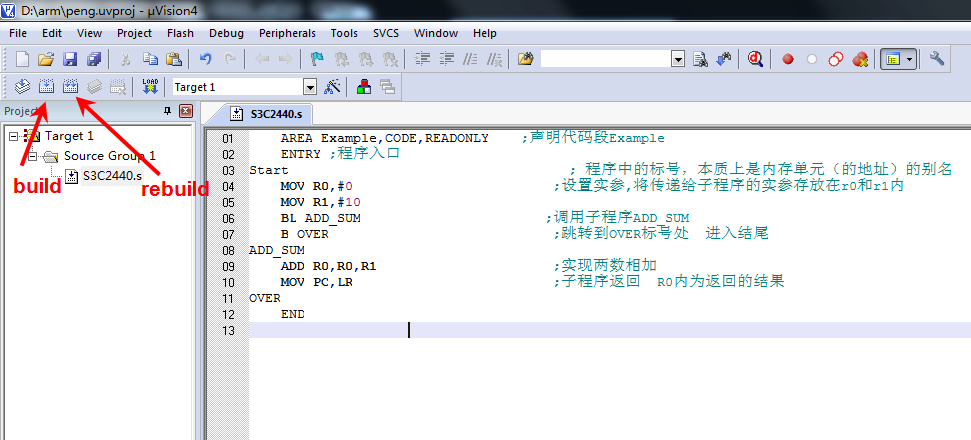
After successful compilation, the software will display **0 Error(s)** at the bottom.
4. Debugging Code
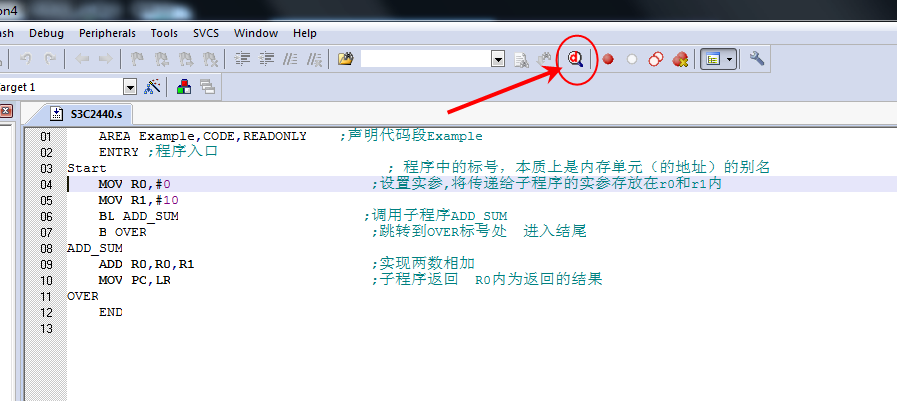
To facilitate code explanation, we will enter the debug interface for all subsequent debugging. You can click the icon below or use the shortcut key ctrl+F5:
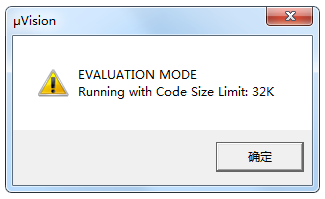
 Click OK
 Enter the following interface:
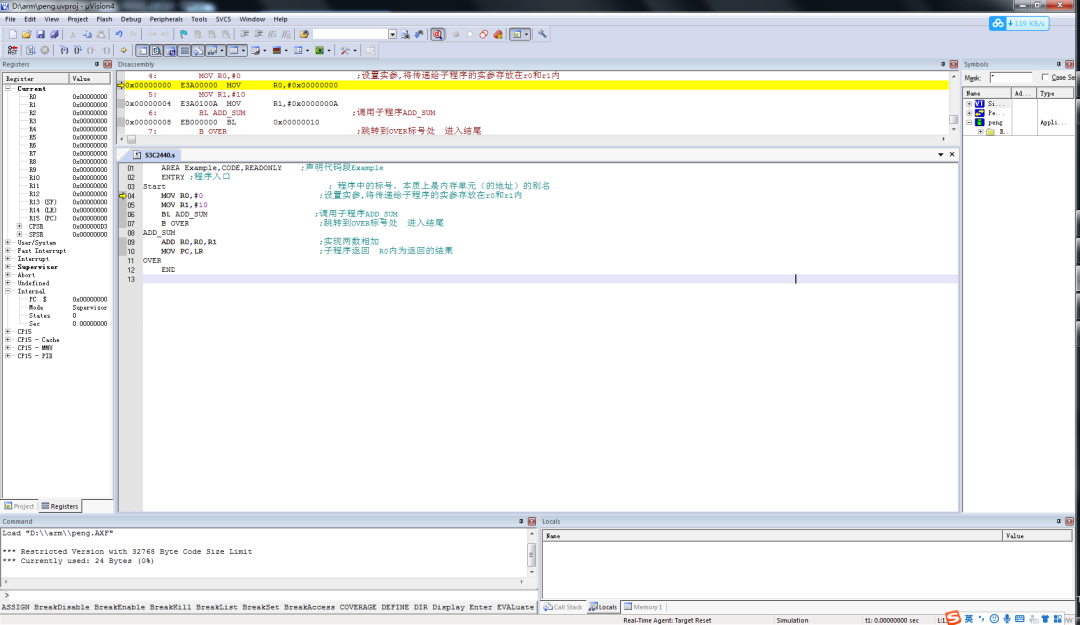
Adjust the layout of the interface by clicking and dragging the title bar of each tab page. You can snap them into place by hovering the mouse over the triangular position of the corresponding border:
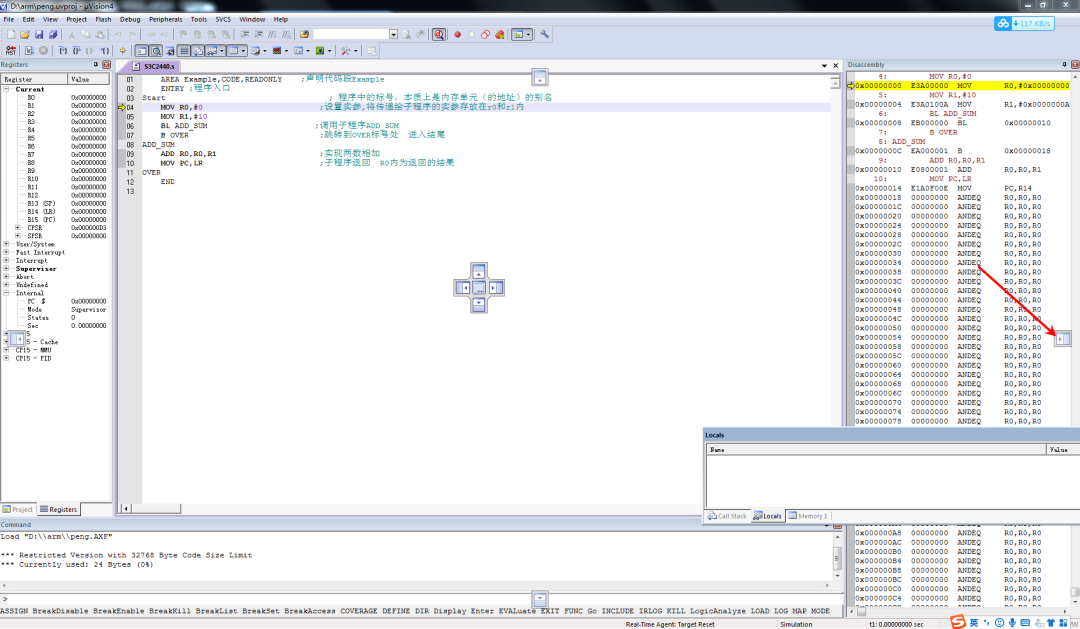
The adjusted interface looks as follows:
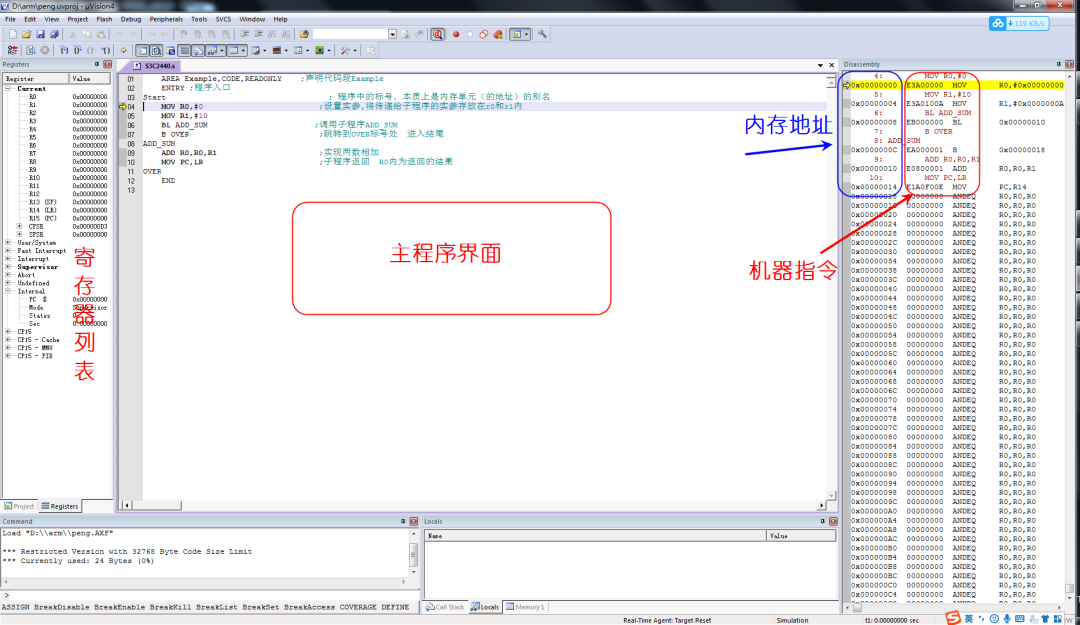
-
The yellow arrow on the left side of the program indicates the position of the program instruction execution; -
The left side shows the list of ARM registers (R0-R15, etc.) in different modes; -
The right side shows the memory addresses and machine codes corresponding to the assembly instructions; -
Step execution with F10, enter a function with F11;
The meaning of this code will not be elaborated on for now, but will be explained in detail later. I believe students with a basic understanding of assembly should be quite familiar with this code.
The environment installation is complete, and now we can begin the theoretical study of ARM.
The next article preview: “2. Getting Started with ARM – CPU Principles, Explanation Based on ARM SoC”
Summary of Other Users’ Questions

1. How do two threads with two mutexes form a deadlock?
2. Can two processes bind to the same port number simultaneously?
3. A simple example of multithreading to illustrate the randomness of thread scheduling.
4. Fan’s question | C language: How to define a function with the same name as a library function and call that library function within it?
Recommended Reading
Click “Read Original” to see more shares, and feel free to share, bookmark, like, and follow.