The previous article “Exploring the DFRobot ESP32-P4 Development Board: Playing with Micropython” introduced the process of flashing Micropython firmware onto the ESP32-P4 and implementing most of its functionalities.This note continues to share how to drive a DSI touch screen.
1. Development Board Introduction
The latest release from DFRobot, the FireBeetle 2 ESP32-P4 development board is currently the smallest ESP32-P4 development board, yet it integrates a rich set of peripherals:
| Peripheral | Description |
|---|---|
| Type-C USB CDC | Flashing + Debugging |
| RST / BOOT Button | Reset + Download |
| IO3 LED & Power LED | Status Indicator |
| MEMS PDM Microphone | Audio Capture |
| USB OTG 2.0 Type-C | 480 Mbps High-Speed USB |
| MIPI-DSI ×2 | Compatible with Raspberry Pi 4B DSI Screens |
| MIPI-CSI ×2 | Compatible with Raspberry Pi 4B CSI Cameras |
| TF Card Slot | Local Storage Expansion |
| 16 MB Flash | Firmware + Model Storage |
| ESP32-C6-MINI-1 | Extends Wi-Fi 6 / BLE to P4 via SDIO |
2. Adding Drivers
The DSI driver is still available on my GitHub, at the address:https://github.com/Vincent1-python/esp32p4-micropython-dfrobot-rpi-dsi-driver Add the relevant driver to <span>~/esp/micropython.cmake</span>:
include(${CMAKE_CURRENT_LIST_DIR}/esp32p4-micropython-dfrobot-rpi-dsi-driver/src/micropython.cmake)Refer to the “ESP32-P4 Development Board MicroPython Firmware Compilation Method” to recompile the firmware, and after flashing, you can start playing around.
3. Screen Testing
First, let’s perform a simple display test:
from lcd import *
from machine import Pin
from machine import I2C
i2c = I2C(0, scl=Pin(8), sda=Pin(7))
init()
i2c.writeto_mem(0x45, 0x86, b'\xff')  # Initialize LCD
clear(WHITE)
string(10, 0, 500, 32, 32, "DFRobot ESP32-P4 MIPI LCD TEST", RED)
string(10, 40, 240, 24, 24, "PYSN", BLUE)
string(10, 80, 240, 24, 24, "DFRobot", BRRED)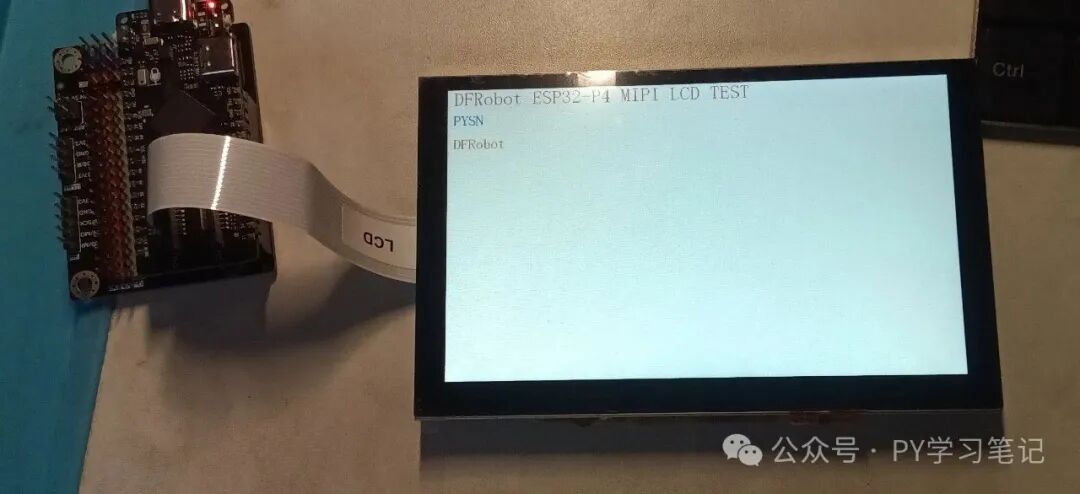
Touch Testing:
from machine import Pin
from machine import I2C
import time, lcd
from ft5x06 import FT5x06

# Touch point colors and states
POINT_COLOR_TBL = [lcd.RED, lcd.GREEN, lcd.BLUE, lcd.YELLOW, lcd.BLACK]
last_points = [[0, 0] for _ in range(5)]  # Last positions of 5 touch points

def lcd_draw_bline(x1, y1, x2, y2, size, color):
    """Optimized line drawing function with width"""
    dx = abs(x2 - x1)
    dy = abs(y2 - y1)
    sx = 1 if x1 < x2 else -1
    sy = 1 if y1 < y2 else -1
    err = dx - dy

    while True:
        lcd.fill_circle(x1, y1, size, color)
        if x1 == x2 and y1 == y2:
            break
        e2 = 2 * err
        if e2 > -dy:
            err -= dy
            x1 += sx
        if e2 < dx:
            err += dx
            y1 += sy

if __name__ == "__main__":
    lcd.init()
    i2c = I2C(0, scl=Pin(8), sda=Pin(7))
    t = FT5x06(i2c)
    i2c.writeto_mem(0x45, 0x86, b'\xff')
    lcd.clear(lcd.WHITE)
    while True:
        touch = t.get_positions()
        if touch:
            for i, point in enumerate(touch[:5]):
                # Calculate current touch point coordinates
                curr_x = 800 - point[0]
                curr_y = 480 - point[1]
                # Draw line from last position to current position
                if last_points[i] != [0, 0]:
                    lcd_draw_bline(last_points[i][0], last_points[i][1],
                                   curr_x, curr_y, 4, POINT_COLOR_TBL[i])
                # Update last position
                last_points[i] = [curr_x, curr_y]
        else:
            # Reset all points when not touched
            for i in range(5):
                last_points[i] = [0, 0]
        #time.sleep(0.1)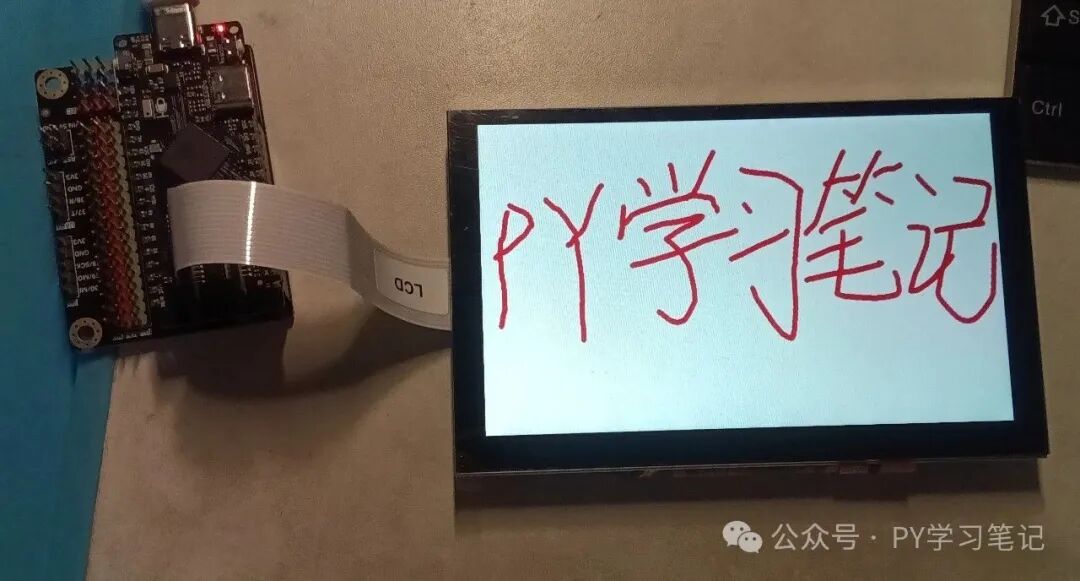
PS: It looks a bit ugly
Recommended Reading:
- ESP32-P4 Development Board MicroPython Firmware Compilation Method
- ESP32-P4 MicroPython Driver for LCD Screens and Touch
- ESP32-P4 MicroPython Image Display
- ESP32-P4 MicroPython Point-by-Point Drawing of Chinese Characters
- ESP32-P4 Playing with ESP-DL: Implementing Face, Human, and Cat Detection
- ESP32-P4 Playing with ESP-DL: Implementing YOLO v11 Object Detection
- Exploring the DFRobot ESP32-P4 Development Board: Playing with Micropython