For those familiar with us, seeing the title of this article, you must know that our device has malfunctioned again. You guessed it right; however, this printer is not completely broken yet. It just frequently fails to connect wirelessly, and sometimes after a lot of fiddling, turning it off and restarting, it works again. When time is tight and you’re in a hurry, it can really be frustrating. But on the flip side, considering it has been in use for five to six years, it has lived up to its price.
Today, I will disassemble it and share with everyone, which can also be considered as utilizing my spare energy.
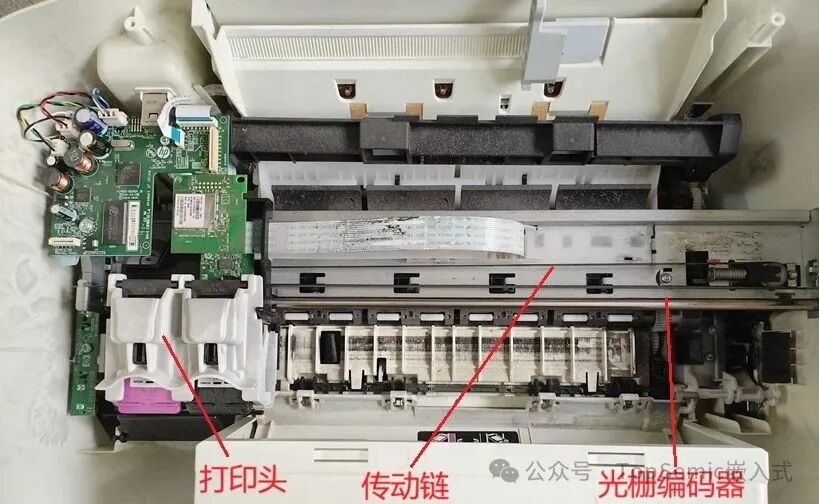
This is what it looks like after removing the top cover of the printer along with the copying section. The green board in the upper left corner is the main control board, the brain of the printer. The motor drives the print head through a transmission chain, moving left and right on a cylindrical metal beam, spraying ink droplets onto the paper.
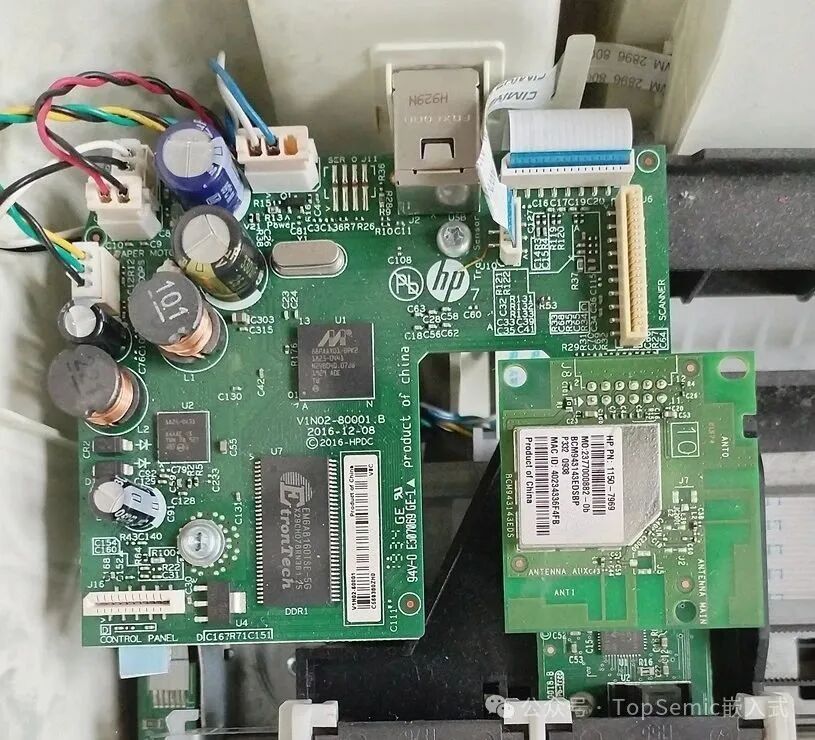
Looking closely at the main control board, the CPU is a MARVELL 88PAAX01-BPK2, and the cache is EM6AB160TSE-5G (32M x 16 bit DDR Synchronous DRAM). For external connections, it uses USB2.0 for wired connections and a Broadcom WIFI module SDGOB-1392 for wireless, supporting 802.11b/g/n. If you look closely, you will find that the label on the module indicates it is a Chinese product, and there are some Korean instructions on the back. This fully illustrates how closely global division of labor is today.
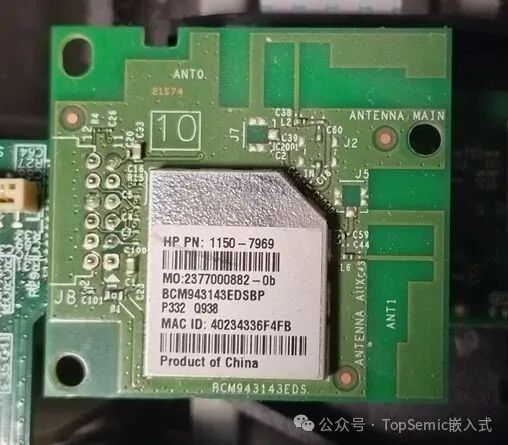
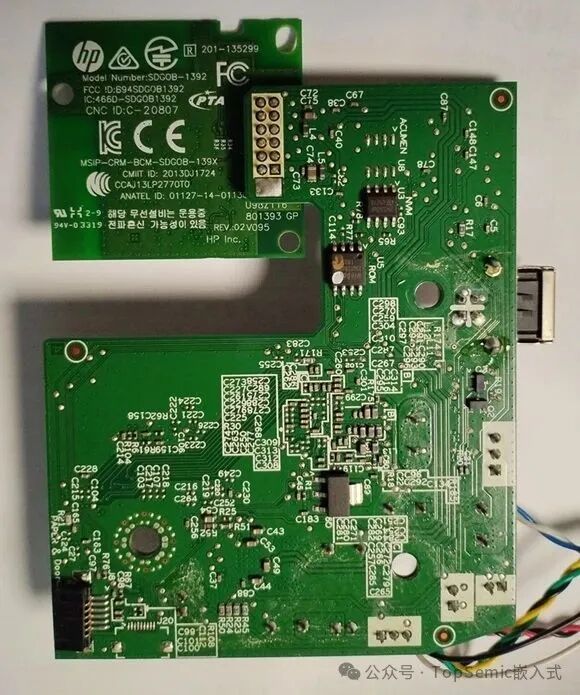
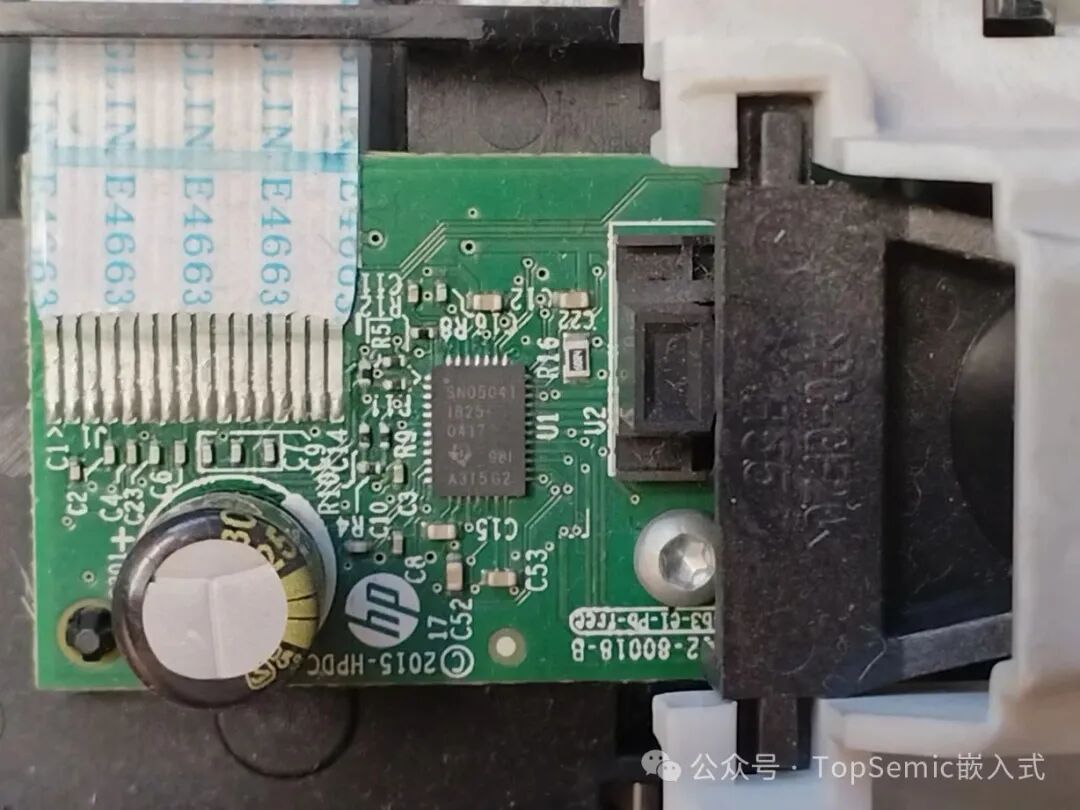
The print head driver uses a TI SN050411825, which is a relatively specialized chip.
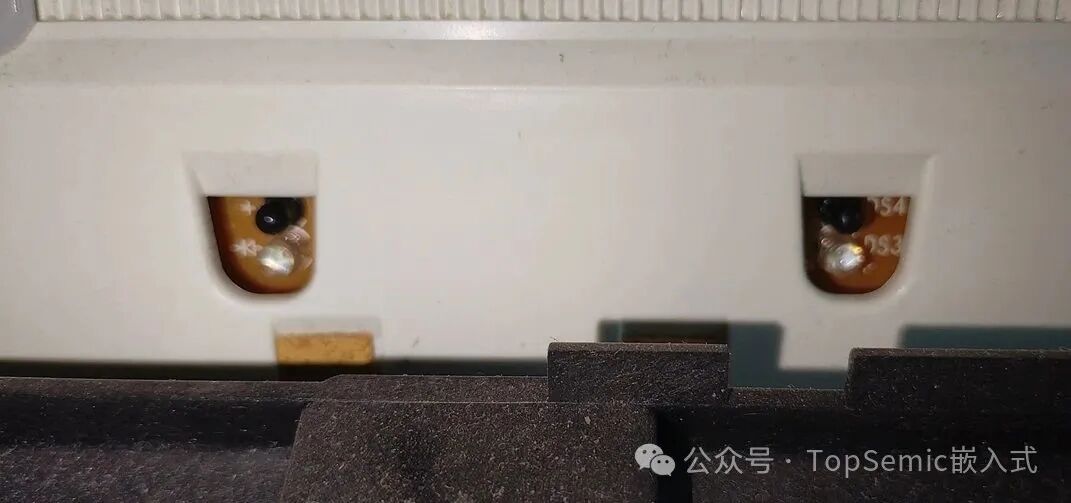
This is the photoelectric tube pair used for detecting paper absence.
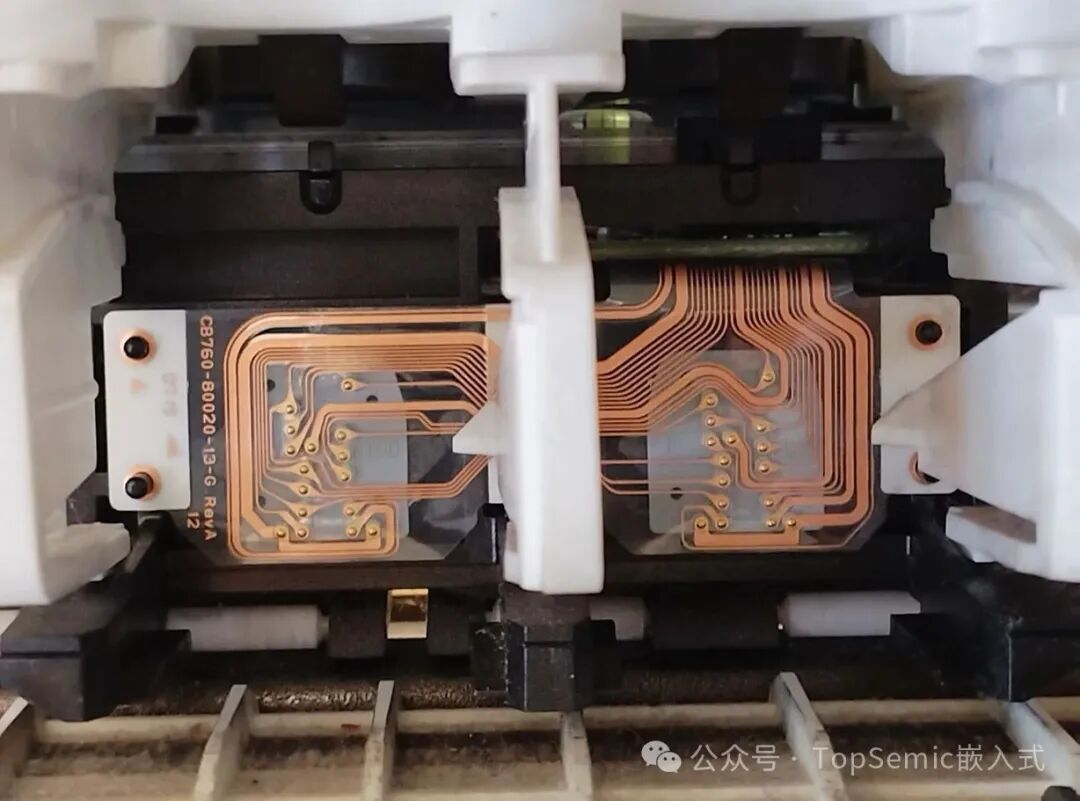
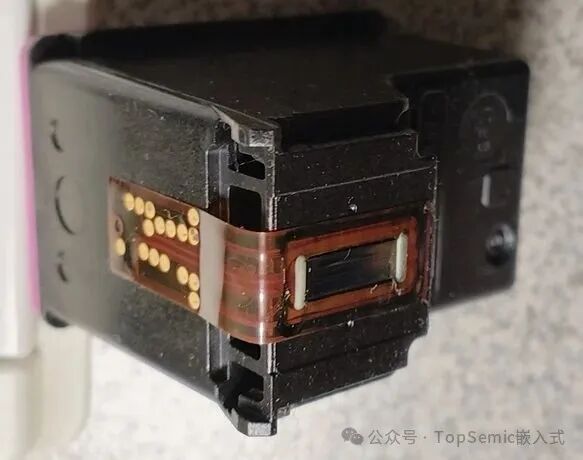
Below should be the core component of the printer, the print head. For ease of disassembly, the print head and the body are connected using a crimping method, which is designed to prevent the color and black print heads from being inserted in the wrong position.
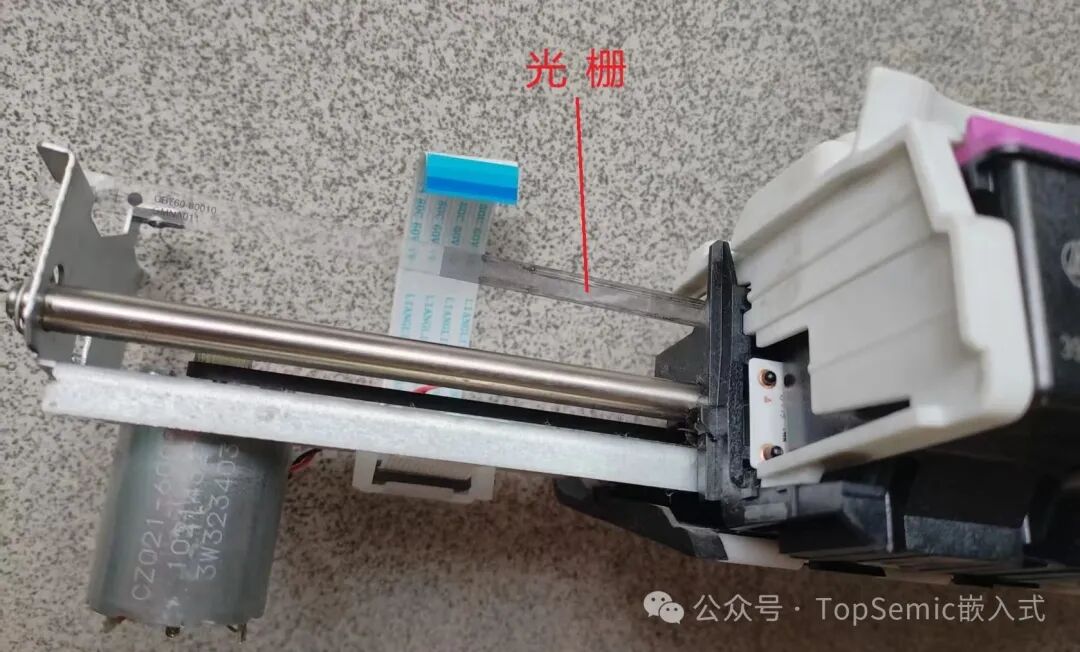
Unlike general consumer electronics, printers require very precise control of the print head position to achieve high-quality printing. Before disassembly, we thought we would need to use a servo motor or something similar. But to our surprise, as shown in the picture, this is just a regular brushed DC motor, right? So how is the position controlled accurately? The secret lies in this grating; this narrow transparent strip is engraved with dense vertical lines, allowing the print head to know its position through a photoelectric sensor as it moves. The model of this motor is CZ021-60025.
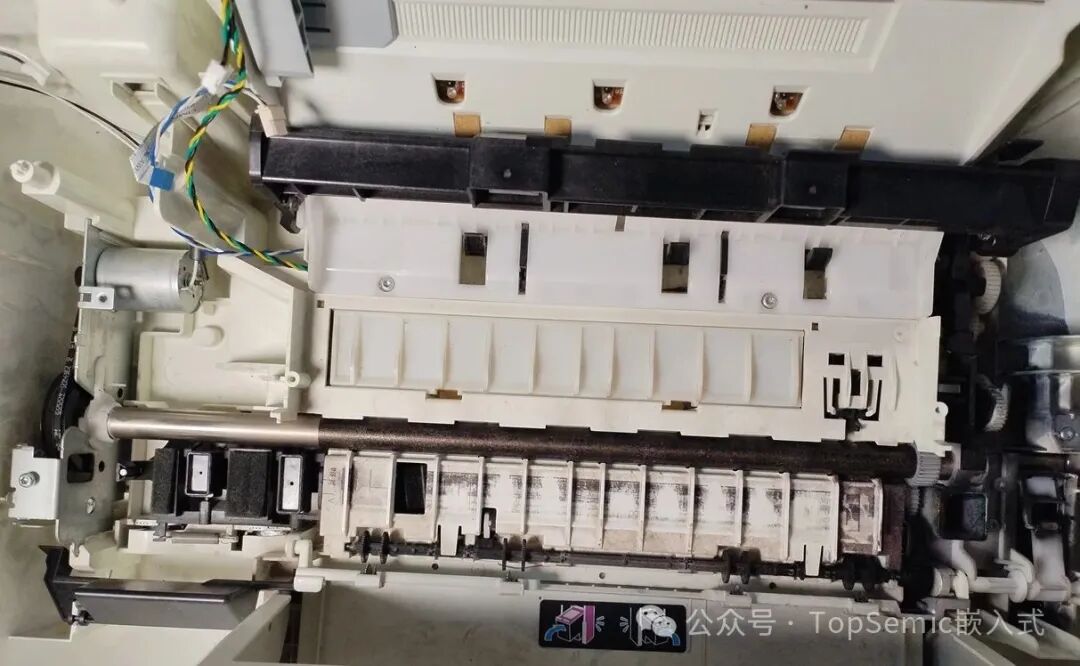
After removing the printing section, below is the control part for feeding paper. The black part of the cylindrical metal rod in the middle has been specially treated to have a rough surface, allowing it to drag the paper under the motor’s drive.
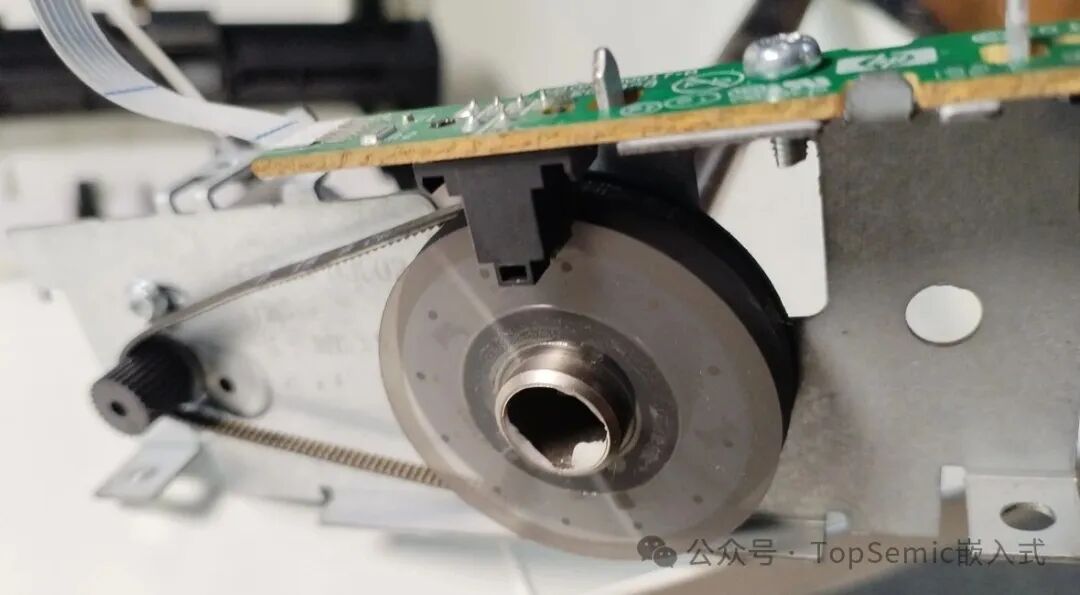
Similarly, to control the precision of paper feeding, a high-precision grating encoder is used.
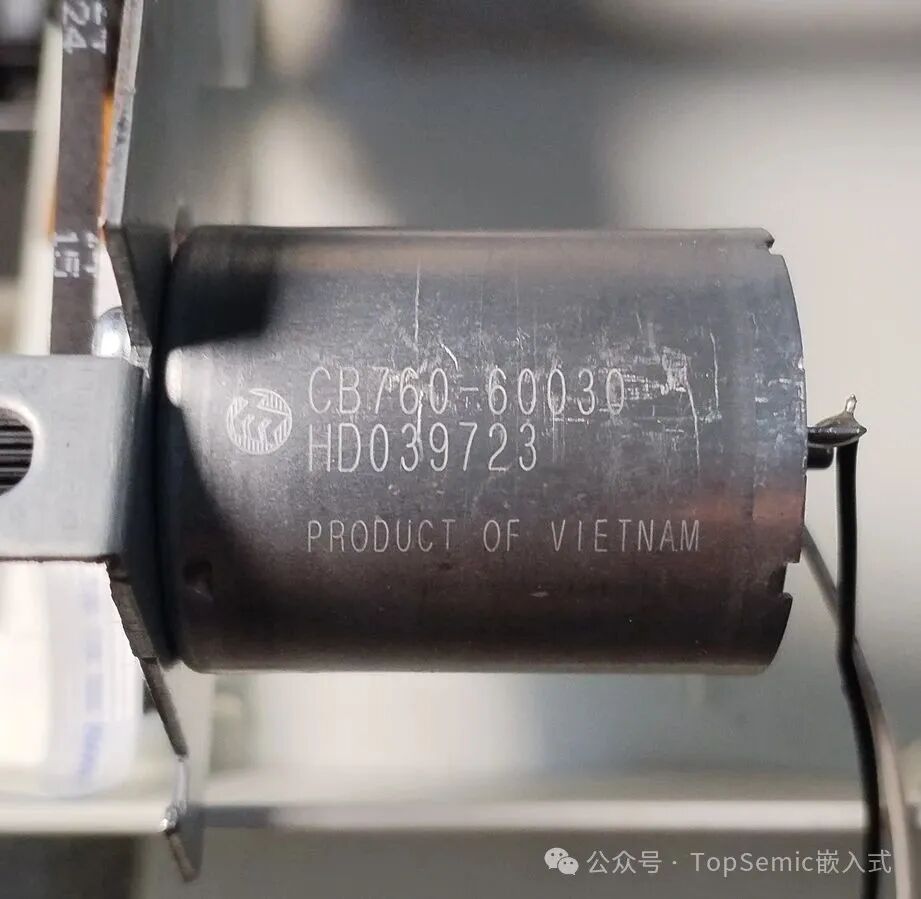
The motor is still a regular brushless DC motor. The logo looks like it’s from a company that has moved its factory to Vietnam?
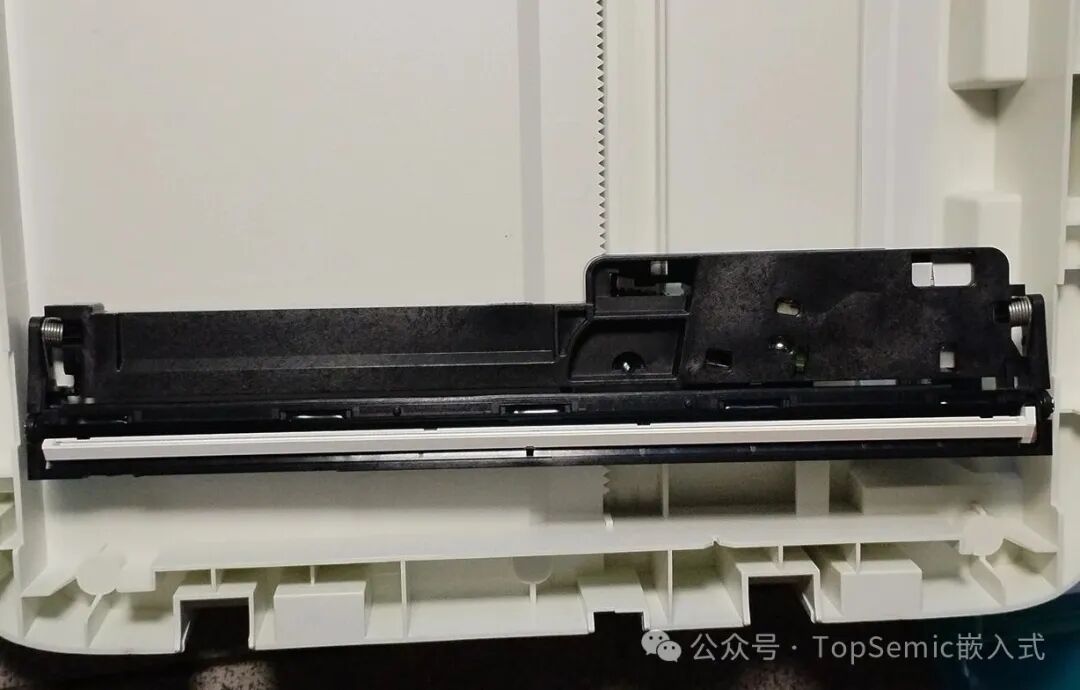
The scanning part of the printer also uses a small motor, model D9L8-60054.
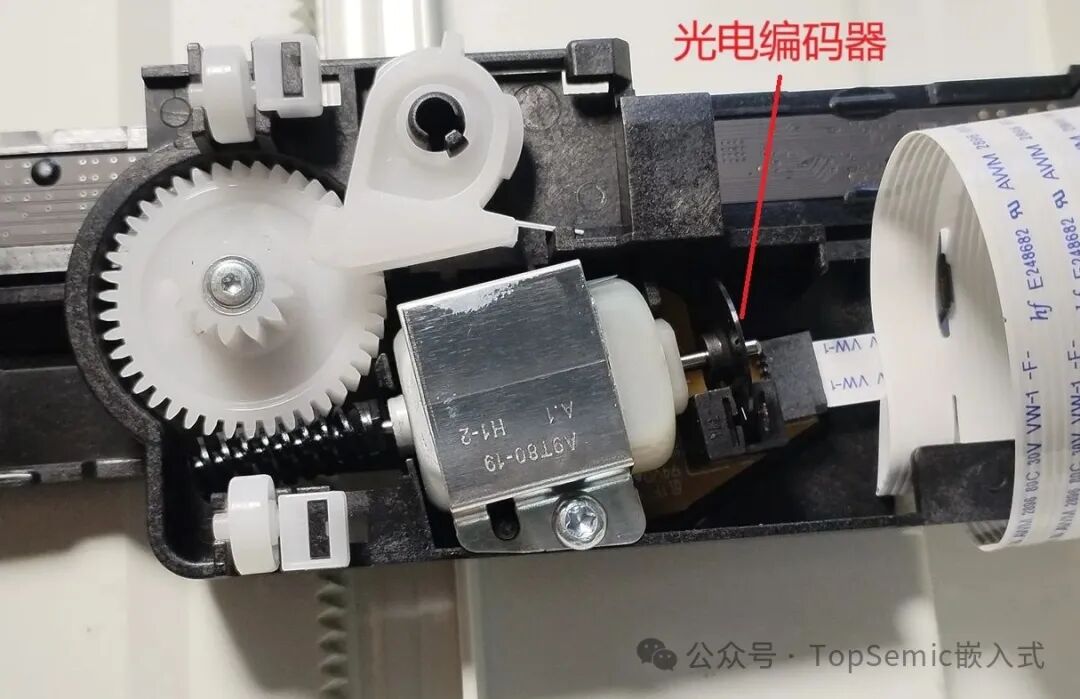
Overall, I used to think that printers were very high-tech products, but now looking at the motors, circuit boards, and even the inkjet print heads inside, we should be able to make them ourselves. There is really no need to idolize foreign brands; next time, consider trying a domestic one.
ENDPrevious Recommendations:
HR asks if you have a girlfriend? What do they want?
Can you find a job after embedded development training?
Technical points that cannot be avoided in embedded systems
Why are more and more people wanting to switch to embedded systems?
Essential underlying logic for embedded systems—The three musketeers of Linux system startup
 Jin Cheng Intelligent Douyin Account Video Account QR Code