❝
This article details the complete process of successfully installing and running macOS Catalina in an Ubuntu 24.04 LTS environment, based on the QEMU/KVM and macOS-Simple-KVM projects. The focus is not on repeating the project documentation but on analyzing the key issues encountered during the actual setup and their solutions.
1. Basic Environment Preparation and Permission Configuration
The goal is to enable hardware acceleration for QEMU and ensure the user has the necessary permissions.
- Install the necessary components:
sudo apt update
sudo apt install qemu-kvm qemu-utils virt-manager libvirt-daemon-system bridge-utils
This command group installs QEMU, KVM, virtualization management tools, and the Libvirt daemon.
- Key step: Configure user permissions · Issue: If the current user is not in the kvm group, subsequent operations will fail due to inability to access /dev/kvm, causing the virtual machine to only use the inefficient TCG emulation mode. · Solution:
sudo usermod -a -G kvm $USERAfter executing this, you must log out or restart the system for the configuration to take effect. This step is fundamental to ensuring virtual machine performance.
2. Project Acquisition and Resource Preparation
We use the macOS-Simple-KVM project as a base, which provides the necessary boot firmware and configuration scripts.
- Clone the project repository:
git clone https://github.com/foxlet/macOS-Simple-KVM.git cd macOS-Simple-KVM - Obtain the system image: Running ./jumpstart.sh will automatically download the macOS BaseSystem recovery image. If the network environment is poor, you can also manually download the corresponding BaseSystem.img and place it in the project directory. Note that the script logic may not intelligently recognize existing image files, sometimes requiring manual intervention.
3. Creating Virtual Disks and Specification Traps
Creating a storage disk for the virtual machine is a prerequisite for installing the system.
· Correct command:
qemu-img create -f qcow2 macOS.qcow2 64G
· Common trap: The suffix of the disk capacity parameter must strictly follow the specifications. Using 64GB will result in an Invalid image size error. The correct suffixes are k, M, G, T, etc., corresponding to kilobytes, megabytes, gigabytes, etc. Here, 64G must be used.
4. Key Technical Challenges and Solutions During Installation
This is the most challenging part of the entire process, where most failures occur.
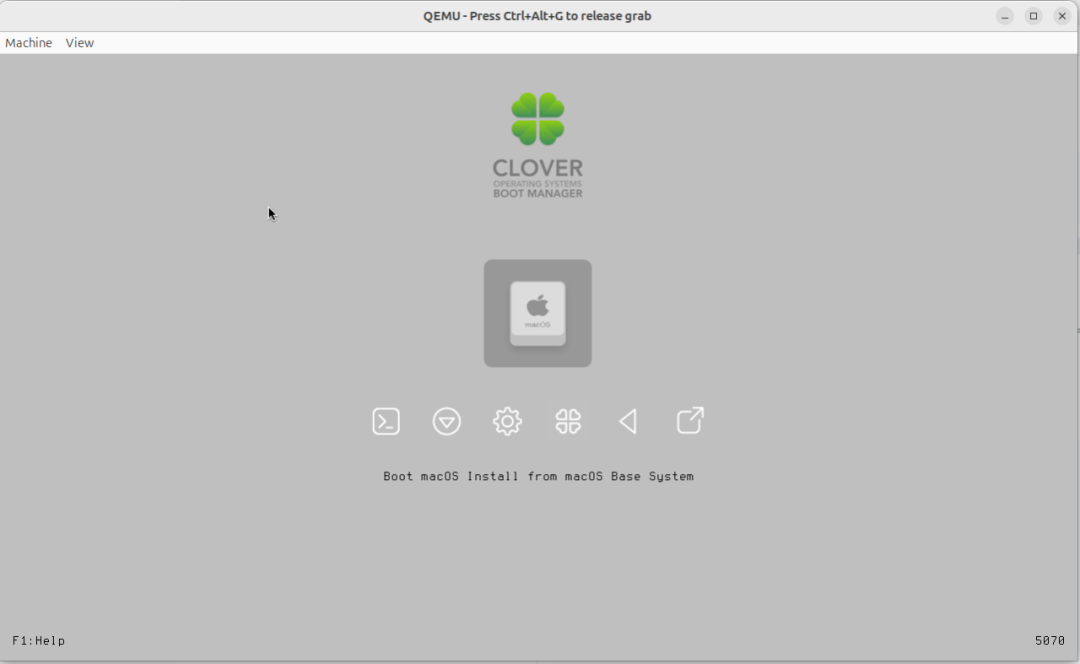
- Start the installation environment: Execute ./basic.sh to start the virtual machine and enter the macOS recovery environment.
- Prepare the system disk: In the recovery environment, open “Disk Utility” and erase the QEMU HARDDISK to APFS format, suggesting the name Macintosh HD.
- Challenge 1: Input device control failure · Phenomenon: The mouse pointer in the virtual machine is difficult to control accurately, clicks are unresponsive, or slight movements cause it to “escape” from the virtual machine window. · Solution: Edit the basic.sh script to add the -device usb-tablet parameter to the QEMU startup command. This device provides absolute coordinate positioning, perfectly solving the mouse capture issue. Entering full-screen mode after startup (default shortcut Ctrl + Alt + F) can also effectively improve the operating experience.
- Challenge 2: Graphical installation process interruption · Phenomenon: On the software license agreement screen, the “Agree” button cannot be clicked, or the installation process freezes after starting. This is a typical failure caused by compatibility issues with the graphical installer. · Ultimate solution: Abandon the unreliable graphical interface and switch to the underlying command-line installation tool. · Open “Terminal” from the “Utilities” menu. · Execute the following command (using Catalina as an example):
"/Volumes/Image Volume/Install macOS Catalina.app/Contents/Resources/startosinstall" --agreetolicense --volume "/Volumes/Macintosh HD" --nointeraction
 · Parameter analysis:
   · --agreetolicense: Automatically accept the license agreement, bypassing the unclickable button.
   · --volume: Specify the installation target volume.
   · --nointeraction: Execute a non-interactive installation without manual intervention.
     This command will directly start the system installation process, during which the virtual machine will automatically restart several times until it enters the system setup wizard.
5. Necessary Configurations After Installation
- Correct the boot item: After installation is complete, be sure to edit the basic.sh script to remove or comment out the -cdrom parameter line used to mount the installation image. This is to ensure that the virtual machine boots from the hard disk next time, rather than re-entering the installation program.
- Address system version limitations: The successfully installed macOS version (e.g., Catalina 10.15.7) may be unable to run newer software (e.g., WeChat) that requires a higher system version due to its age. This limitation stems from Apple’s ecosystem strategy and is unrelated to virtualization technology itself. The solution is to check and install system updates through “System Preferences” within the virtual machine or look for historical versions of the software.
Result Display
-
After starting ./basic.sh, wait for the display
-
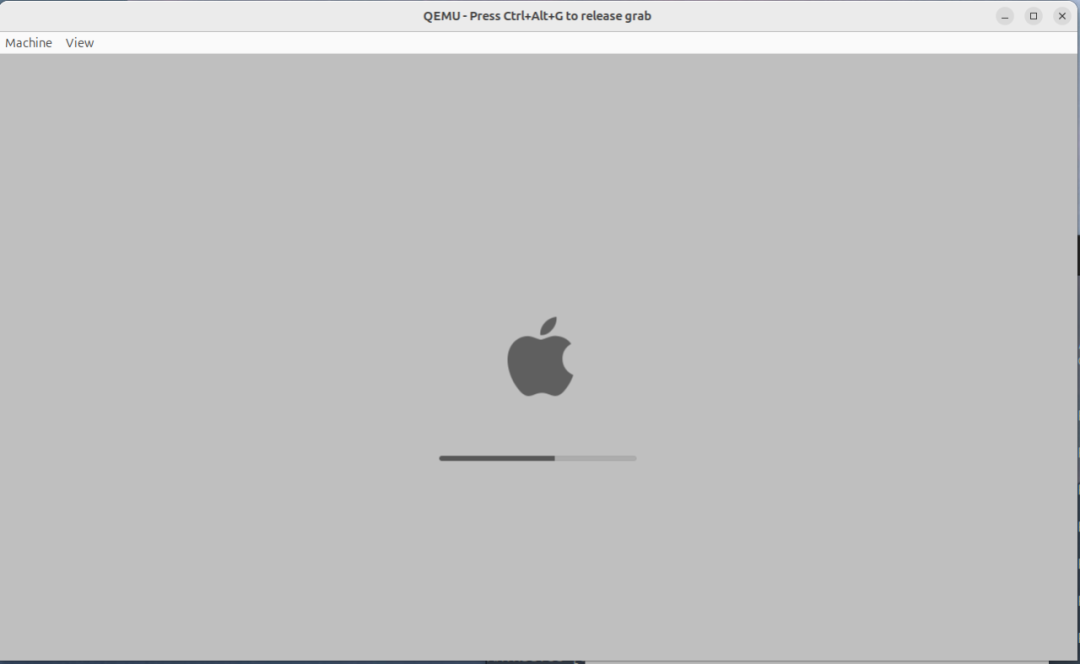
Installing macOS …
-
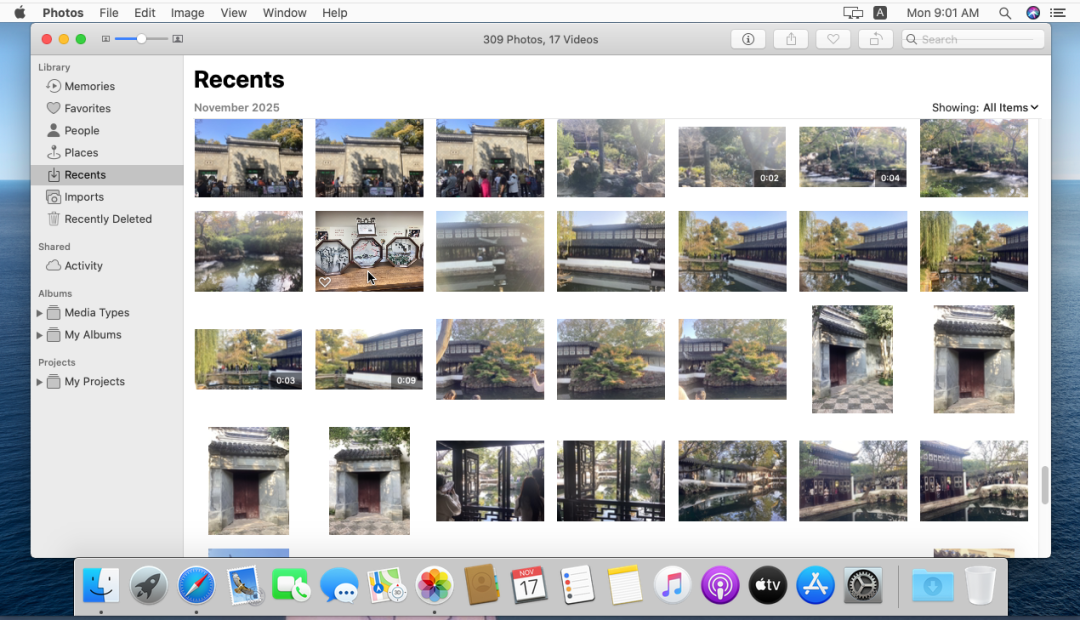
Using macOS to view images from iCloud Sync
Conclusion
I hope this summary, which condenses practical experience, can illuminate the path for future pioneers.
Maythisjourney,ultimatelyreachthestars