Chapter 1 Menu Bar Introduction
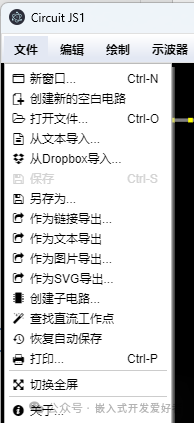
1.1File
You can create a blank circuit, open a saved circuit, import a circuit, and save the current circuit in various formats.
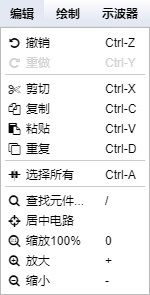
1.2Edit
Shortcut keys for copy, paste, undo, select all, etc.
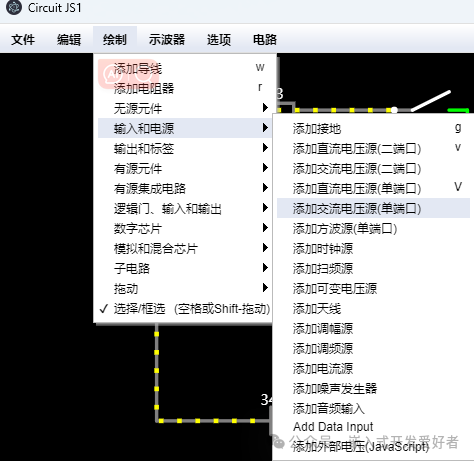
1.3Draw
This is the most commonly used menu for drawing circuits, containing various circuit components that can be dragged and dropped for use. Common components also have shortcut keys.
1.4Oscilloscope
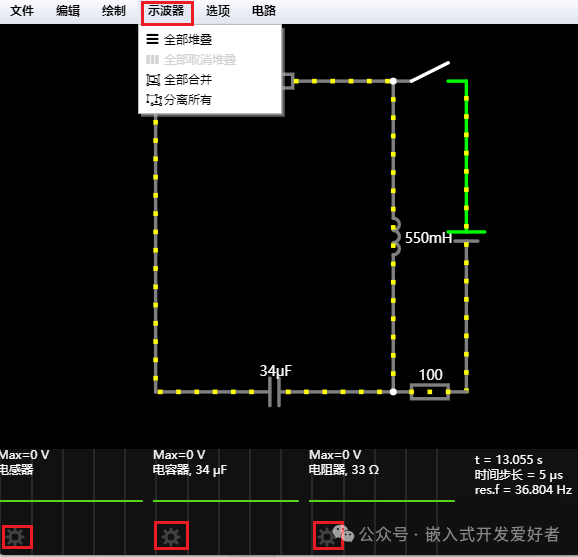
This is only used to adjust the display of the bottom waveform. More adjustments to the waveform settings require clicking the gear settings icon below the waveform.
1.5Options
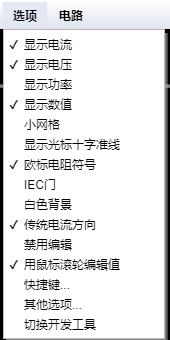
Set display parameters according to needs
1.6Circuit
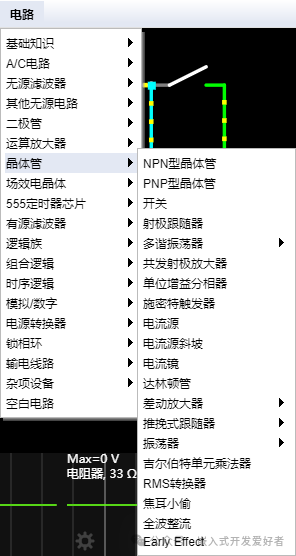
This tab mainly stores typical circuit examples, which can be used to learn about analog/digital circuits, achieving twice the result with half the effort.
Chapter 2Operations
The operations of CircuitJS are mostly completed through mouse clicks and drags.
2.1Add Components
You can add the required components through the drawing tab. Of course, common components have corresponding shortcut keys, please remember the following shortcut keys.
|
Resistor |
R |
|
Capacitor |
C |
|
Inductor |
L |
|
Switch |
S |
|
Ground |
G |
|
DC Voltage Source |
v |
|
Wire |
w |
|
Text Annotation |
t |
2.2Change Component Parameters
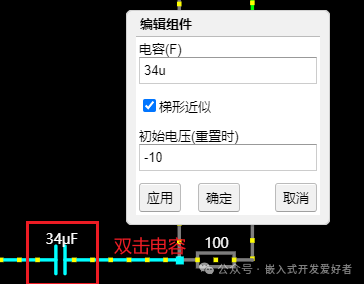
To change component parameters, right-click on the component to select edit or double-click the component to pop up the parameter window.
2.3Move Components
Press the space bar à Click on the component and hold à Drag
2.4Wiring
Press shortcut key w à Drag to wire
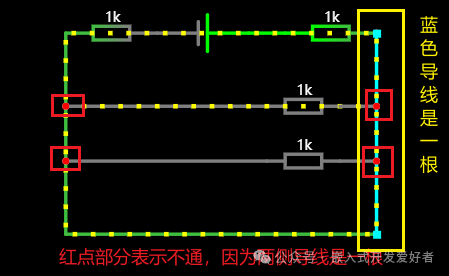
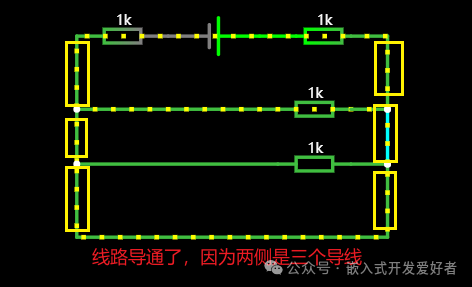
Note: Each connection node must be segmented; you cannot connect directly, otherwise the software will determine it as not connected.
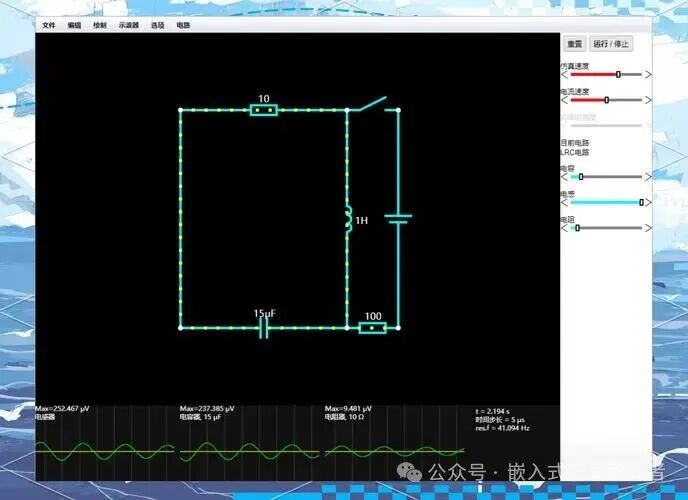
2.5Simulation and Reset
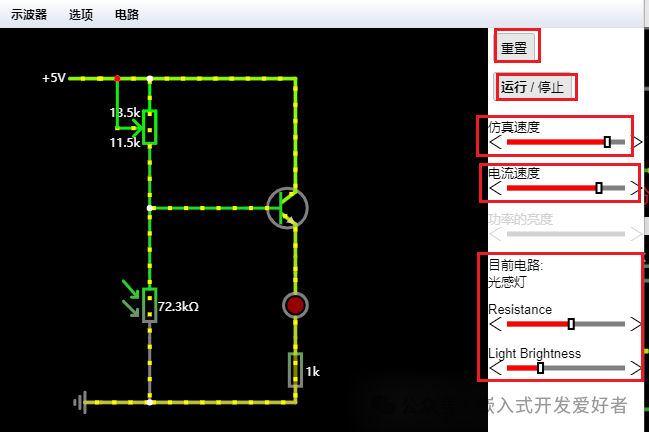
Run/Stop: Start and end simulation
Reset: Reset the circuit to the initial state and re-simulate
Simulation Speed: Adjust the running speed of the simulation circuit
Current Speed: Adjust the speed of the current
Current Circuit: Adjust the parameters of variable components in the current circuit
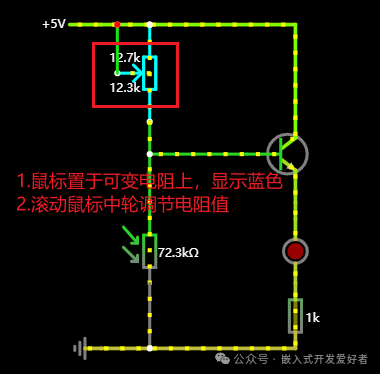
2.6Adjust the Resistance Value of the Variable Resistor
1)In the state of simulation, hover the mouse over the adjustable resistor, which will display in blue
2)Scroll the mouse wheel to adjust the resistance value
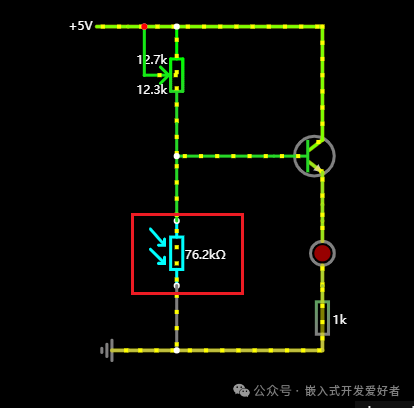
2.7Adjust the Light-Sensitive Resistor Value
1)In the state of simulation, hover the mouse over the light-sensitive resistor, which will display in blue
2)Scroll the mouse wheel to adjust the light-sensitive resistor’s resistance value