(Personal Management System)
Supports features such as encrypted journaling, expense tracking, resume updates and downloads, and file management.
📊 Tech Stack
Frontend:React 18 + TypeScript + Vite + Tailwind CSS + shadcn/ui
Backend: Node.js + Express + MySQL + JWT
Storage: MySQL database + IndexedDB local storage
Page Display
============ Related Pages ============
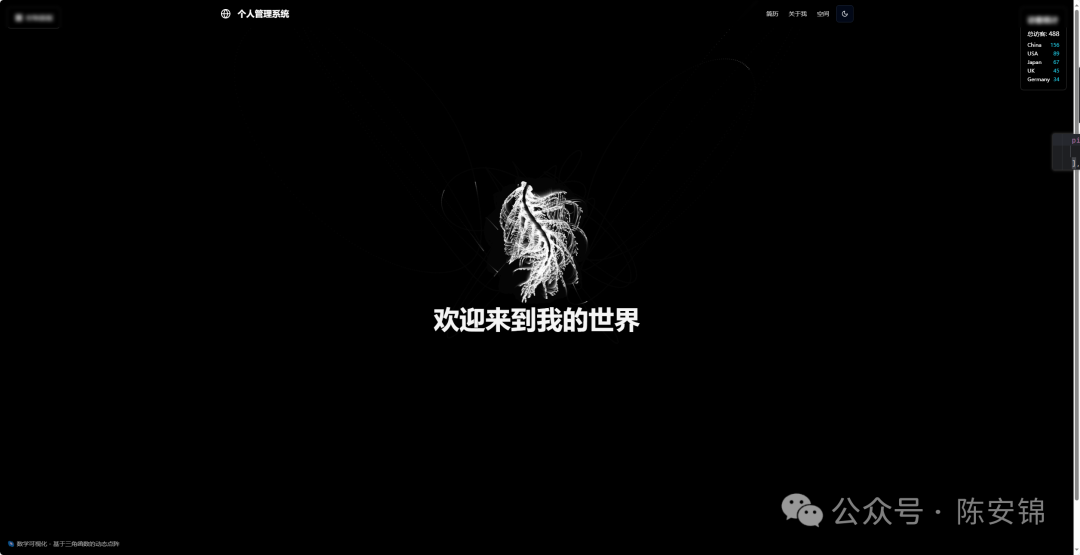
Home
The background image is a dynamic dot matrix based on trigonometric functions.
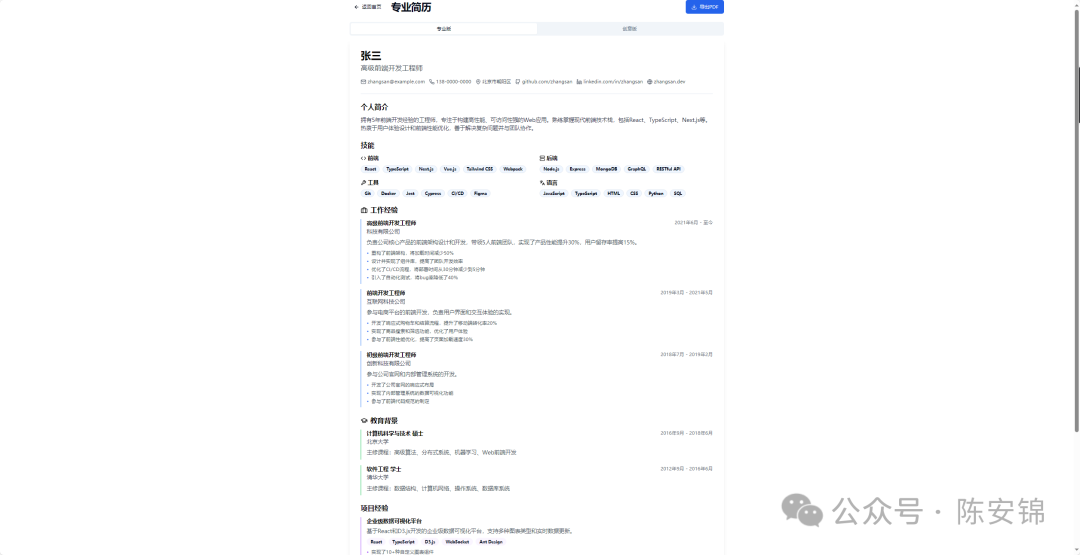
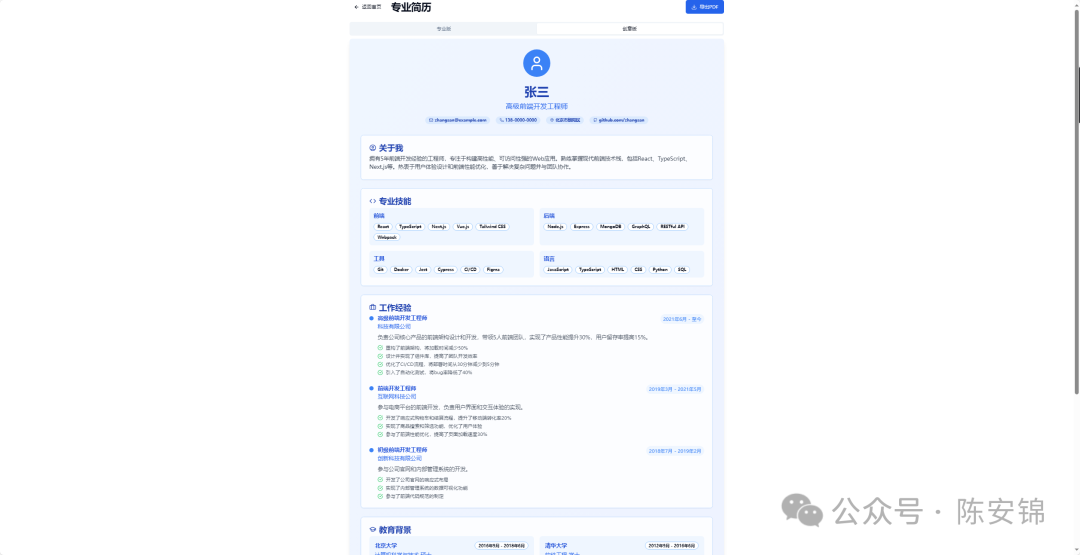
Resume
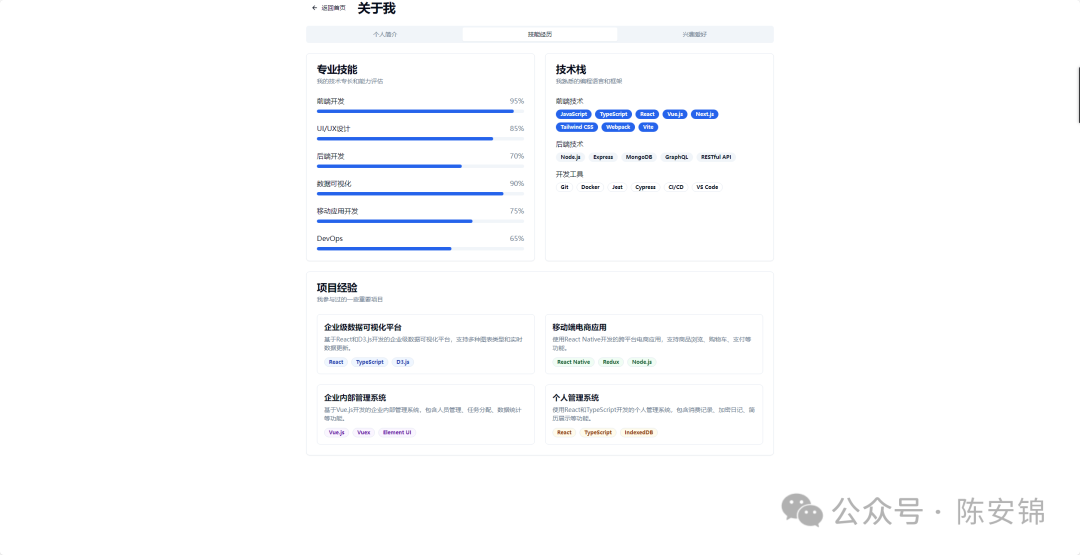
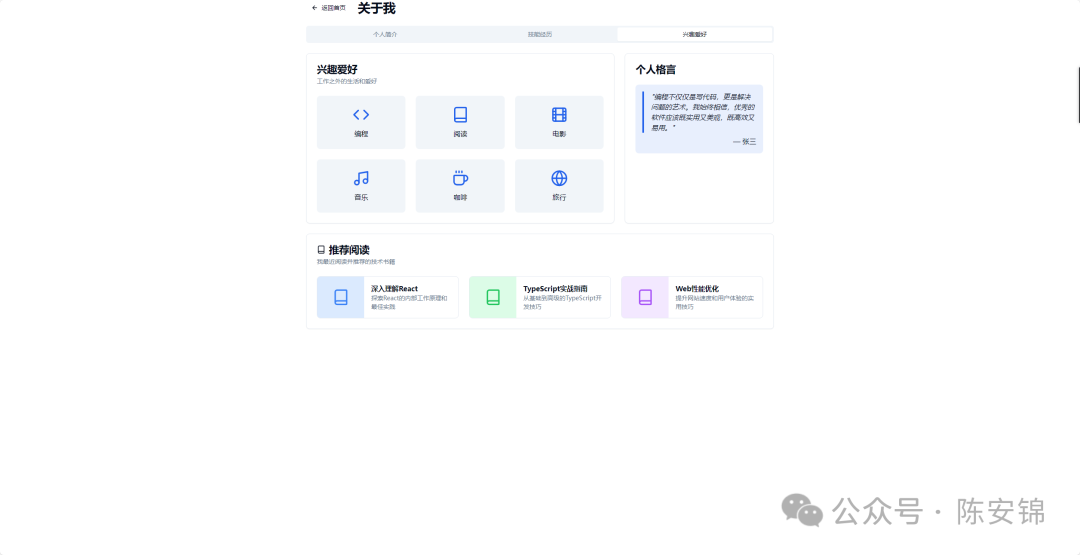
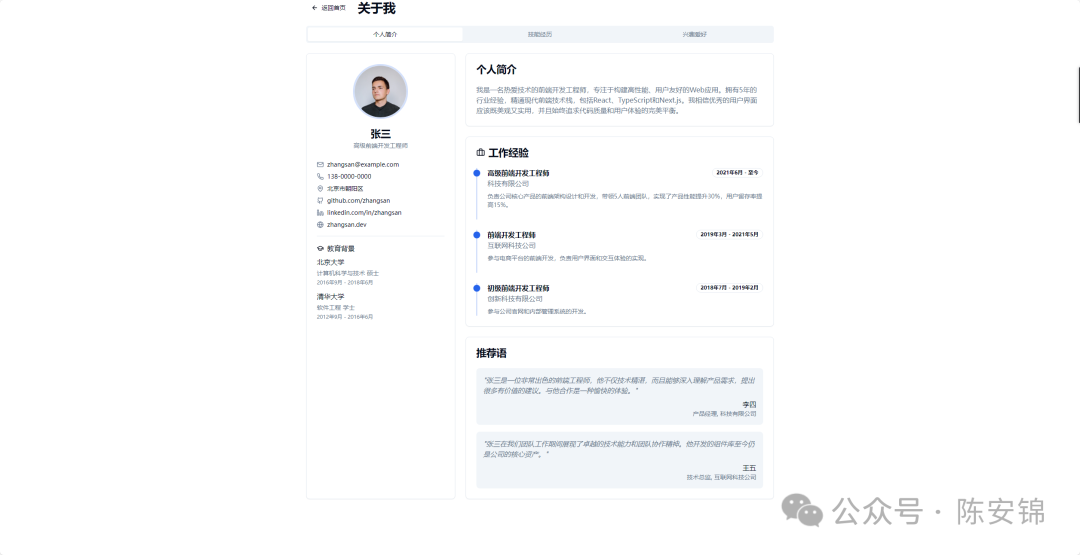
About Me
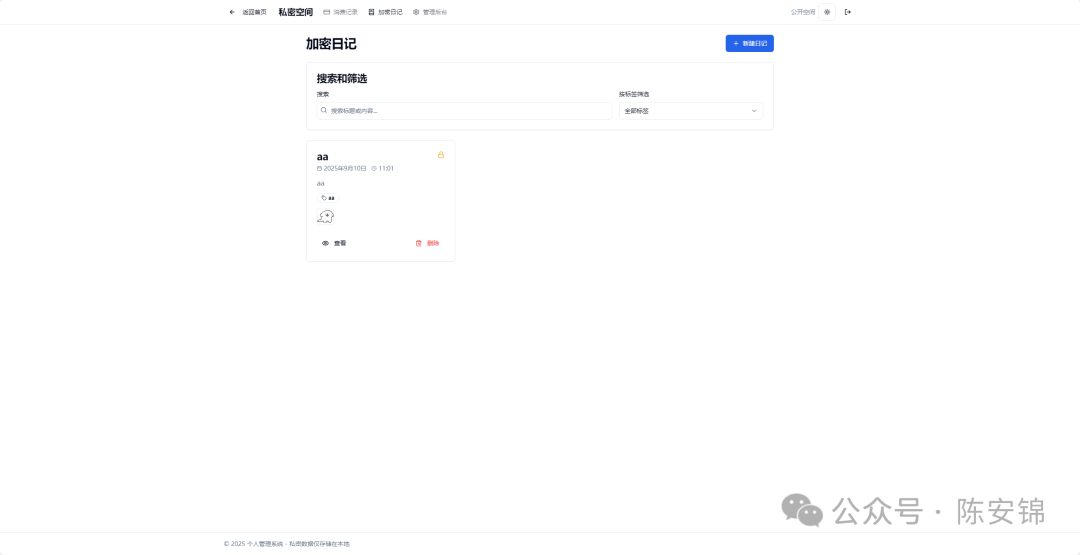
Personal Journal
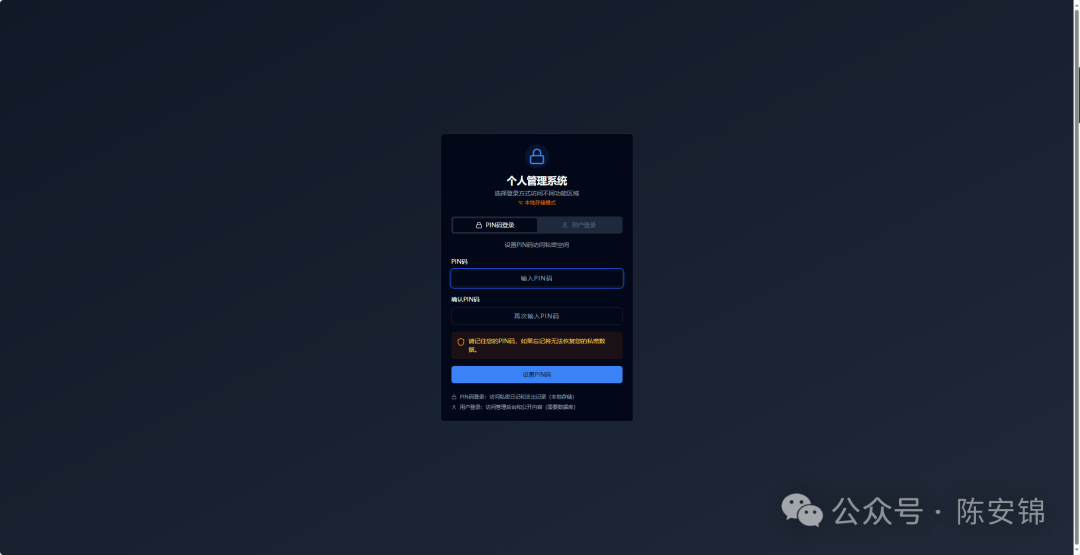
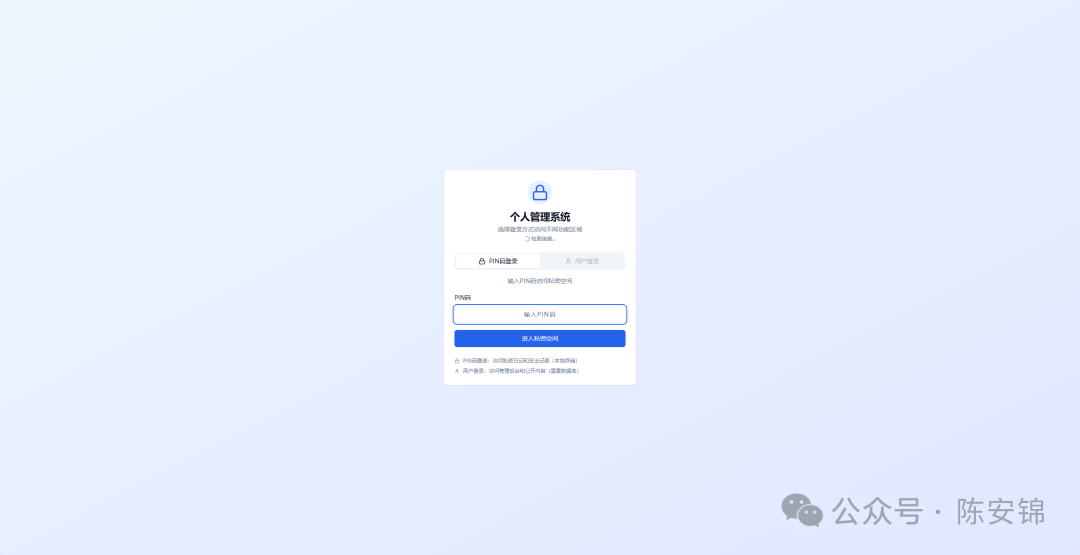

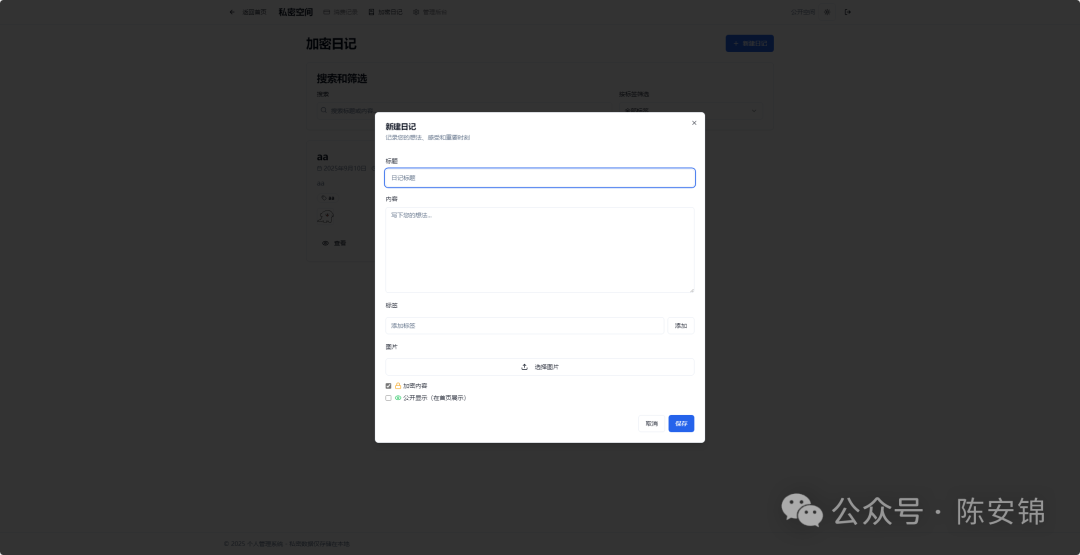
Create New Journal
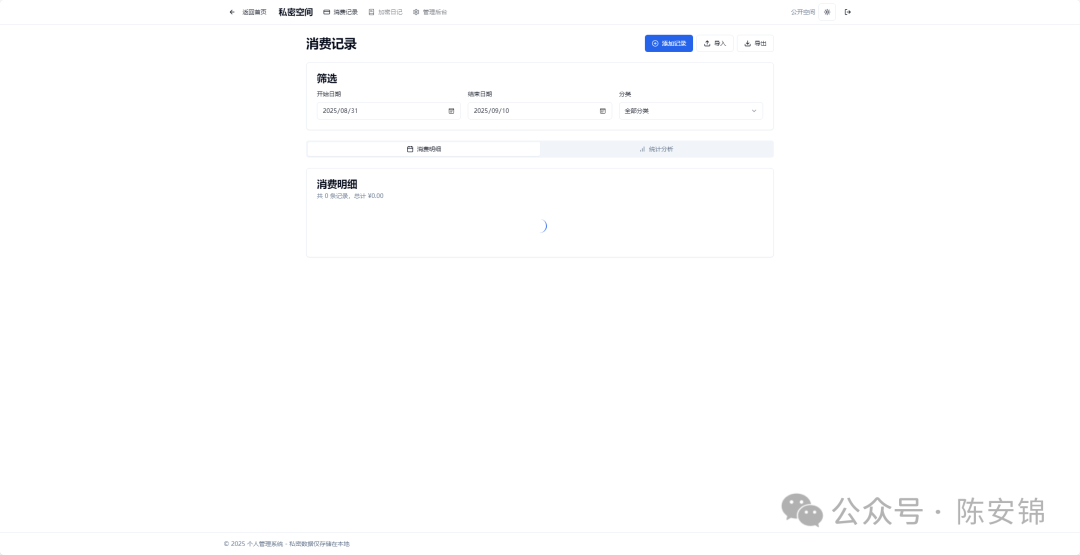
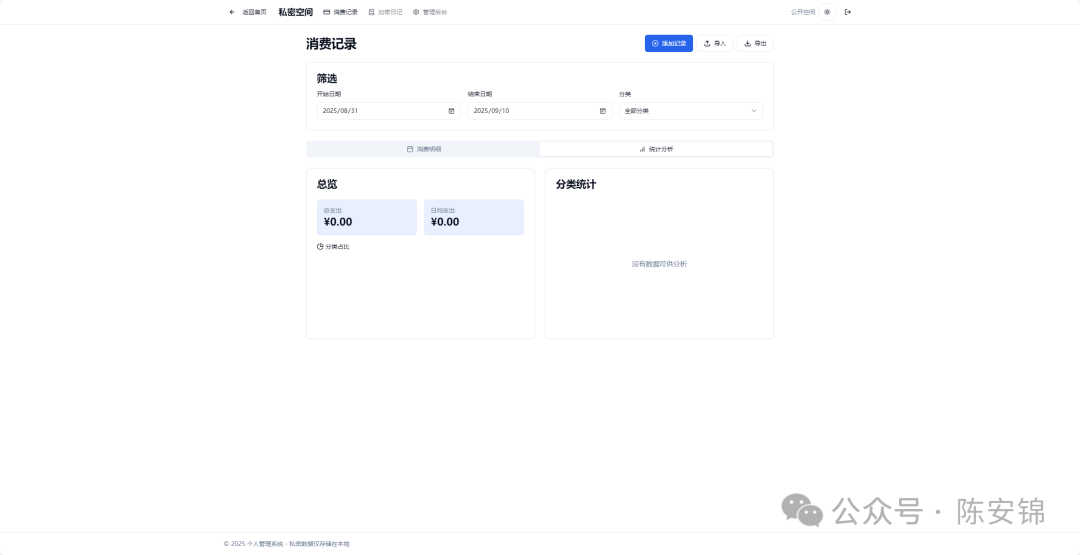
Expense Records
Add Expense Record
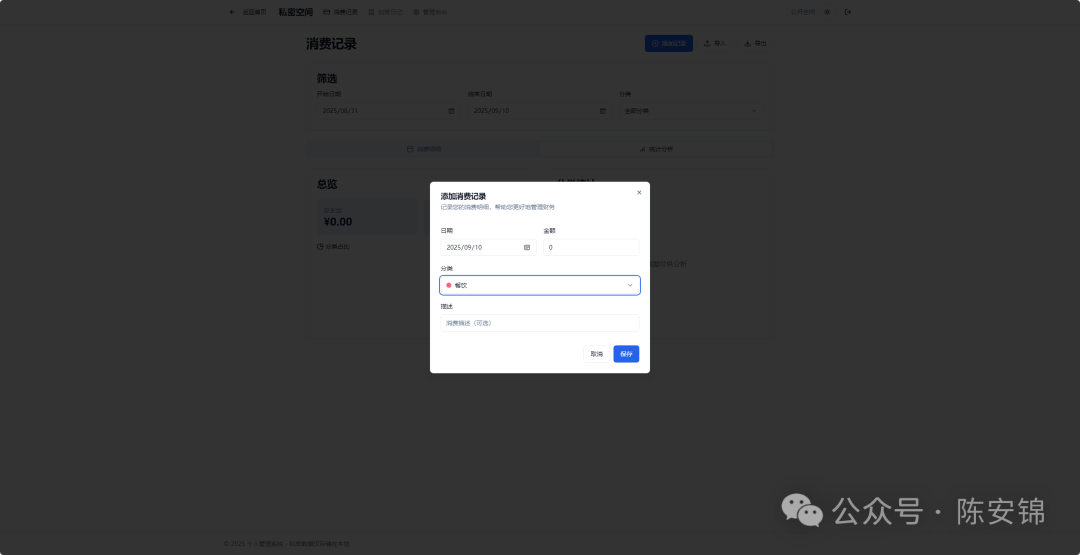
Import Records
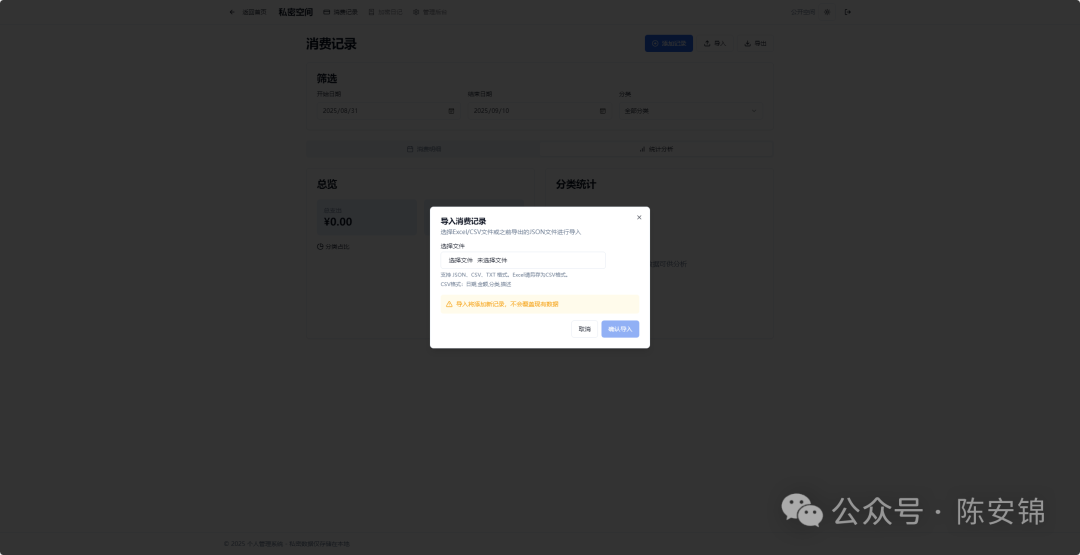
🚀 Main Features
Core Functions
- • Encrypted Journal: A personal journaling system that supports end-to-end encryption
- • Expense Tracking: Detailed income and expenditure records and statistical analysis
- • File Management: Secure file upload, download, and management
- • User Authentication: Supports quick login with PIN and a complete user account system
- • Responsive Design: Adapts to desktop and mobile devices
Technical Features
- • Dual Mode Operation: Supports pure frontend mode (IndexedDB) and full mode (MySQL + API)
- • Data Encryption: Client-side encryption ensures data security
- • Modern UI: A modern interface based on Tailwind CSS and shadcn/ui
- • TypeScript: Full type safety support
📋 System Requirements
Basic Requirements
- • Node.js 16+
- • npm or yarn
Additional Requirements for Full Mode
- • MySQL 5.7+ or 8.0+
- • At least 1GB of available disk space
🛠️ Quick Start
Method 1: Use Setup Script (Recommended)
For Windows Users:
# Execute in the project root directory
.\scripts\setup.ps1
For Linux/Mac Users:
# Execute in the project root directory
chmod +x scripts/setup.sh
./scripts/setup.sh
Method 2: Manual Installation
Frontend Mode Only (Local Storage)
# 1. Install dependencies
npm install

# 2. Start the development server
npm run dev

# Access http://localhost:5173
Full Mode (Database Support)
# 1. Install frontend dependencies
npm install

# 2. Configure the backend
cd server
npm install

# 3. Configure environment variables
cp .env.example .env
# Edit the .env file to configure database connection information

# 4. Initialize the database
npm run init-db

# 5. Start the backend service
npm run dev

# 6. In a new terminal, start the frontend (return to the project root directory)
cd ..
npm run dev
🔧 Configuration Instructions
Environment Variable Configuration
Configure the following variables in <span>server/.env</span> file:
# Database Configuration
DB_HOST=localhost
DB_USER=root
DB_PASSWORD=your_password
DB_NAME=personal_management_db

# JWT Secret (use a strong key in production)
JWT_SECRET=your-super-secret-jwt-key

# Server Configuration
PORT=3001
NODE_ENV=development

# Frontend URL (CORS configuration)
FRONTEND_URL=http://localhost:5173
Default Account
A default admin account will be created after initializing full mode:
- • Username:
<span>admin</span> - • Password:
<span>admin123456</span>
⚠️** Please change the default password immediately in production! **
📱 Functional Modules
1. Authentication System
- • PIN Code Login: Quick access to private space (local verification)
- • User Login: Complete user account system (database verification)
- • Automatic Switching: Automatically selects authentication method based on backend availability
2. Private Space
- • Encrypted Journal:
- • Client-side AES encryption
- • Supports tags, mood, and weather records
- • Image attachment support
- • Search and filter functionality
- • Expense Tracking:
- • Income and expenditure record management
- • Category statistics
- • Chart visualization
- • Data import and export
3. Management Backend
- • User Management: Creation, editing, and deletion of user accounts
- • System Statistics: Data overview and usage statistics
- • File Management: Management and cleanup of uploaded files
4. File System
- • Secure Upload: File type validation and size limits
- • Association Management: Association of files with journals and expense records
- • Download Protection: User permission verification
🏗️ Project Architecture
Frontend Architecture
src/
├── components/          # Reusable components
│   ├── ui/             # Basic UI components
│   └── ...
├── pages/              # Page components
│   ├── public/         # Public pages
│   ├── private/        # Private space pages
│   └── admin/          # Management backend pages
├── services/           # Service layer
│   ├── auth-service.ts      # Authentication service
│   ├── database-service.ts  # Database API service
│   ├── indexed-db-service.ts # Local storage service
│   └── data-adapter.ts      # Data adapter
├── hooks/              # Custom Hooks
├── lib/                # Utility library
└── layouts/            # Layout components
Backend Architecture
server/
├── server.js           # Main server file
├── scripts/            # Database scripts
│   └── init-database.js
├── uploads/            # File upload directory
└── package.json        # Backend dependencies
🔒 Security Features
Data Encryption
- • Client-side Encryption: Sensitive data is encrypted using AES on the client side
- • Key Management: Encryption keys are stored locally, inaccessible to the server
- • Transport Security: HTTPS transmission (in production)
Access Control
- • JWT Authentication: Stateless authentication based on tokens
- • Permission Separation: Separation of permissions for private space and management backend
- • Session Management: Automatic expiration and refresh mechanism
File Security
- • Type Validation: Strict file type checks
- • Size Limits: Prevent large file attacks
- • Path Protection: Prevent directory traversal attacks
🚀 Deployment Guide
Development Environment
Follow the instructions in the “Quick Start” section.
Production Environment
Frontend Deployment
# Build production version
npm run build

# Deploy dist/ directory to static file server
Backend Deployment
# On the server
cd server
npm install --production

# Configure production environment variables
cp .env.example .env
# Edit .env to set production environment configuration

# Initialize the database
npm run init-db

# Start using PM2 (recommended)
npm install -g pm2
pm2 start server.js --name "personal-management-api"
Nginx Configuration Example
server {
    listen 80;
    server_name your-domain.com;

    # Frontend static files
    location / {
        root /path/to/dist;
        try_files $uri $uri/ /index.html;
    }

    # API proxy
    location /api/ {
        proxy_pass http://localhost:3001;
        proxy_set_header Host $host;
        proxy_set_header X-Real-IP $remote_addr;
    }
}
🔧 Development Guide
Adding New Features
- 1. Create components in the corresponding page directory
- 2. If data storage is needed, add corresponding methods in the data adapter
- 3. Update the routing configuration
- 4. Add necessary API endpoints (for full mode)
Using the Data Adapter
import { diaryAdapter, expenseAdapter } from '@/services/data-adapter'

// Automatically select data source (API or IndexedDB)
const entries = await diaryAdapter.getAllEntries()
const expenses = await expenseAdapter.getAllExpenses()
Custom Theme
Modify <span>src/globals.css</span> to customize theme colors using CSS variables.
🐛 Troubleshooting
Common Issues
Q: Unable to connect to the databaseA: Check if the MySQL service is running and confirm that the database configuration in <span>.env</span> file is correct.
Q: Frontend cannot access APIA: Ensure the backend service is running, check if the port is occupied, and confirm CORS configuration.
Q: File upload failedA: Check upload directory permissions and confirm that the file size does not exceed the limit.
Q: Encrypted journal cannot be decryptedA: Check if the encryption key exists in local storage and try resetting the key.
Log Viewing
# Backend logs
cd server
npm run dev  # Development mode will show detailed logs

# Or use PM2 to view production logs
pm2 logs personal-management-api
🙏 Acknowledgments
- • React – Frontend framework
- • Vite – Build tool
- • Tailwind CSS – CSS framework
- • shadcn/ui – UI component library
- • Express.js – Backend framework
- • MySQL – Database
Note: This is a personal project primarily for learning and personal use.
🔒 Security Features
Client-side AES encryption protects sensitive data
JWT stateless authentication mechanism
File upload security validation
SQL injection protection
CORS cross-origin protection
Permission separation control
📊 Tech Stack
Frontend:React 18 + TypeScript + Vite + Tailwind CSS + shadcn/ui
Backend: Node.js + Express + MySQL + JWT
Storage: MySQL database + IndexedDB local storage