In this tutorial, we will install Visual Studio Code (hereinafter referred to as VS Code), install C/C++ related plugins in VS Code, and configure VS Code to use the GCC C/C++ compiler (gcc/g++) and GDB debugger from MinGW-W64 to create programs that run on Windows. After configuring VS Code, you will be able to write, compile, run, and debug most C/C++ programs.
All reference materials for this tutorial are sourced from the Documentation for Visual Studio Code.
1. Software Download
1. Download the VS Code installer
Official download link:Visual Studio Code – Code Editing. Redefined
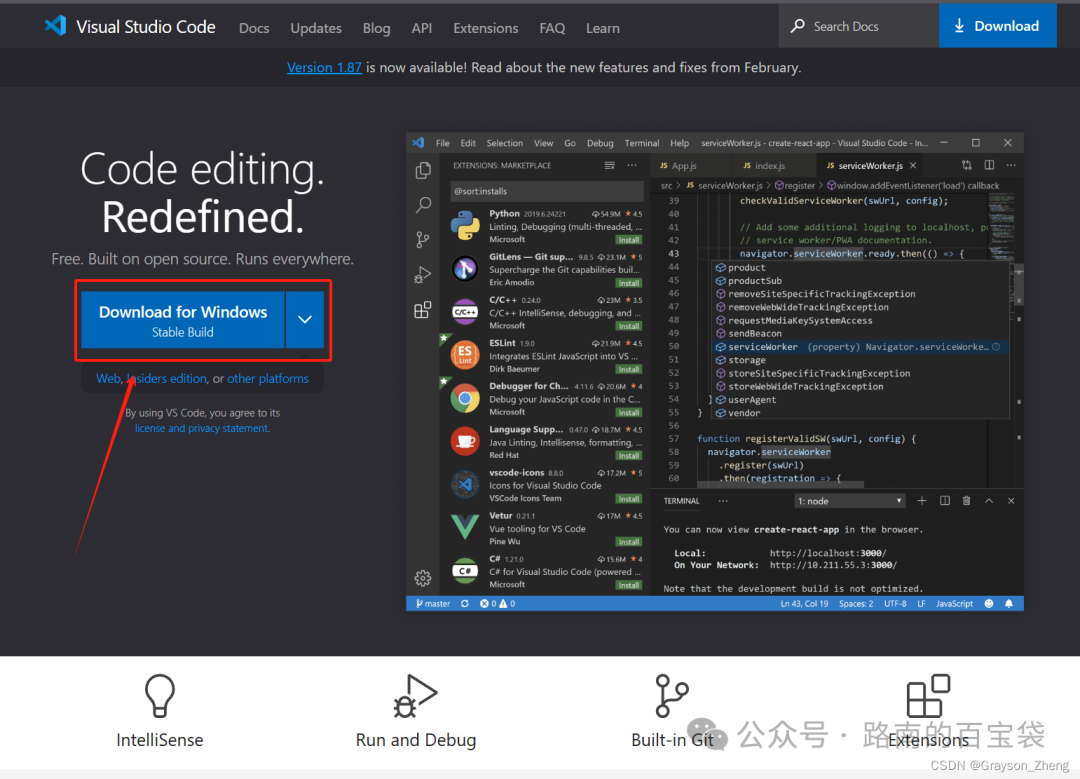
Simply click “Download for Windows” to start the download.
2. Download MinGW-W64
MinGW-W64 can be downloaded via its GitHub link (officially certified to avoid errors from the official website), link:Releases · msys2/msys2-installer (github.com)
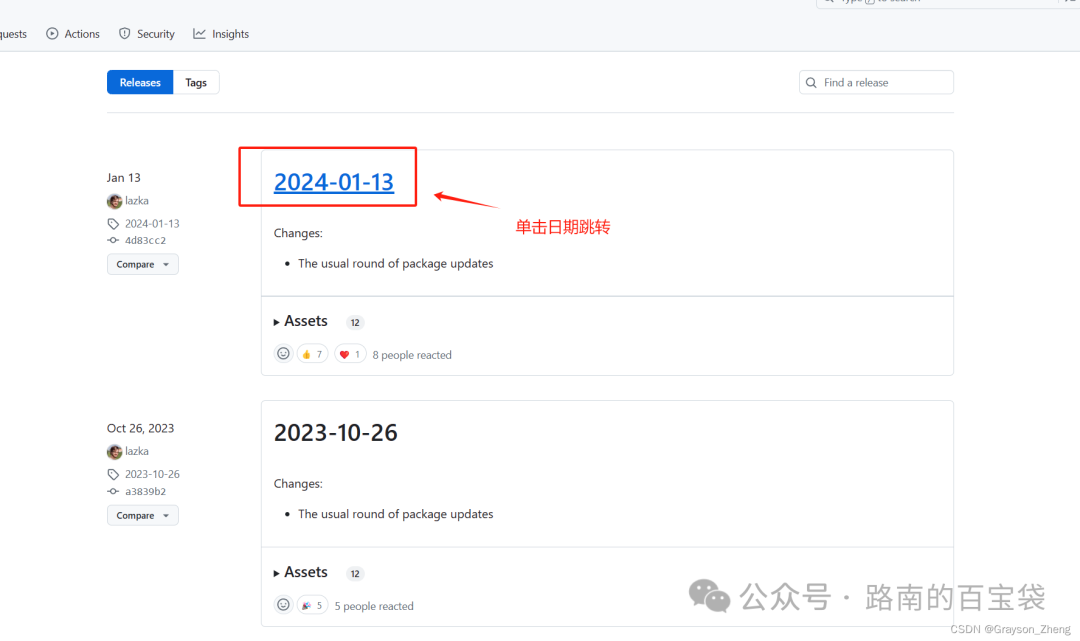
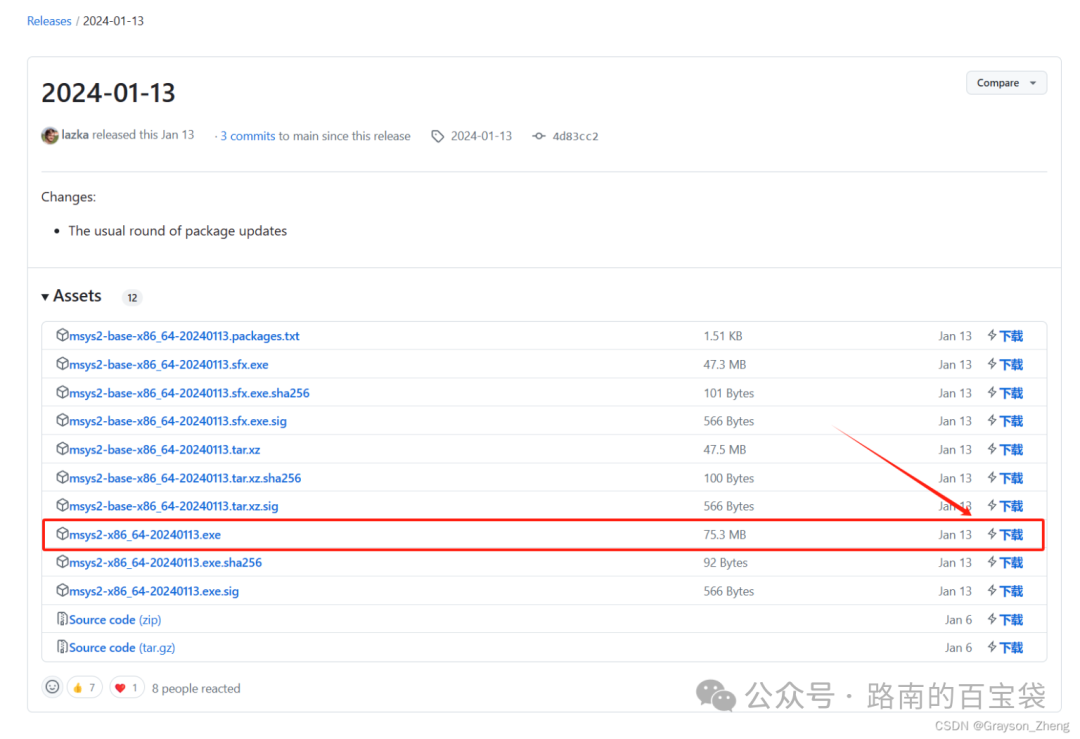
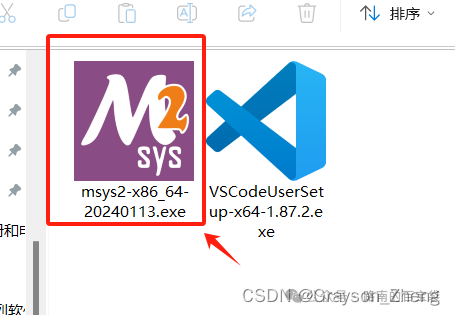
After entering the link, select the installation package prefixed with msys2-x86_64 (as of the writing of this tutorial, the latest version is msys2-x86_64-20240113.exe released on 2024-01-13), and click the download icon.
2. Install VS Code
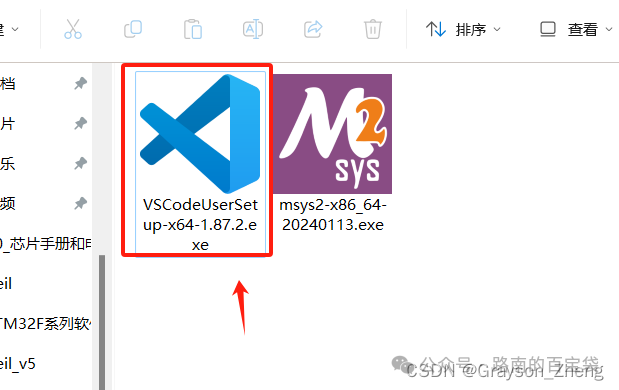
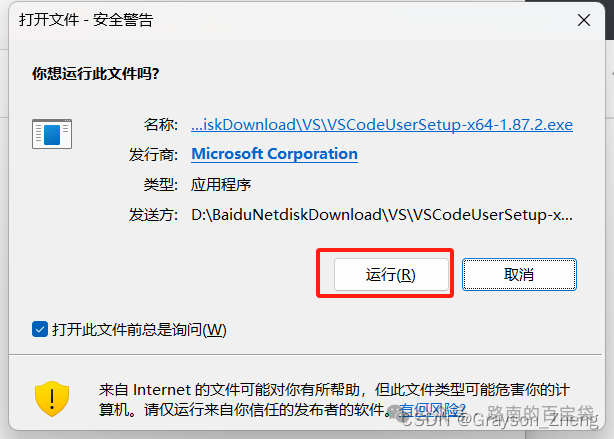
Double-click to run the downloaded VS Code installation file (e.g., VSCodeUserSetup-x64-1.87.2.exe), and click “Run” when the security warning pops up.
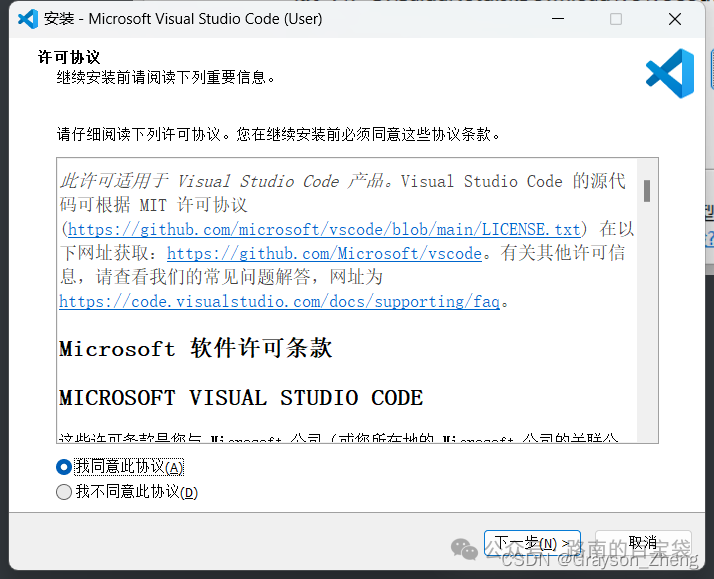
Select “I agree to the terms of this agreement” and click “Next”.
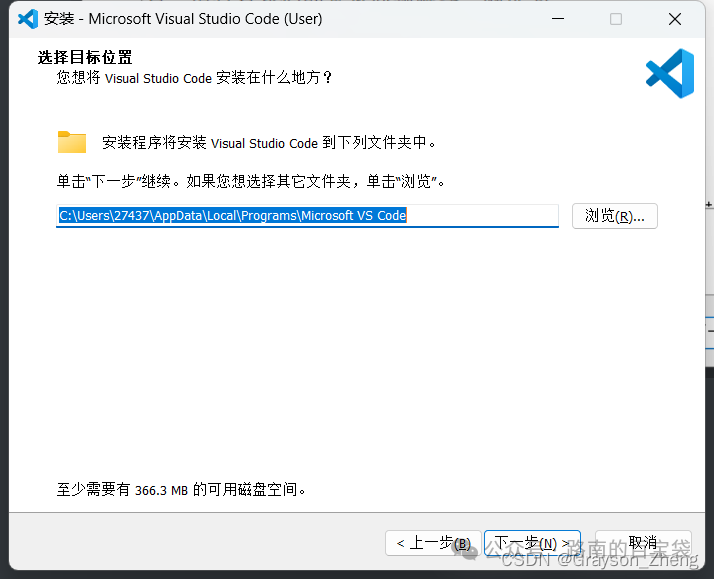
Select the installation location (default or custom, ensuring at least 366.3 MB of available space), and click “Next”.
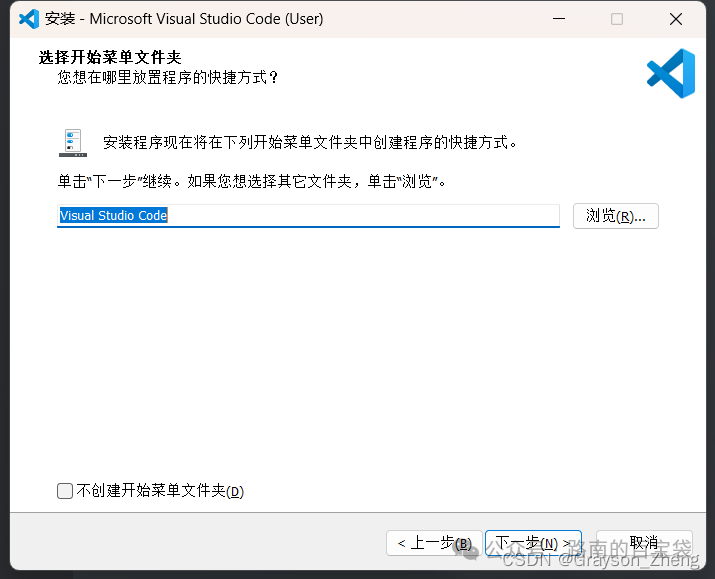
Confirm the name of the Start Menu folder (default), and click “Next”.
Select additional tasks (it is recommended to select all: create a desktop shortcut, add “Open with Code” to the file/directory context menu, register as a supported file type editor, and add to PATH), and click “Next”.
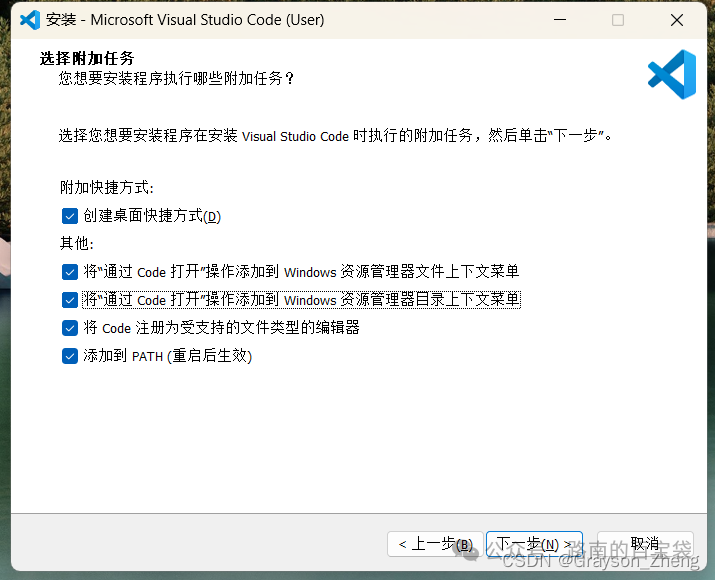
After confirming the installation information, click “Install” and wait about a minute for the installation to complete.
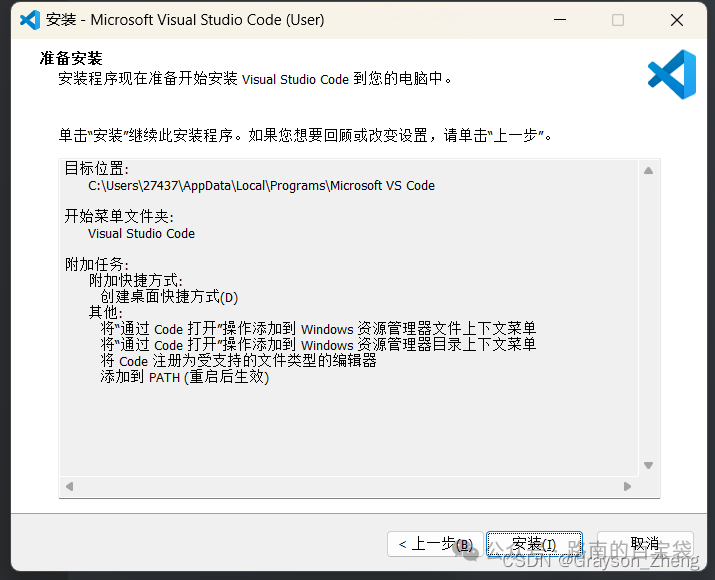
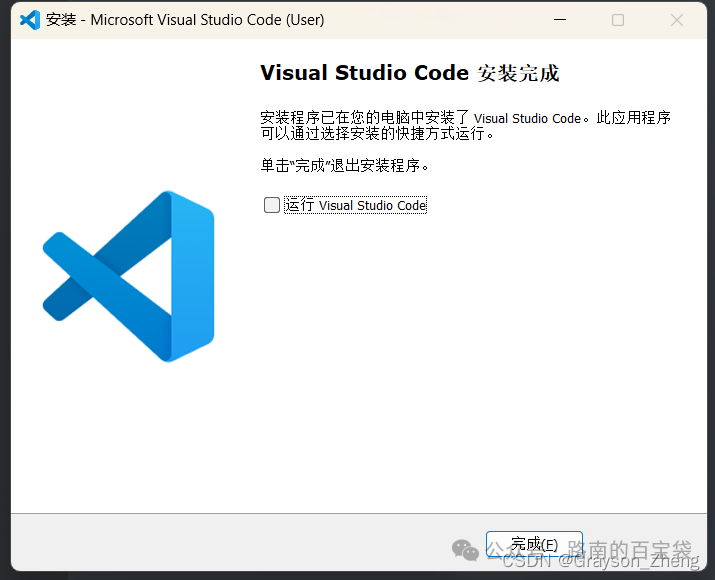
After installation is complete, uncheck “Run Visual Studio Code” and click “Finish”.
3. Install MinGW-W64 and Configure Environment Variables
1. Install MinGW-W64
Double-click to run the downloaded MinGW-W64 installation file (msys2-x86_64-20240113.exe), and click “Next” directly.
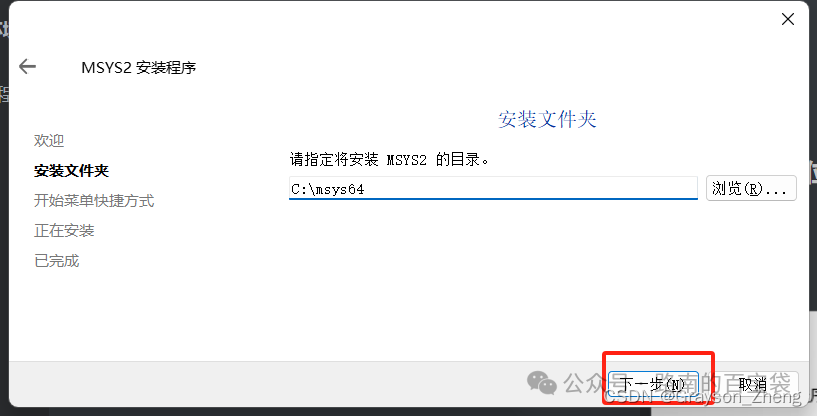
Select the installation path (default C:\msys64 or custom), and click “Next”.
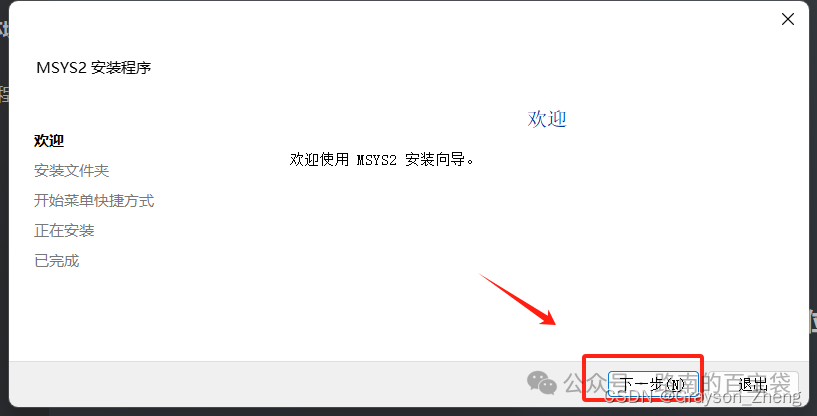
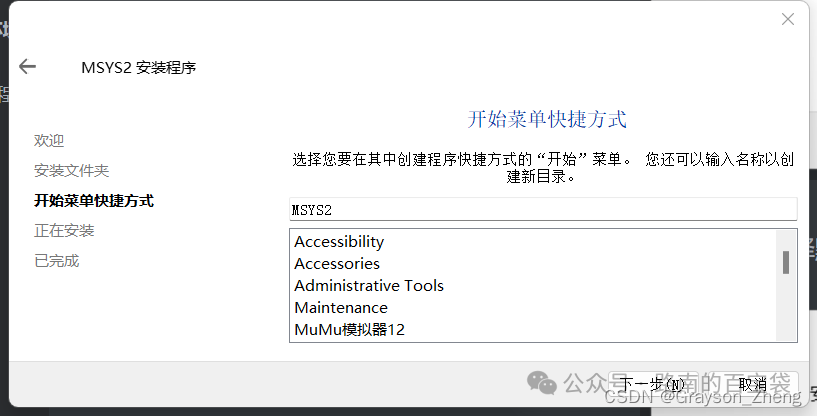
Confirm the name of the Start Menu shortcut (default MSYS2), click “Next” to start the installation.
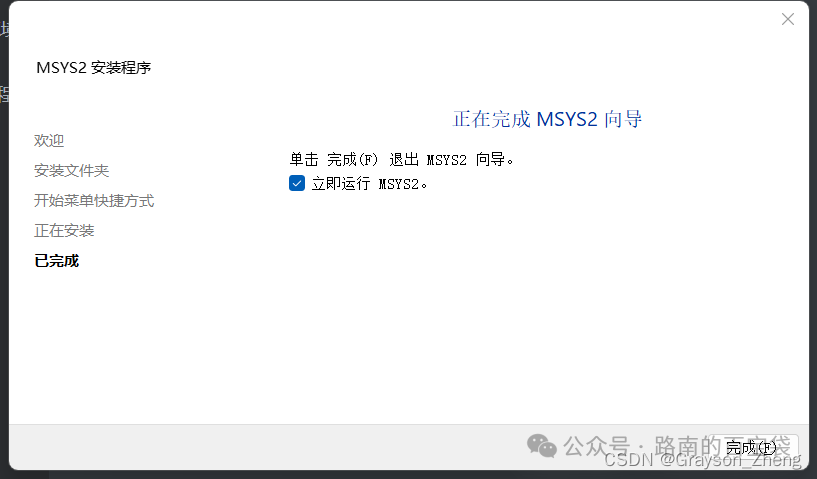
After the progress bar completes, click “Next”, check “Run MSYS2 now” by default, and click “Finish” to open the MSYS2 terminal window.
2. Install the Toolchain
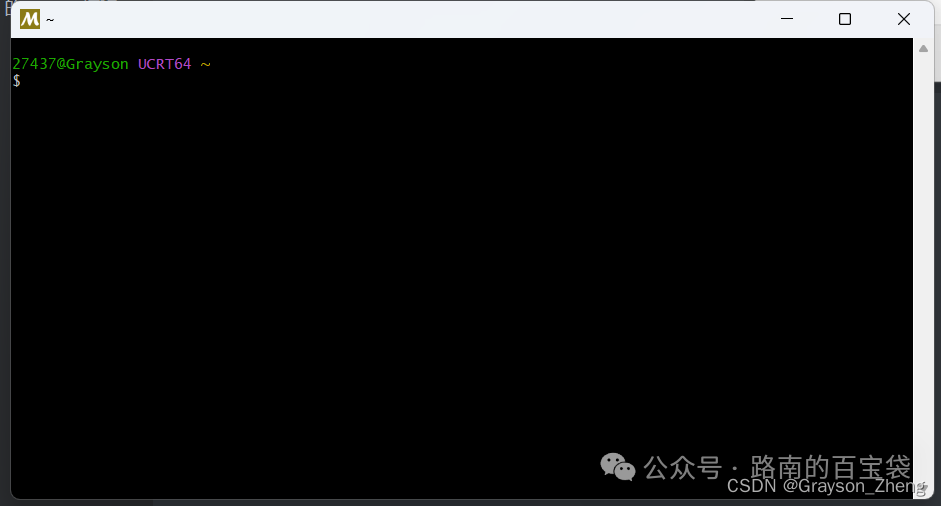
In the MSYS2 terminal, enter the following command and press Enter:
|
bash pacman -S –needed base-devel mingw-w64-ucrt-x86_64-toolchain |
When the installation package list appears, press Enter to accept all packages by default.
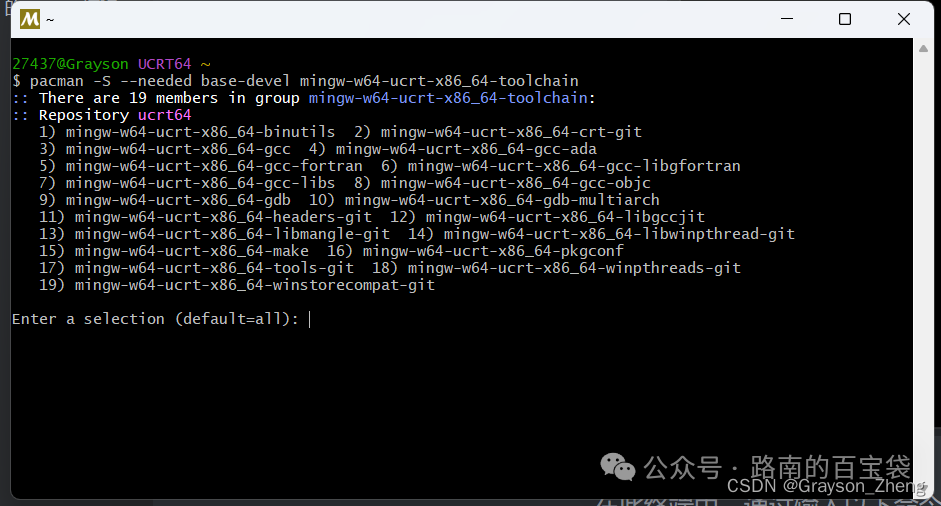
When the system prompts whether to continue the installation, enter “y” and press Enter, wait for the installation to complete, and close the terminal.
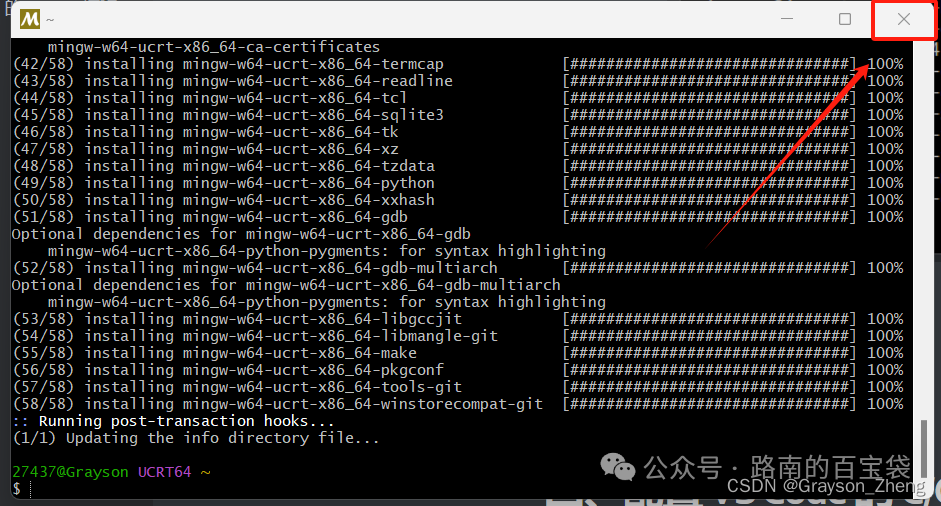
3. Configure Environment Variables
Open the MinGW-W64 installation directory (default C:\msys64), enter the ucrt64 folder, then enter the bin folder, and copy that path (the default path is C:\msys64\ucrt64\bin).
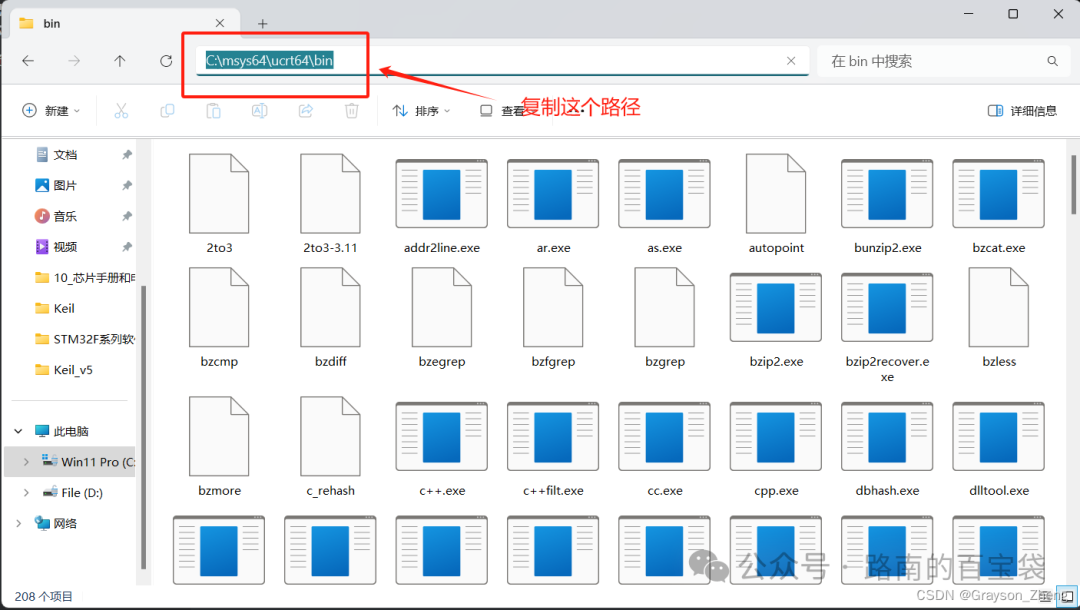
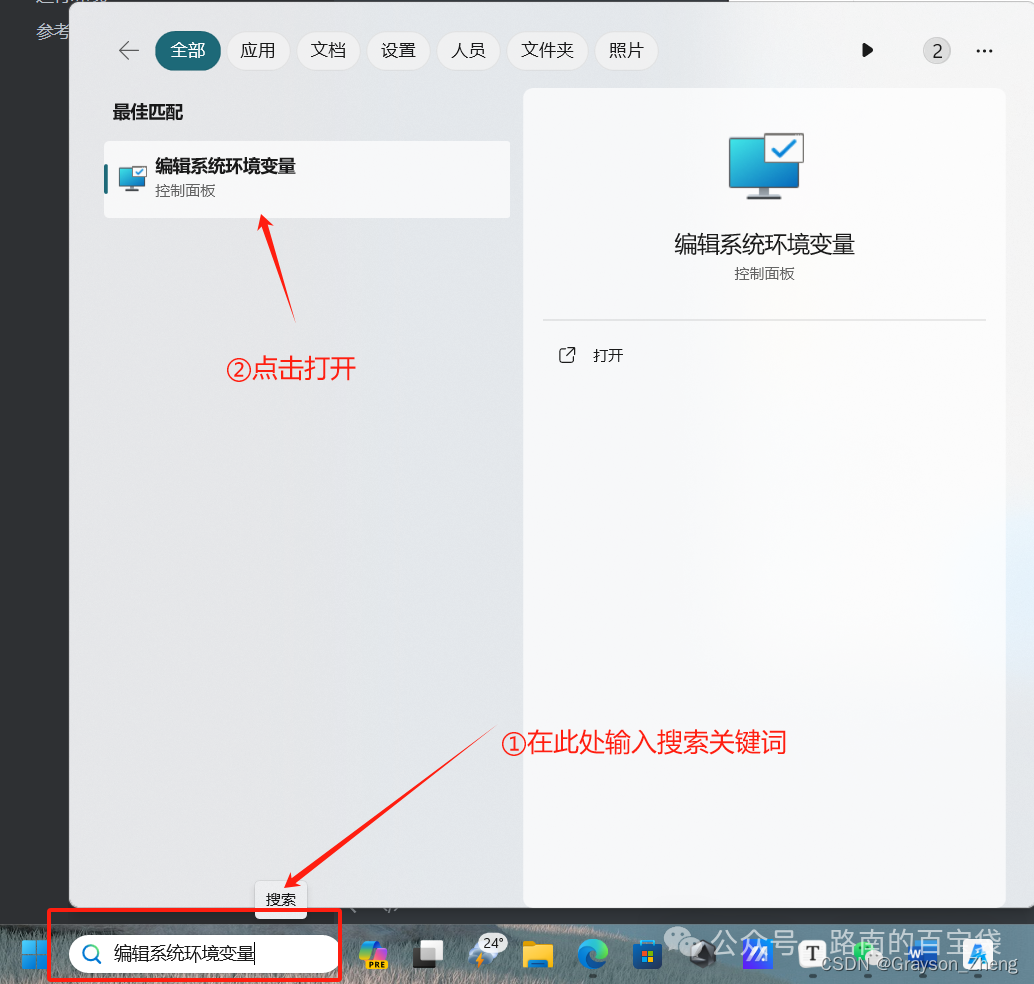
In the Windows search box, type “Edit the system environment variables” to open the corresponding settings interface.
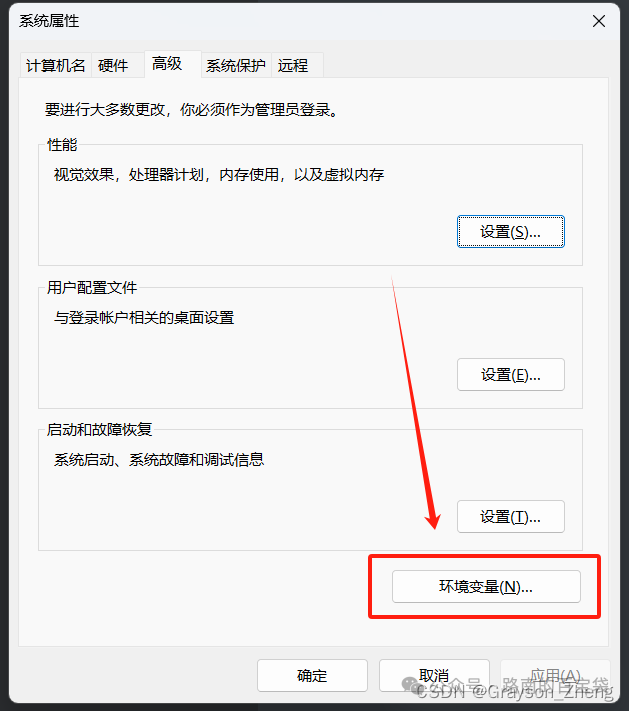
In the system properties pop-up, click “Environment Variables”.
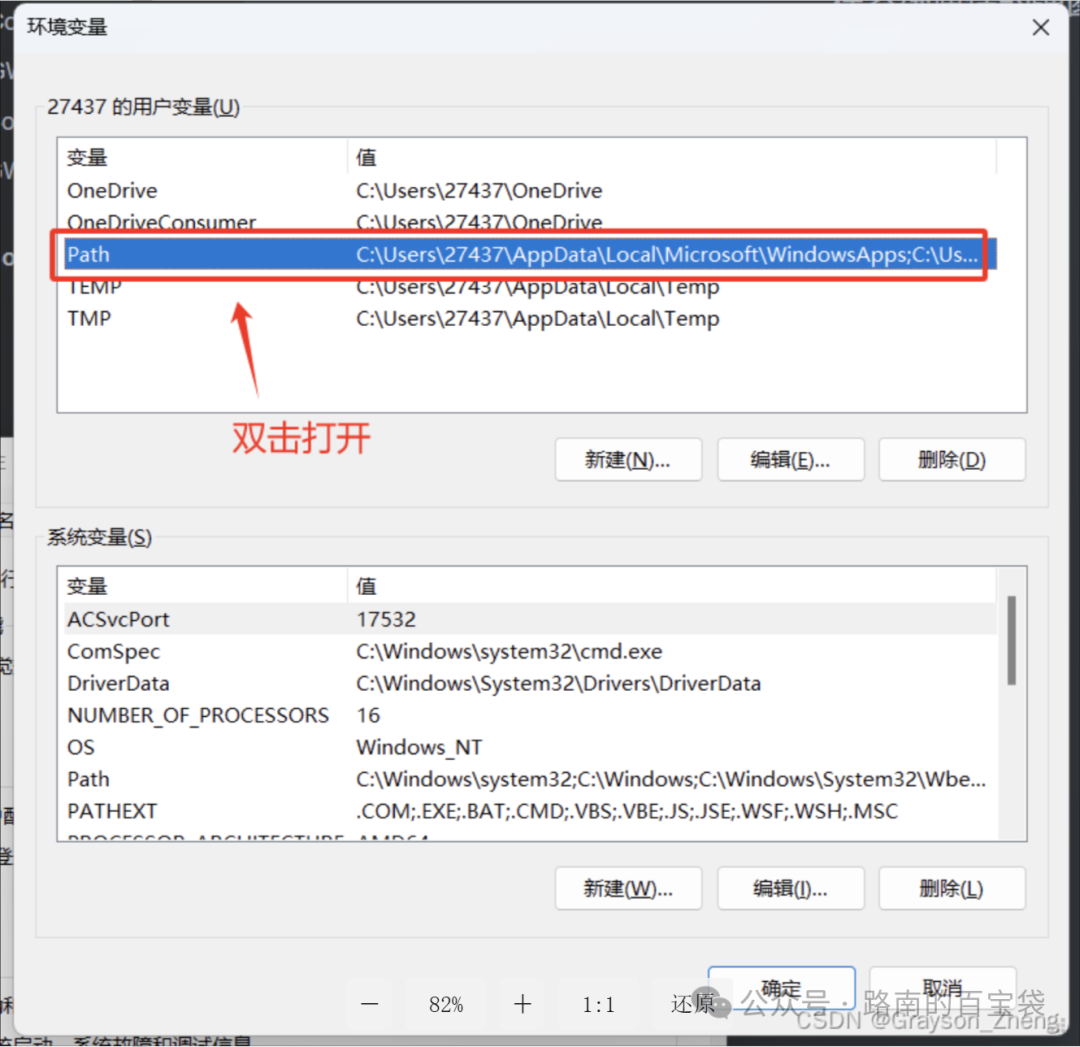
In the environment variables pop-up, find the user variable “Path” and double-click to open it.
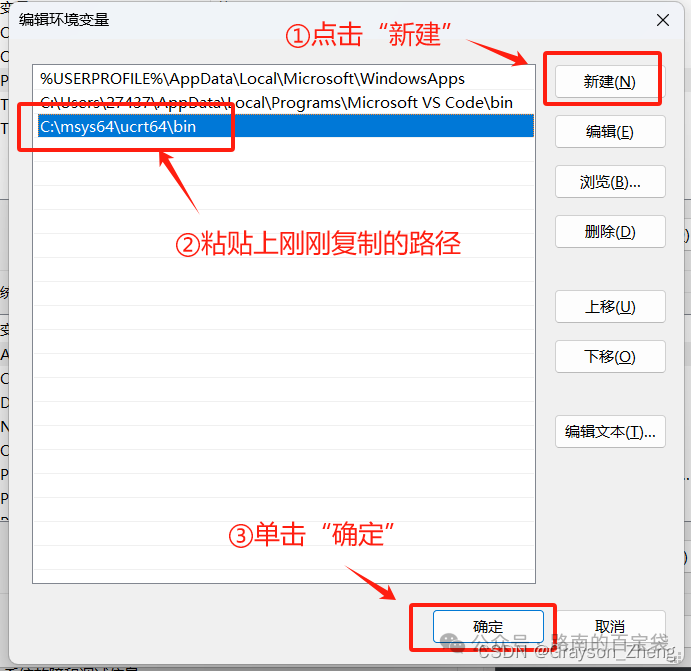
Click “New”, paste the copied bin folder path, click “OK”, and exit all pop-ups layer by layer.
4. Verify the Environment
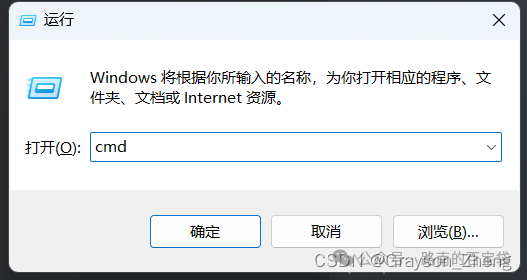
Press Win + R, type “cmd” and press Enter to open the CMD terminal.
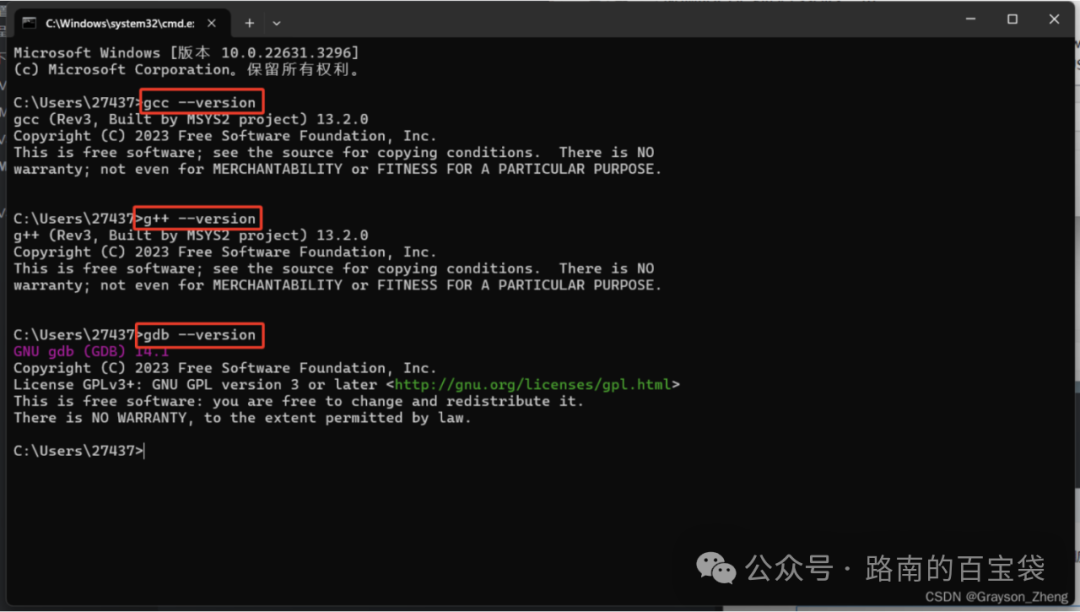
Enter the following commands one by one and press Enter; if all display version information, the environment configuration is successful:
|
bash gcc –version g++ –version gdb –version |
5. Configure the C/C++ Programming Environment in VS Code
1. Localize VS Code (optional)
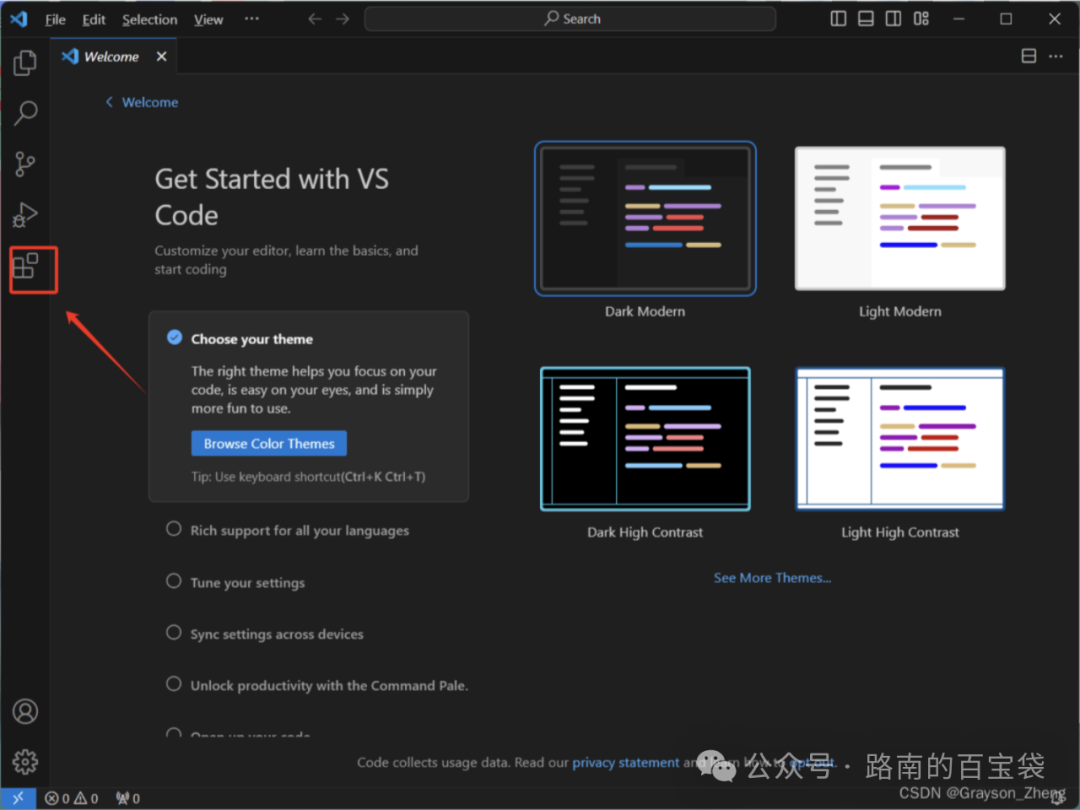
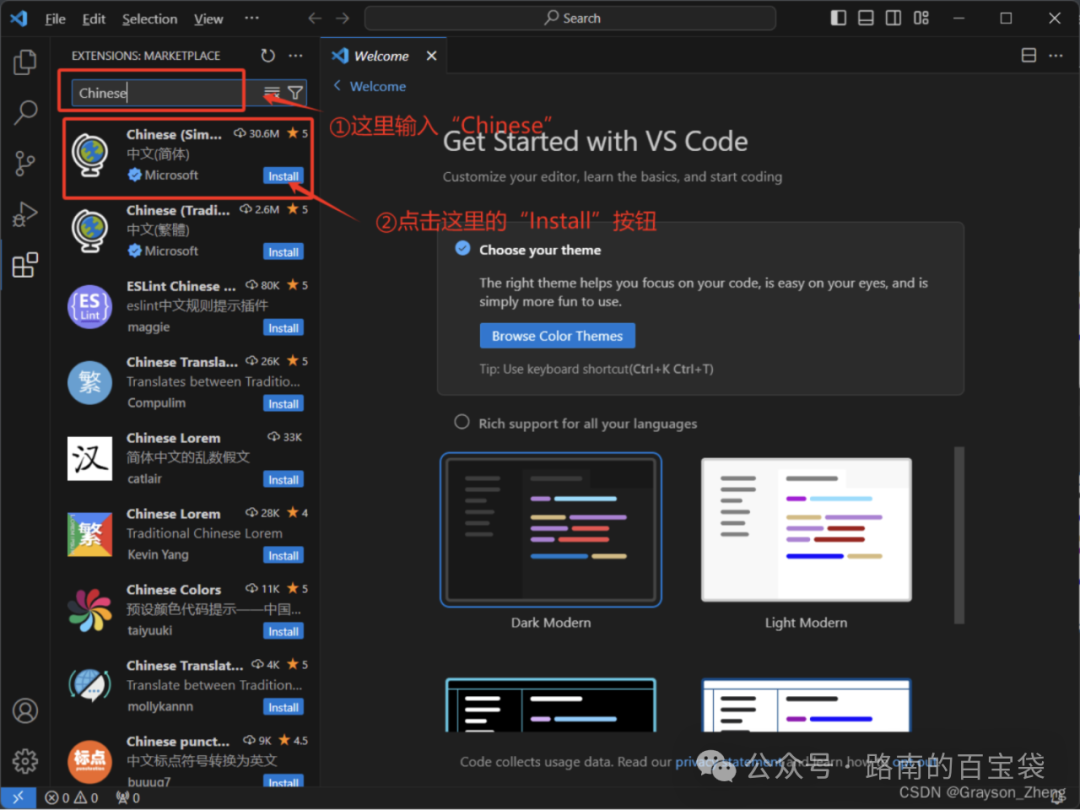
Start VS Code, press Ctrl + Shift + X, or click the fifth icon on the left to enter the Extensions panel.
In the search box, type “Chinese”, find the “Chinese (Simplified)” plugin published by Microsoft, and click “Install”.
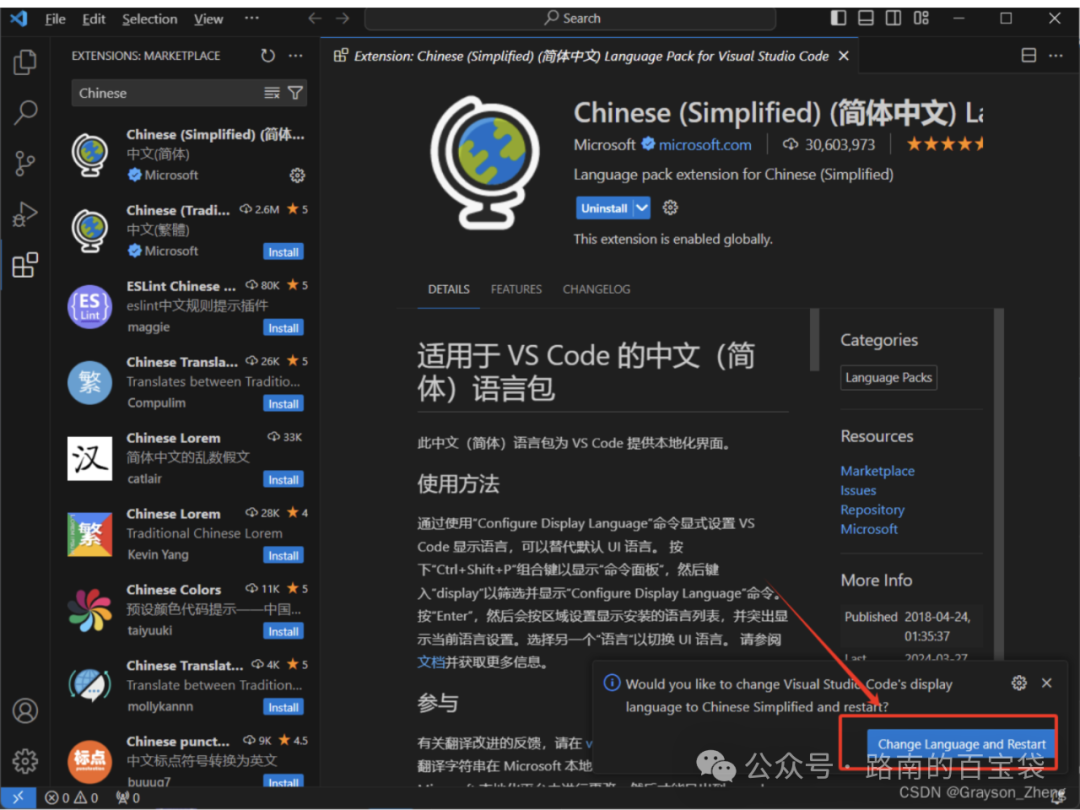
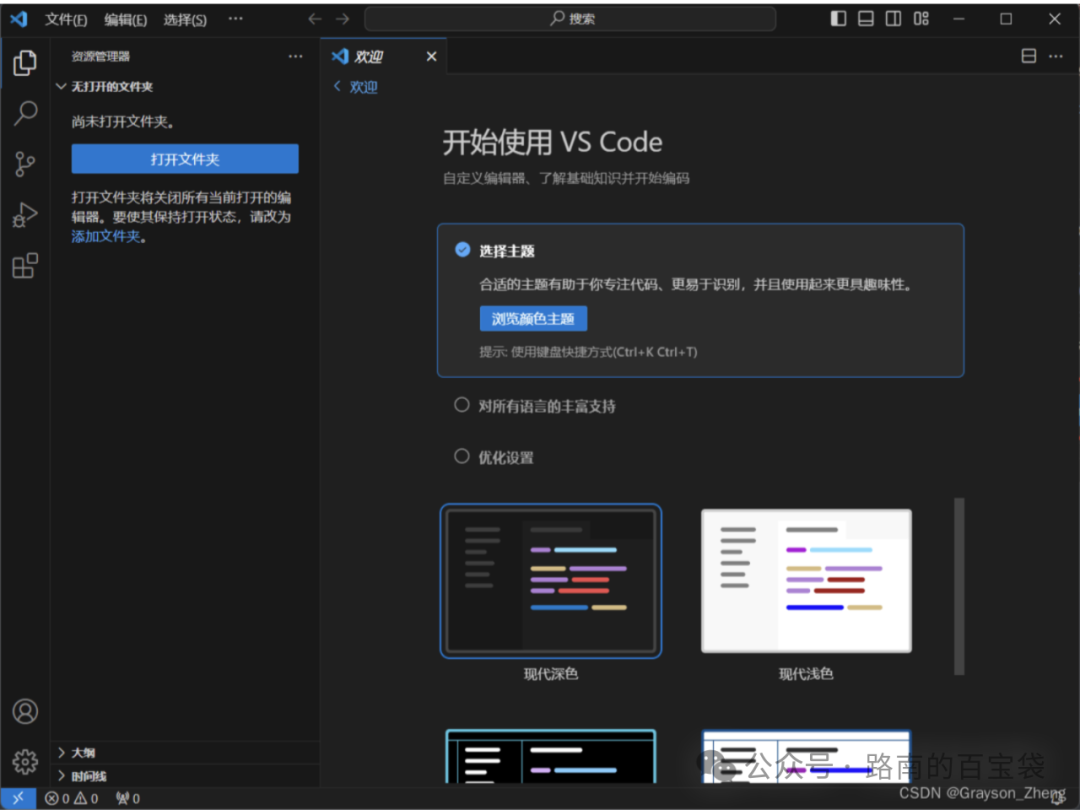
After installation is complete, a notification will pop up in the lower right corner; click “Change Language and Restart” to restart, and the interface will be in Chinese.
2. Install the C/C++ Extension Package
In the Extensions panel, search for “C++”, find the “C/C++” extension published by Microsoft (approximately 62.2M), and click “Install”.
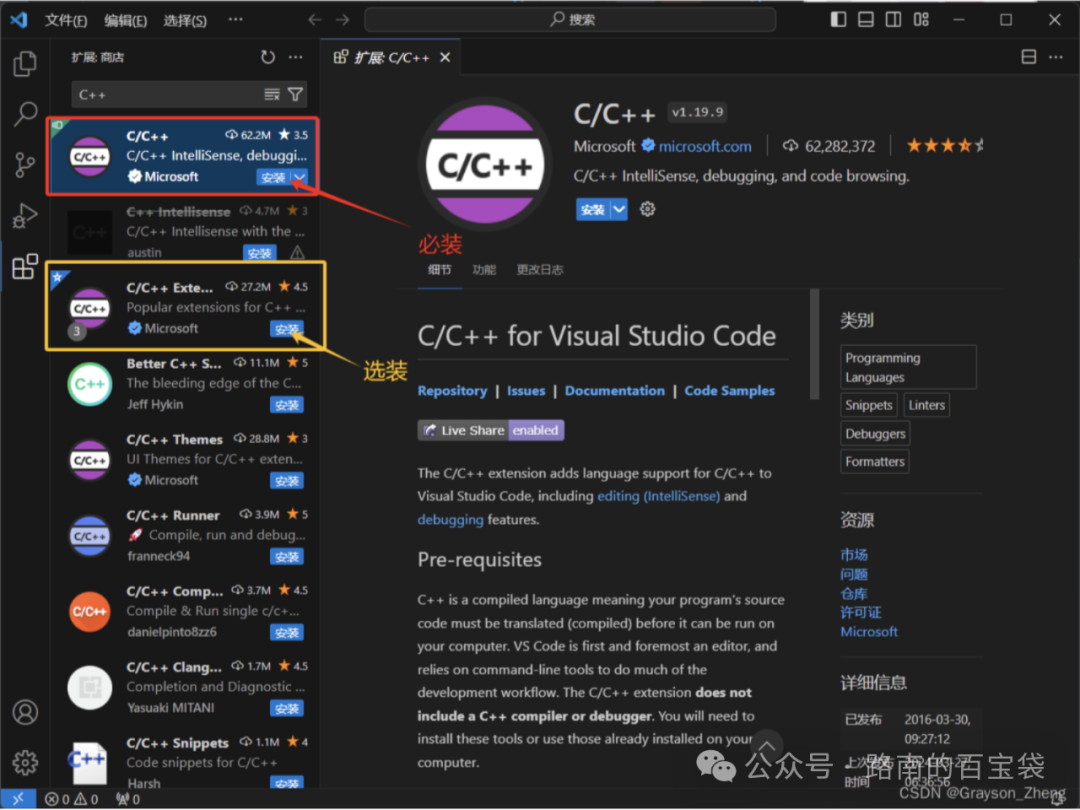
Note: The “C/C++ Extension Pack” is an extension feature pack and is not required; it can be installed optionally.
6. Test the C/C++ Programming Environment in VS Code
1. Create a Code Folder
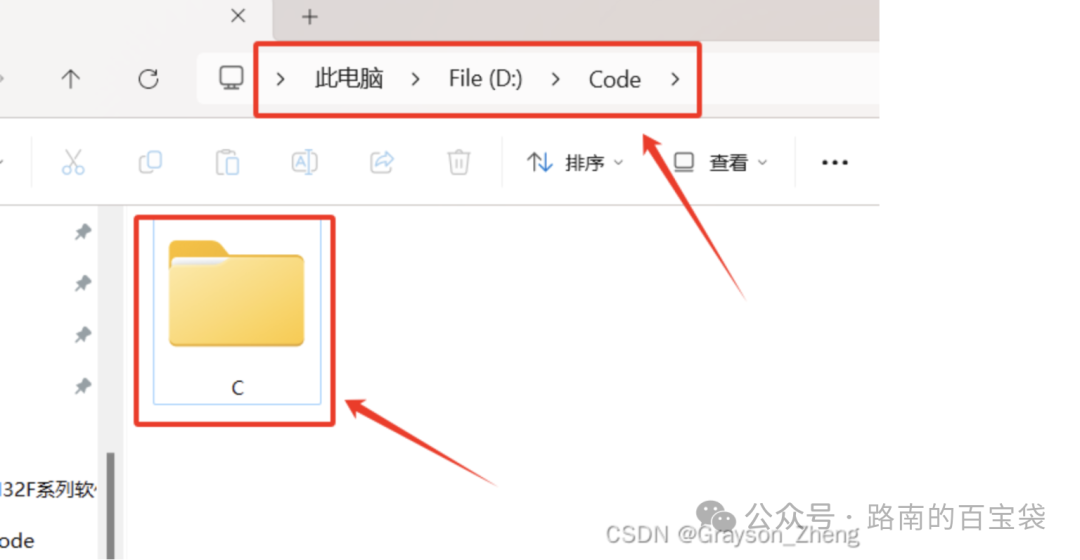
Create a new folder (it is recommended that the path does not contain Chinese characters, such as D:\Code\C), to store C language code.
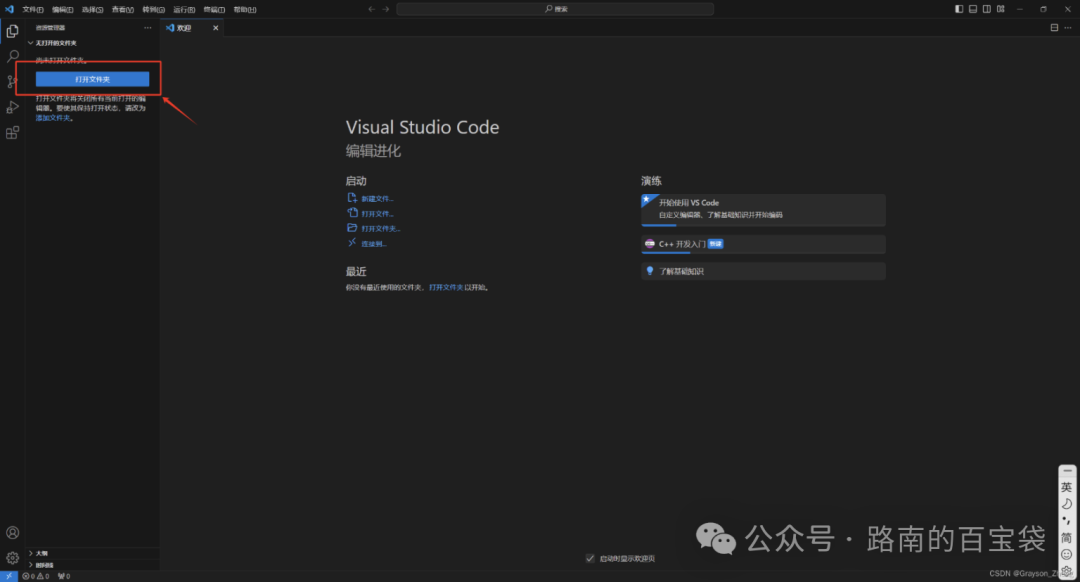
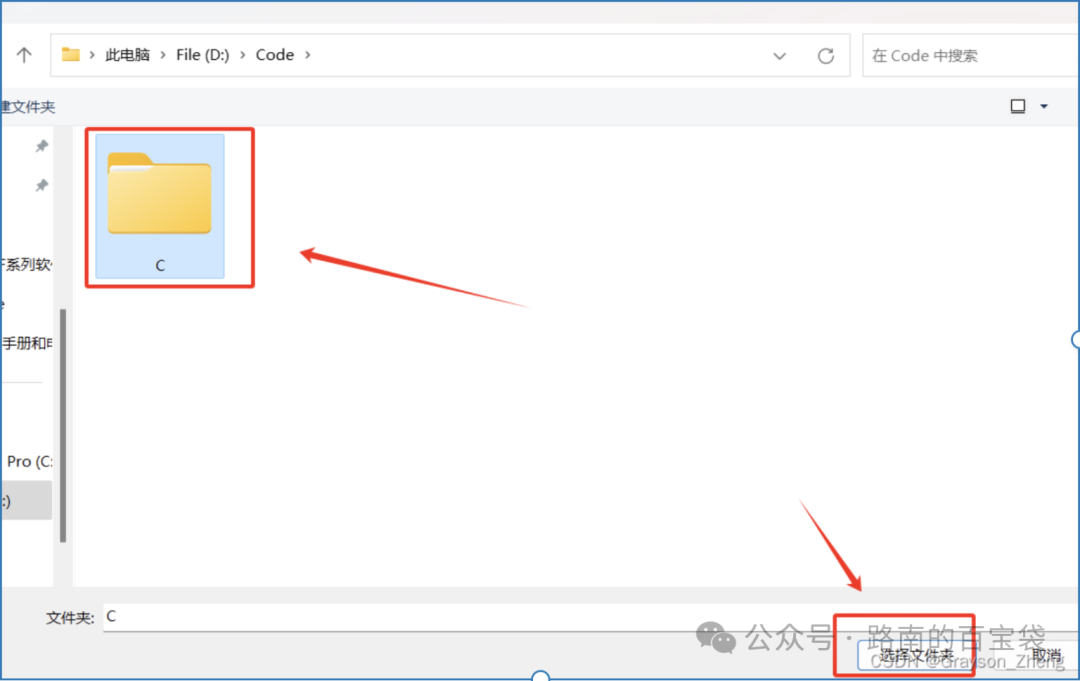
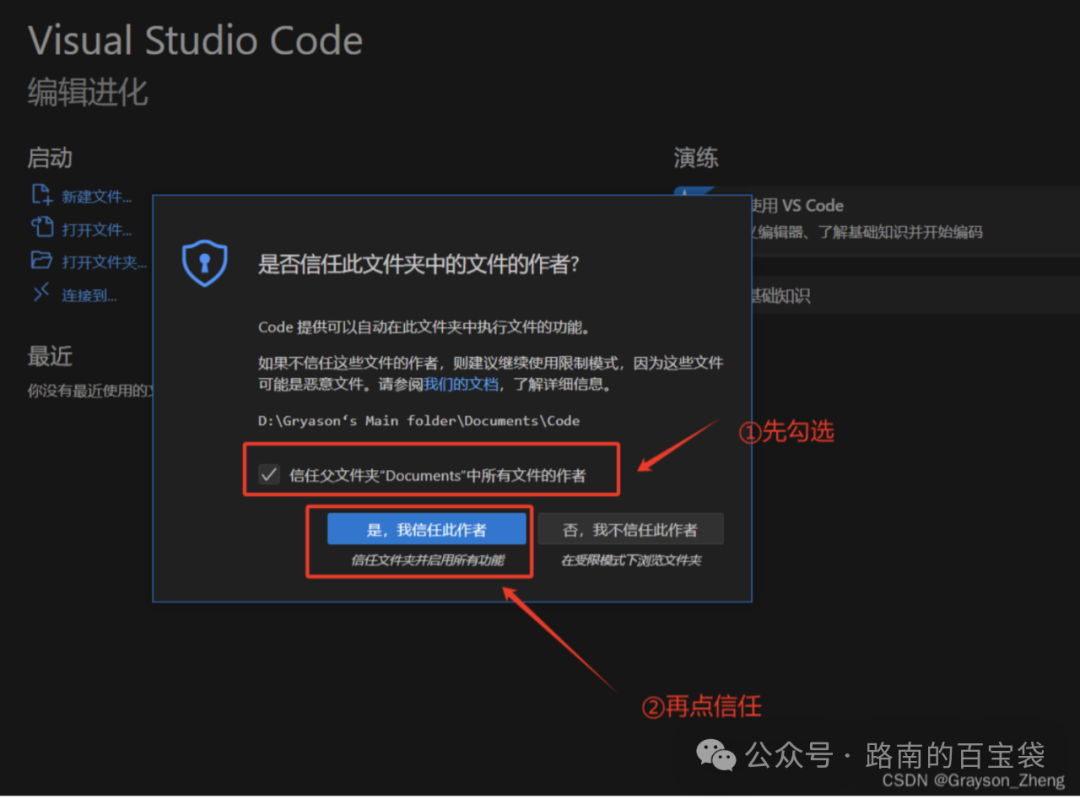
Open VS Code, click “Open Folder”, select the newly created C folder, check “Trust the authors of all files in the parent folder”, and click “Yes, I trust the author”.
References
1“Running Visual Studio Code on Windows”
1“C++ programming with Visual Studio Code”
1“Get Started with C++ and MinGW-w64 in Visual Studio Code”
Last updated on 2025-11-28