【Software Name】: Android Studio
【Installation Environment】: Windows
【Download Link】: Click the bottom “Read the original text”
【Download Link】: https://www.sssam.com/6220.html
Software Introduction

Android Studio is an Android integrated development tool launched by Google, based on IntelliJ IDEA. Similar to Eclipse ADT, Android Studio provides integrated Android development tools for development and debugging.
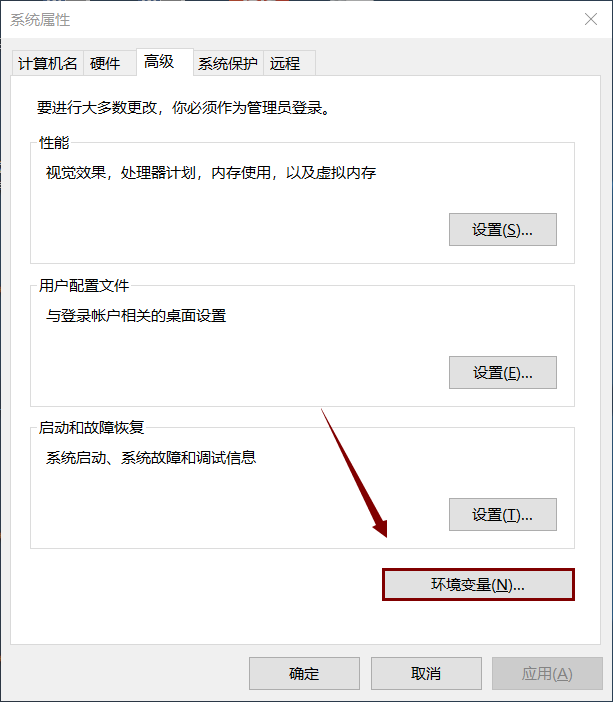
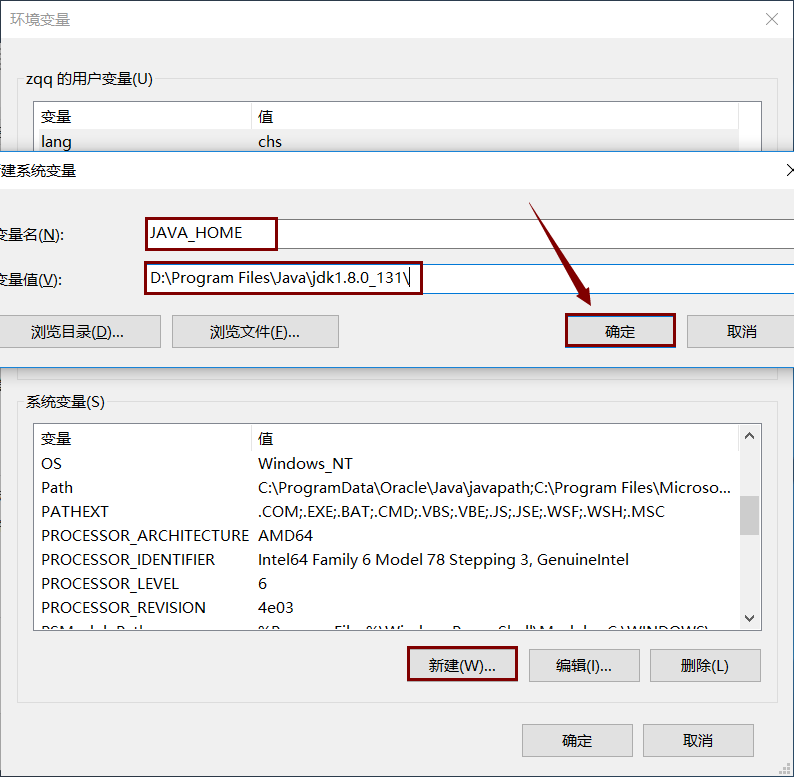
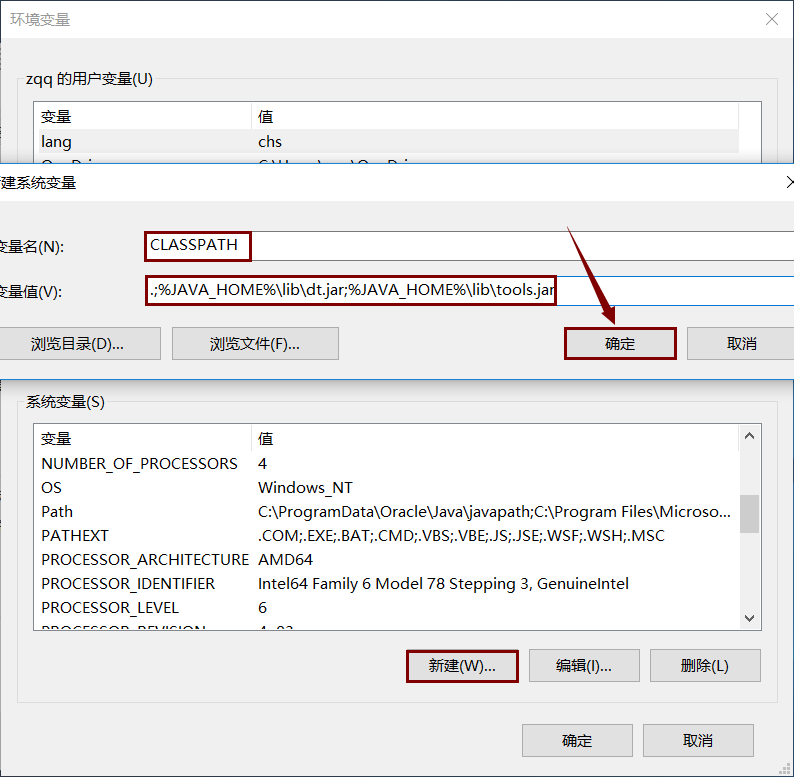
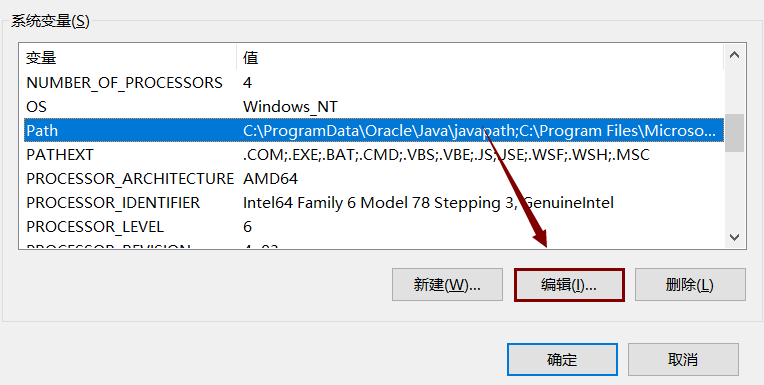
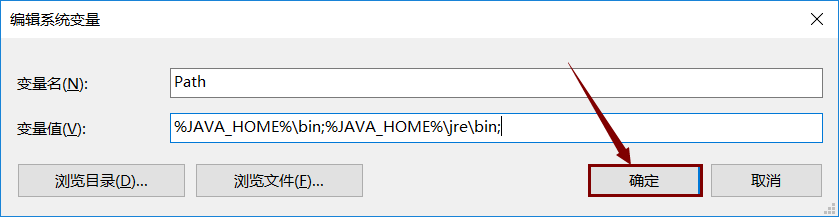
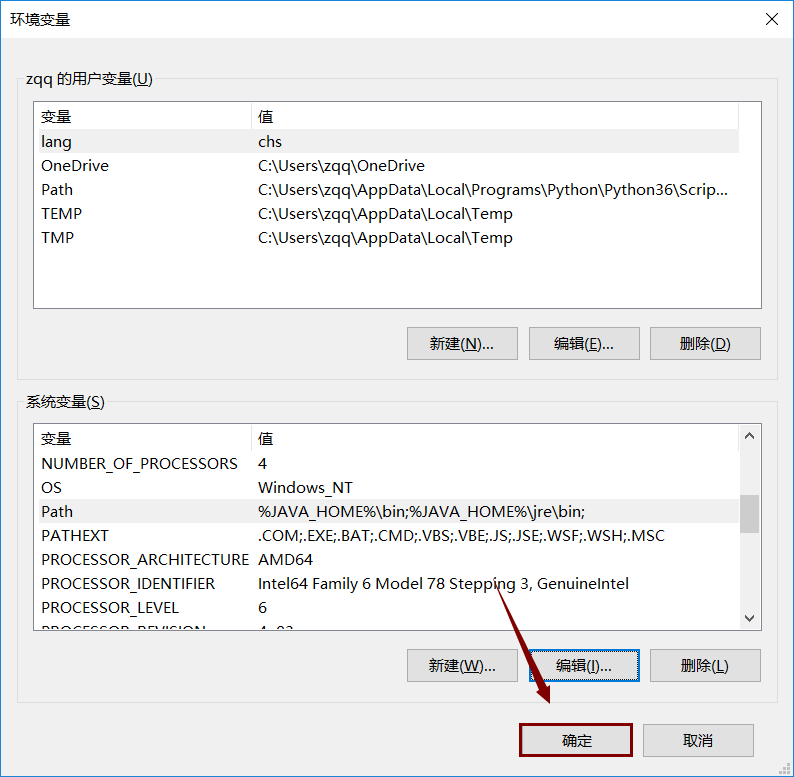
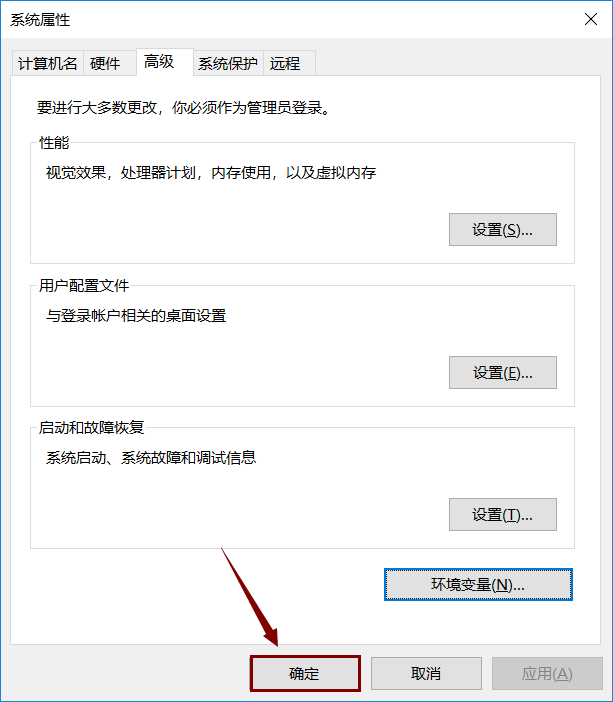
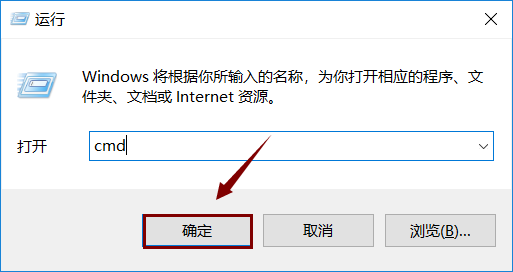
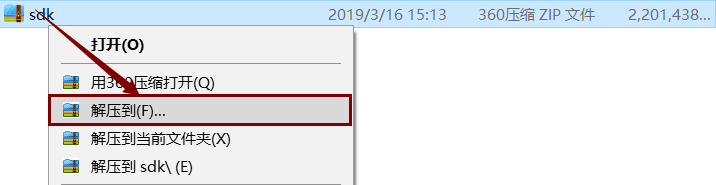
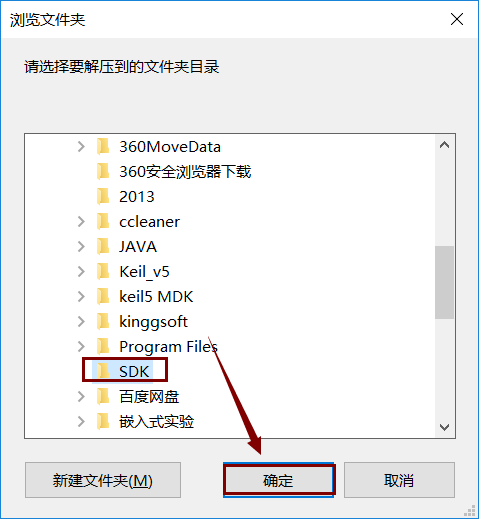
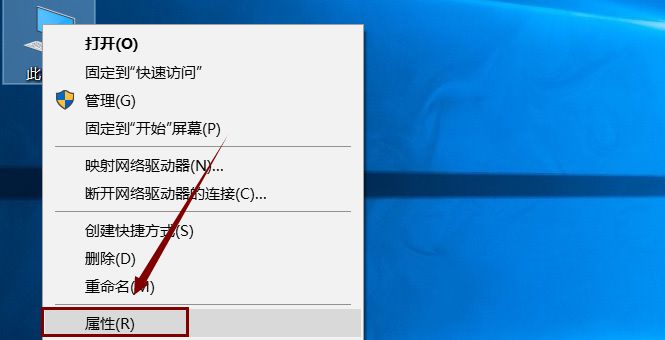
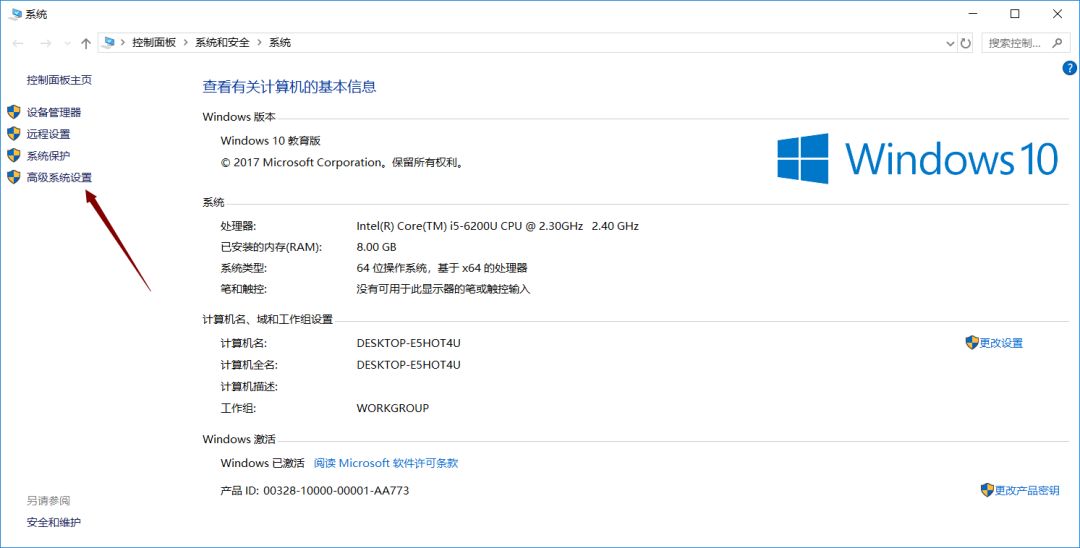
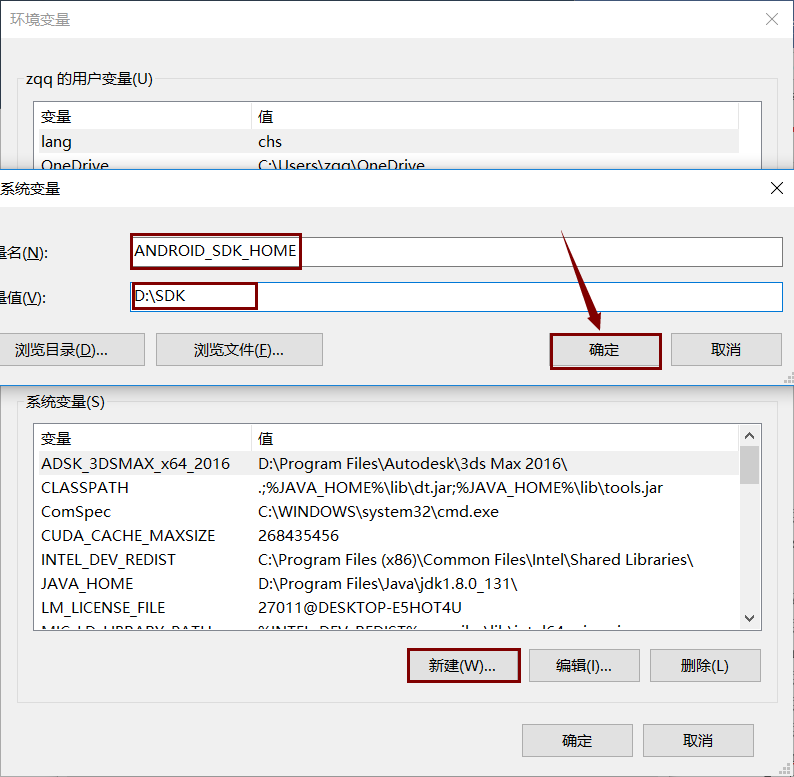
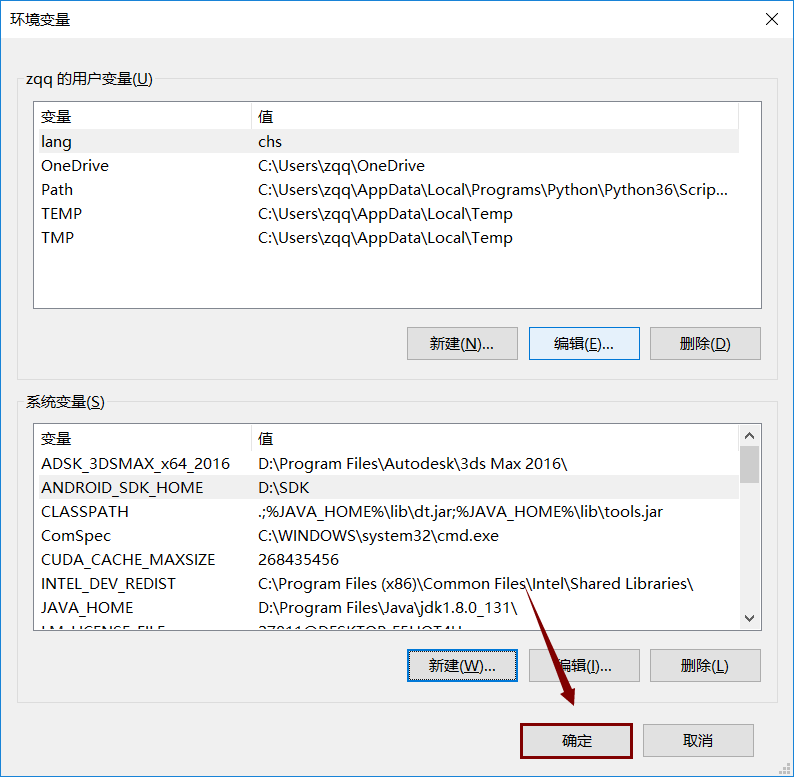
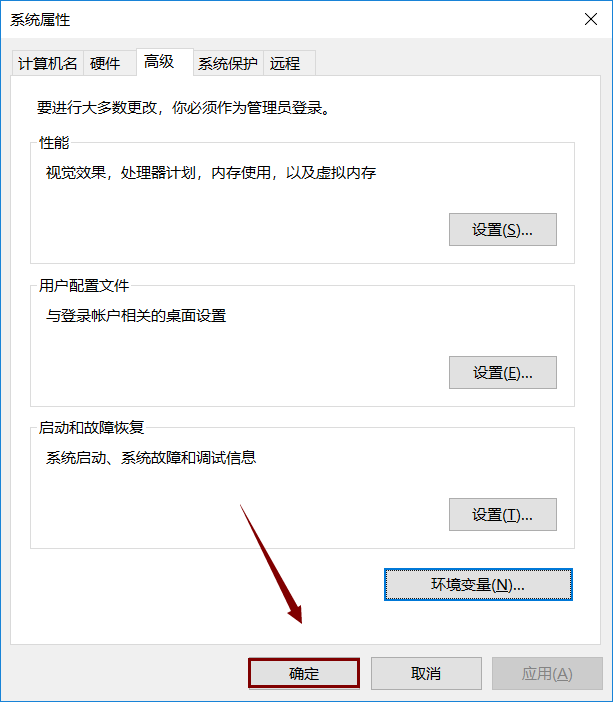
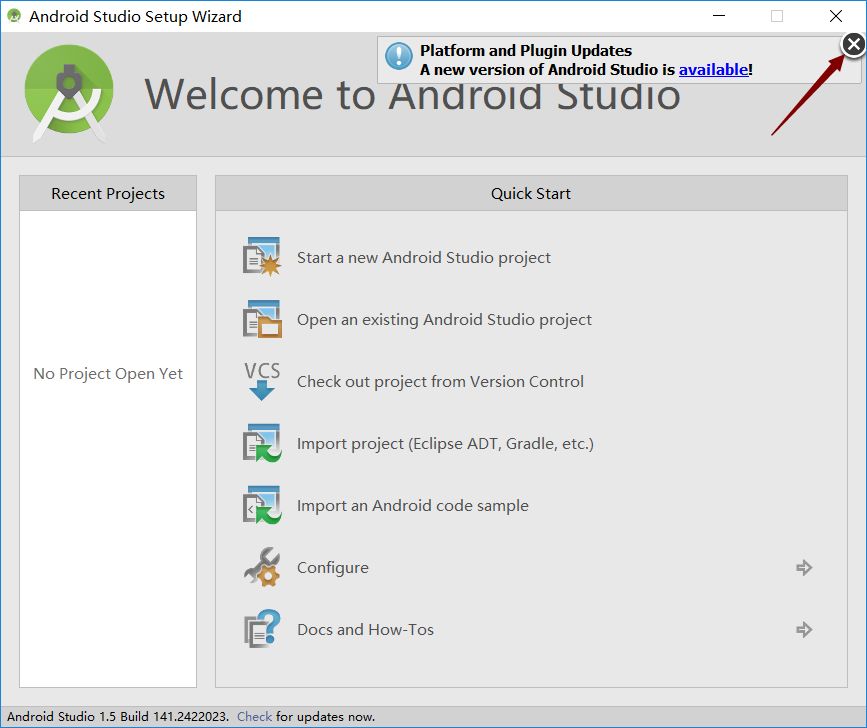
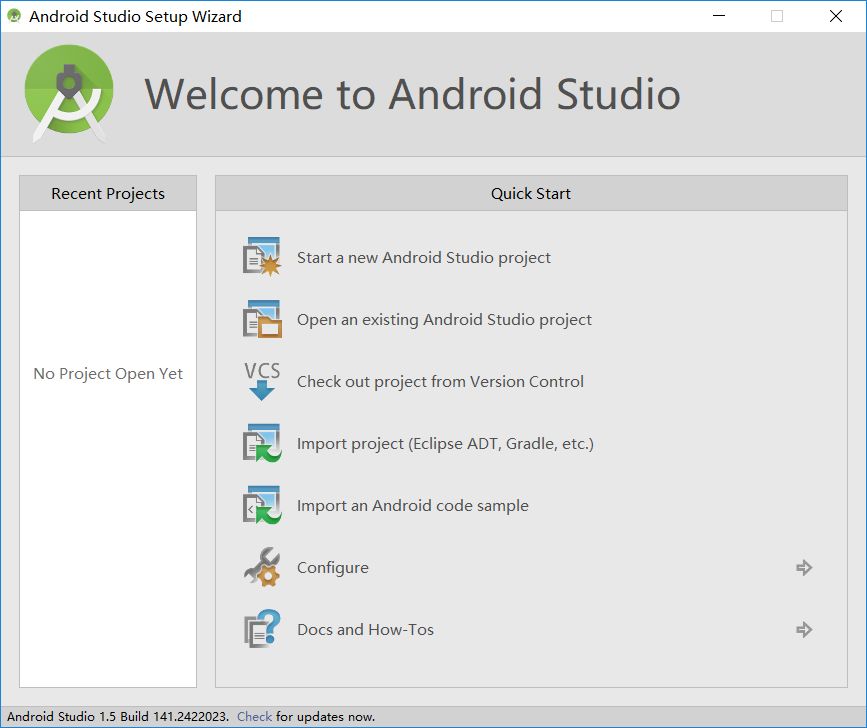
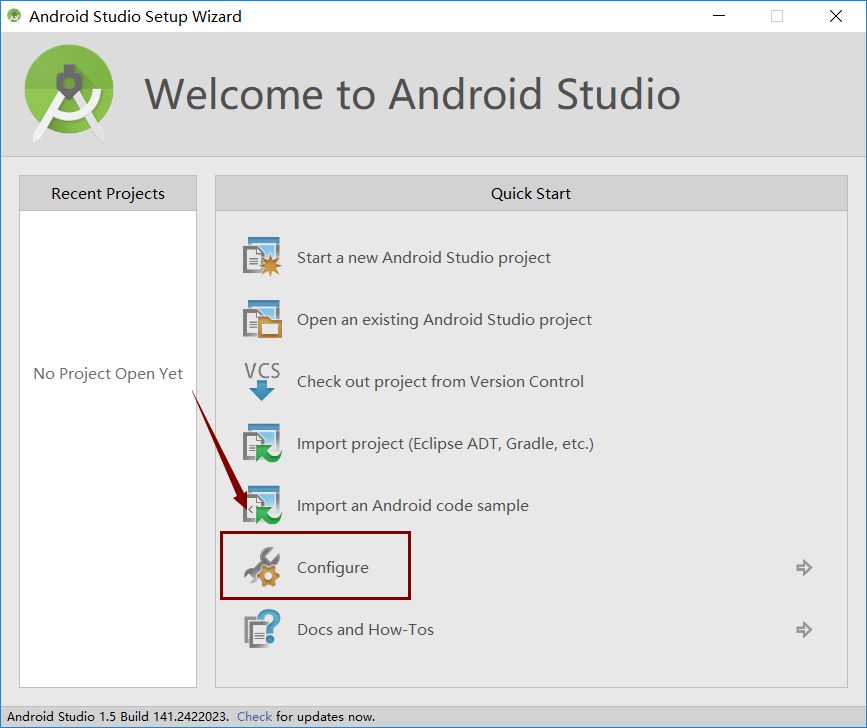
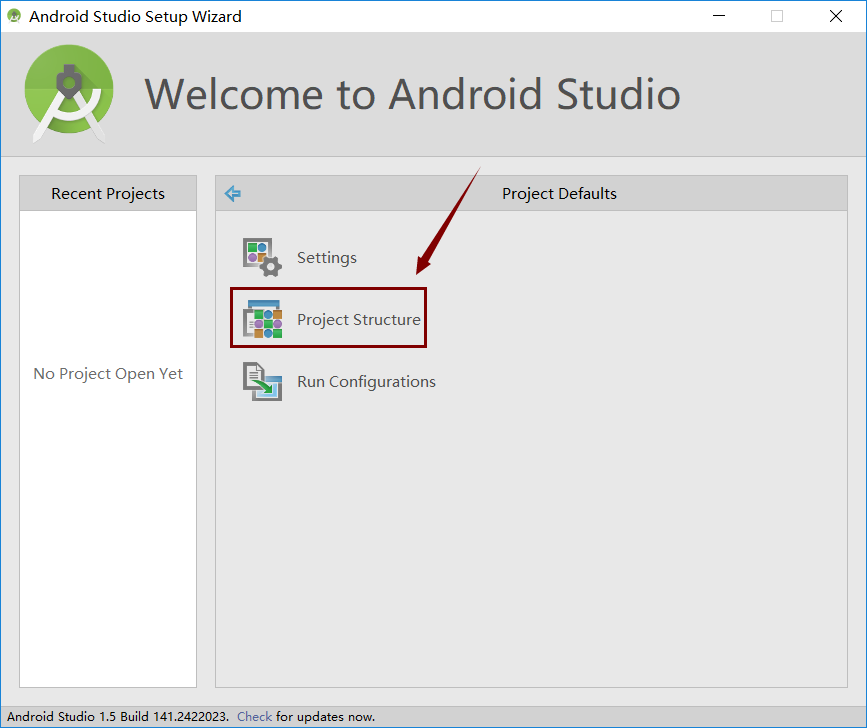
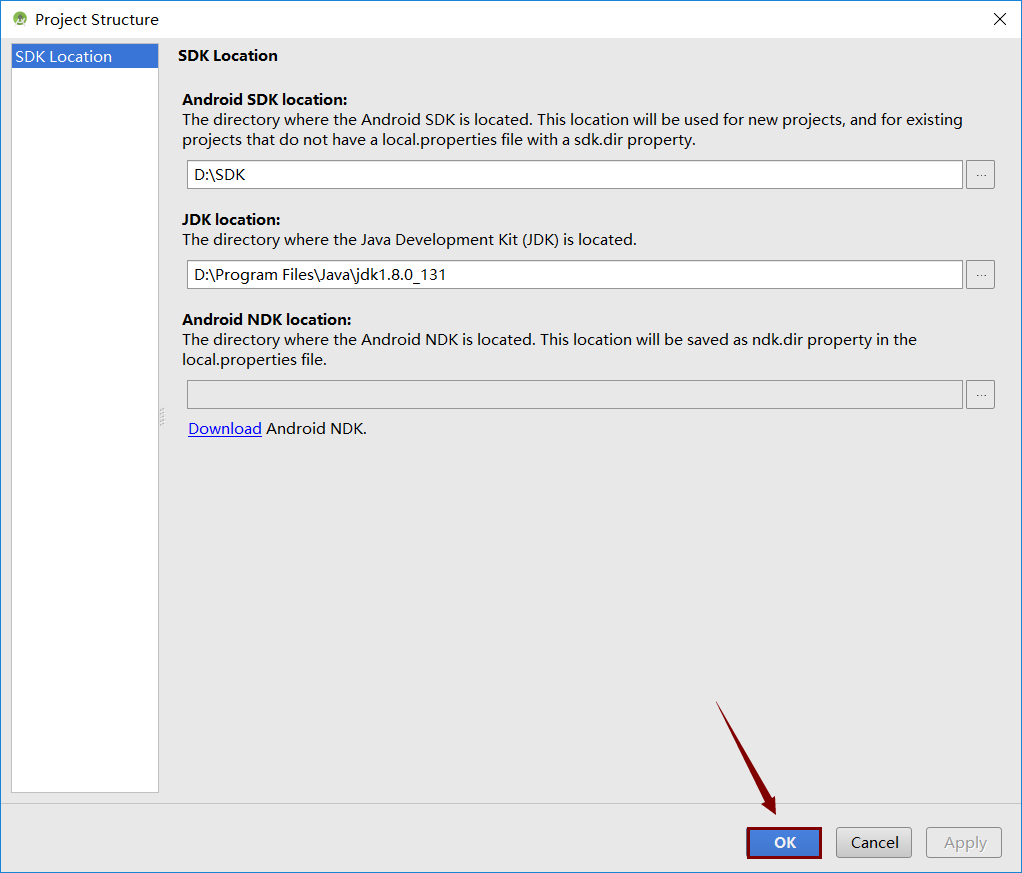
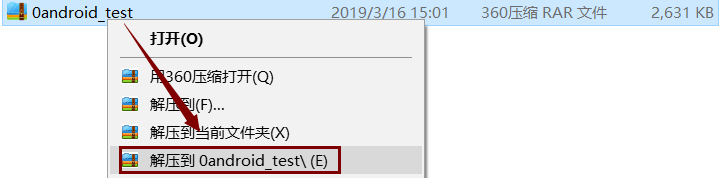
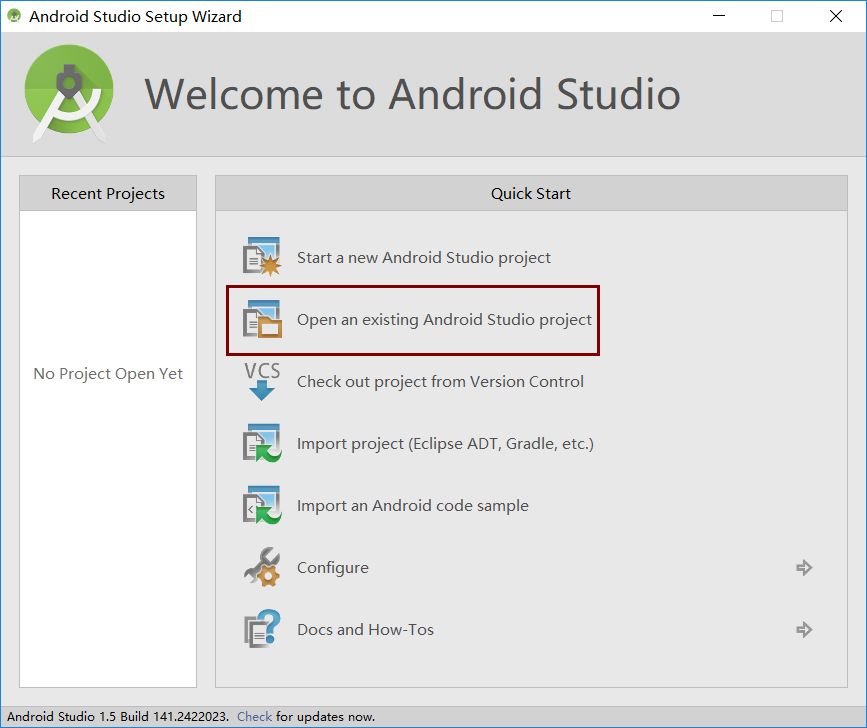
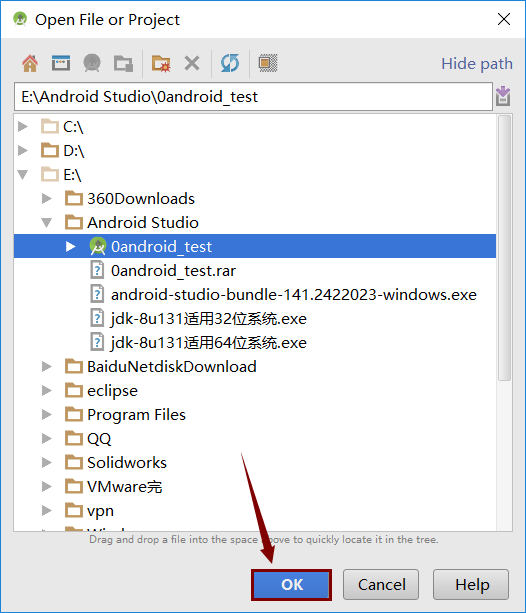
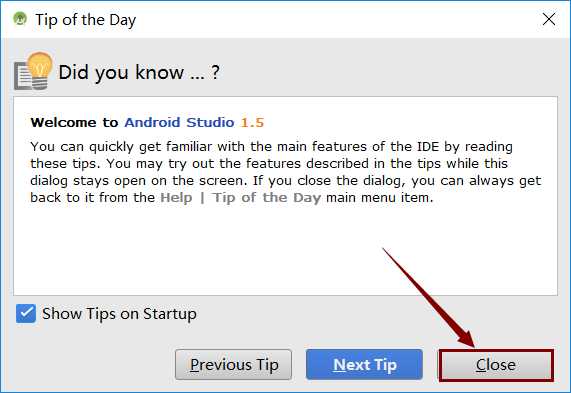
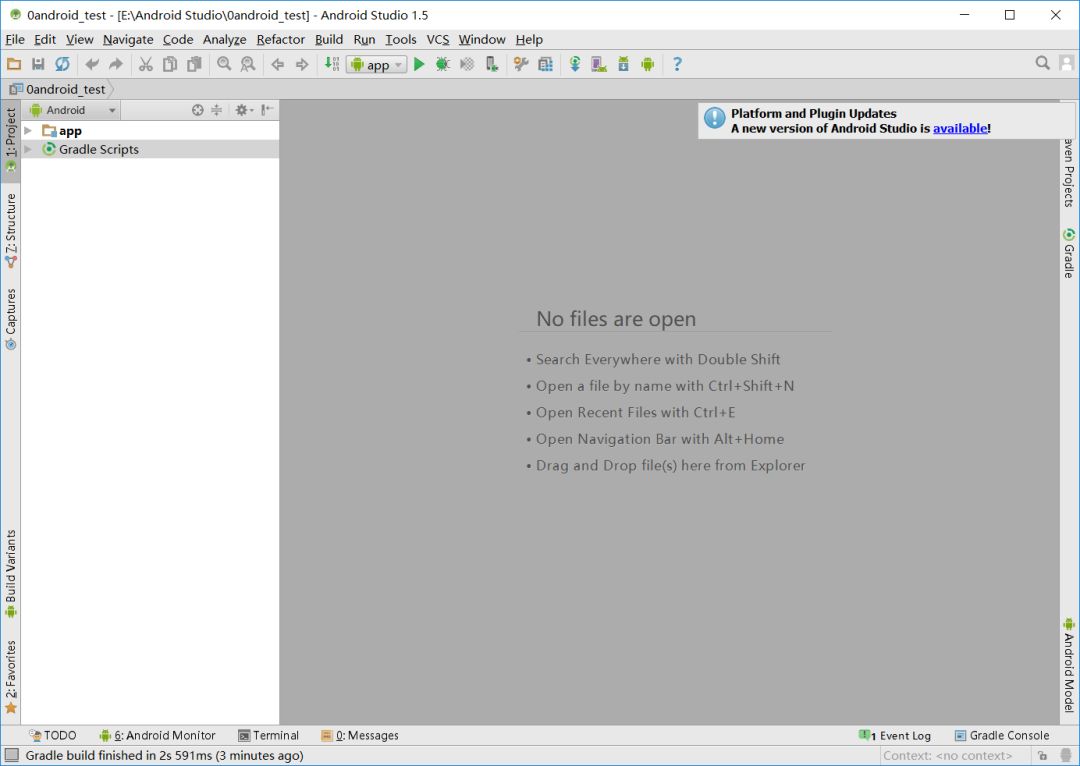
Installation Steps

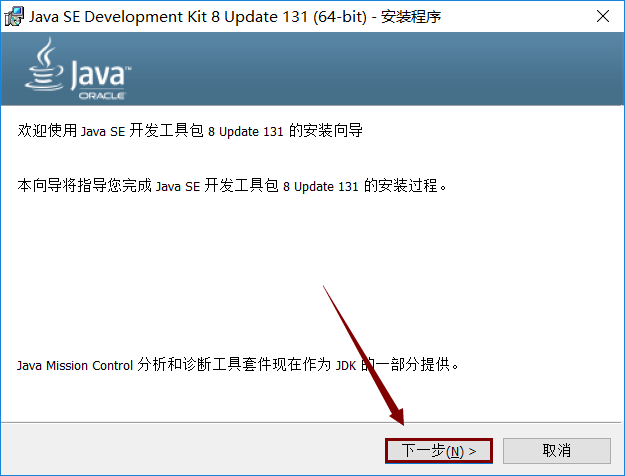
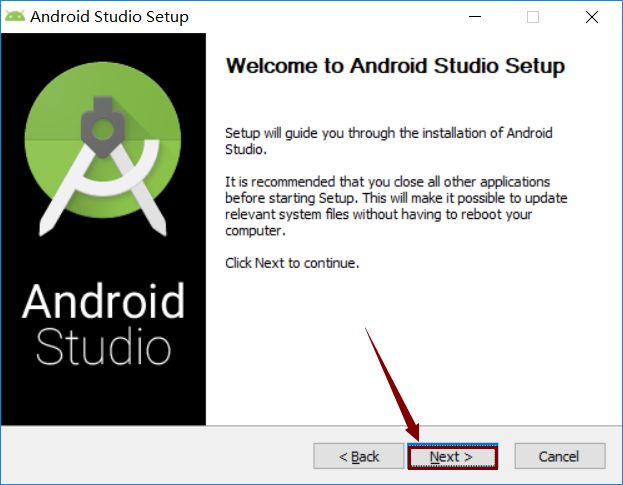
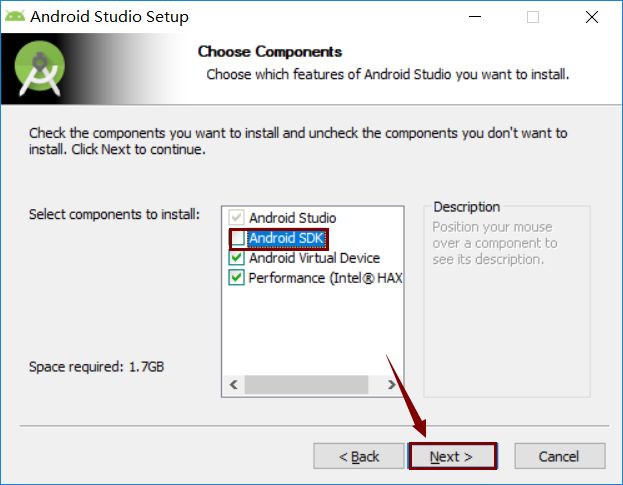
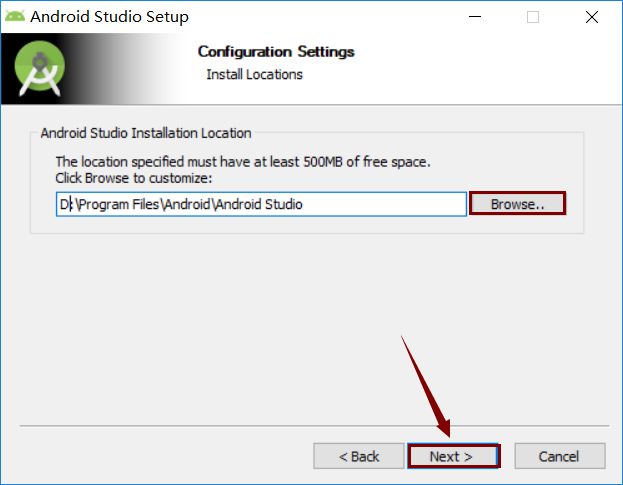
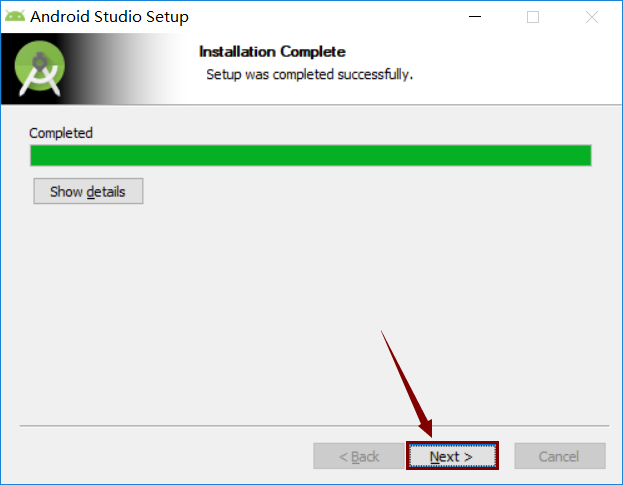
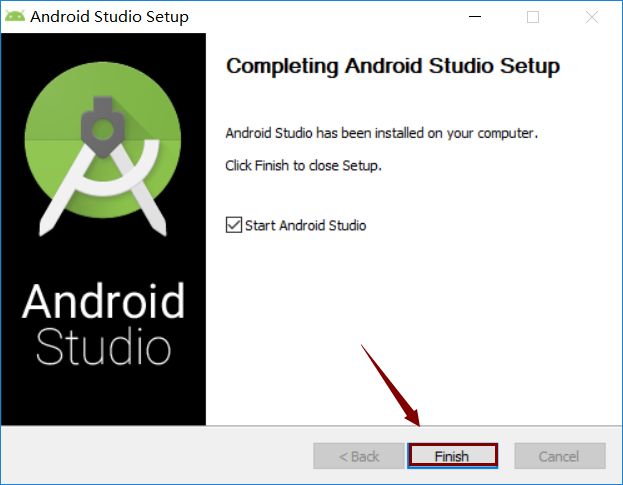
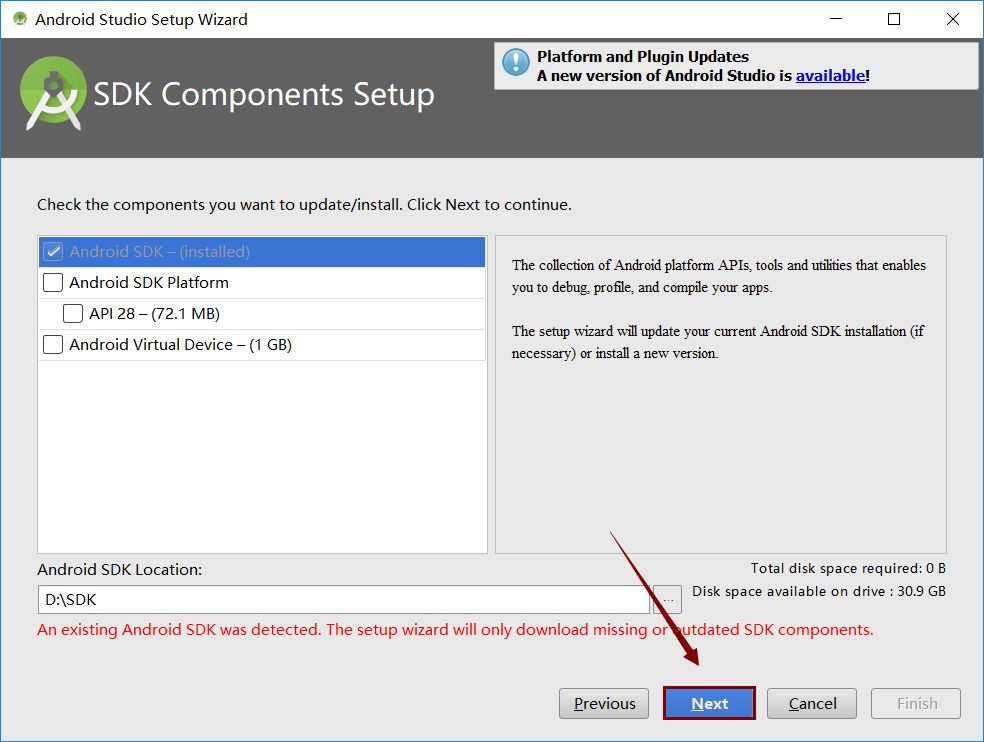
 2. Click “Next”.
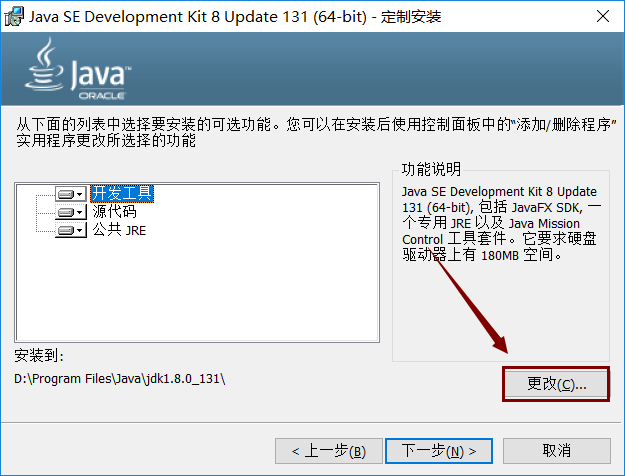
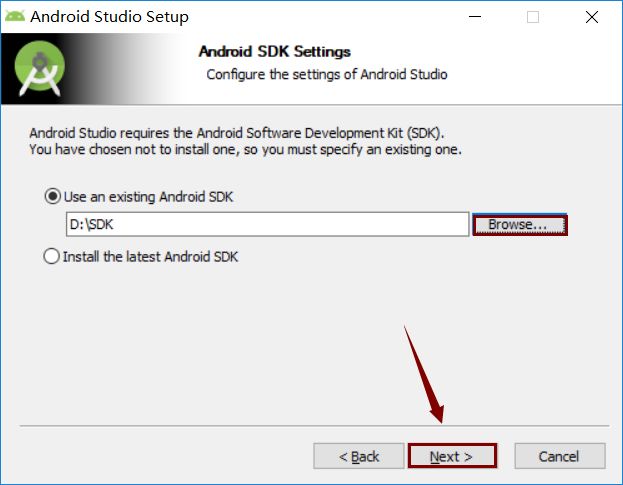
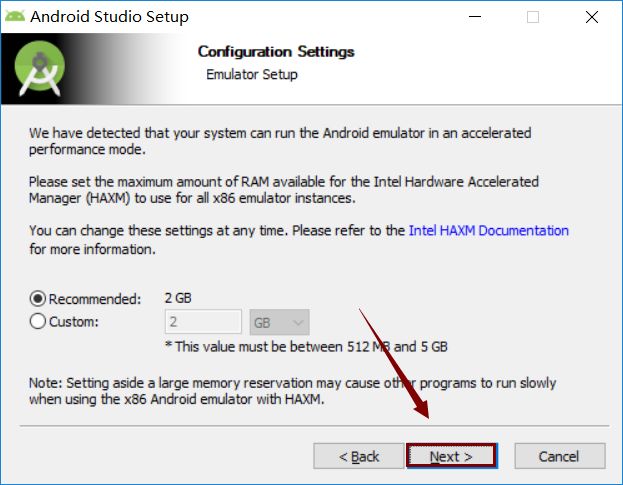
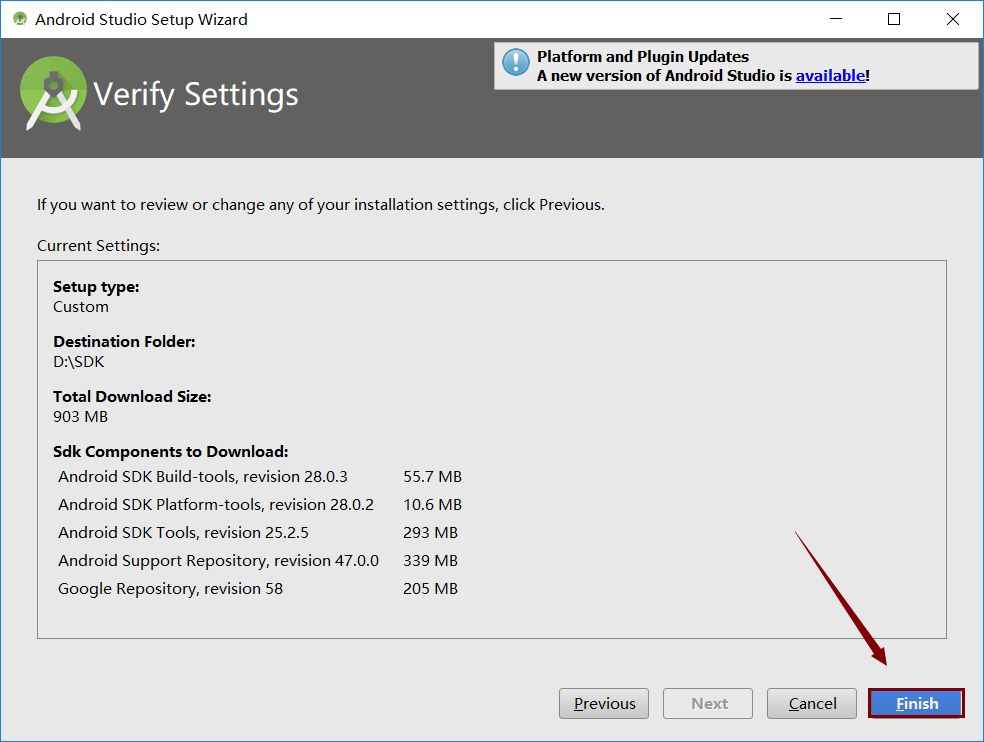
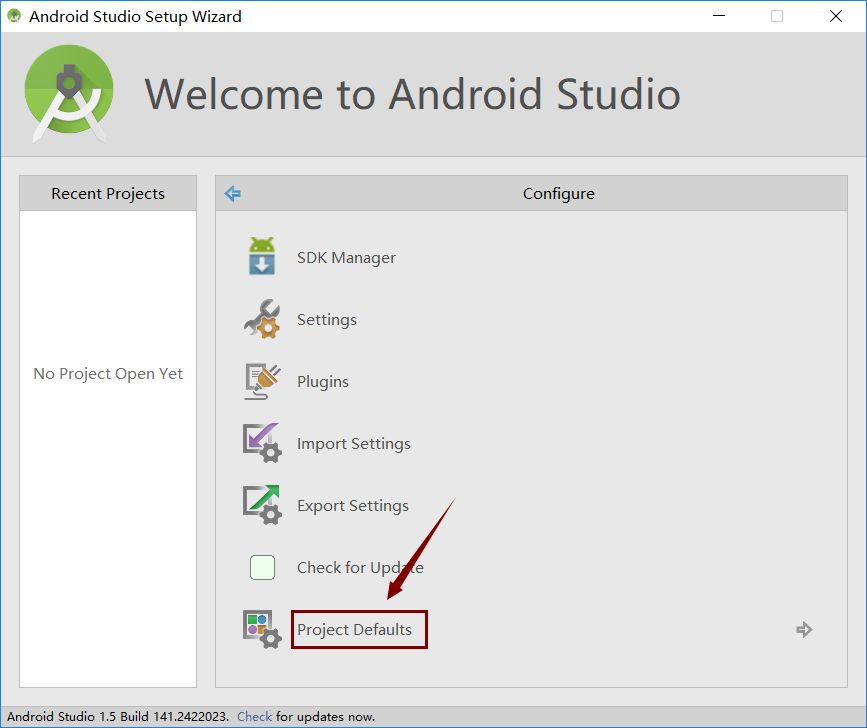