Collection | Testing | Typesetting | © Software Installation Manager Directory
© Reprint allowed, please indicate the source
Today’s Resource: Android Studio
Applicable System: WINDOWS

Software Introduction:Android Studio is a new Android development environment based on IntelliJ IDEA, similar to the Eclipse ADT plugin. Android Studio provides integrated Android development tools for development and debugging.
Android Studio
Installation Steps:
Step 1: Environment Variable Configuration
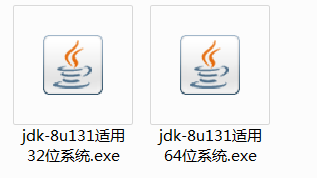
1. Install JDK, choose the jdk according to your computer’s requirements.
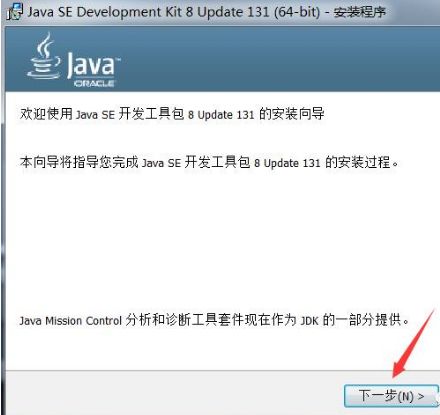
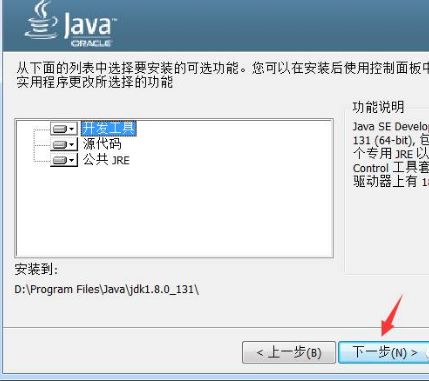
2. Next.
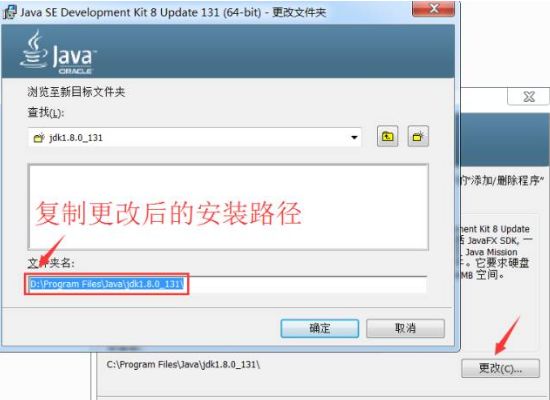
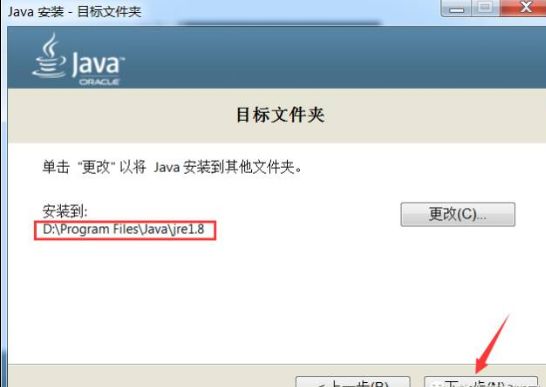
3. Remember the installation path here, it will be used to configure the environment variable.
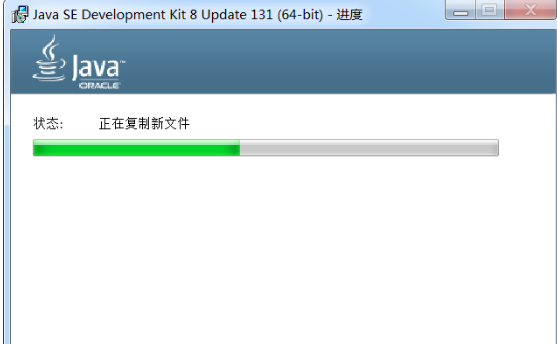
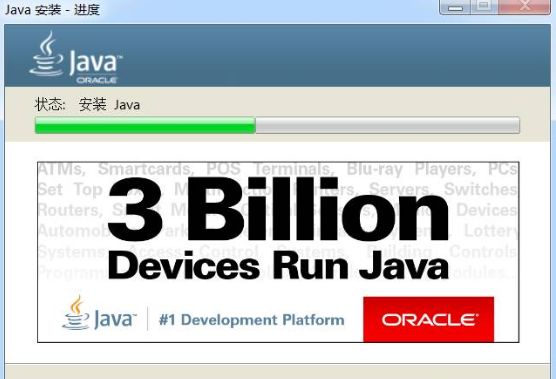
4. Installing, please wait…
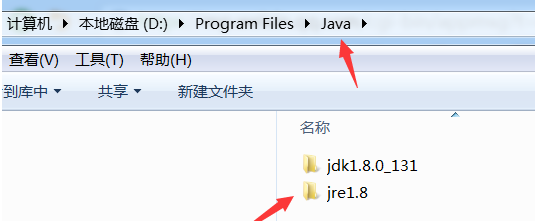
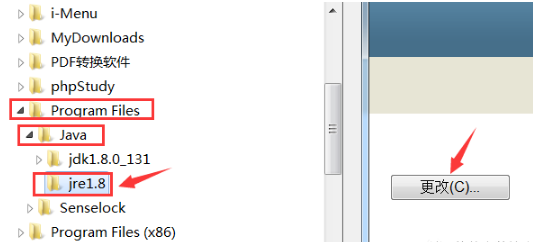
5. Create a jre1.8 folder under the installation directory (D:\Program Files\Java). Then click to change to the newly created jre1.8 folder, and click Next.
6. Waiting for installation.
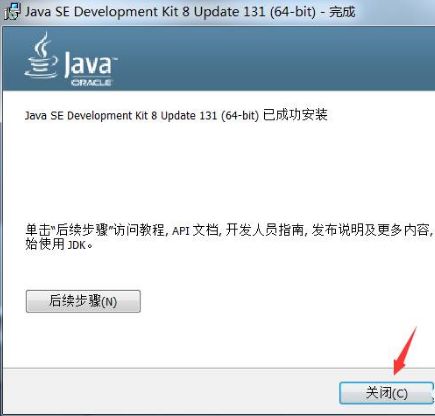
7. Close.
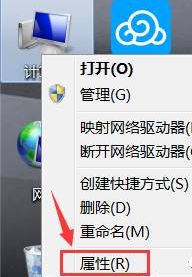
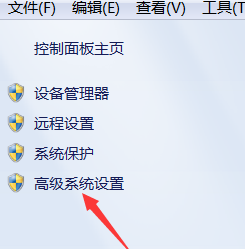
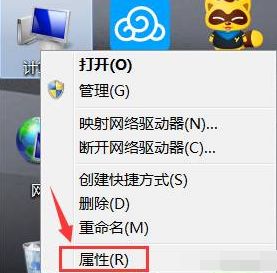
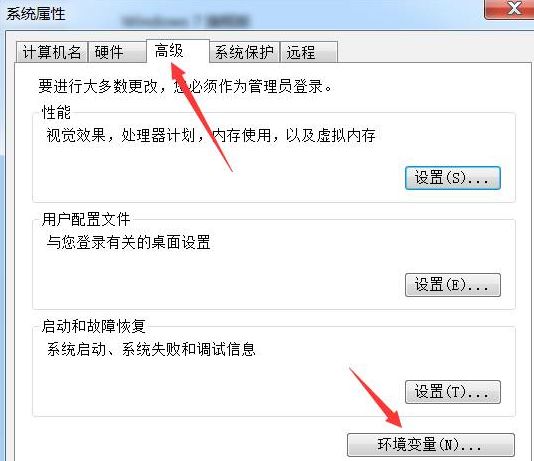
8. After installing JDK, configure the environment variable. Right-click on “Computer”. Click “Properties”.
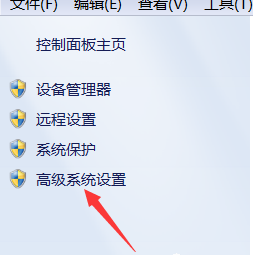
9. Click “Advanced system settings”.
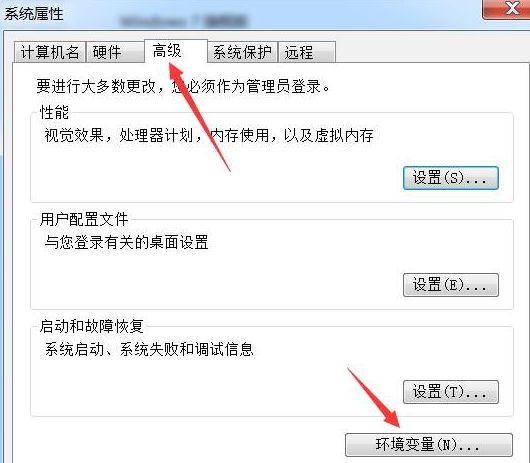
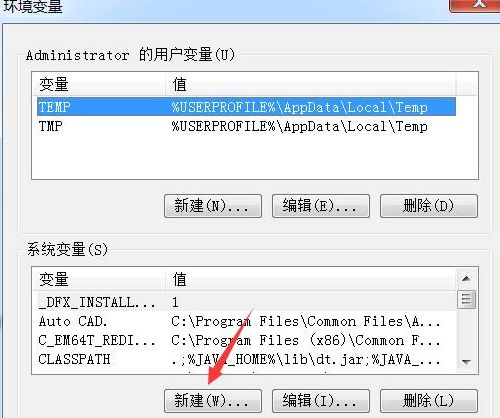
10. Click “Advanced”, then click “Environment Variables”.
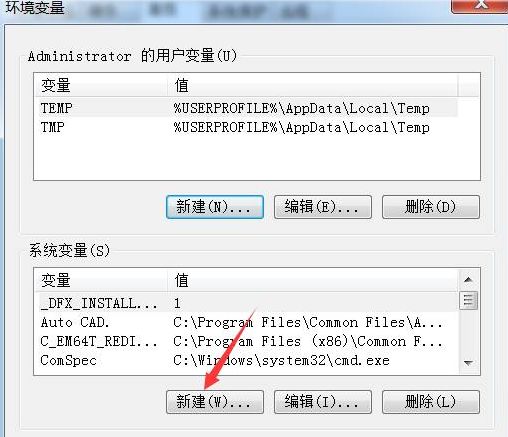
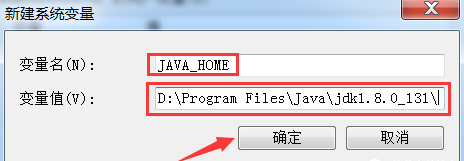
11. Click New. Variable name input JAVA_HOME, variable value input the installation path copied from step 3. D:\Program Files\Java\jdk1.8.0_131\
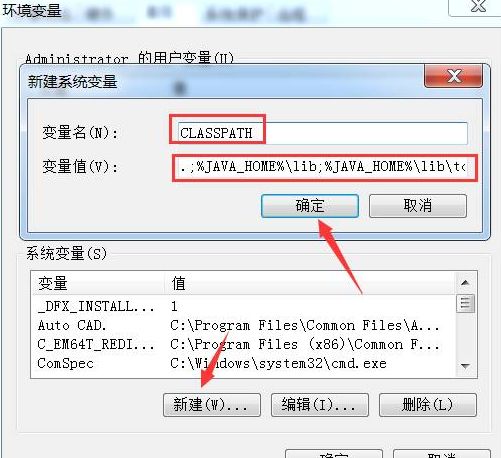
12. Click New again. Variable name input CLASSPATH
Variable value input .;%JAVA_HOME%\lib\dt.jar;%JAVA_HOME%\lib\tools.jar
13. Find Path in the system variables and click Edit.
Variable value input %JAVA_HOME%\bin;%JAVA_HOME%\jre\bin;
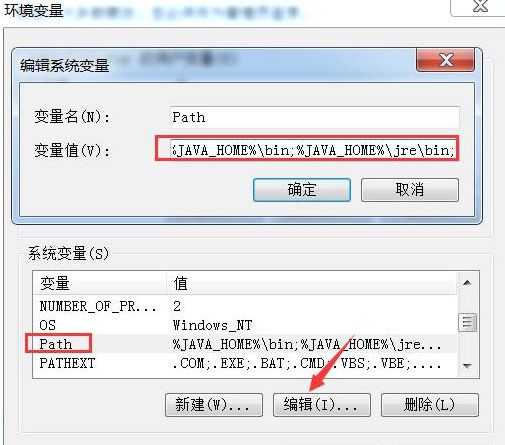
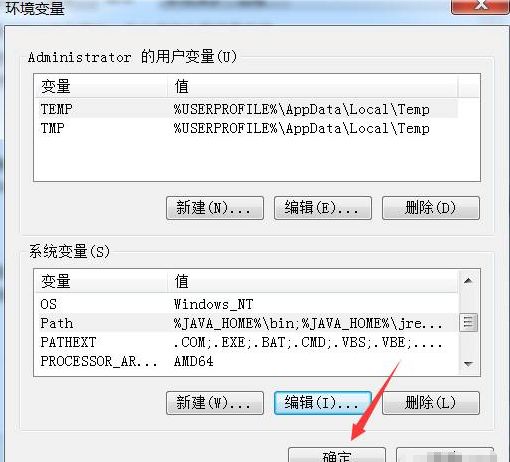
Finally, remember to click OK.
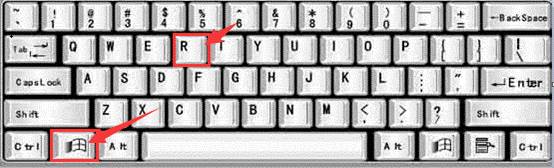
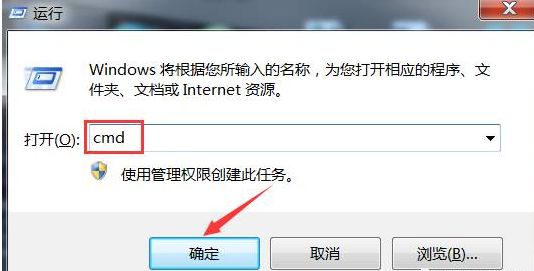
14. Check if JDK is installed successfully. Press the “WIN key + R key” on the keyboard. Enter “cmd”. Click OK.
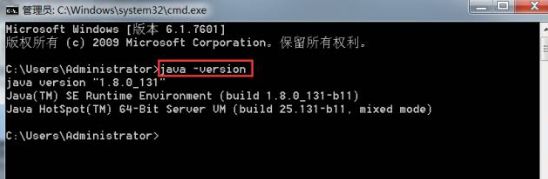
15. Enter the command: java -version (there is a space between java and -version), try the three commands java, javac (if any one fails, it means JDK environment configuration failed). If all display normally, it means configuration is successful!
When entering java -version, the successful illustration is as follows:
When entering java, the successful illustration is as follows:

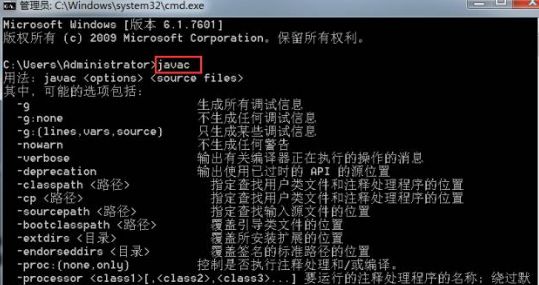
When entering javac, the successful illustration is as follows:
Step 2: Extract the SDK files (Note that the extraction path should not contain Chinese characters).
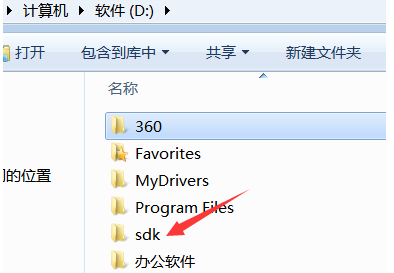
1. Create a new folder sdk on drive D or another drive.
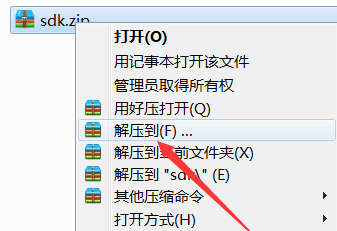
2. Right-click the sdk file, choose Extract to (F)…
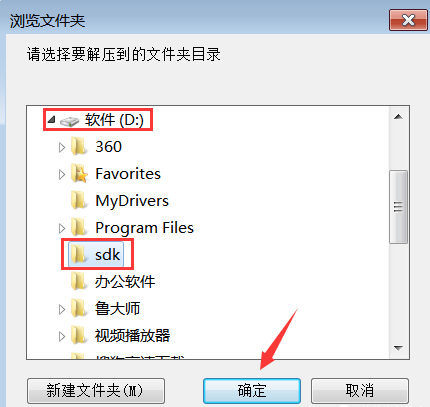
3. Choose the extraction path to the sdk folder just created.
4. Right-click “Computer”. Click “Properties”.
5. Click “Advanced system settings”.
6. Click “Advanced”, then click “Environment Variables”.
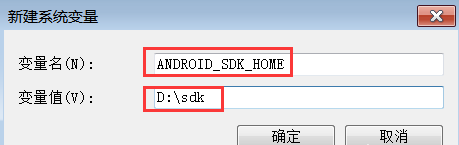
7. Click New. Variable name input ANDROID_SDK_HOME, variable value input the installation path extracted in step 3. D:\sdk

Step 3: Install Android Studio
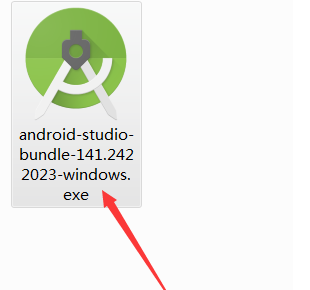
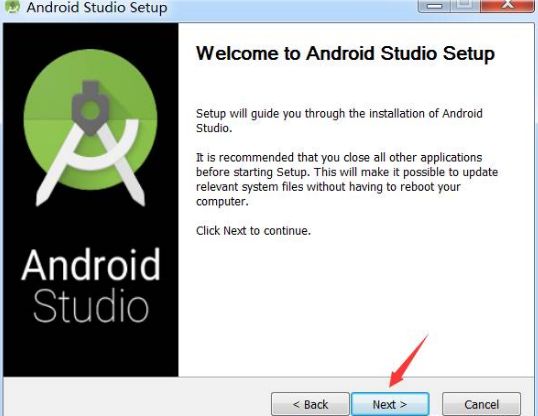
1. Double-click to open Android Studio.
2. Next
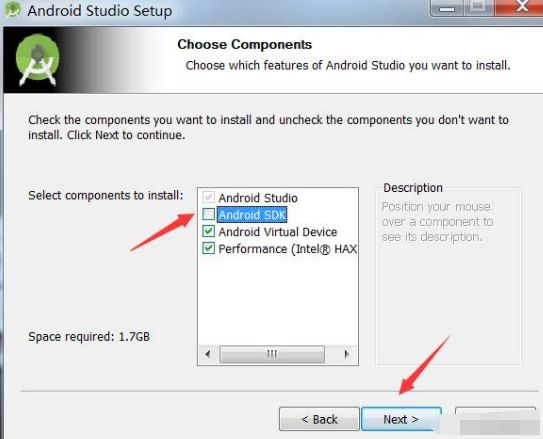
3. Do not check Android SDK, click Next
4. Click I Agree
5. Click Browse to select the sdk folder created earlier on drive D or another drive.

6. Click Browse to change the installation location of Android Studio, you can create a folder AndroidStudio on drive D or another drive.
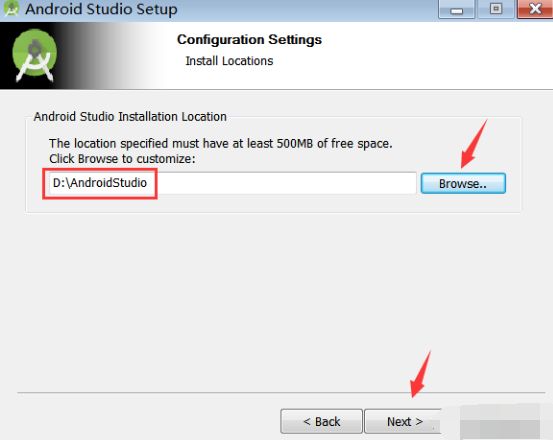
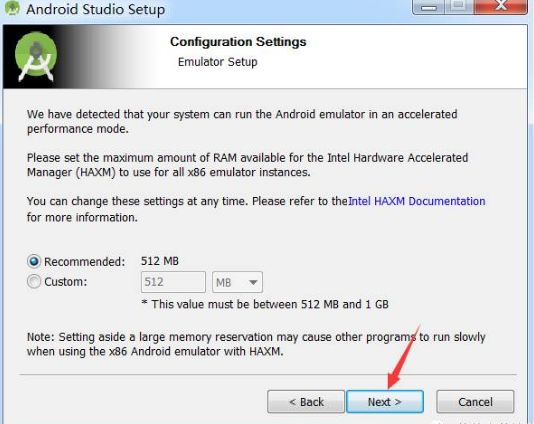
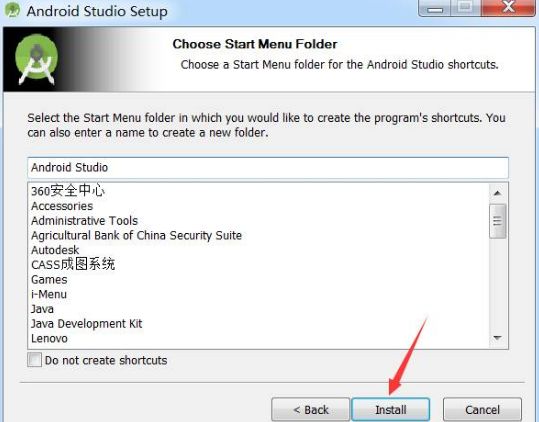
7. Click Next
8. Click Install to start the installation.
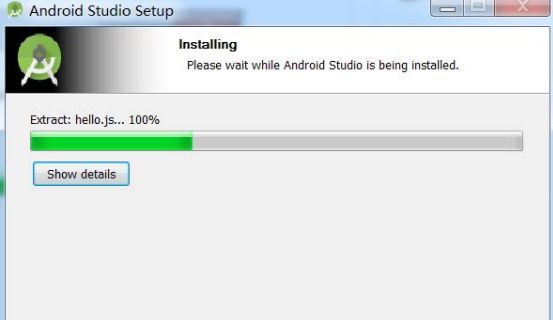
9. The installation is in progress, if you see the following prompt, just click OK, and after the installation is complete, click Next.

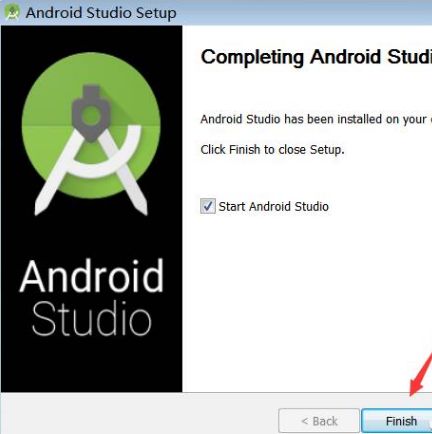
10. Click Finish
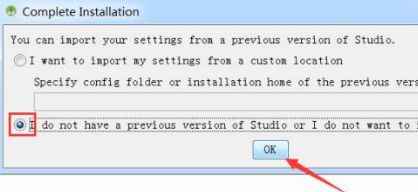
11. After opening the software, select the second option, then click OK.
12. Click Next.
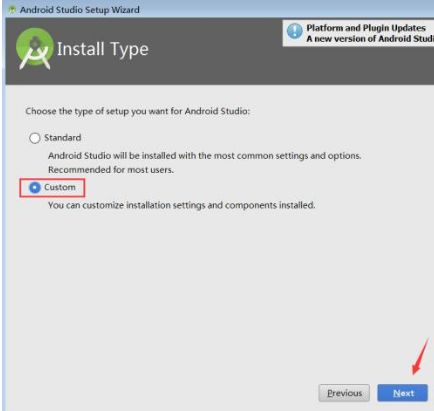
13. Select Custom and then click Next.
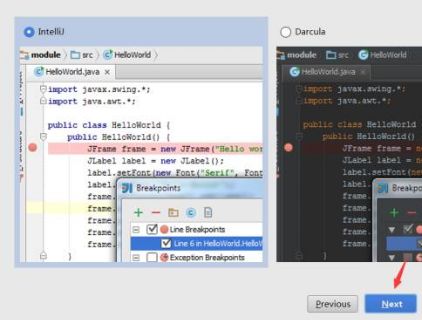
14. Click Next.
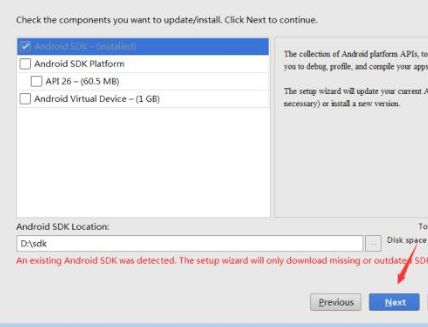
15. Click Next.
16. Click Finish.
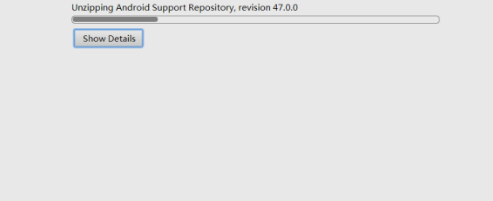
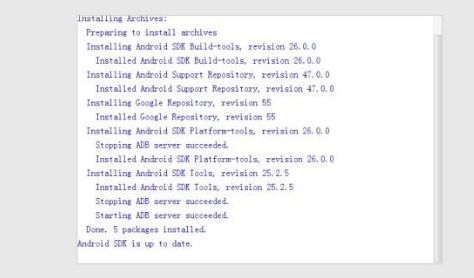
17. The progress is relatively slow, please wait a little longer.
18. Click Finish.
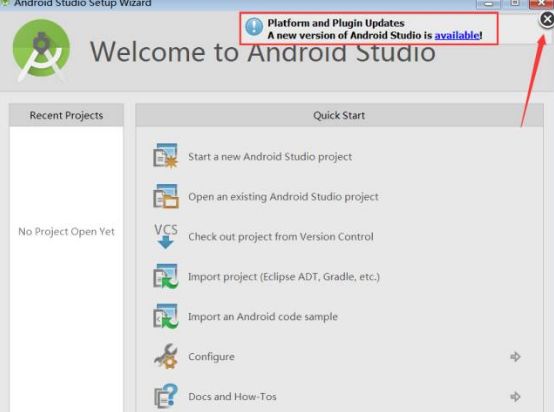
19. If there is a prompt in the upper right corner, just click close.
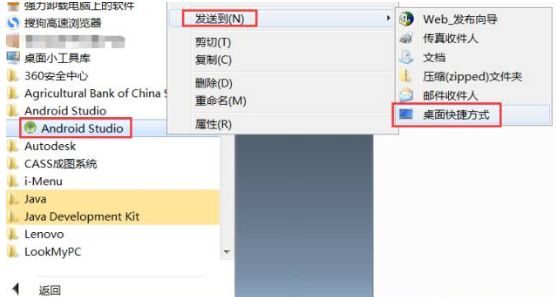
20. Find the Android Studio software icon in the start menu under all programs, then right-click to send it to the desktop as a shortcut.
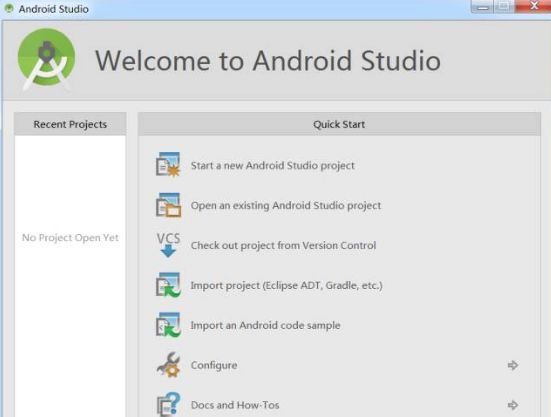
21. Installation completed.
Step 4: Configure the SDK environment for Android Studio
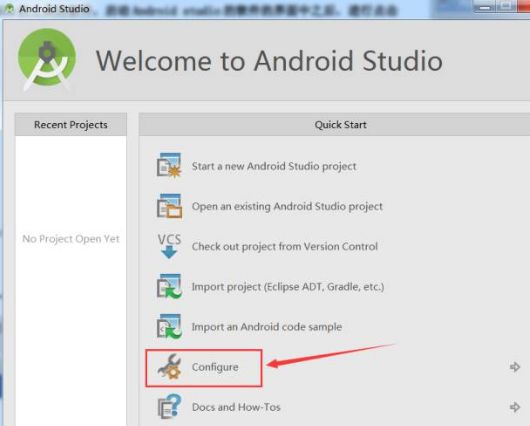
1. After starting Android Studio, click configure.
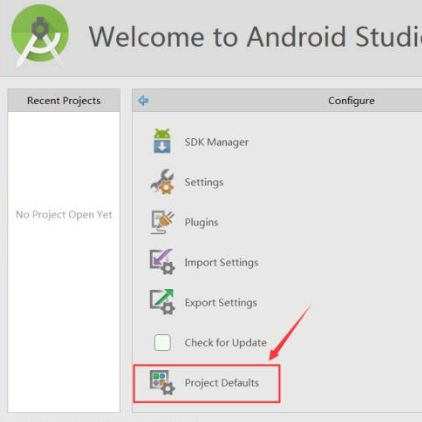
2. Click Project Defaults
3. Click Project Structure

4. Set the path according to the image below, then click OK.

Step 5: Testing
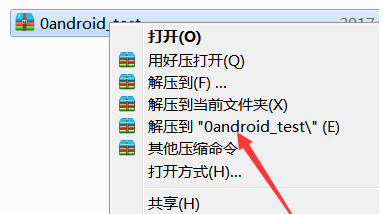
1. Extract the test project files.
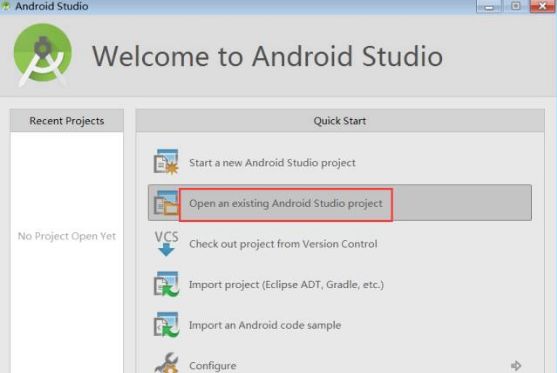
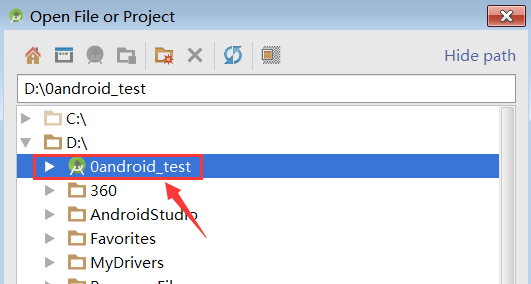
2. Click Open an existing Android Studio project.
3. Select the extracted test file Oandroid-test
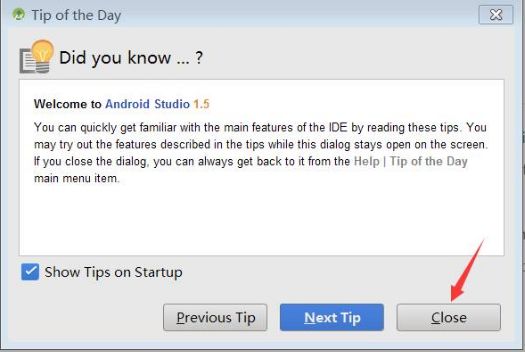
4. Click close.
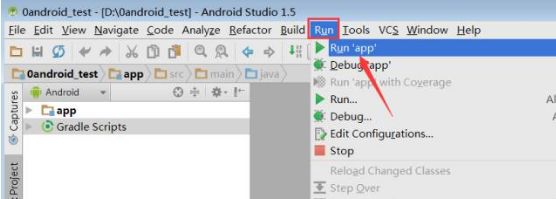
5. In the menu bar, click Run, then click Run app
6. Click OK
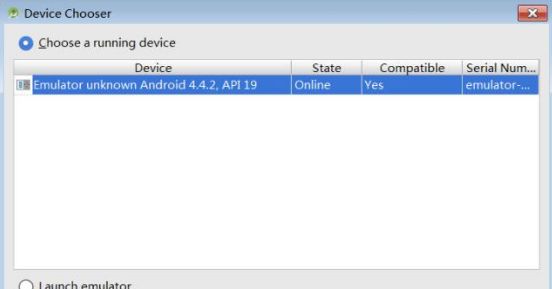
7. The program starts running
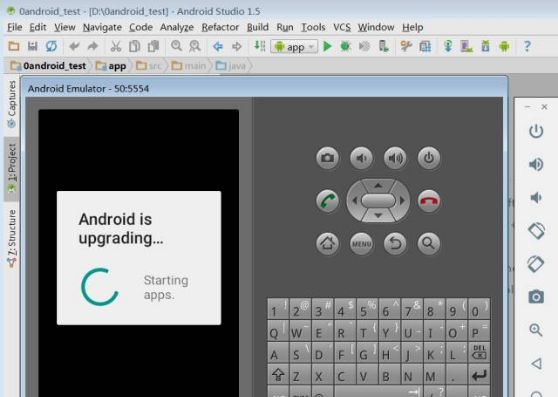
Installation completed.
【Android studio】Download link acquisition method
Click the “See” at the bottom right of the article
Long press the QR code below
Follow this public account: Software Installation Manager Directory

Reply in the dialog box: Android studio