
1. Download Arduino IDE
Open the official Arduino website:
https://www.arduino.cc/en/software
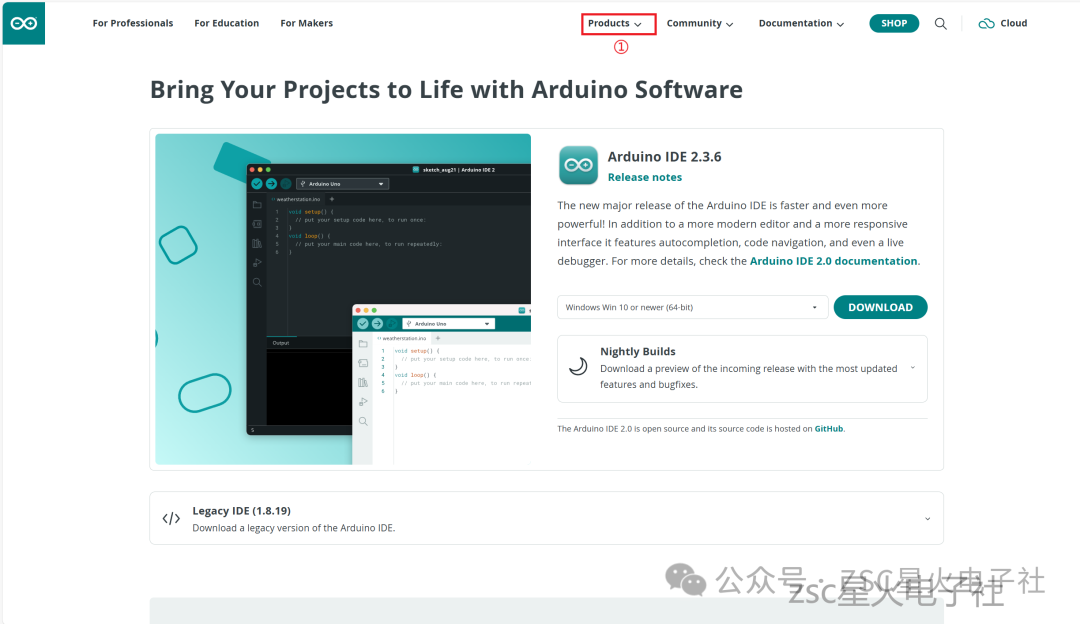
Click on “products”.
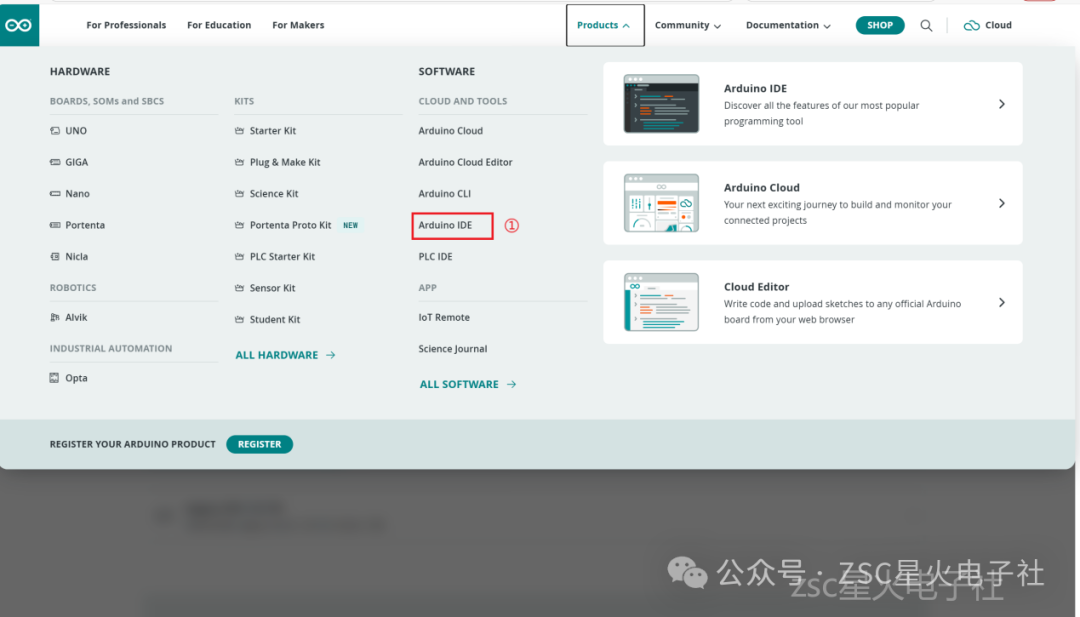
Click on “Arduino IDE”.
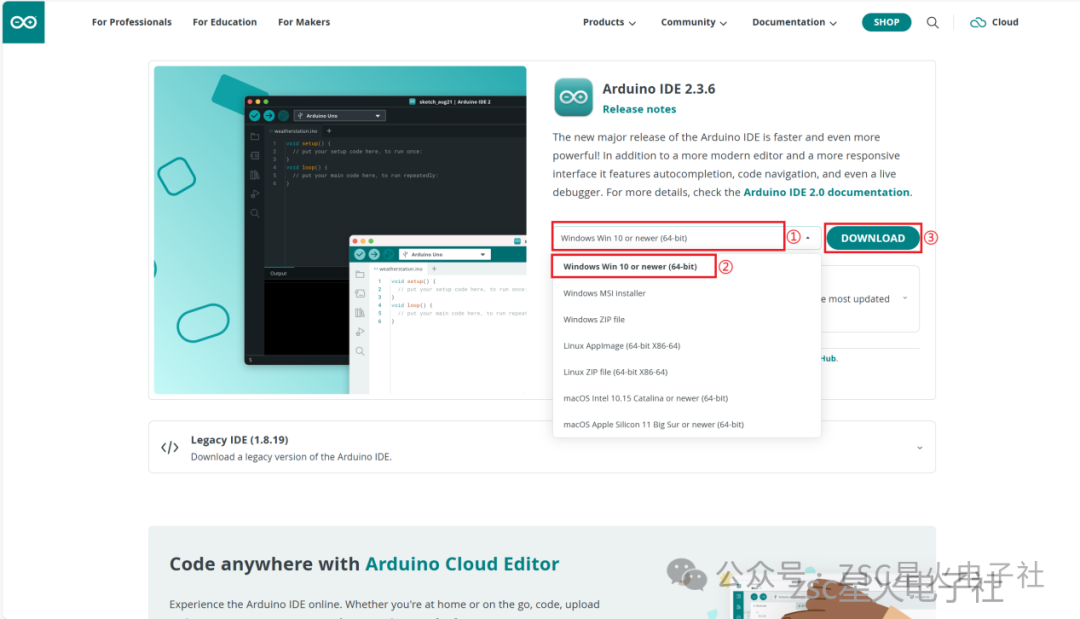
Select “Windows Win 10 or newer (64-bit)” and click “DOWNLOAD” to download it. (The “Windows ZIP file” is a compressed file that can be run directly after extraction, but requires manual configuration of some environments, which is not suitable for beginners, so it will not be covered here.)
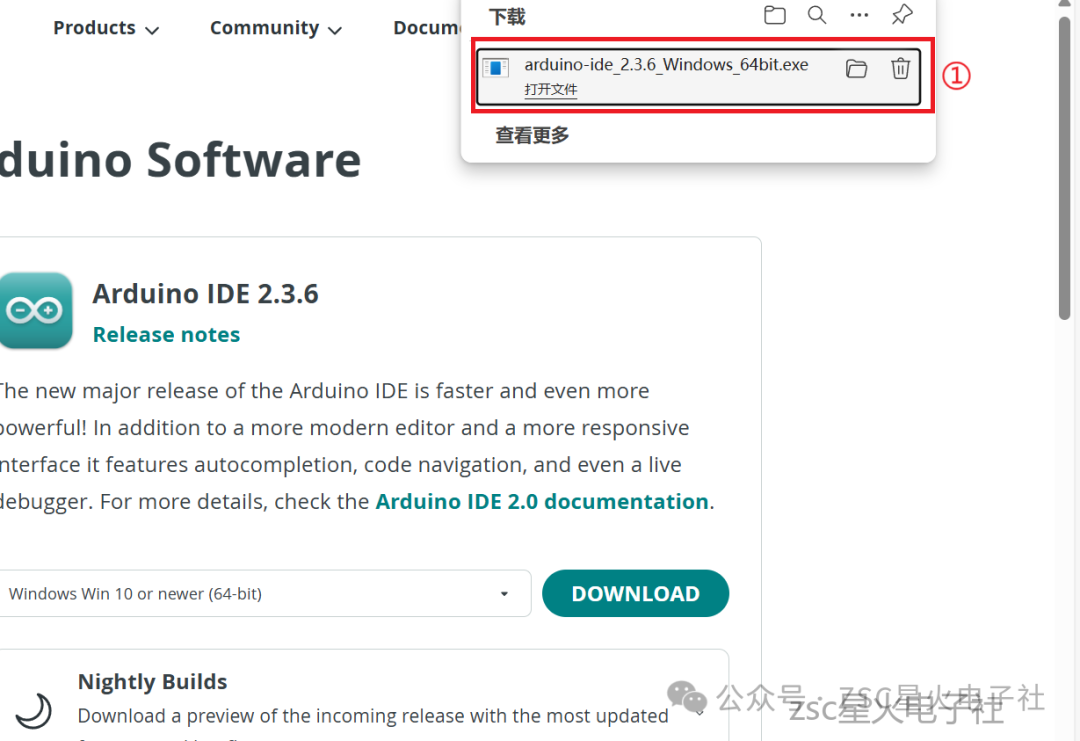
After the download is complete, click “Open File”.
2. Install Arduino IDE
Select “I agree (I)”.
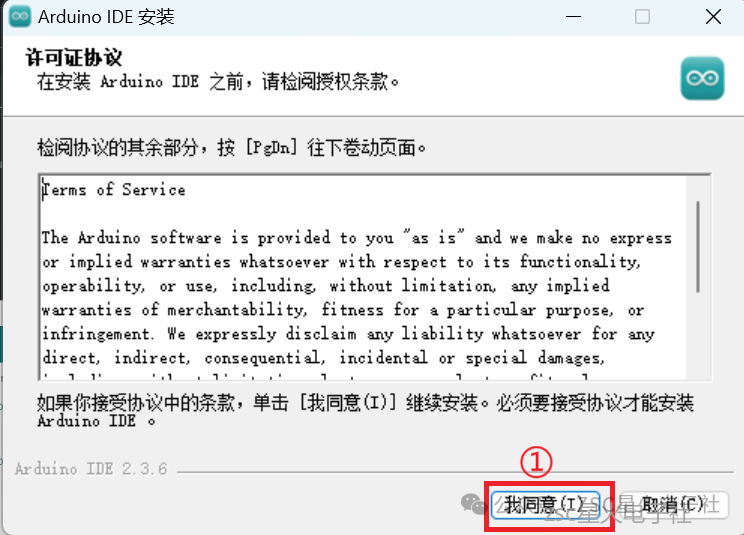
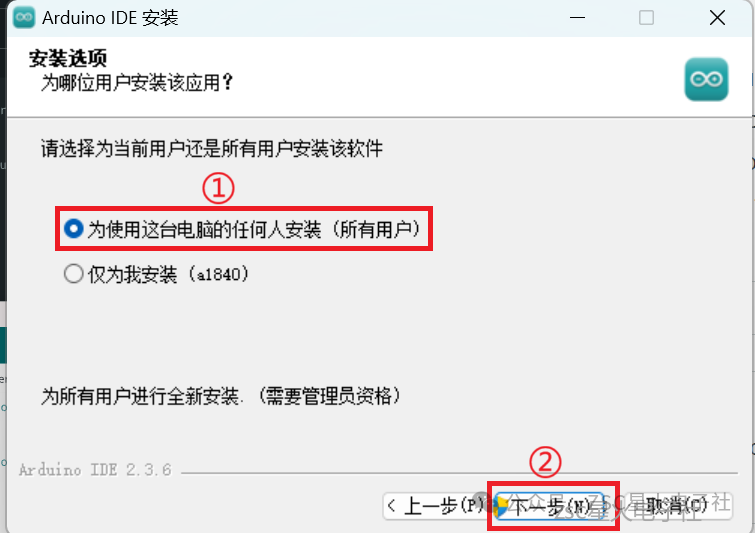
Select “Install for all users” and click next.
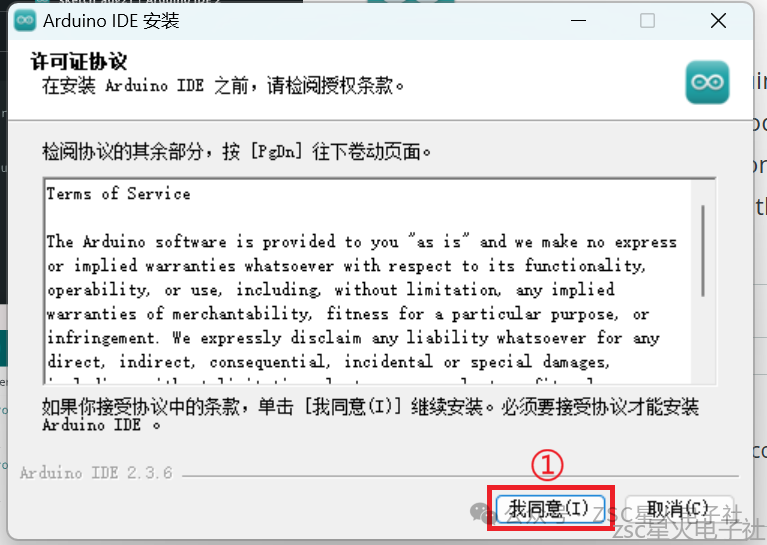
Continue clicking “I agree (I)”.
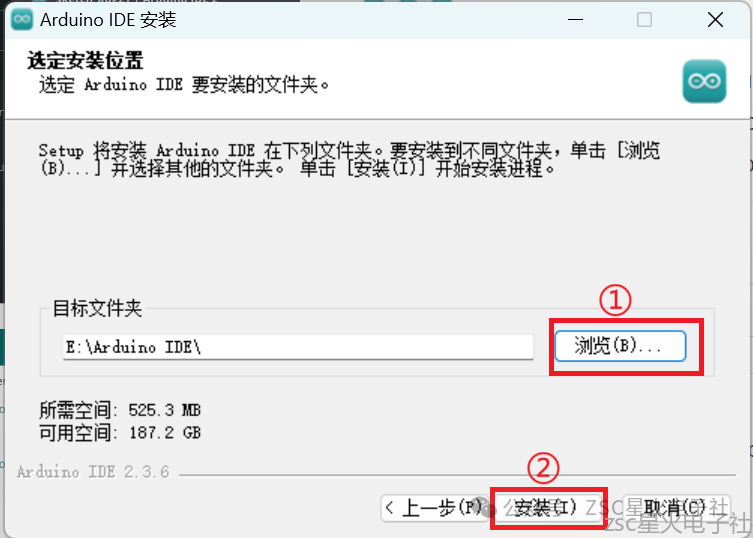
Click “Browse (B)” to place the installation files in your specified folder, then click “Install”.
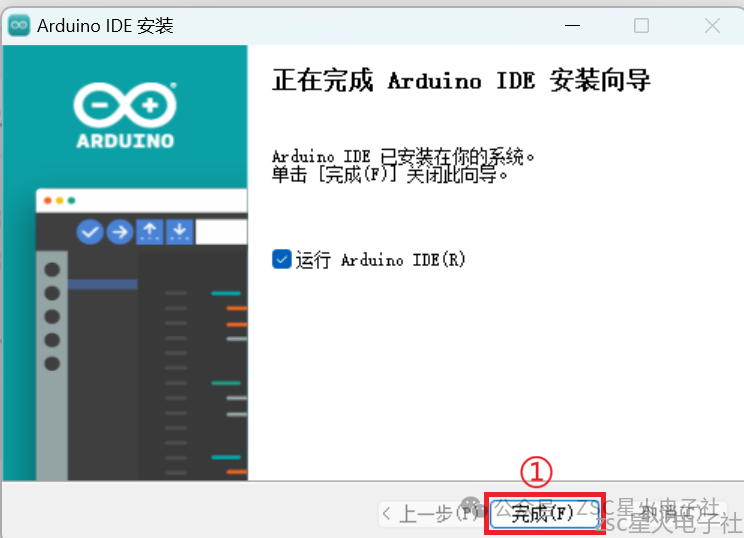
Wait for the installation to complete, then click “Finish”.
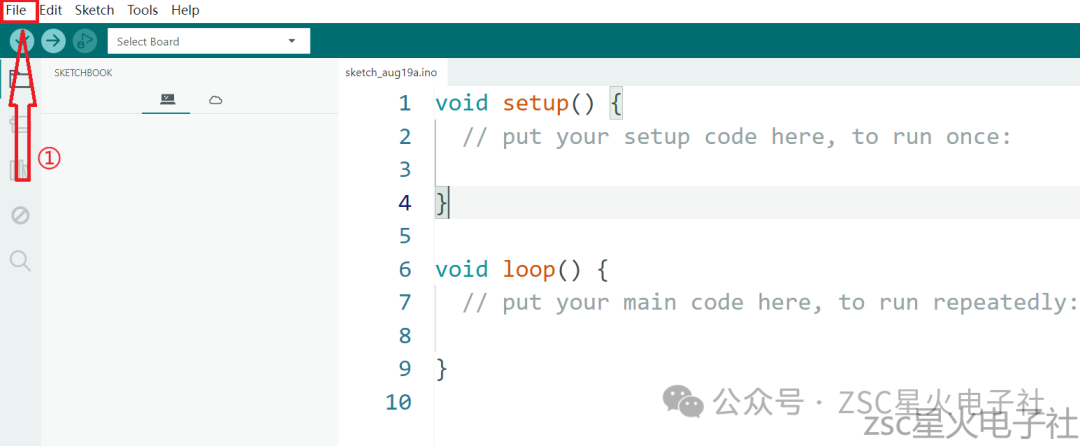
Open Arduino IDE and click “File”.
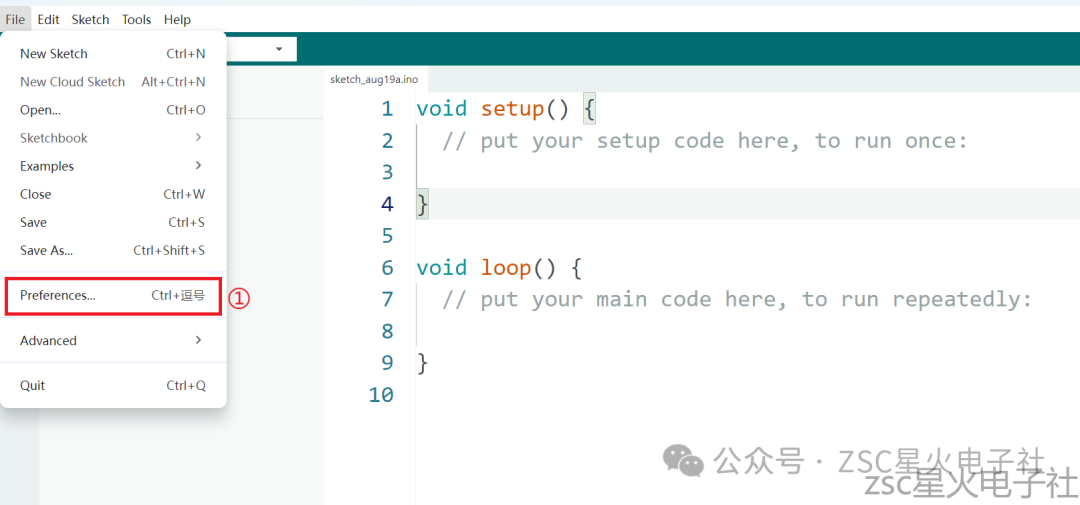
Click “Preferences…”.
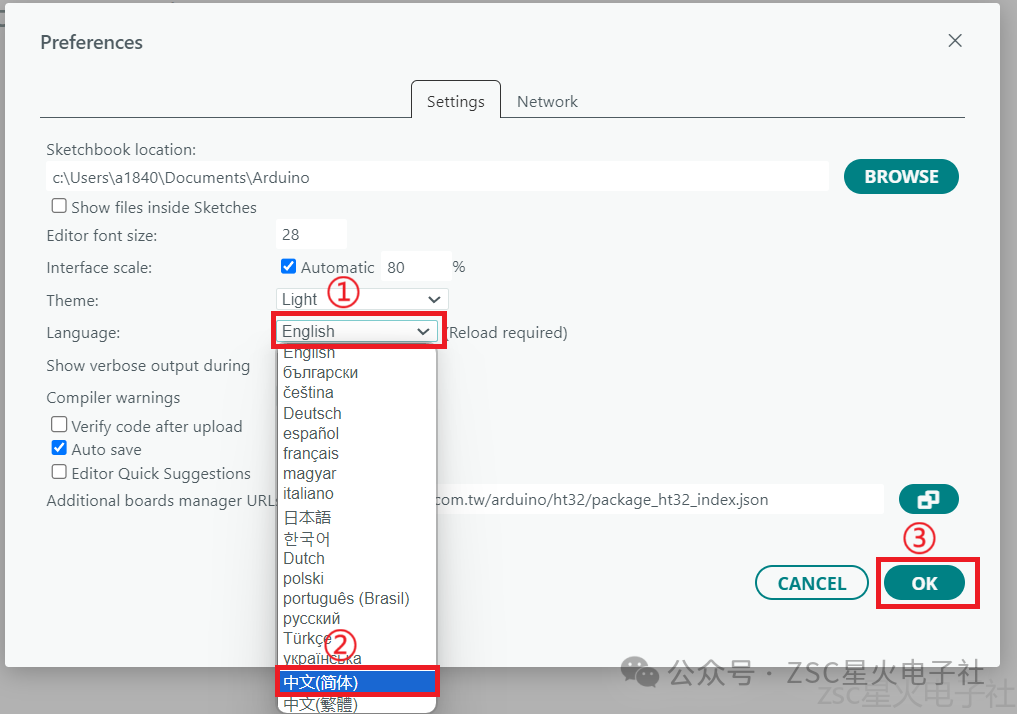
Click “language”, select “中文(简体)”, click “ok”, and wait for the software to restart.
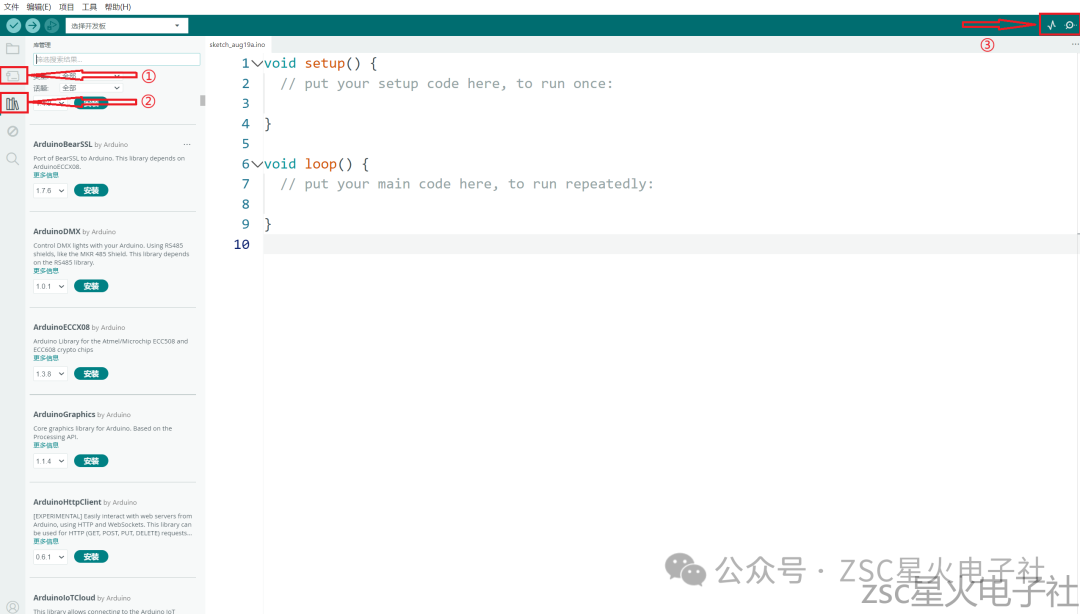
3. Introduction to the Arduino IDE Interface
① This is the board manager, which generally recognizes the board automatically when plugged in, without the need to install additional drivers.
② This is the library manager, which allows us to easily add, update, and remove the required libraries, thereby better utilizing various functions and accelerating the project development process.
③ This is the serial plotter and serial monitor, which can display numeric data output from the serial port in real-time as waveforms, making it very suitable for observing trends in sensor data changes and debugging dynamic systems.
END
With this detailed installation guide, you can successfully install Arduino IDE and start developing! Get started and embark on your Arduino creative journey! If you encounter any issues during the installation process, feel free to leave a comment for discussion.
Images and text by Xinghuo Electronics Society
First review by Zhang Hongzhen
Second review by Huang Jieyong
Third review by Gao Yong