This article is reprinted from:

Note: The code may not be fully visible on mobile, you can swipe left and right to view the code!
1How to Use YOLOv4
First, you need to set up the darknet environment by downloading the darknet GitHub repository:
$ git clone https://github.com/AlexeyAB/darknet.git
$ cd darknet
Next, you need to modify the Makefile. The official GitHub mentions the modification method for Jetson TX1/TX2, and the same applies to Jetson Nano. After setting the previous parameters, search for the ARCH section and change it to compute_53:
GPU=1
CUDNN=1
CUDNN_HALF=1
OPENCV=1
AVX=0
OPENMP=1
LIBSO=1
ZED_CAMERA=0
ZED_CAMERA_v2_8=0
......
USE_CPP=0
DEBUG=0
ARCH= -gencode arch=compute_53,code=[sm_53,compute_53]
Then you can proceed to build:
$ makeIf you encounter an error stating that nvcc cannot be found during the build process, as shown in the image below:

You can add the absolute path after NVCC in the Makefile:
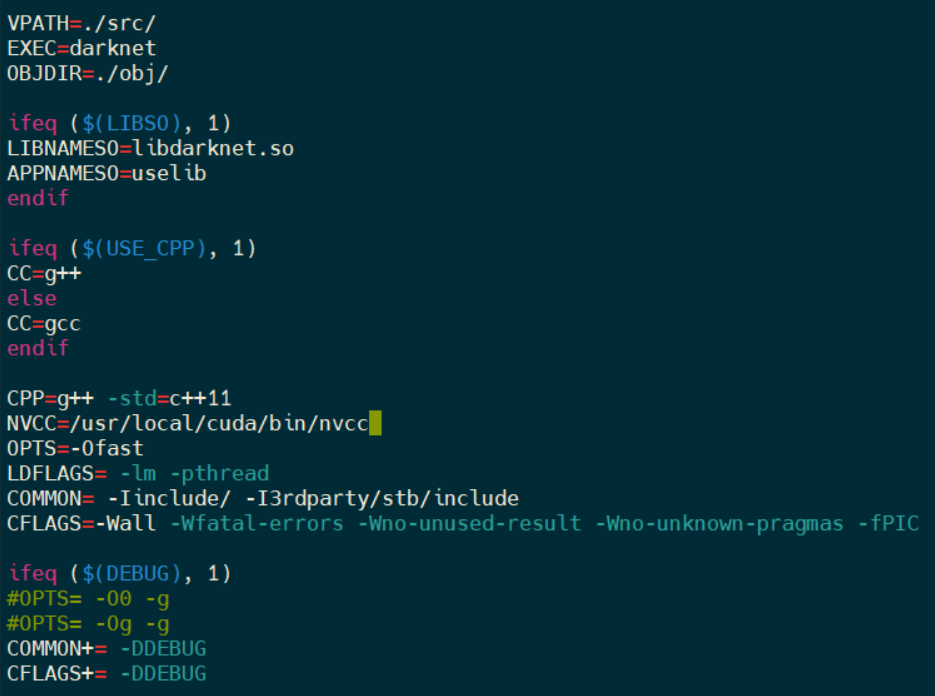
Then run make again. If there are no error messages, it means the build is successful!
2Using YOLOv4 for Inference
We need to download the YOLOv4 weights to use:
wget https://github.com/AlexeyAB/darknet/releases/download/darknet_yolo_v3_optimal/yolov4.weights \
       -q --show-progress --no-clobber
There are three basic inference methods: image, video, and camera (real-time video). We will introduce the usage methods one by one! In addition to executing the darknet executable, you also need to provide the mode, dataset, and configuration file:
./darknet detector test ./cfg/coco.data ./cfg/yolov4.cfg ./yolov4.weightsYou can use –help to see the help:
./darknet detector --help
If you want to test an image, you need to use the test mode, which will prompt you to enter the image location after execution. However, note that if you press any key to exit, the image will not be saved:
./darknet detector test cfg/coco.data cfg/yolov4.cfg yolov4.weights -thresh 0.25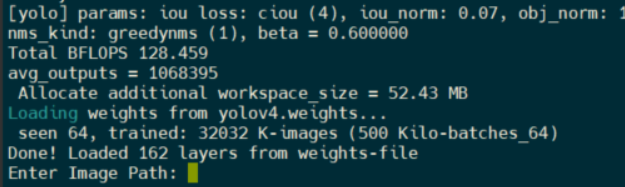
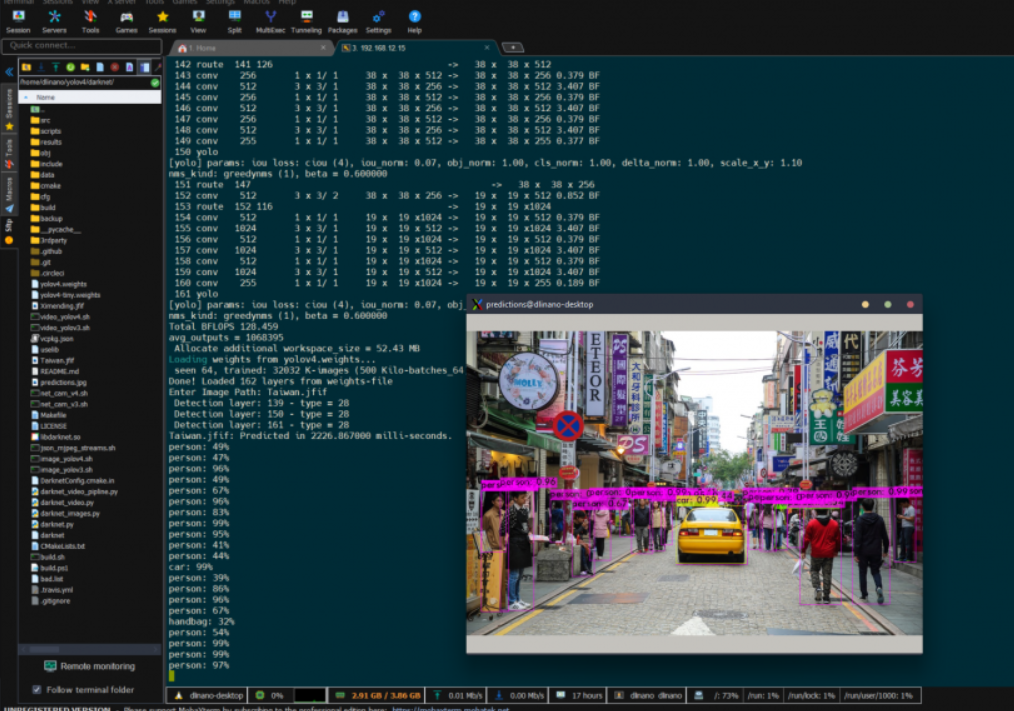
If you want to specify an image and save the results, you can add the -ext_output option. The result will be saved as prediction.jpg. Here I use another image as an example (Ximending.jfif):
./darknet detector test cfg/coco.data cfg/yolov4.cfg yolov4.weights -ext_output Taiwan.jfif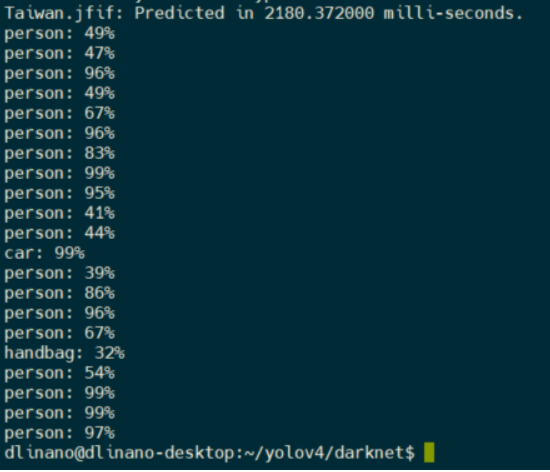
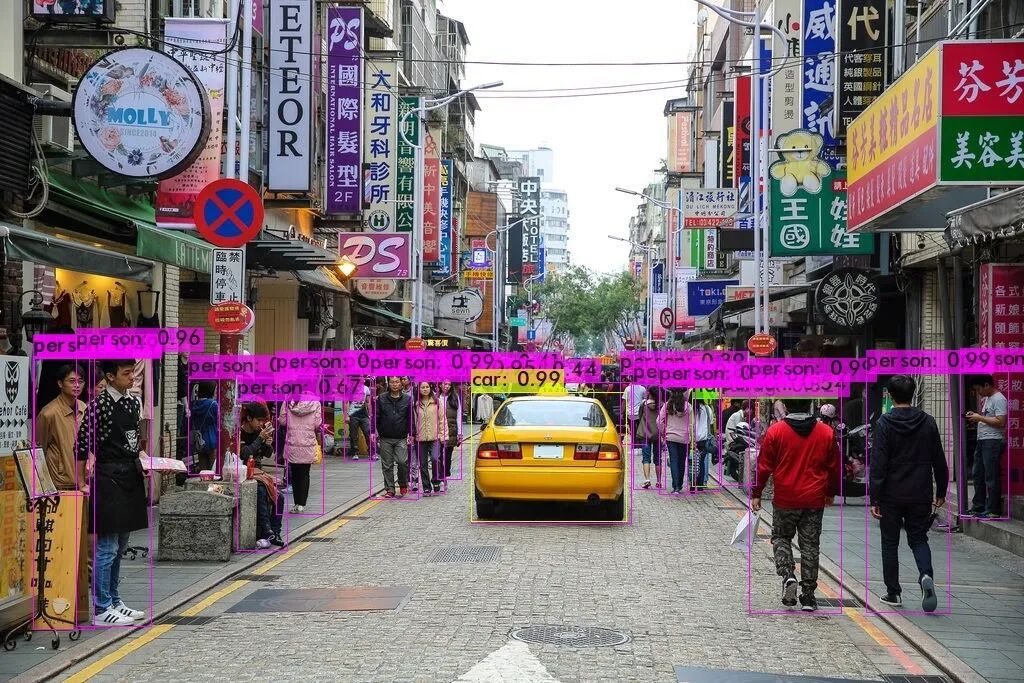
If you want to use a video or camera, you can operate through the demo command. If you use -ext_output, it will overwrite the original file. If you want to save it as a different file, you need to use -out_filename:
./darknet detector demo cfg/coco.data cfg/yolov4.cfg yolov4.weights sample.mp4 -out_filename sample_.mp4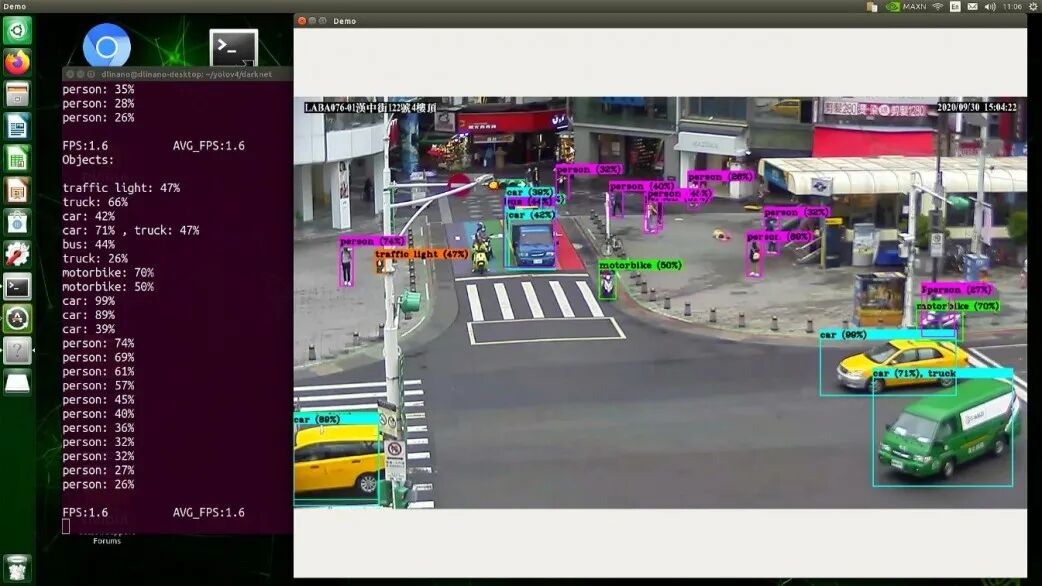
To perform real-time recognition using a camera, you need to add -c to the parameters:
$ ./darknet detector demo cfg/coco.data
                          cfg/yolov4.cfg
                          yolov4.weights
                          -c 0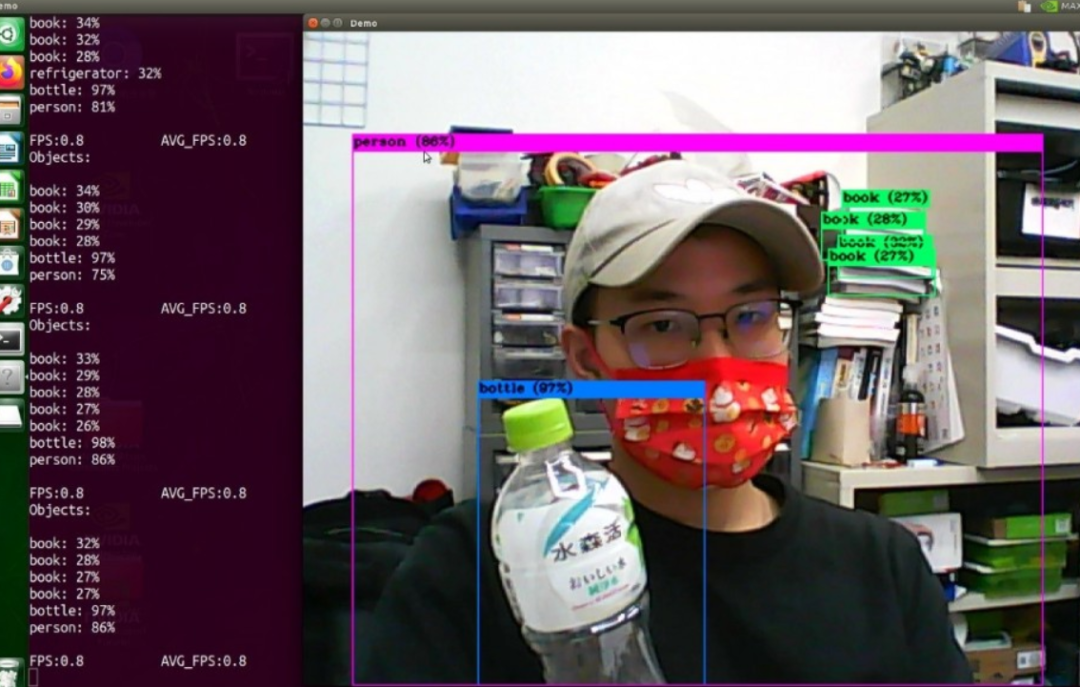
You can see that the FPS is around 0.8 (on the terminal screen), with a noticeable delay, but the recognition results are acceptable.
3Modifying Input Dimension Size
We can also directly modify the input and output image sizes. I will use a simpler syntax to copy yolov4.cfg and name it yolov4-416.cfg, and directly use nano to change the input size to 416. The && means to execute the next command after the previous one completes:
$ cp cfg/yolov4.cfg cfg/yolov4-416.cfg && nano cfg/yolov4-416.cfg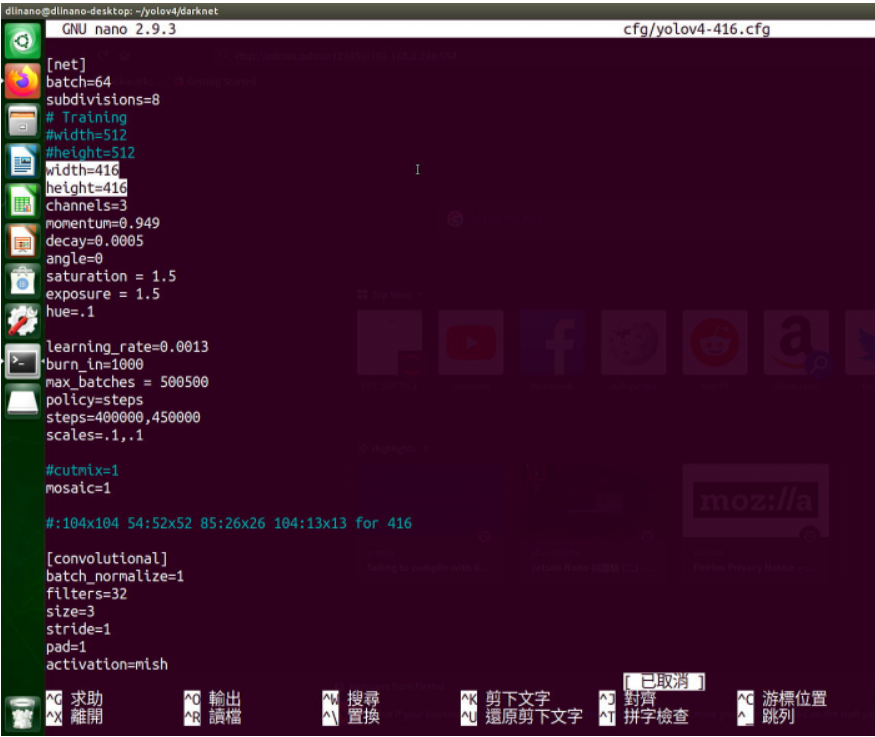
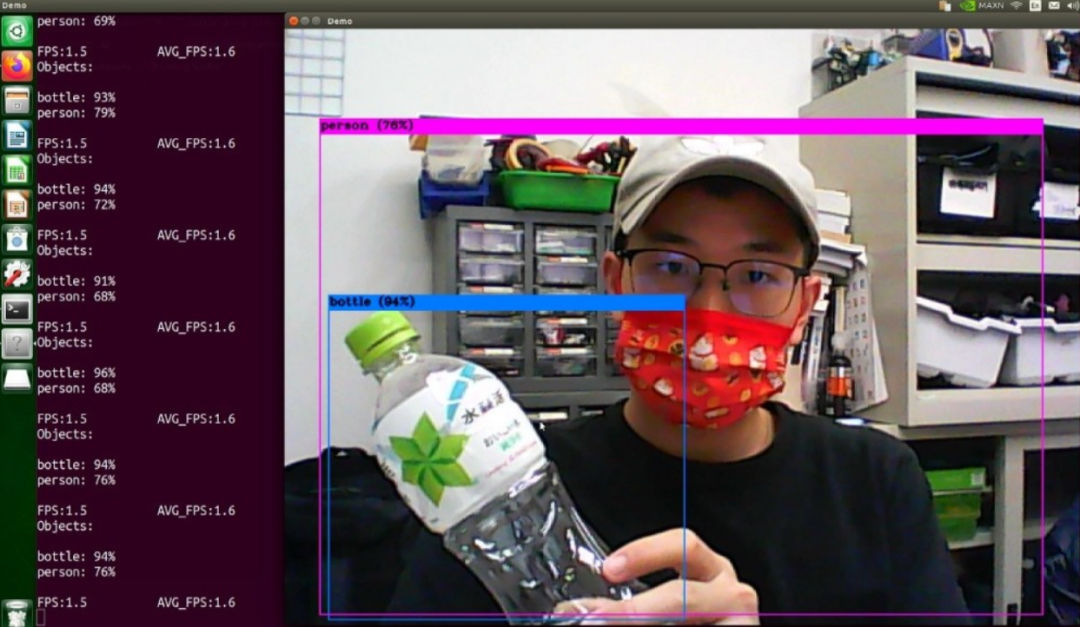
In the image below, you can see that after reducing the image size, the FPS increased significantly from 0.8 to 1.5. Note! This example only provides a method to modify the input size, as sometimes the size of the images or videos you use may differ and require slight modifications. The recommended size by the official documentation is above 608, as reducing the image size may lead to poorer recognition results:
4Using a Smaller Structure YOLO (Yolov4-Tiny)
The next method to speed up is to use yolov4-tiny.weights, a smaller version of YOLOv4. This smaller version refers to the structure of the neural network model, which we generally use on devices with lower computational capabilities compared to the display adapter (e.g., edge devices). For implementation, we first need to download the weights:
$ wget https://github.com/AlexeyAB/darknet/releases/download/darknet_yolo_v4_pre/yolov4-tiny.weightsNext, when using the camera, note that the config (cfg) file needs to be changed to yolov4-tiny.cfg, as the architectures of yolov4 and yolov4-tiny are different. The config file provides the structure of the neural network:
$ ./darknet detector demo cfg/coco.data
                          cfg/yolov4-tiny.cfg
                          yolov4-tiny.weights
                          -c 0
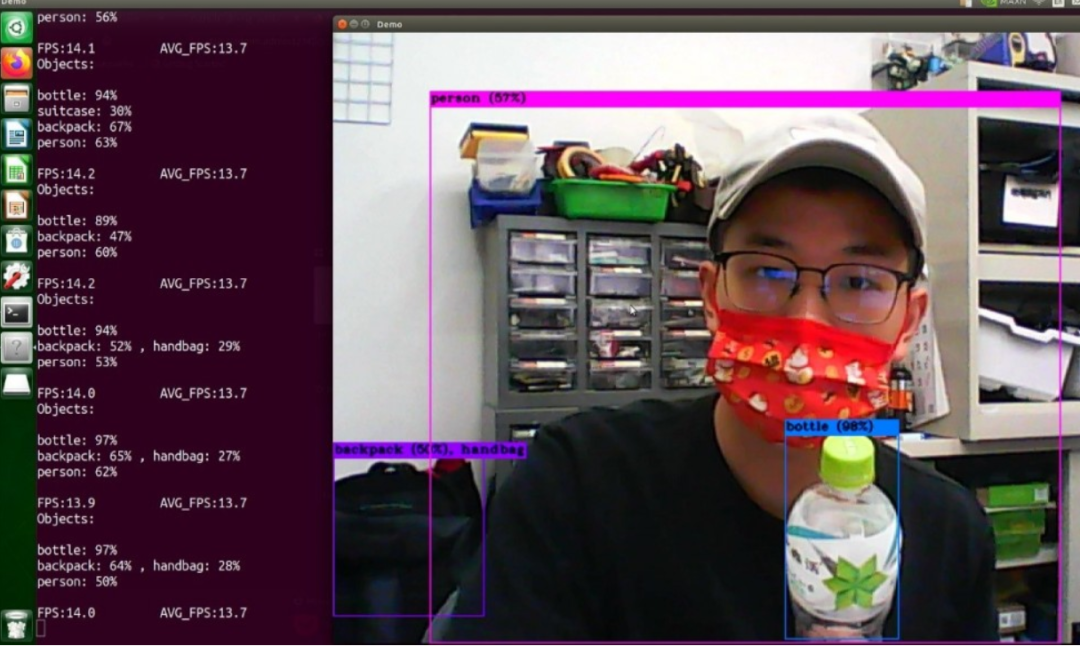
You can see that the FPS has reached 14, and the delay has significantly decreased:
5Using TensorRT Engine for Acceleration
Next is the TensorRT version. A brief introduction to TensorRT (hereinafter referred to as TRT): it is an acceleration engine that can be used on NVIDIA display adapters with CUDA cores. To use the TRT engine for acceleration, you first need to convert the neural network model to ONNX format.
Downloading and Installing the Environment
Many applications have been developed using Yolov4, and the conversion part has already been completed by others, so we can directly use the GitHub provided online:
$ git clone https://github.com/jkjung-avt/tensorrt_demos.gitAfter downloading, you can directly execute install_pycuda.sh in the ssd folder:
$ cd ${HOME}/project/tensorrt_demos/ssd
$ ./install_pycuda.sh
If it shows nvcc not found, you need to manually modify the install_pycuda file. We need to store the absolute path of CUDA in the environment variable:

Open it with the nano editor and modify the content in the iffi section as follows, and remember to comment out the original content:
$ nano ./install_pycuda.sh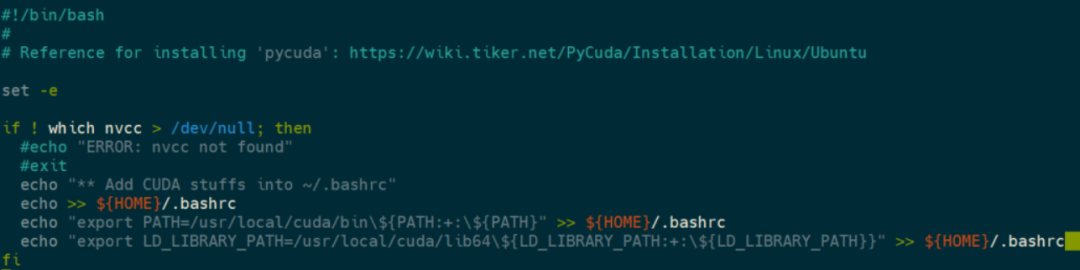
After installation, it should display finished processing dependencies. You can also use pip3 list to check if pycuda is installed successfully:

Next, you need to install onnx. First, install the dependencies, then install onnx version 1.4.1:
$ sudo apt-get install protobuf-compiler libprotoc-dev
$ sudo pip3 install onnx==1.4.1
After everything is completed, we need to build the related programs:
$ cd ${HOME}/project/tensorrt_demos/plugins
$ make
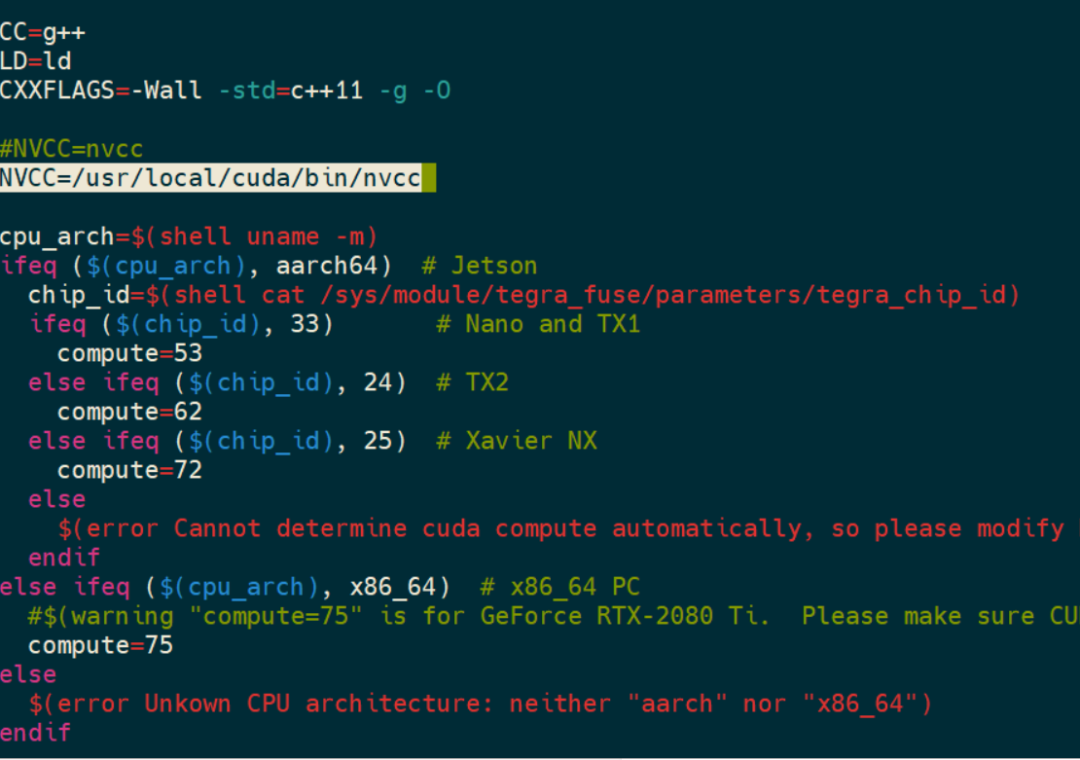
You may notice the nvcc issue again. At this point, you need to modify the Makefile to resolve it by changing NVCC=nvcc to NVCC=/usr/local/cuda/bin/nvcc:
6Downloading and Converting the YOLO Model
Next, you need to download the model weights. You will see that it downloads three different versions of yolo3 and yolo4 and places them directly in the current folder. Note that the downloaded models are the same as the YOLOv4 mentioned earlier, so you can also use the copy method or directly write the absolute path for conversion:
$ cd ${HOME}/project/tensorrt_demos/yolo
$ ./download_yolo.sh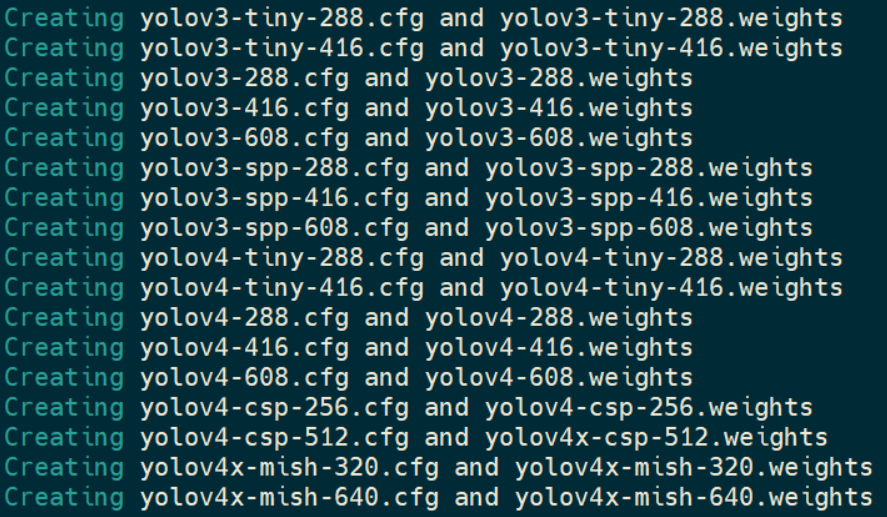
Finally, you can execute yolo_to_onnx.py to convert the YOLO weights to ONNX files, and then compile them into models usable by TRT. In onnx_to_tensorrt.py, I recommend using -v to see the progress; otherwise, it can be a bit nerve-wracking to watch the screen without any movement:
$ python3 yolo_to_onnx.py -m yolov4-416
$ python3 onnx_to_tensorrt.py -m yolov4-416 -v
The conversion to ONNX takes about 15 minutes and will be saved as yolov4-416.onnx. The conversion to TRT takes about the same time and will be saved as yolov4-416.trt.
7Running YOLOv4-416 with TRT
Here we use –usb to indicate using a USB camera, and –model to select a specific model:
$ cd ${HOME}/project/tensorrt_demos
$ python3 trt_yolo.py --usb 0 --model yolov4-416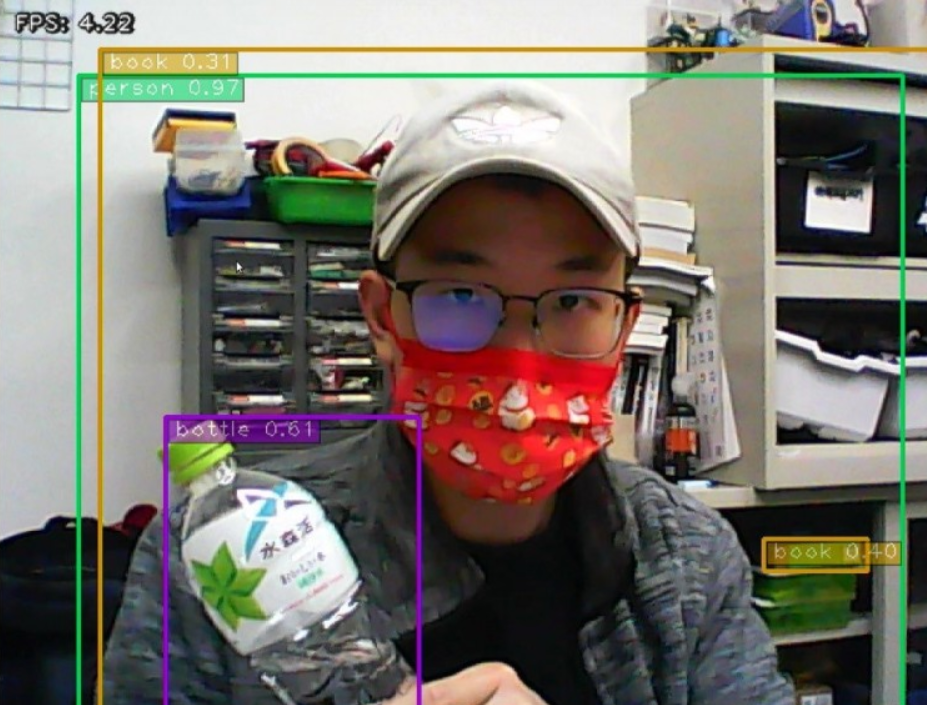
The FPS value is displayed in the upper left corner, and the actual measurement is around 4.2 to 4.5. This time we used the 416 dimension, which is nearly three times faster than Darknet without using the TensorRT engine (FPS 1.5).
The input part just now used a USB camera, and the author has provided a comprehensive guide. In utils/camera.py, you can see the input options, and you can also use –help to view:
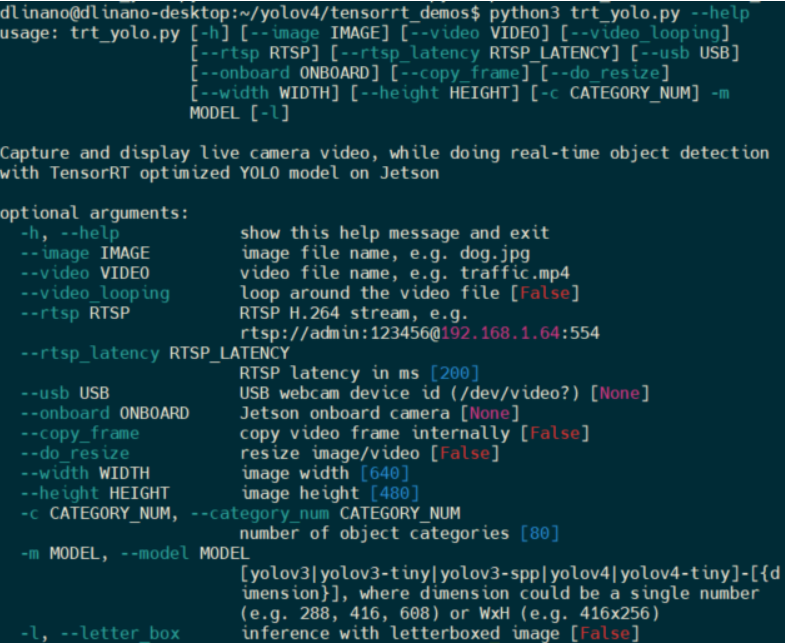
Options for images (–image), videos (–video), looping videos (–video_lopping), and network cameras (–usb) are all available.
Running YOLOv4-Tiny-416 with TRT
Next, to pursue even faster speeds, we will test the tiny version:
$ python3 yolo_to_onnx.py -m yolov4-tiny-416
$ python3 onnx_to_tensorrt.py -m yolov4-tiny-416 -v
$ cd ${HOME}/project/tensorrt_demos
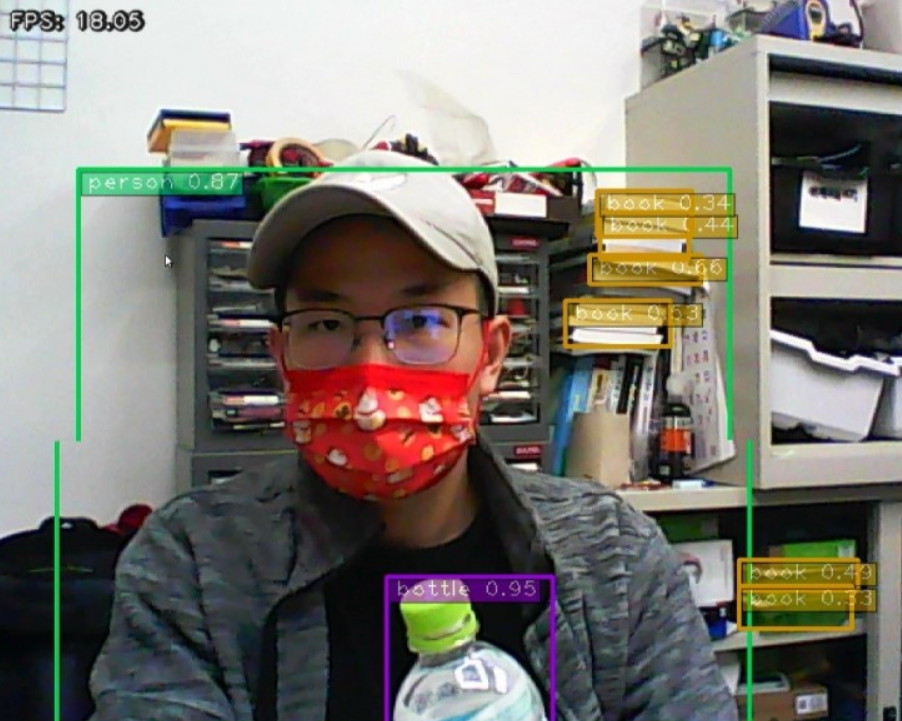
$ python3 trt_yolo.py --usb 0 --model yolov4-tiny-416
Using tiny, the FPS reaches 18.05, which is already a good performance! However, because it is tiny, the recognition performance is not as good as expected:
More:
Real-time sound monitoring platform based on Jetson Nano
Building a bottle-picking robot with Jetson NANO
How to analyze performance bottlenecks in machine learning