Skip to content
Although PCB manufacturing online has become very quick and cheap, with some manufacturers even offering free test board production, compared to making a test circuit board in “one minute“, sending out for board production still takes too long.
For circuits that need testing, quick prototyping allows for rapid iteration to complete experimental circuits. The final official circuit board can be produced by a regular manufacturer.
The following outlines the specific process from rapid prototyping to soldering completion:
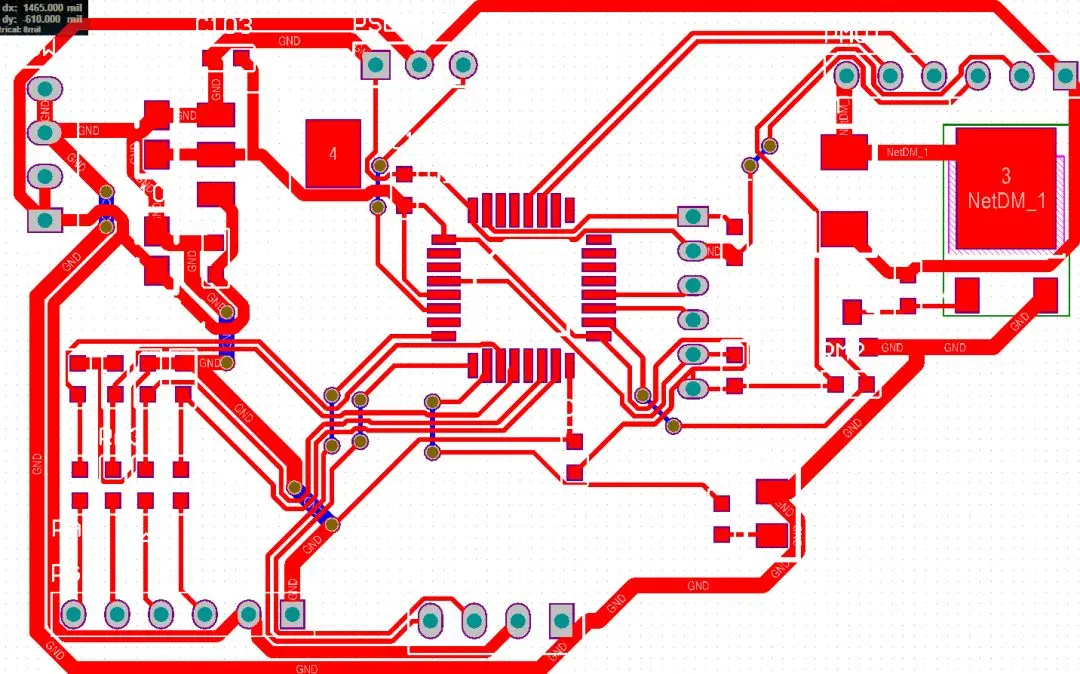
1. Design PCB Circuit Board:
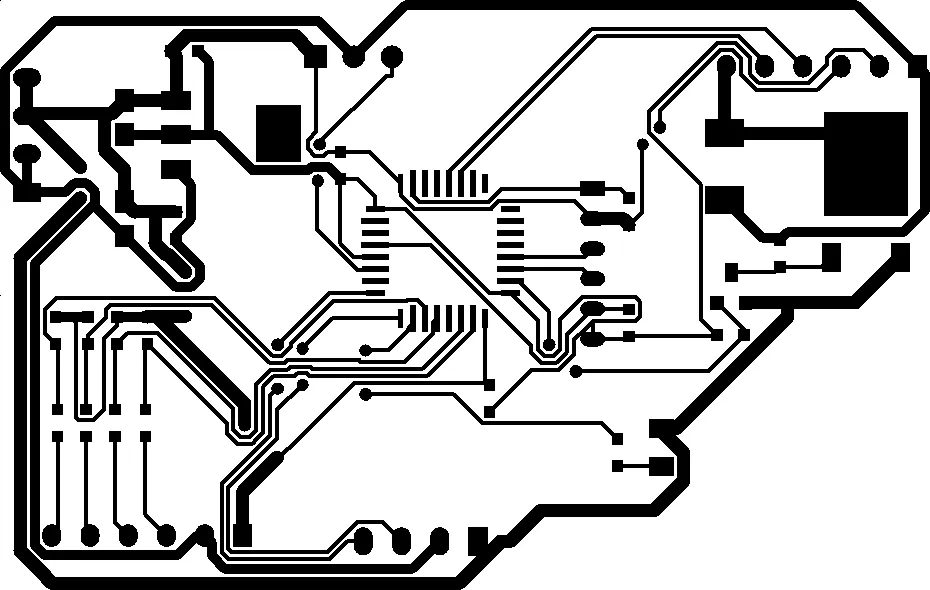
2. Set to Print Only the TOP LAYER and Via Layer
3. Use a Laser Printer to Print on Heat Transfer Paper
4. The Thinnest Track Set on This Circuit Board is 10mil
5. The One Minute Prototyping Time Starts from the Moment the Laser Printer Outputs the Black and White Image of the Circuit on the Heat Transfer Paper.
6. For Single-Sided Circuit Boards, One Sheet is Enough.
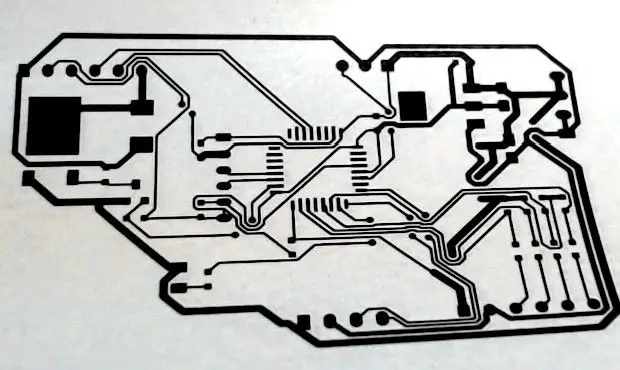
Then attach it to a suitably sized copper-clad board. Under the heat and pressure of a heat transfer machine, the heat transfer can be completed in 20 seconds. Remove the copper-clad board and peel off the heat transfer paper to reveal the clear circuit diagram on the copper-clad board.
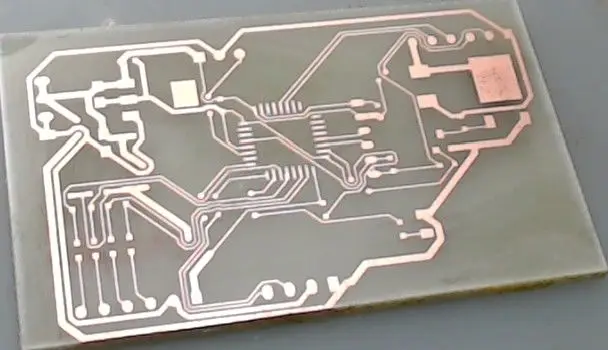
7. Place the Copper-Clad Board in an Oscillating Etching Tank, Using a Mixture of Hydrochloric Acid and Hydrogen Peroxide as the Etching Solution, Which Only Takes 15 Seconds to Remove the Excess Copper Layer.
The appropriate ratio of hydrochloric acid to hydrogen peroxide and the high-speed oscillation of the etching tank are key to achieving quick and perfect etching.
After rinsing with water, the etched circuit board can be removed. At this point, a total of 45 seconds have passed.
Be careful not to recklessly touch the high-concentration etching solution. Otherwise, the pain experienced will be remembered for a lifetime.
8. Then Use Acetone to Wipe Off the Black Ink Powder, Completing the Production of an Experimental PCB Board.
9. Apply Flux to the Surface of the Circuit Board
10. Use a Wide Tip Soldering Iron to Tin the Circuit Board for Easier Soldering Later
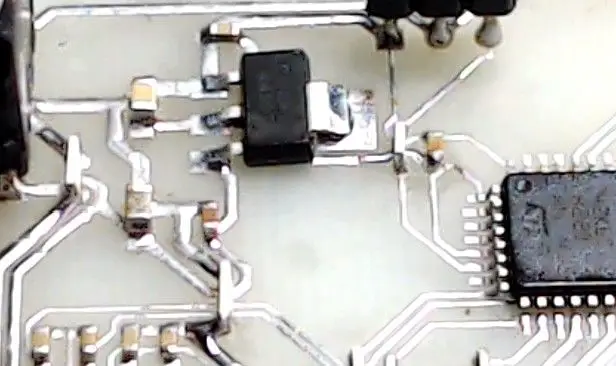
11. Remove the Flux and Apply Soldering Flux for Surface-Mounted Components, Completing the Soldering of the Components
12. Due to Pre-Coated Solder, Soldering the Components is Relatively Easy
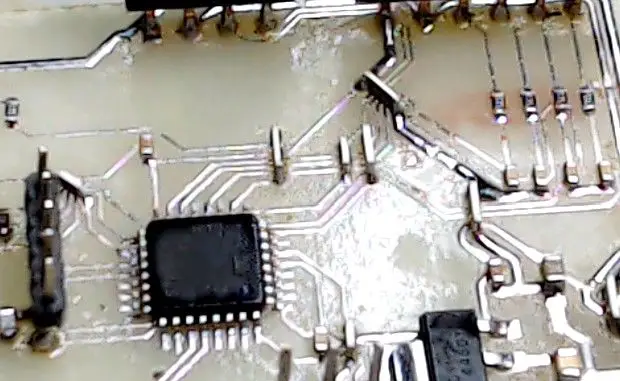
13. After Soldering, Use Board Cleaning Solution to Clean the Circuit Board
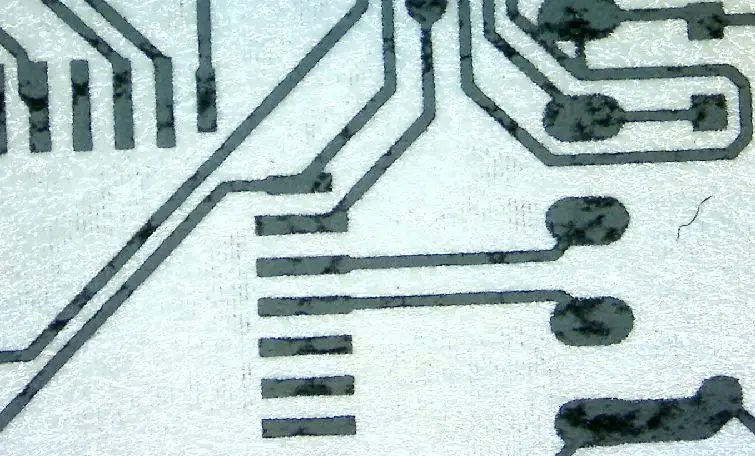
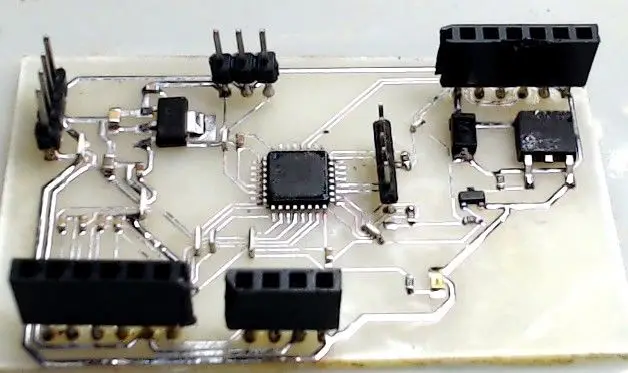
14. A Section of the Circuit Board
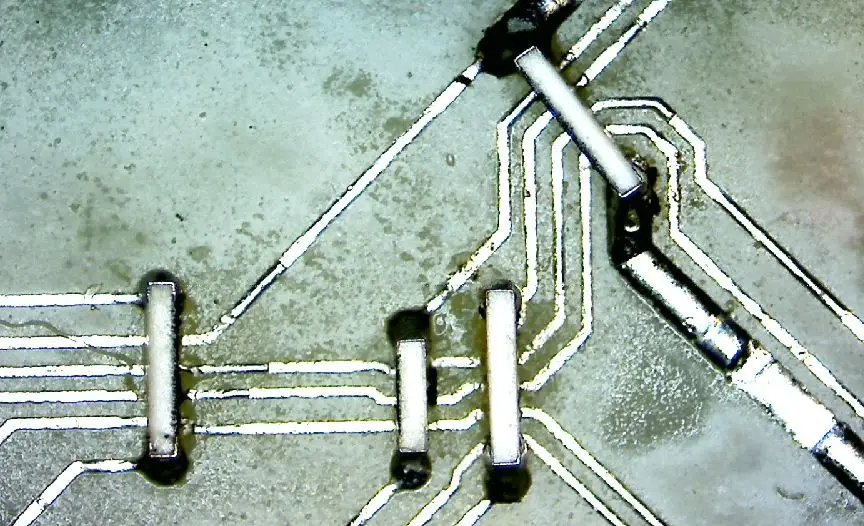
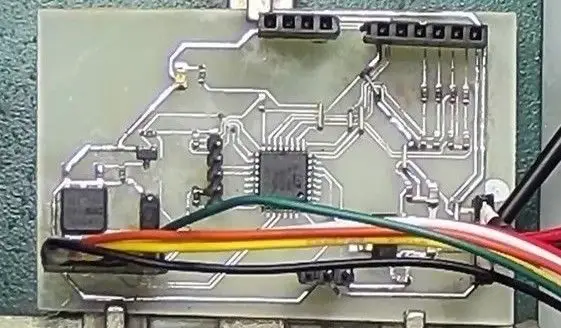
15. There are Multiple Short Jumper Wires on the Circuit Board
16. The Jumper Wires are Completed Using 0603, 0805, and 1206 Zero Ohm Resistors
17. After Ten Minutes, the Circuit Board Can Be Tested
18. The Circuit Board During Testing
19. Complete Circuit Debugging
The one-minute heat transfer printing method can make hardware production as convenient as software programming. After the circuit blocks are tested, the final circuit can be completed using formal production methods.
This method not only saves experimental costs but more importantly, saves time. A good idea, if following the normal production cycle, would take one or two days to obtain the circuit board, which would diminish the excitement.
Disclaimer:This article is copyrighted to the original author and does not represent the views of the association.The articles promoted by the “Jiangxi Province Electronic Circuit Industry Association” are for sharing purposes only and do not represent the position of this account. For copyright issues, please contact us for removal.