1. Physical DisplayVideo Display:Image Display: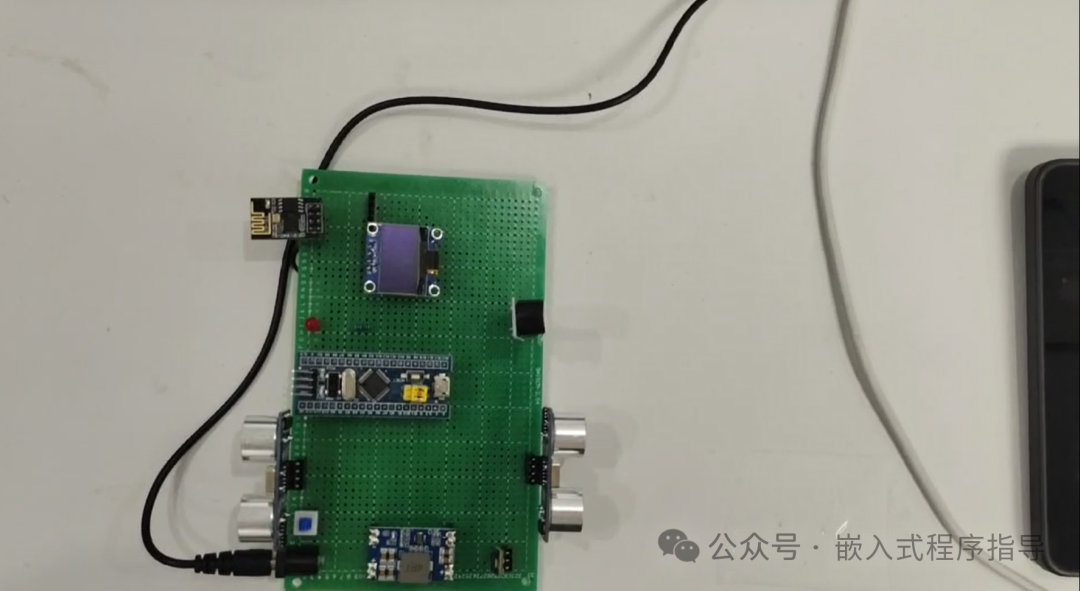
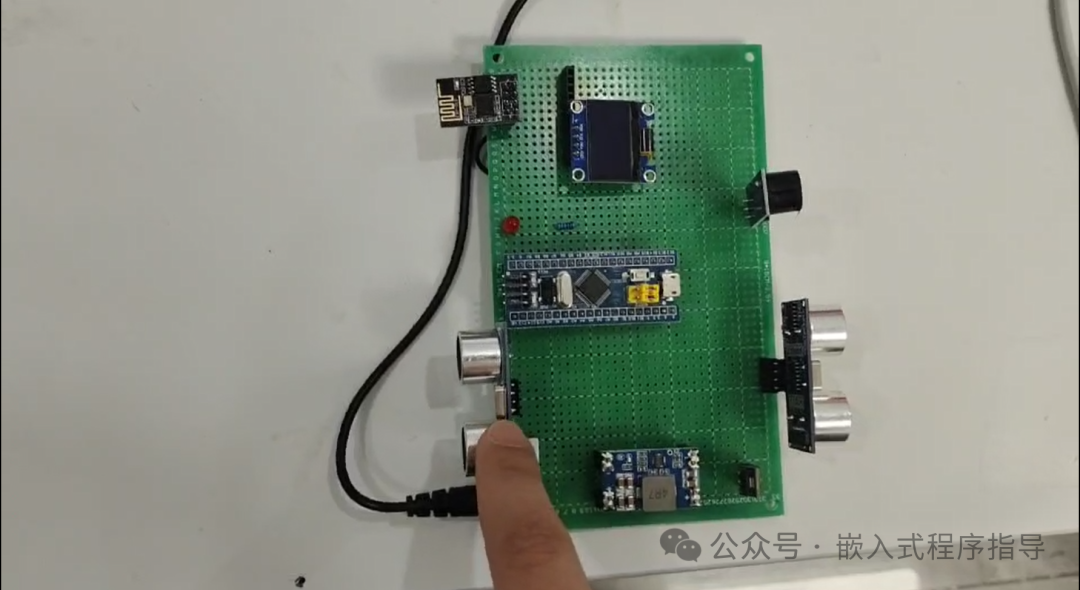
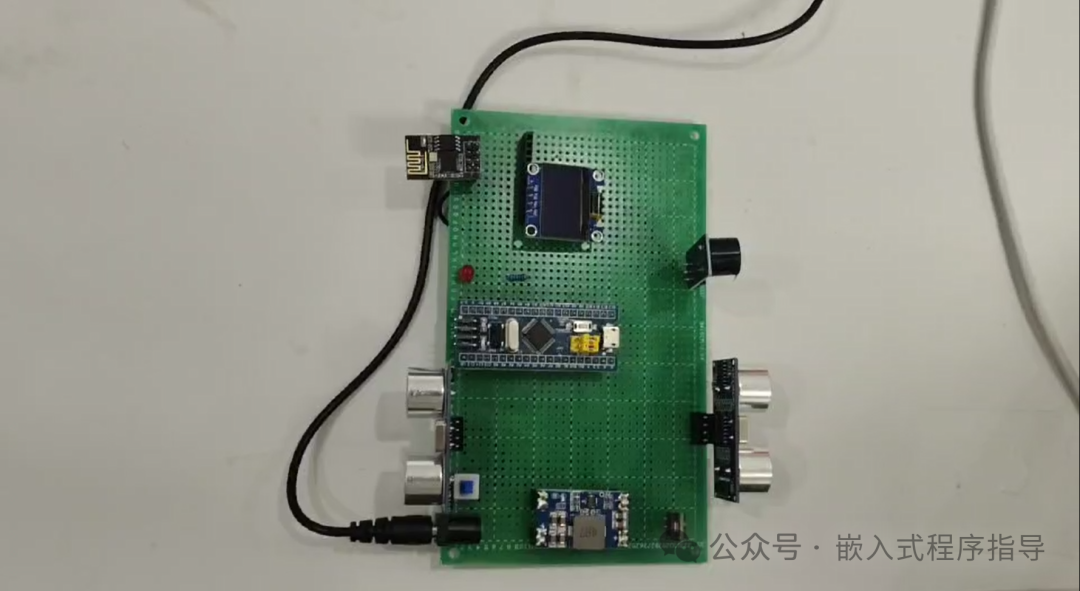
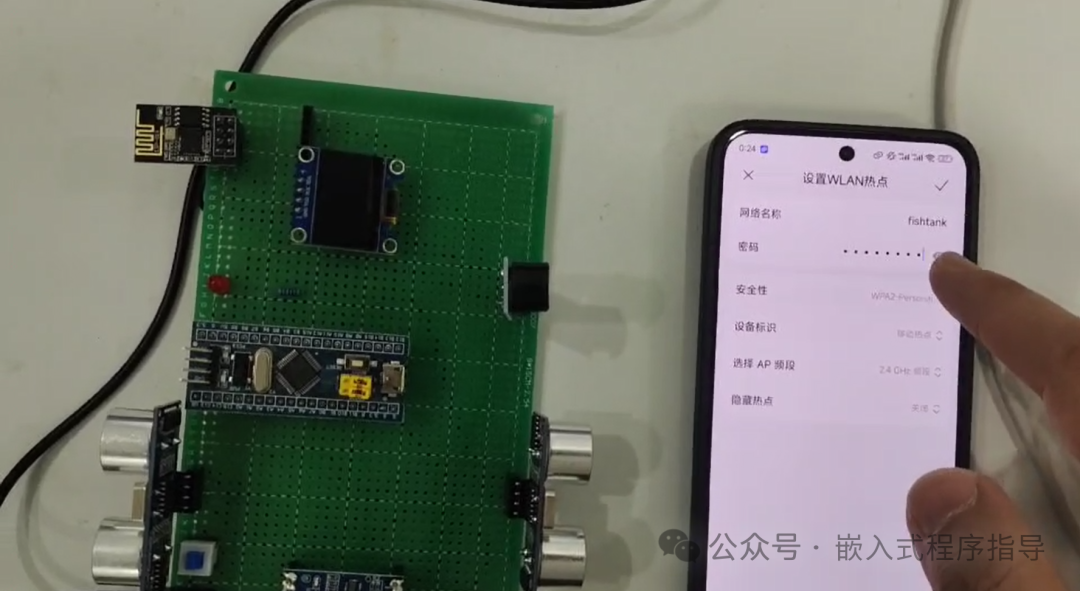 2. Software Startup and Project Introduction
Software Used in the Project
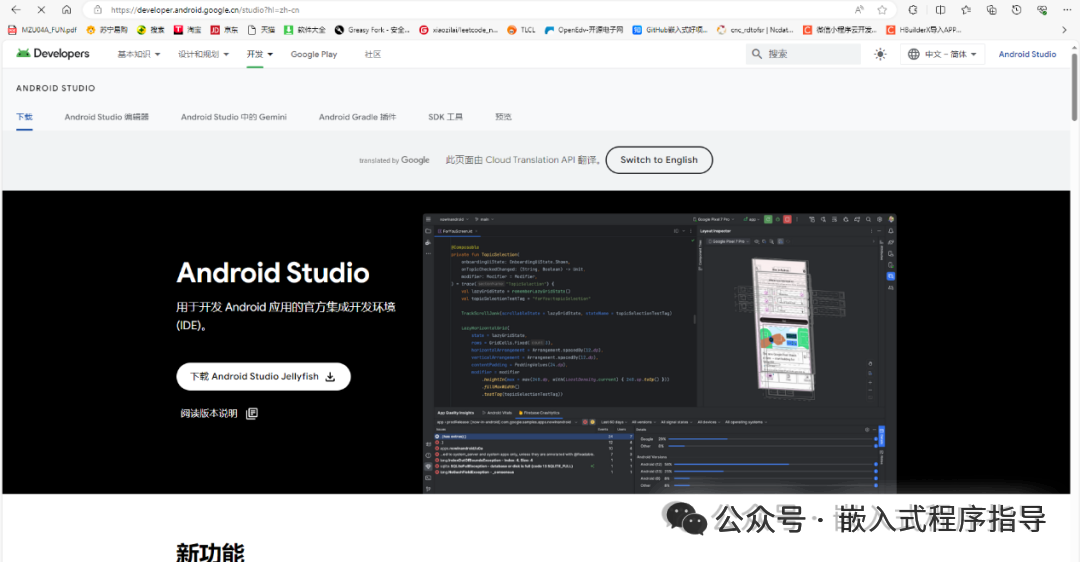
The project usesAndroid Studiofor programming and designing the mobileAPP, and generates the corresponding software installation package, as shown in the following image.
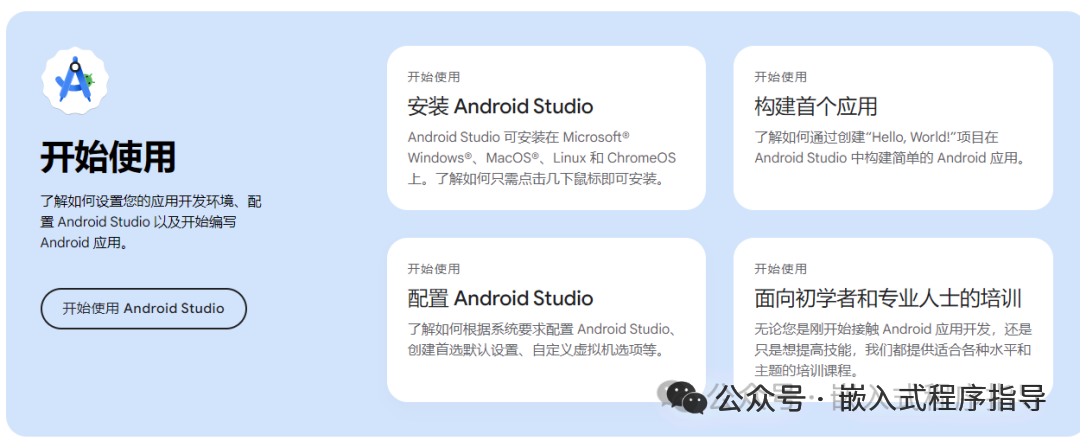
Start the software, open the project, create a new project, and select an emptyView project (the second option in the second row), after creating the project, modify the project name and the programming language, which should beJAVA. The Java development kit used isJDK17.0.1, and the minimum supportedAPI version for the developed application software isAPI 29, and the maximum version isAPI 34, with the main application API version beingAPI 32, which can be modified in the project build files. During system setup, based on the previous requirement analysis and functional selection, build the corresponding control operation interface in the development tool, and determine the software packages required for downloading the project, install and import them to ensure the project runs normally.
Refer to the following images for project creation, noting that the project primarily usesJAVA language, and the build method selected isGroovy. ForKotlin language, since it is a newly developed language forAndroid with fewer users, it is not recommended for use(those interested can learn it themselves).
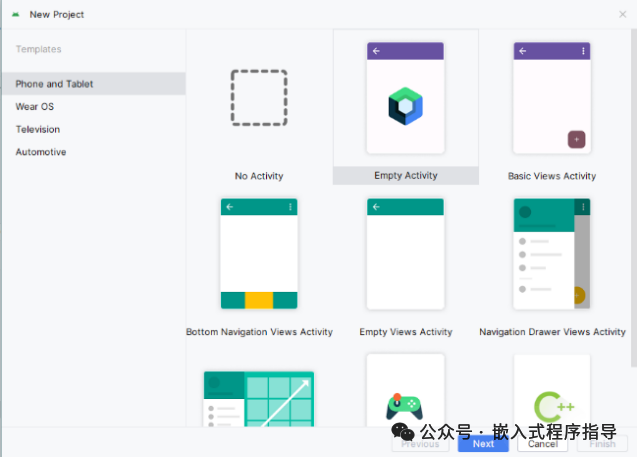
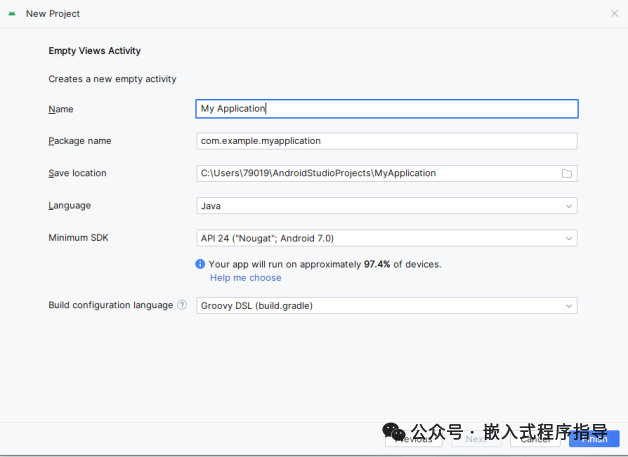
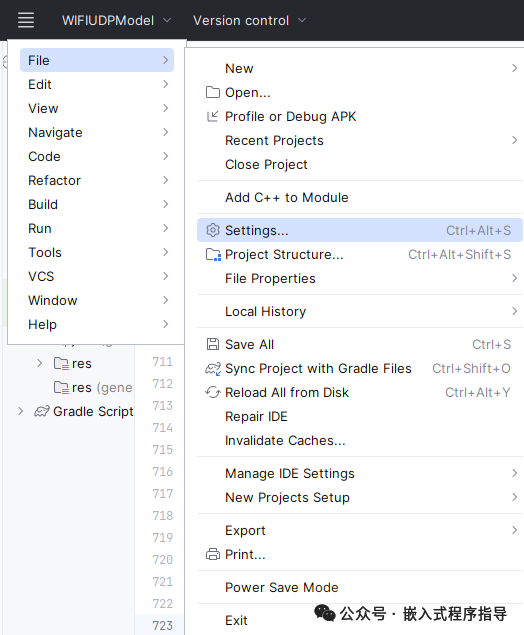
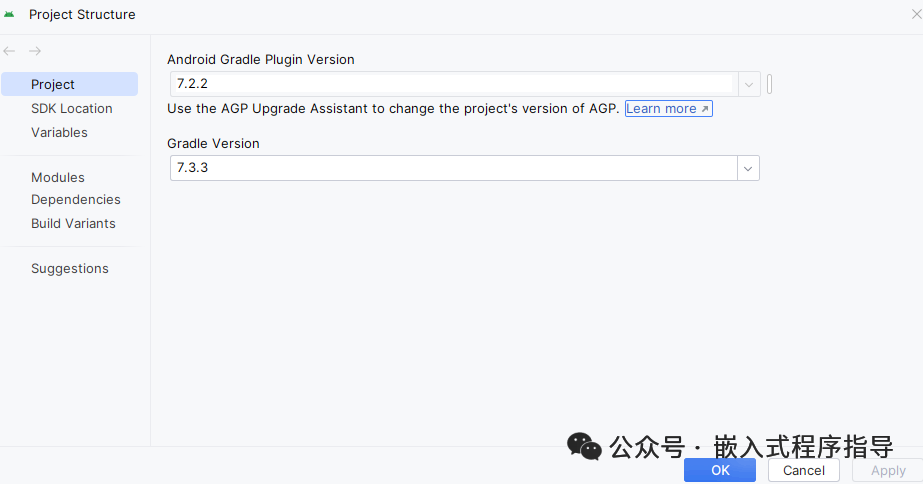
After opening the project, the project will automatically load the file packages and dependencies. Click on the menu bar, selectFile under the project, and selectSetting to set the project’sjdk version, build method, and other parameters; other parameters can be searched and modified as needed.Project Structure manages the overall project version and related dependencies. ForSync Project with Gradle Files button, this function can be used to rebuild the project after modifying the dependencies or environment.
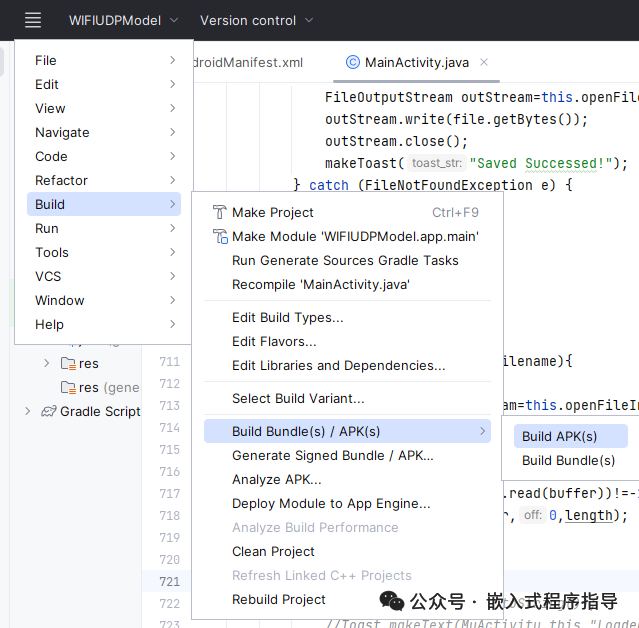
Click on the menu bar, selectBuild under the project, and selectMake Project function to build this project. UseBuild APK(s) function to compile the project and generate the corresponding installation packageAPK. The APK installation package file is located inapp->build->outputs->apk->debug, and you can also click the location link in the pop-up window after generating theapk to jump to it.
After the project runs, it can be displayed on both the emulator and the physical phone. The emulator needs to be created and set up in the device manager on the right side, and refer to online tutorials for generatingAndroid virtual machines; the physical phone needs to enable developer mode and adjustUSB debugging toMIDI or another debuggable mode. The current device will be automatically displayed at the top, allowing you to choose which device to debug and display on.The following image shows the interface for creating a virtual machine, where you can select the phone size, display, memory, and the version of theAPI, etc., and create according to your needs. After opening the project, find the project code, startbuild andrun, and after running, the system will automatically search for devices. If no physical phone is plugged in, the emulator will start to run; if a physical phone is present, it will prioritize running on the physical phone. You can also manually modify the device selection. The display of the emulator is shown below.
Custom microcontroller, leave a message in the background or contact us via WeChat!