
Inverters are crucial in industrial production, not only for speed regulation and soft starting but also for energy saving. Inverters have numerous functional parameters, often offering dozens or even hundreds of options for users. In practical applications, it is unnecessary to set and debug every parameter; most can simply use the factory settings. However, some parameters are significantly related to actual usage and may be interrelated, thus requiring adjustment based on real conditions.
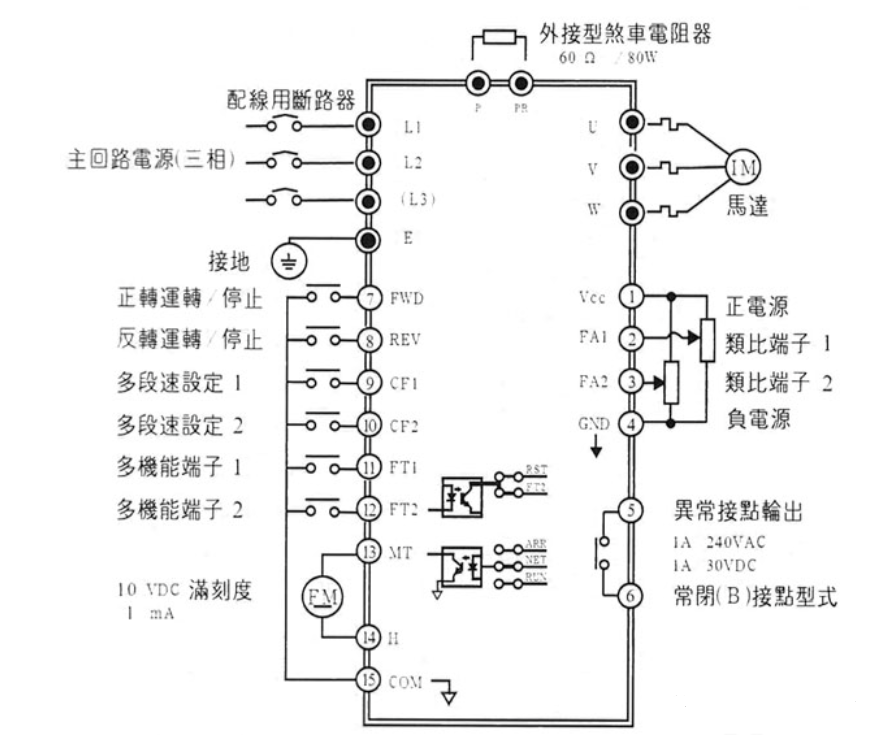
Due to the differences in functions among various types of inverters, the names of parameters with the same function may also differ. However, basic parameters are almost universally present across different types of inverters, allowing for a general understanding. The following parameters are commonly used:
1. Acceleration and Deceleration Time
1. Acceleration Time: This is the time taken to go from the starting frequency to the operating frequency.
2. Deceleration Time: This can be set to determine the time required for the motor to stop from the operating frequency.
Acceleration time refers to the time required for the output frequency to rise from 0 to the maximum frequency, while deceleration time is the time taken to decrease from the maximum frequency to 0. Typically, the acceleration and deceleration times are determined by the rise and fall of the frequency setting signal. During motor acceleration, the **rise rate of the frequency setting must be controlled to prevent overcurrent, while during deceleration, the **fall rate must be controlled to prevent overvoltage.
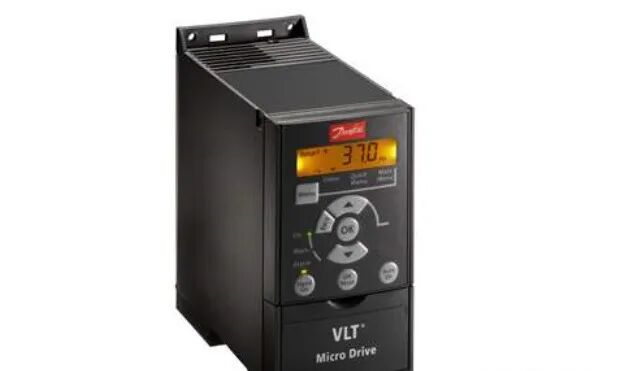
Acceleration Time Setting Requirements: The acceleration current must remain below the inverter’s overcurrent capacity to prevent overcurrent stall from causing the inverter to trip; the key point for deceleration time setting is to prevent excessive voltage in the smoothing circuit, avoiding regenerative overvoltage stall that could cause the inverter to trip. Acceleration and deceleration times can be calculated based on the load, but during debugging, it is common to initially set longer acceleration and deceleration times based on load and experience, observing for any overcurrent or overvoltage alarms during motor start and stop; then gradually shorten the acceleration and deceleration times until no alarms occur during operation, repeating the process to determine the optimal settings.
2. Motor Parameter Settings
Parameters can be set in the inverter according to the rated voltage and current of the motor nameplate.
1. Operating Direction: This is mainly used to set whether reverse rotation is prohibited.
2. Stopping Method: This is used to set whether to stop by braking or to stop freely.
3. Voltage Limits: Set limits based on the motor voltage to avoid damaging the motor.
3. Torque Boost
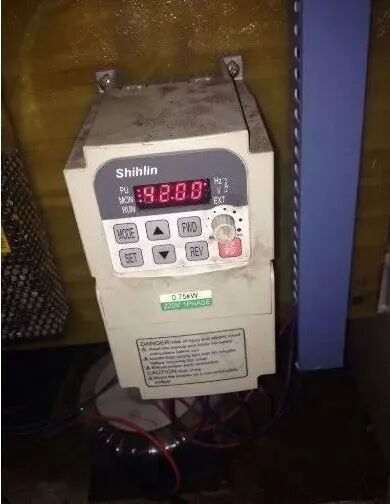
Also known as torque compensation, this is a method to compensate for the reduction in torque at low speeds caused by the resistance of the motor’s stator windings by increasing the low-frequency range f/V. When set to automatic, it allows the voltage to be automatically boosted during acceleration to compensate for starting torque, ensuring smooth motor acceleration. If manual compensation is used, the optimal curve can be selected through testing based on load characteristics, especially the starting characteristics of the load. For variable torque loads, improper selection may lead to excessive output voltage at low speeds, wasting energy, or even causing the motor to draw excessive current without reaching the desired speed during startup.
4. Frequency Setting Signal Gain
This function is only effective when using external analog signals to set frequency. It is used to compensate for inconsistencies between the external setting signal voltage and the inverter’s internal voltage (+10V); it also facilitates the selection of the analog setting signal voltage. When setting, if the maximum analog input signal is (e.g., 10V, 5V, or 20mA), the frequency percentage corresponding to the output f/V graph can be calculated and set as a parameter; for example, if the external setting signal is 0-5V and the inverter output frequency is 0-50Hz, the gain signal should be set to 200%.
5. Torque
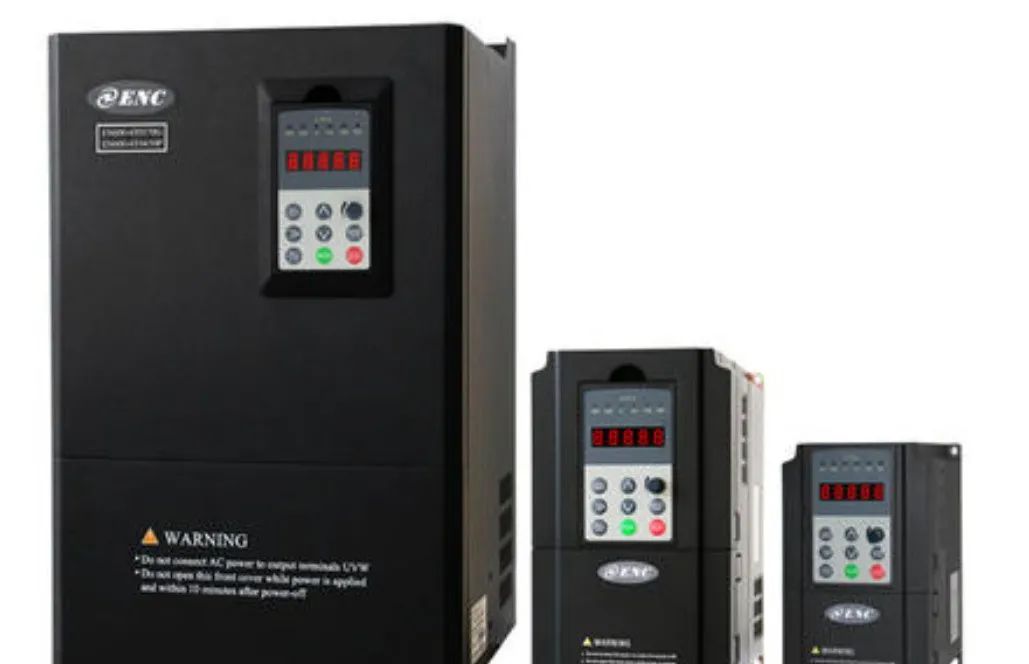
Torque can be divided into driving torque and braking torque. It is calculated based on the inverter’s output voltage and current values by the CPU, significantly improving the recovery characteristics of impact loads during acceleration, deceleration, and constant speed operation. The torque function enables automatic acceleration and deceleration control. If the acceleration and deceleration times are shorter than the load inertia time, the motor can still accelerate and decelerate automatically according to the torque setting.
The driving torque function provides strong starting torque, and during steady-state operation, the torque function controls the motor slip, keeping the motor torque **within the maximum set value. When the load torque suddenly increases, or if the acceleration time is set too short, it will not cause the inverter to trip. Even with a short acceleration time setting, the motor torque will not exceed the maximum set value. A high driving torque is beneficial for starting, and setting it to 80-100% is advisable.
The smaller the set value for braking torque, the greater the braking force, suitable for rapid acceleration and deceleration scenarios. If the braking torque set value is too high, it may trigger overvoltage alarms. Setting the braking torque to 0% can bring the total regenerative amount to near 0, allowing the motor to decelerate to a stop without using braking resistors, thus avoiding tripping. However, for some loads, setting the braking torque to 0% may cause brief idling during deceleration, leading to repeated starting of the inverter and significant current fluctuations, which could cause the inverter to trip, requiring caution.
6. Acceleration and Deceleration Mode Selection
Also known as acceleration and deceleration curve selection. Generally, inverters have three types of curves: linear, nonlinear, and S-curve, with linear curves being the most commonly selected; nonlinear curves are suitable for variable torque loads, such as fans; S-curves are suitable for constant torque loads, with slower acceleration and deceleration changes. When setting, the appropriate curve can be selected based on the load torque characteristics, but there are exceptions. In one instance, while debugging an inverter for a boiler induced draft fan, I initially selected a nonlinear curve, but the inverter tripped immediately upon starting. After adjusting many parameters without effect, switching to the S-curve resolved the issue.
The reason was that before starting, the induced draft fan rotated due to the flow of flue gas in the duct, creating a negative load. Selecting the S-curve allowed for a slower frequency rise at startup, thus avoiding inverter tripping. This method is applicable for inverters without a DC braking function.
7. Electronic Thermal Overload Protection
This function is set to protect the motor from overheating. The inverter’s CPU calculates the motor’s temperature rise based on the operating current and frequency, providing overheat protection. This function is only suitable for “one-to-one” scenarios; in “one-to-many” situations, thermal relays should be installed on each motor. The electronic thermal protection setting value (%) = [Motor rated current (A) / Inverter rated output current (A)] × 100%.
8. Frequency
This refers to the upper and lower limits of the inverter’s output frequency. Frequency serves as a protective function to prevent damage to equipment due to misoperation or failure of the external frequency setting signal source, which could lead to excessively high or low output frequencies. In applications, it can be set according to actual conditions. This function can also be used for speed limiting; for example, in some belt conveyors, to reduce wear on machinery and belts due to low material transport, an inverter can be used to drive the conveyor, setting the upper frequency limit to a specific value, thus allowing the conveyor to operate at a fixed, lower working speed.
1. Panel Speed Control: Frequency can be adjusted using the buttons on the panel.
2. Sensor Control: Frequency can be controlled using voltage or current changes from sensors as input signals.
3. Communication Input: Frequency can be controlled via PLC or other upper-level computers.

This article is sourced from: Inverter World
(This article is sourced from the internet, and the copyright of the images and text belongs to the original author. If there is any infringement, please inform us for deletion.)Contact Us
Phone
:400-069-030

: 601454066

: Shanxi Jinlu Tongchuang Information Technology Co., Ltd.
Address: Shanxi Jinlu Tongchuang Information Technology Co., Ltd.

Official Website
: http://sxjltc.com
Recommended Reading
【Case Study】 Save over ten million annually! Yacon KingMine helps build a provincial-level intelligent benchmark demonstration for a coal selection plant of ten million tons【Live Broadcast Announcement】 August 19-21, every morning, the live room awaits you!!!【Technical Insights】 How to Identify Electronic Components on Inverter Circuit Boards?【Lifestyle Section】 If you experience these conditions in your feet, it may be a signal of disease! Don’t take it lightly
Since you are here, please give us a thumbs up before you leave~~~
