Comparison of Several Development Environment Solutions
When developing Android Framework, we inevitably need to use a Linux system, with Ubuntu being the most widely used. However, for various reasons, we also need to use Windows to handle other tasks, leading to the following environment setup solutions:
-
1.Ubuntu + Windows Dual Boot
This solution offers the best cost and performance experience, requiring only one machine with no performance loss during compilation. The downside is that switching to Windows requires shutting down the system, and if the machine is performing a time-consuming task (usually compilation), one must wait for it to finish or interrupt it.
-
1.Windows Physical Machine + Ubuntu Virtual Machine
This solution has the same cost as the first one, but there is performance loss during compilation. However, it resolves the drawback of the first solution, allowing the use of software from both systems without needing to shut down.
-
1. **Windows Physical Machine + Ubuntu Physical Machine **
This solution is slightly more expensive, requiring the purchase of two machines, one with Windows and one with Ubuntu, sharing files via SMB. Based on my personal experience, the following two types of dual-machine environments can be set up:
1. **Single Monitor or Monitor Only Connected to Windows**This solution can utilize MSRDP (Microsoft Remote Desktop Protocol) to operate the Ubuntu GUI. It is recommended to use version 24.04 for better remote desktop support, but some software in the compilation environment needs to be compiled and installed.
2. **Both Machines Connected to Monitors**This solution allows the use of<span><span>Synergy</span></span> software to share keyboard and mouse, and clipboard (only supports text and images, not files), achieving the functionality of controlling two machines with one set of keyboard and mouse.
-
1.Windows Physical Machine + WSL Subsystem
This solution is similar to the second one, as it is also a virtual machine solution, but with Microsoft’s system-level support (requires a newer system version), there is less performance loss, and it is possible to launch a GUI interface just by executing commands, providing a user experience close to native.
Setting Up WSL Environment
The focus of this article is not on configuring the basic WSL environment, but rather on setting up the Android Framework compilation environment. Therefore, the installation of WSL will not be detailed; if needed, please search online. I referred to this blog, which you can check out: https://www.cnblogs.com/stlong/p/17654389.html
Additionally, according to Microsoft’s articles on running GUI programs with WSL https://learn.microsoft.com/zh-cn/windows/wsl/tutorials/gui-apps, the system version must be Windows 10 version 19044+ or Windows 11 to run Linux GUI programs. If you need to use ASFP for Framework development, please pay attention to this issue.
Installing WSL Subsystem
Enabling WSL
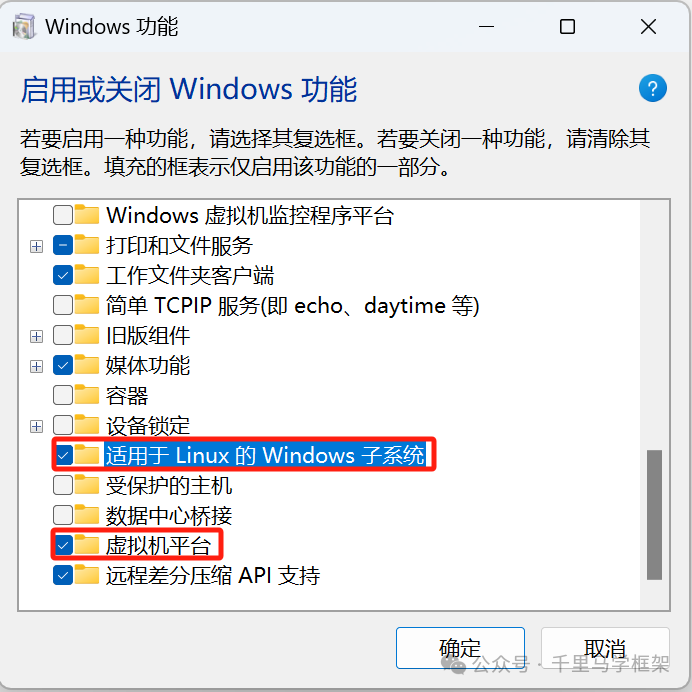
Before installing the WSL system image, we need to go to<span><span>Control Panel</span></span>–<span><span>Programs</span></span>–<span><span>Programs and Features</span></span>–<span><span>Turn Windows features on or off</span></span> to enable the<span><span>Windows Subsystem for Linux option</span></span> and<span><span>Virtual Machine Platform</span></span> options. If they are not enabled, click OK and restart.
Installing System Image
After enabling WSL, you can go to the Microsoft Store to find and install the corresponding image. I installed version 20.04, which does not require any additional processing when installing dependency environments and has good compatibility; it is recommended to install this version.
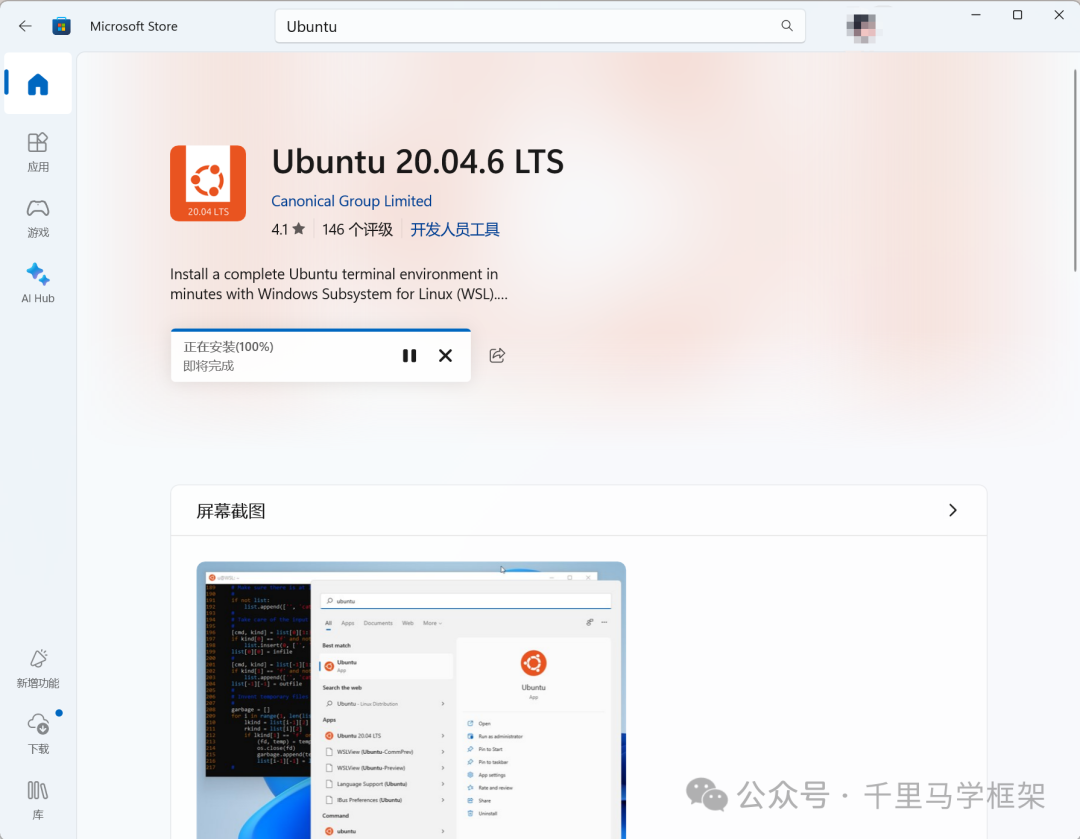
After installation, click to open for image installation.
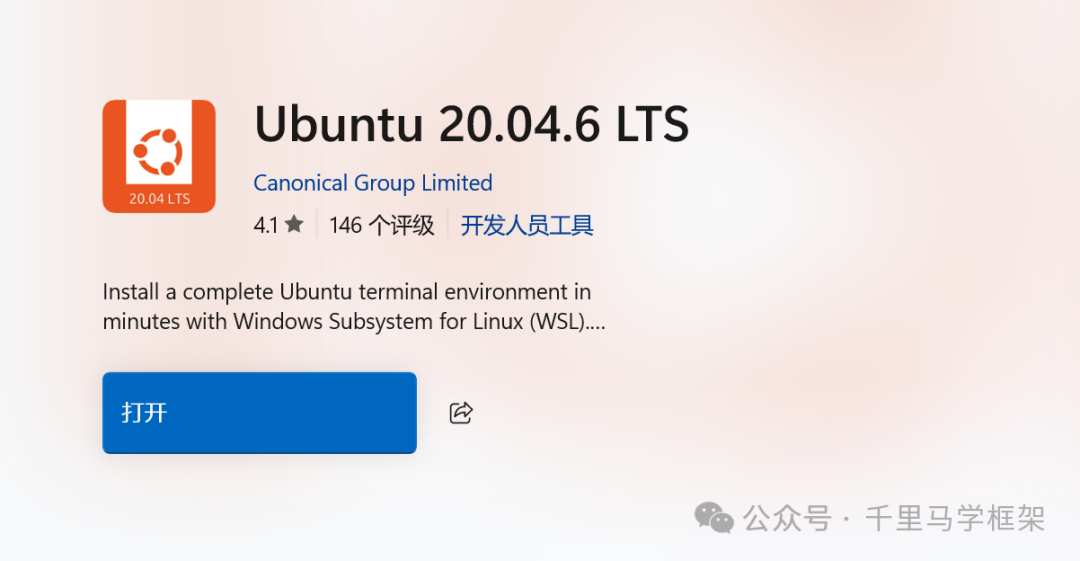
Follow the prompts to set the username and password.

Moving System Path
The system image installed through Microsoft Store is usually stored on the C drive, and since most computers have multiple drives, the C drive’s capacity is relatively small. Downloading code and compiling will cause the system drive to become full, so we need to move the installation location to another drive, depending on your needs. If compiling a higher version of the code, it is recommended to store it on a drive with at least 300GB of free space.
-
1. Shut down WSL
wsl --shutdown-
1. Check WSL image name
wsl -l
According to the command result, the name of the installed image is<span><span>Ubuntu-20.04</span></span>, and after obtaining the name, proceed to the next step.
-
1. Export WSL image package -
1. Create the corresponding folder in the path to be exported; if it already exists, ignore this step. I created a WSL_Backup folder on the E drive. -
2. Export the image package
wsl --export Ubuntu-20.04 E:\\WSL_Backup\Ubuntu20.04.tar3. After exporting, you will see a corresponding image file in the specified path.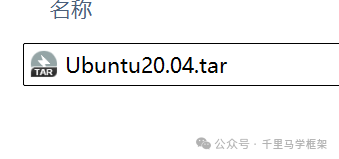
-
1. Unregister the original image
wsl --unregister Ubuntu-20.04-
1. Import the exported image to the migration path -
1. Create the corresponding folder in the path to be installed -
2. Import the image
wsl --import Android E:\AndroidWSL E:\WSL_Backup\Ubuntu20.04.tar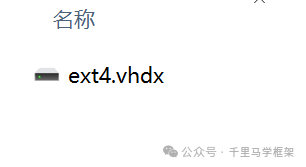
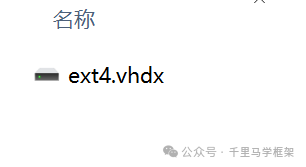
After installation, you will see a virtual disk file in E:\AndroidWSL.
System Environment Configuration
Building the Compilation Environment
Regarding the system environment setup, WSL is consistent with Ubuntu on a physical machine or VMWare virtual machine; just follow the normal steps. However, it is important to note that the code path can only be placed on ext4 hard disk partitions or virtual hard disk partitions created by WSL. It is recommended to pull the code directly in the virtual hard disk partition (but ensure that the installed partition has enough space), as mounting the physical hard disk to WSL is relatively cumbersome.
As for the compilation environment, I completely followed the steps in another blog of mine to compile, and you can refer to Ma Ge’s blog about environment setup.
About Virtual Machines
The virtual machine that comes with AOSP relies on KVM, which is not supported by WSL. I found information online suggesting that you can create a virtual machine through Android Studio and then start your compiled system.img using specified command line parameters, but I was unsuccessful in my operation. Those who need it can check the blog: https://www.cnblogs.com/stlong/p/17654389.html
WSL Accessing Physical Machine
This part is quite tricky. Initially, I wanted to share the physical machine’s USB devices with WSL, but after operating, I found that using the adb devices command to get the device list would always hang. Later, by checking information, I found that using the same version of adb for both WSL and Windows allows WSL to access the physical machine’s adb devices. If it cannot be accessed, you need to execute a command in adb to start the adb service program. Personally, I prefer to directly use adb devices.
ADB download links:
-
• linux: https://dl.google.com/android/repository/platform-tools-latest-linux.zip -
• windows:https://dl.google.com/android/repository/platform-tools-latest-windows.zip[1]
It is recommended that WSL on the physical machine configure the system environment variables after downloading via the link, rather than using the path of the Android SDK; otherwise, if updated through other tools, this issue may arise again, and forgetting this could lead to significant issues.
Installing Chrome
Since we need to download<span><span>Android Studio for Platform</span></span>, but Google has set up checks on its web page, preventing downloads from non-Linux devices (I tried modifying the browser UA, but it was ineffective; if anyone has successful experience, please share), we need to download a browser in WSL. Personally, I prefer downloading Chrome, but you can download other browsers.
Download Installation Package
wget https://dl.google.com/linux/direct/google-chrome-stable_current_amd64.debInstallation
sudo apt install --fix-missing ./google-chrome-stable_current_amd64.debInstalling Android Studio for Platform
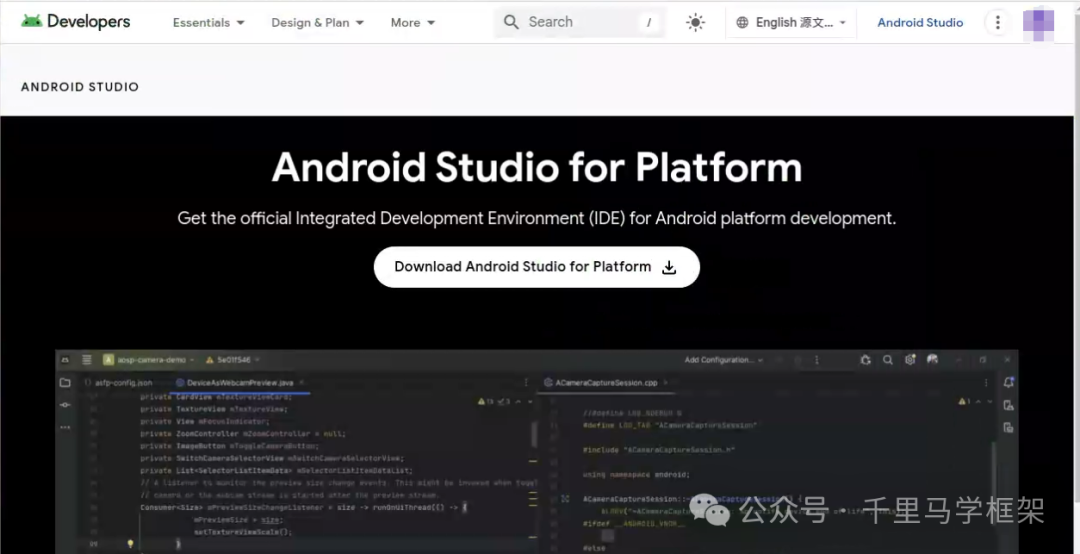
First, we open Chrome through<span><span><font style="color:rgb(22, 22, 22);background-color:rgb(230, 230, 230);">google-chrome</font></span></span>, and then download from the following URL:
https://developer.android.google.cn/studio/platform
Note not to switch the language to Chinese. I found that clicking the download button does not work when the language is set to Chinese; switch to English to download.
Installation
cd ~/Downloads
sudo dpkg -i asfp-xxx-linux.deb
Starting
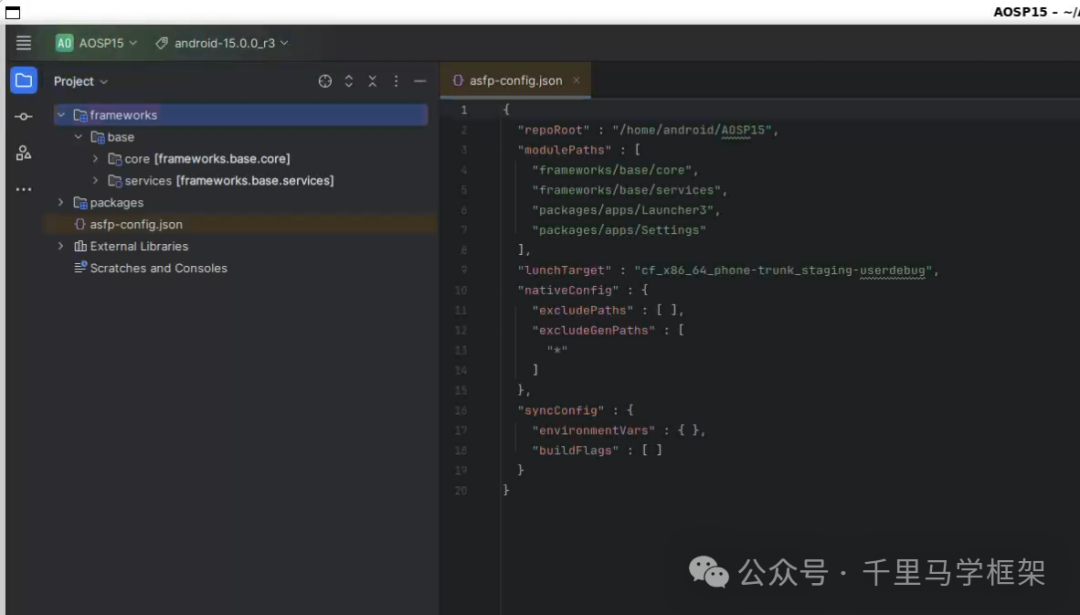
/opt/android-studio-for-platform/bin/studio.shFor the usage of Asfp, please search for related articles online, as there are many excellent articles available; this article will not elaborate further.
Starting the Virtual Machine
Through Nested Virtualization in WSL
Previously, I encountered failures when starting the virtual machine while writing the blog. I found information indicating that WSL does not support KVM, so I thought it was impossible to start a virtual machine in WSL. However, I accidentally discovered that WSL can start virtual machines after configuring nested virtualization, although the smoothness is lower.
Reference blog: https://huaweicloud.csdn.net/64edaa9c6ffa5020257611ca.html
-
1.Add KVM User Group
sudo groupadd -r kvm # Create kvm user group
sudo gpasswd -a $USER kvm # Add user to kvm-
1.Change /dev/kvm Access Permissions
/dev/kvm’s default permission is 600, accessible only by the root user. We need to change its user group to kvm and grant 660 permissions.
Edit /etc/wsl.conf file, adding the following content. Note that this step should be executed in the WSL virtual machine.
[boot]
command = /bin/bash -c 'chown -v root:kvm /dev/kvm && chmod 660 /dev/kvm'-
1.Configure Nested Virtualization
Nested virtualization requires adding the following content to the .wslconfig file under the current user in the Windows physical machine. If this file does not exist, create it yourself.
[wsl2]
nestedVirtualization=true
Here’s a share of my WSL configuration:
Reference link: https://learn.microsoft.com/zh-cn/windows/wsl/wsl-config#wslconf
[experimental]
autoMemoryReclaim=gradual  # Automatically release cached memory after detecting idle CPU usage. Set to gradual for slow release, set to dropcache for immediate release.
networkingMode=mirrored  # If the value is mirrored, mirrored network mode will be enabled. Default or unrecognized strings will generate a NAT network. If using winscope proxy, the python script must be started in WSL, otherwise localhost cannot access wsl.
dnsTunneling=true # Change the way DNS requests are proxied from WSL to Windows.
firewall=true # If set to true, Windows firewall rules and rules specific to Hyper-V traffic can filter WSL network traffic.
autoProxy=true # Force WSL to use Windows' HTTP proxy information; if the Windows virtual machine has a proxy, it needs to be enabled in WSL.

[wsl2]
memory=24GB # Memory allocated to WSL
swap=12G # Virtual memory allocated to WSL
nestedVirtualization=true # Enable nested virtualization
Starting on the Windows Physical Machine
The steps for starting on the physical machine are quite cumbersome. If starting through nested virtualization is not an issue, it is recommended to start directly through nested virtualization.
-
1.Package AVD Image
make -j18 emu_img_zipFor Android versions below 12, the command needs to be changed to
make -j18 sdk sdk_repoAfter executing this command, a file named<span><span>sdk-repo-linux-system-images.zip</span></span> will be generated in the corresponding out path, containing an x86_64 folder that needs to be extracted. I extracted it to the current directory.
-
1.Starting the Virtual Machine
Before starting the virtual machine, you need to create a virtual machine of the same version in Android Studio. I created a virtual machine named Android_15_Phone, and then you need to switch to the emulator subdirectory under the Android SDK directory in the command line. You can also set this directory to the Path variable; I won’t elaborate further here, and then use the following command to start:
emulator -avd <virtual machine name> -sysdir <AVD image path> -dns-server 8.8.8.8,114.114.114.114 -verboseMy start command is as follows:
emulator -avd Android_15_Phone -sysdir \\wsl.localhost\Android\home\android\AOSP_V\aosp\out\target\product\emu64x\x86_64 -dns-server 8.8.8.8,114.114.114.114 -verboseFor the path of –sysdir, a brief explanation: \\wsl.localhost indicates accessing the wsl file, \\wsl.localhost\Android indicates accessing the name of the Android wsl virtual machine, and the subsequent path is the path in the virtual machine.
Problem Solving
WslRegisterDistribution failed with error: 0x80370114
Reference: https://zhuanlan.zhihu.com/p/599286889
-
1. Start WSL; this step is actually the same as in section 2.1.1 and can be ignored.
dism.exe /online /enable-feature /featurename:VirtualMachinePlatform /all /norestart-
1. Enable virtual machine features at startup; this step can be viewed through the GUI interface, as described in section 2.1.1 for the virtual machine platform option, just check it.
dism.exe /online /enable-feature /featurename:VirtualMachinePlatform /all /norestart-
1. Set WSL version to WSL2
wsl --set-default-version 2Five, References
https://zhuanlan.zhihu.com/p/599286889
https://www.cnblogs.com/stlong/p/17654389.html
https://learn.microsoft.com/zh-cn/windows/wsl/tutorials/gui-apps
Cited Links
<span><span>[1]</span></span> https://dl.google.com/android/repository/platform-tools-latest-windows.zip:https://dl.google.com/android/repository/platform-tools-latest-linux.zip
For specific purchasing methods, you can privately chat with Ma Ge on WeChat:
