The Raspberry Pi, a compact yet powerful microcomputer, is quietly changing the way we live. It is affordable and incredibly versatile, making it a playground for developers, makers, and programming enthusiasts alike. This article will guide you step-by-step through the basics of Raspberry Pi development, launching your personal supercomputer journey!
Step 1: Network Connection – Get Your Raspberry Pi Online
After installing the official Raspberry Pi operating system (easily done with the official tool), you need to connect it to the internet. This is like giving your little computer wings, allowing it to access the internet, download software, and connect to other devices.
-
• Check Network Connection: Use the
<span>ping raspberrypi.local</span>command (or your Raspberry Pi’s hostname/IP address) to check if the network connection is successful. A successful output will show a message like “Reply from xxx…” and display the Raspberry Pi’s IP address.
Step 2: Remote Login – Access Your Raspberry Pi Control Center
Once the network connection is successful, you can log into the Raspberry Pi for system management and development using remote tools like PuTTY or SSH.
-
• Using PuTTY: Enter the Raspberry Pi’s hostname (e.g.,
<span>raspberrypi</span>) or IP address, along with the username and password, to log in. -
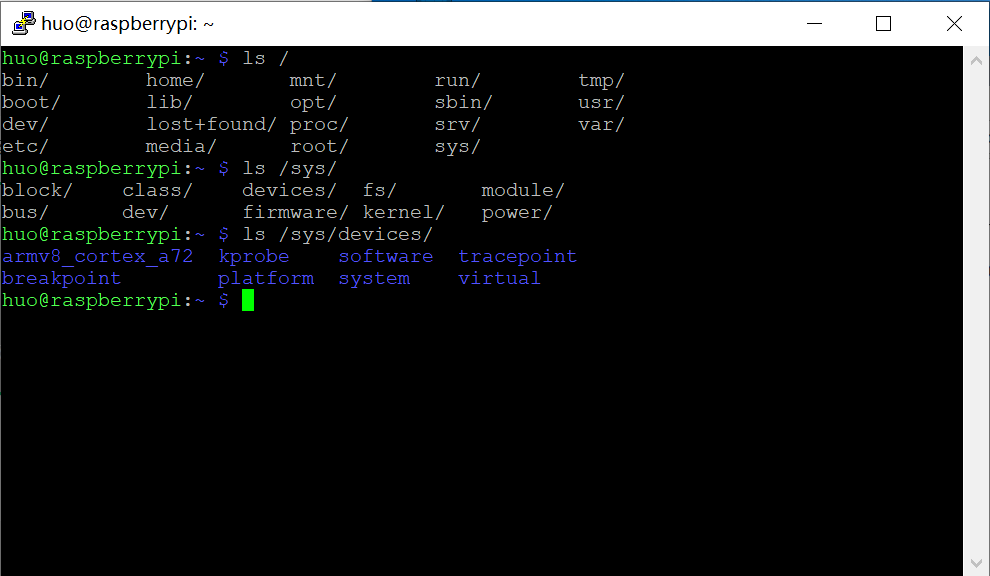
• Command Line Interface: After logging in, you will enter the command line interface of the Raspberry Pi, where you can use various Linux commands to manage your device.
-
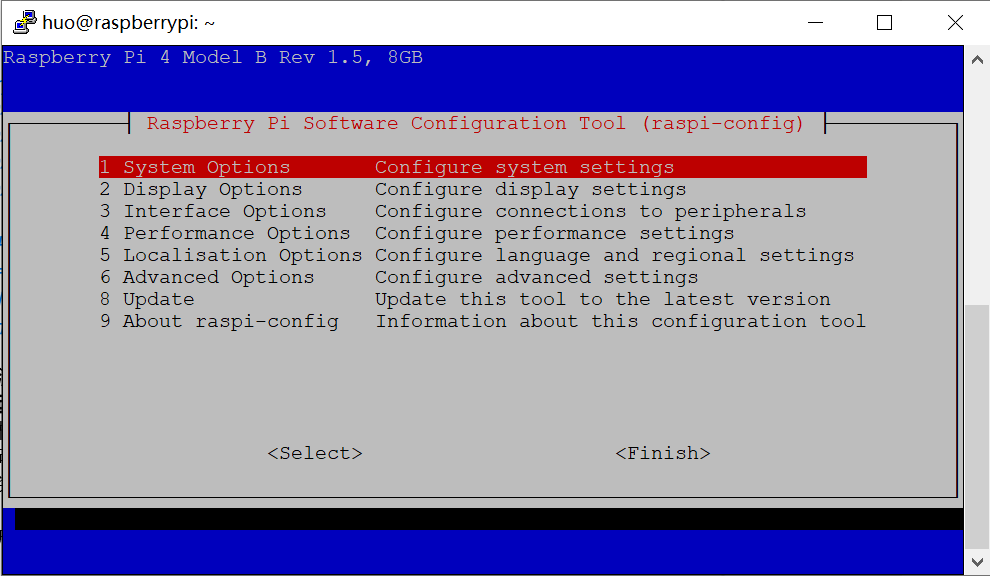
Step 3: System Settings – Personalize Your Raspberry Pi
The Raspberry Pi provides the <span>raspi-config</span> tool, which allows you to customize system settings to meet your specific needs.
-
• Using raspi-config: Start the tool with the
<span>sudo raspi-config</span>command. -
• Personalization Options: You can change the system language, set the timezone, adjust the keyboard layout, enable/disable SSH remote login, and change the hostname, etc.
-
Step 4: Domestic Sources – Enhance Your Development Efficiency
To achieve faster software download speeds, it is highly recommended to switch the software source to a domestic mirror.
-
• Backup Original Source File: Use the
<span>sudo cp /etc/apt/sources.list /etc/apt/sources.list_bak</span>command to back up the original source file. -
• Add Domestic Sources: Add the domestic mirror address (such as Tsinghua University’s mirror) to the
<span>/etc/apt/sources.list</span>file. (Please choose the appropriate source address based on your system version) -
• Update Software Sources: Use the
<span>sudo apt-get update</span>and<span>sudo apt-get upgrade</span>commands to update the software sources and upgrade the system.
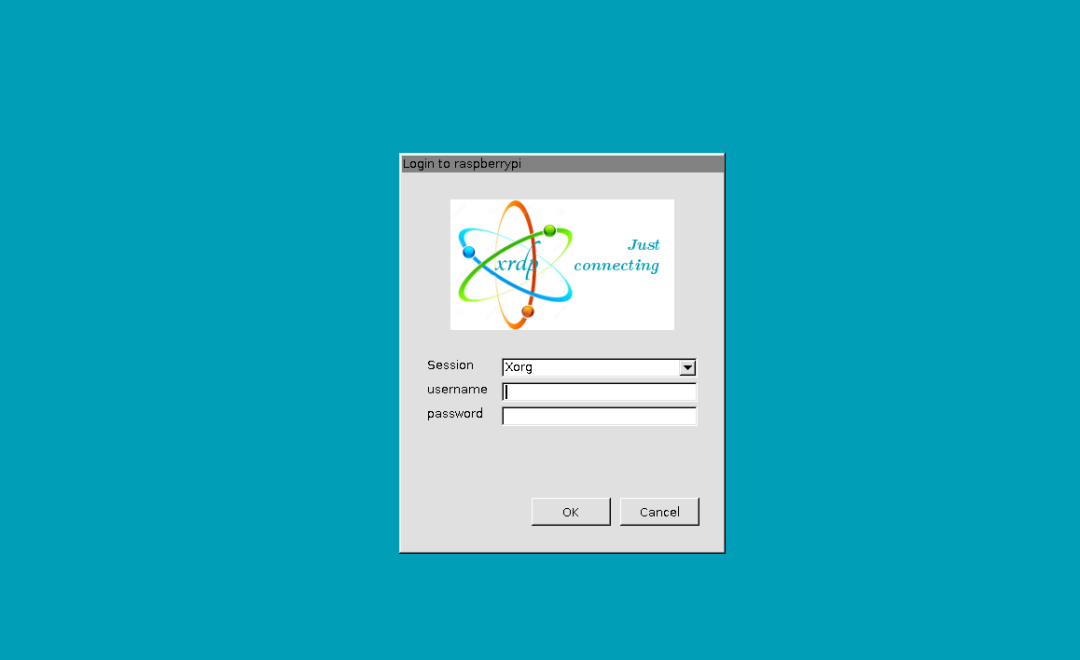
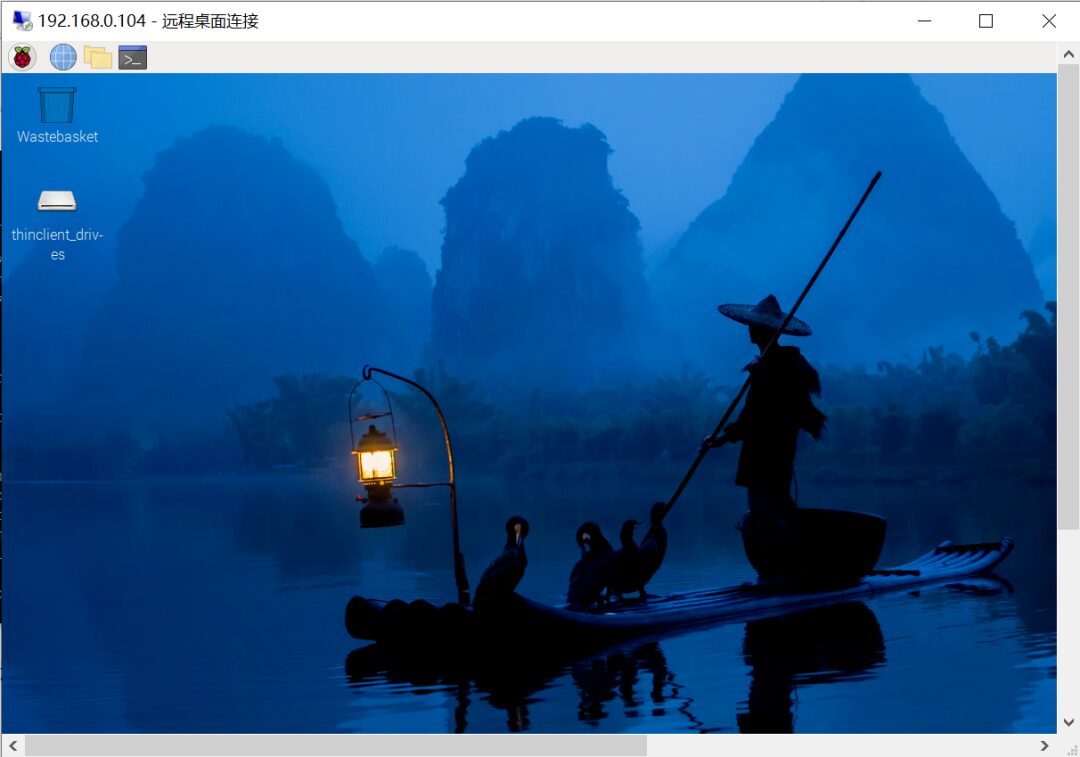
Step 5: Remote Desktop – Easily Access the Raspberry Pi Desktop
For more convenient operation, you can install remote desktop software such as xrdp or tightvncserver.
-
• Install Remote Desktop Software: Use the
<span>sudo apt-get install xrdp tightvncserver</span>command to install. -
• Remote Connection: After installation, you can remotely connect to the Raspberry Pi’s desktop from other computers, just like operating it directly.
-
Step 6: Your First Raspberry Pi Project – Start Your Creative Journey
Everything is ready; now it’s time to start your first Raspberry Pi project!
-
• Beginner Project Suggestions: Set up a personal website, control smart home devices, play retro games, or learn programming languages like Python.
-
Step 7: Advanced Projects – Challenge Your Unlimited Possibilities
As you deepen your understanding of the Raspberry Pi, you can attempt more complex projects.
-
• Advanced Project Suggestions: Build robots, develop IoT applications, design electronic products, and more.
Conclusion
The world of Raspberry Pi is exciting and full of infinite possibilities. This article is just a beginner’s guide, and I hope it helps you get started quickly. Be brave, keep learning, and you will turn your ideas into reality on this creative platform, experiencing the charm of technology!